Free Crochet Halloween Cat Amigurumi Pattern with Witch Hat
Spooky season just got a whole lot cuter, low-key. This Free Crochet Halloween Cat amigurumi pairs a round black body with a tiny pointed witch hat, perfect for October gifting season. Even beginners can finish this one in a single cozy sitting.
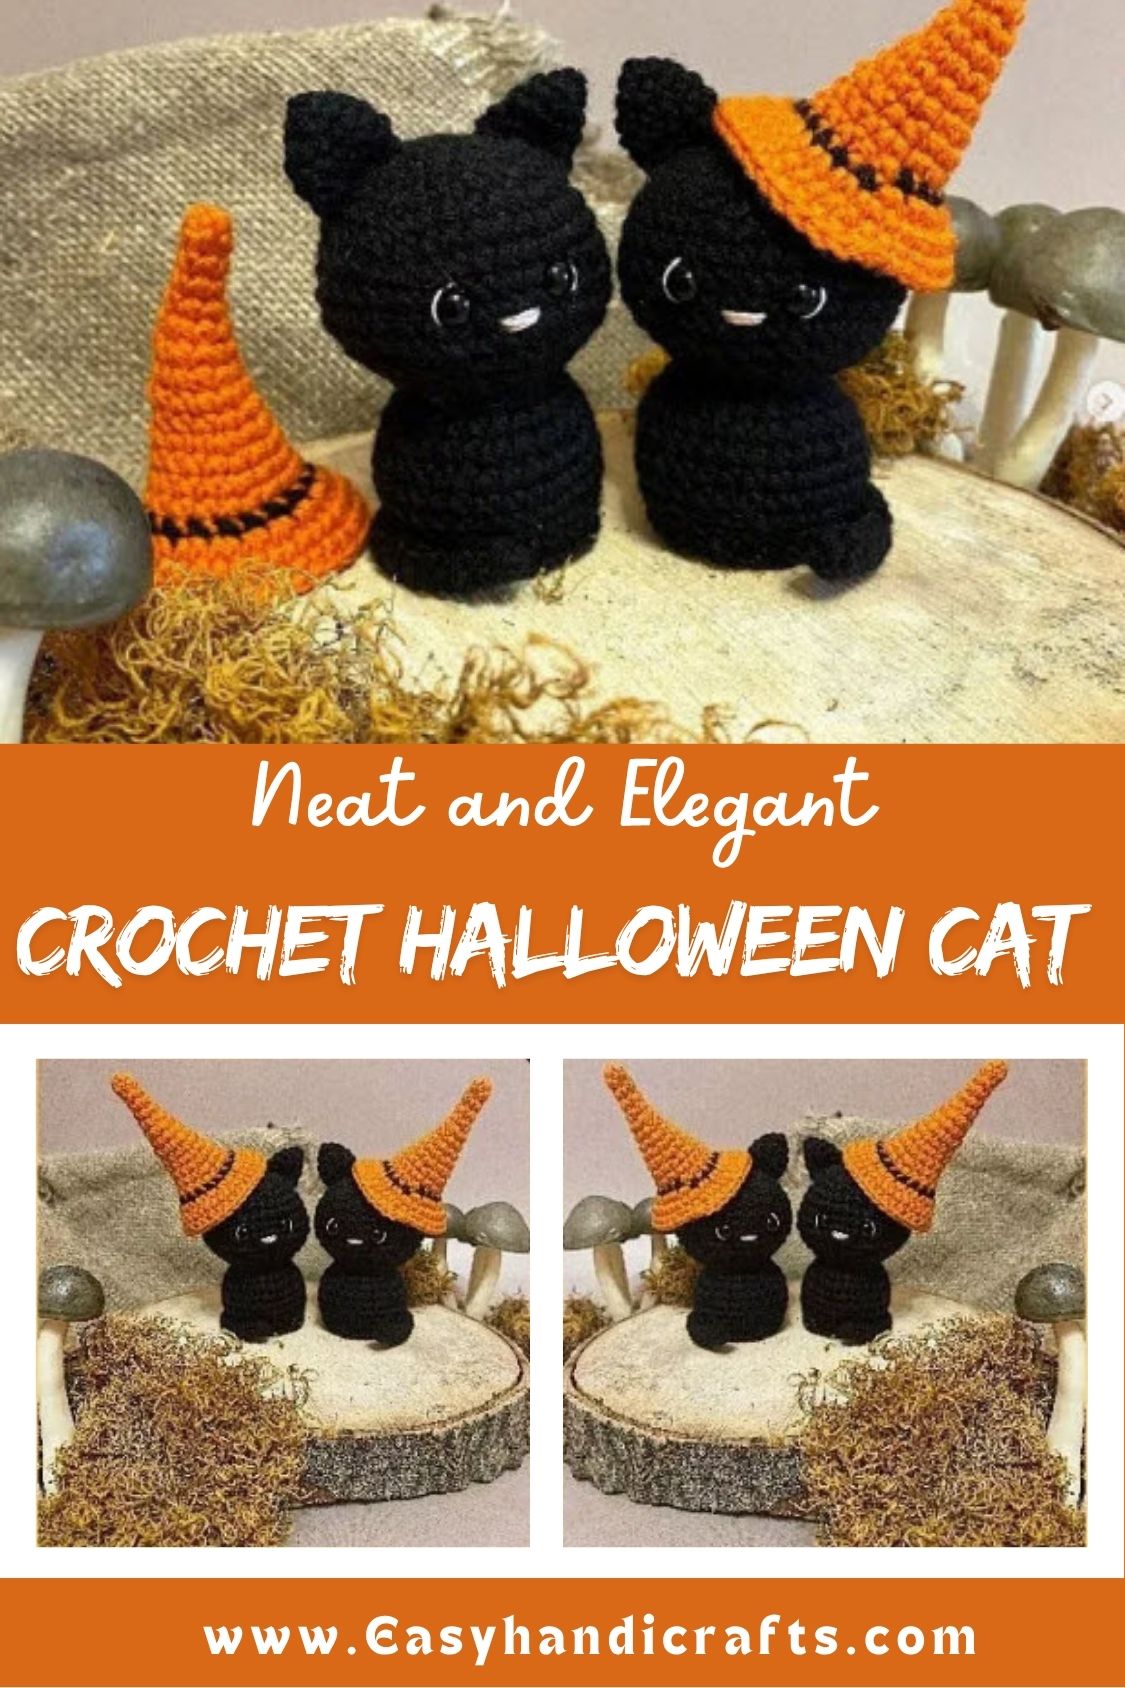
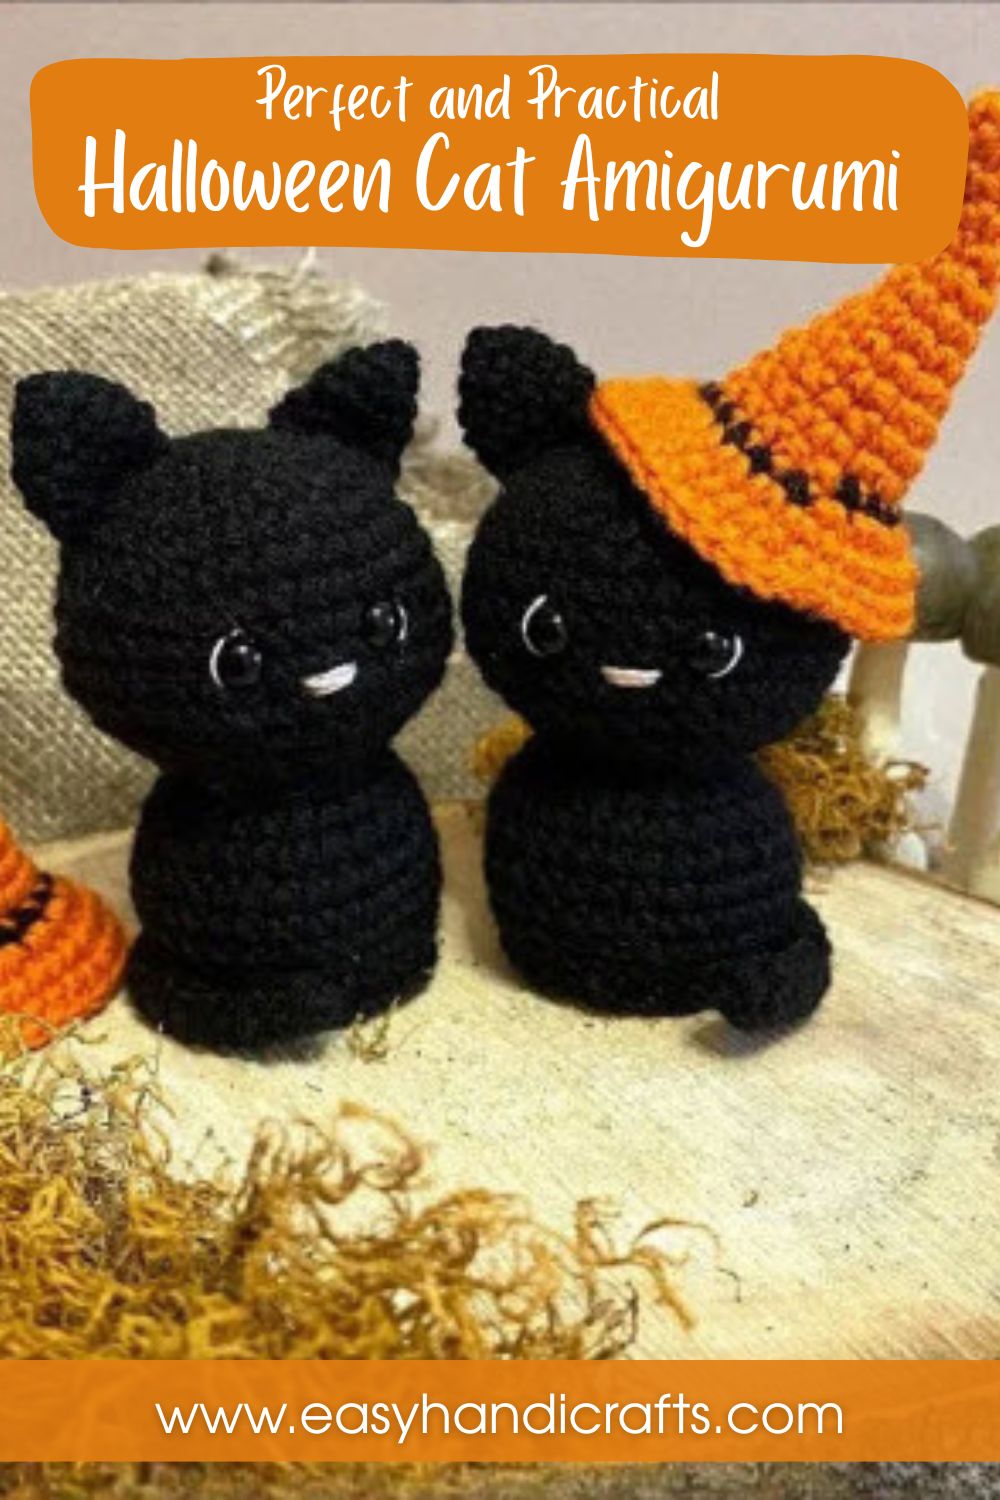
For real, this Free Crochet Halloween Cat Amigurumi Pattern with Witch Hat is the seasonal project your hook has been waiting for all year. Worked in fine yarn, the cat comes together with a rounded head-torso, tiny ears, a long tail, and a color-changing witch hat that ties the look together. Safety eyes and a pink nose finish the spooky-cute face. Grab your yarn and hook, this one moves fast.
Skill Level
Intermediate-friendly, ngl. The small hook and fine yarn call for very steady tension. Increases and decreases repeat often, and color changes add more focus than a typical beginner pattern.
Pattern Overview
- The head and torso are worked as one continuous piece, starting from a magic ring and increasing steadily into a rounded shape.
- Safety eyes are placed between rows nine and ten, spaced five single crochets apart for a centered cat expression.
- The body narrows again near the base, and the bottom piece gets sewn on separately once stuffing is complete.
- The witch hat starts as a small magic ring cone and widens gradually, with a color change partway through for contrast.
- Two identical ears are worked flat, folded in half, and tied off before being sewn onto the head.
- A long, simple tail is worked as a straight tube of single crochet rounds with no shaping needed.
- A small pink nose finishes the face, giving the cat its final spooky-cute detail.
Special Techniques
- The head-torso piece uses continuous increases across several rounds before leveling off into straight rounds, which keeps the shape smooth instead of boxy.
- Color changing on the hat happens mid-round, so pulling the new color through cleanly at the right stitch keeps the transition looking sharp.
- Working the ears flat rather than in the round, then folding them in half, gives them a natural curved shape once attached.
- Spacing the safety eyes exactly five single crochets apart keeps the cat’s expression symmetrical, so counting carefully here really matters.
- Leaving a long tail of yarn after the final round of the torso makes sewing the bottom piece on much easier later.
- The tail is worked as a plain tube with zero increases or decreases, so consistent tension is what keeps it looking neat.
Common Mistakes
- Losing count during the repeated increase rounds on the head-torso, which throws off the final stitch count before the eyes go in.
- Placing the safety eyes without measuring the five-stitch gap first, leading to a cross-eyed or uneven finished face.
- Changing hat colors in the wrong stitch, which creates a jagged line instead of a clean color break.
- Forgetting to leave a long tail of yarn at the end of the torso, making the bottom piece harder to sew on neatly.
- Stuffing the head too loosely, which lets the small hook fabric look thin and see-through in the finished piece.
- Skipping the fold-in-half step on the ears, which leaves them flat instead of naturally curved like a real cat’s ear.
Assembly
- Stuff the head-torso piece firmly as you work the final rounds, checking that the shape stays round rather than lumpy.
- Sew the bottom piece onto the torso using the long tail of yarn left after the last round, closing the gap neatly.
- Attach the safety eyes at the marked spot between rows nine and ten before finishing off the stuffing completely.
- Fold each ear in half along the flat edge, tie off, and stitch both ears onto the top of the head evenly.
- Sew the tail onto the lower back of the body, positioning it so the cat can sit or stand steadily.
- Attach the finished witch hat between the ears, angling it slightly for a playful, lopsided witch-like tilt.
- Embroider or attach the small pink nose last, once every other piece is secured in place.
Important Remarks
- Finished cats made from this Free Crochet Halloween Cat pattern can be sold, though the pattern itself remains the designer’s property.
- Keep safety eyes and small parts away from children under three years old due to choking risk.
- The 1.5mm hook and fine yarn make this a slower project, so set aside extra time compared to bulky yarn patterns.
- Any fine sport or fingering weight yarn can substitute for the specified brand if gauge stays close to the original.
Materials
Gather these before you start so the color changes go smoothly.
- Yarn: Fine weight yarn (Pekhorka “Kids” or similar), in black, orange, and a small amount of pink
- Black: for the head-torso, ears, tail, and part of the hat
- Orange: for the contrasting hat section
- Pink: a small scrap, for the nose
- Crochet hook: 1.5 mm
- Safety eyes: small size, suited to the fine yarn scale of this pattern
- Stuffing: a small amount of polyester fiberfill
- Yarn needle: for sewing pieces together and weaving in ends
- Stitch marker: for tracking rounds
- Scissors
Abbreviations
MR – Magic Ring | SC – Single Crochet | INC – Increase | DEC – Decrease
Instructions
Head-Torso
- Round 1: 6 sc in MR.
- Round 2: Inc x6. (12)
- Round 3: (1 sc, inc) x6. (18)
- Round 4: (2 sc, inc) x6. (24)
- Round 5: (3 sc, inc) x6. (30)
- Round 6: (4 sc, inc) x6. (36)
- Rounds 7–11: 36 sc.
- Round 12: (4 sc, dec) x6. (30) Insert the safety eyes between rows 9 and 10 at this stage.
- Round 13: (3 sc, dec) x6. (24)
- Round 14: (2 sc, dec) x6. (18) Keep the distance between the eyes at 5 sc.
- Round 15: (1 sc, dec) x6. (12)
- Round 16: Inc x12. (24)
- Round 17: 24 sc.
- Round 18: (3 sc, inc) x6. (30)
- Rounds 19–21: 30 sc.
- Round 22: (3 sc, dec) x6. (24)
- Round 23: 24 sc.
- Leave a long tail of yarn for sewing the bottom piece to the body later.
Hat
- Round 1: 5 sc in MR.
- Rounds 2–3: 5 sc.
- Round 4: Inc, 4 sc. (6)
- Round 5: 6 sc.
- Round 6: (1 sc, inc) x3. (9)
- Round 7: 9 sc.
- Round 8: (2 sc, inc) x3. (12)
- Round 9: 12 sc.
- Round 10: (3 sc, inc) x3. (15)
- Round 11: 15 sc.
- Round 12: (4 sc, inc) x3. (18)
- Round 13: 18 sc.
- Change the yarn color to black.
- Round 14: 18 sc.
- Change the yarn color again to the contrast shade.
- Round 15: Inc x18. (36)
- Rounds 16–17: 36 sc.
Ear (make 2)
- Round 1: 3 sc in MR.
- Round 2: Inc x3. (6)
- Round 3: (1 sc, inc) x3. (9)
- Rounds 4–5: 9 sc.
- Fold in half and tie off.
Tail
- Round 1: 5 sc in MR.
- Rounds 2–16: 5 sc.
Nose
- Work a small pink nose using a few stitches or a simple embroidered detail, attaching it to the center of the face.
Conclusion
Low-key, this Free Crochet Halloween Cat might be the most charming seasonal amigurumi on your hook list this year. The witch hat adds just enough spooky flair without needing complicated shaping, and the fine yarn gives it a polished, detailed finish that stands out on a shelf or gift table. Once assembled, this little cat makes a fun addition to any autumn décor or trick-or-treat basket.