Free Crochet Tomato Pouch to Carry Small Things
Small essentials tend to get lost in a crowded bag. This free crochet tomato pouch to carry small things keeps them together and adds a cheerful pop of red.
Two simple circles, one leafy green stem, and a surprisingly roomy little pouch. This free crochet tomato pouch to carry small things turns basic stitches into a handy holder for lip balm, hair ties, and earbuds. An optional strap makes it wearable, while the button version clips onto a bag, so it suits a quick weekend project.
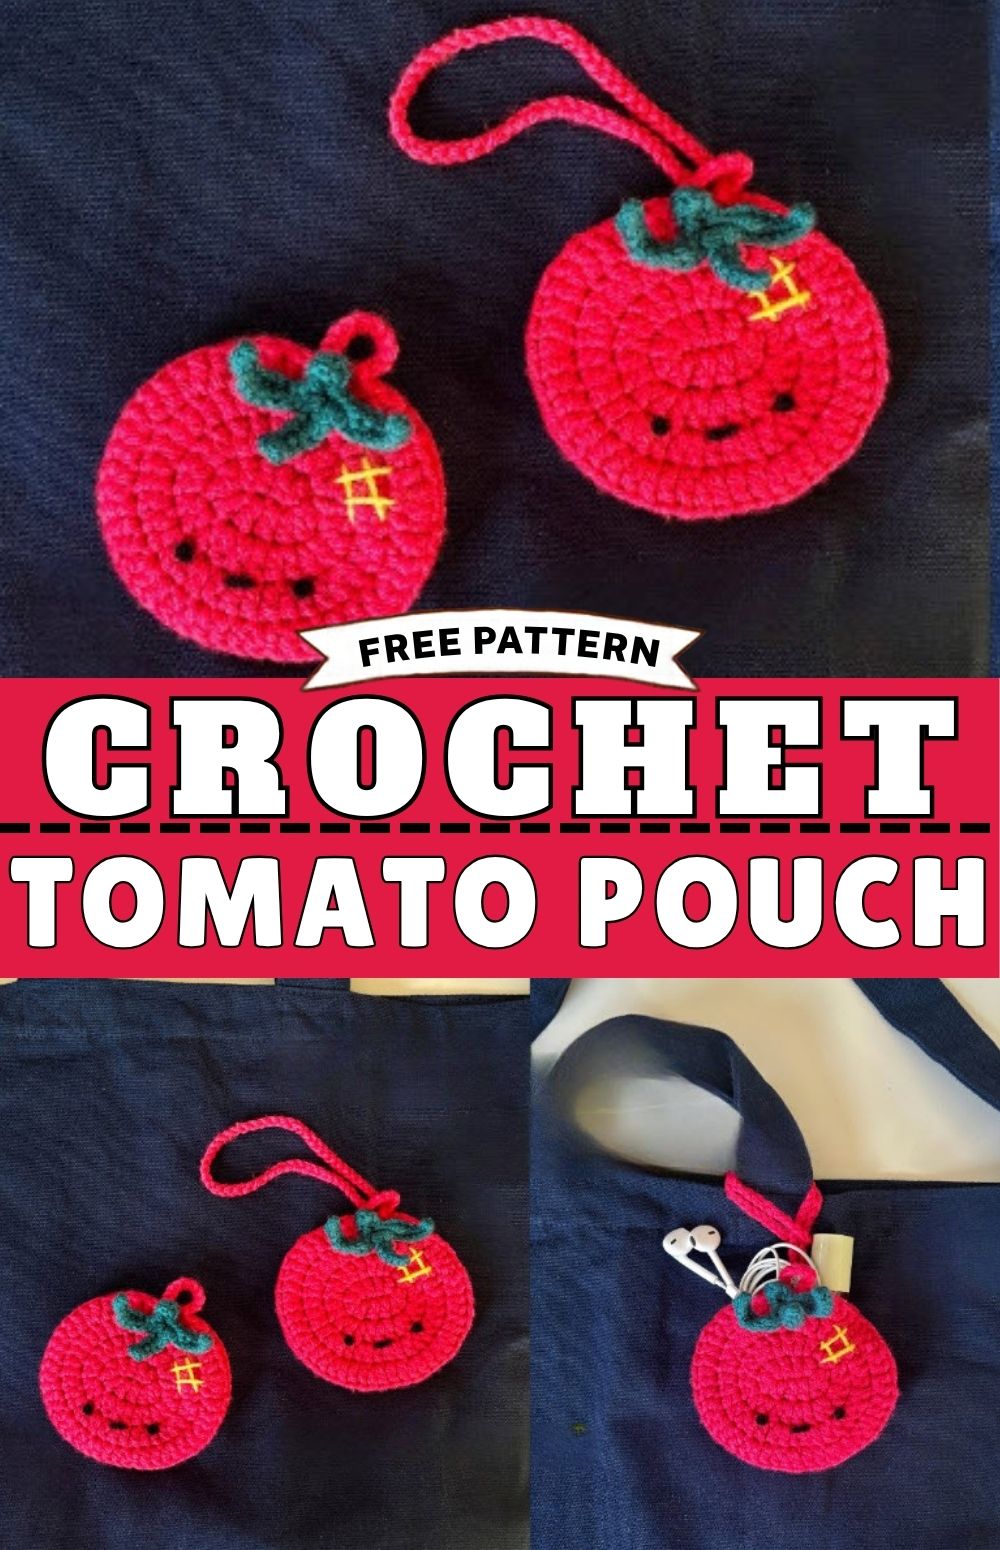
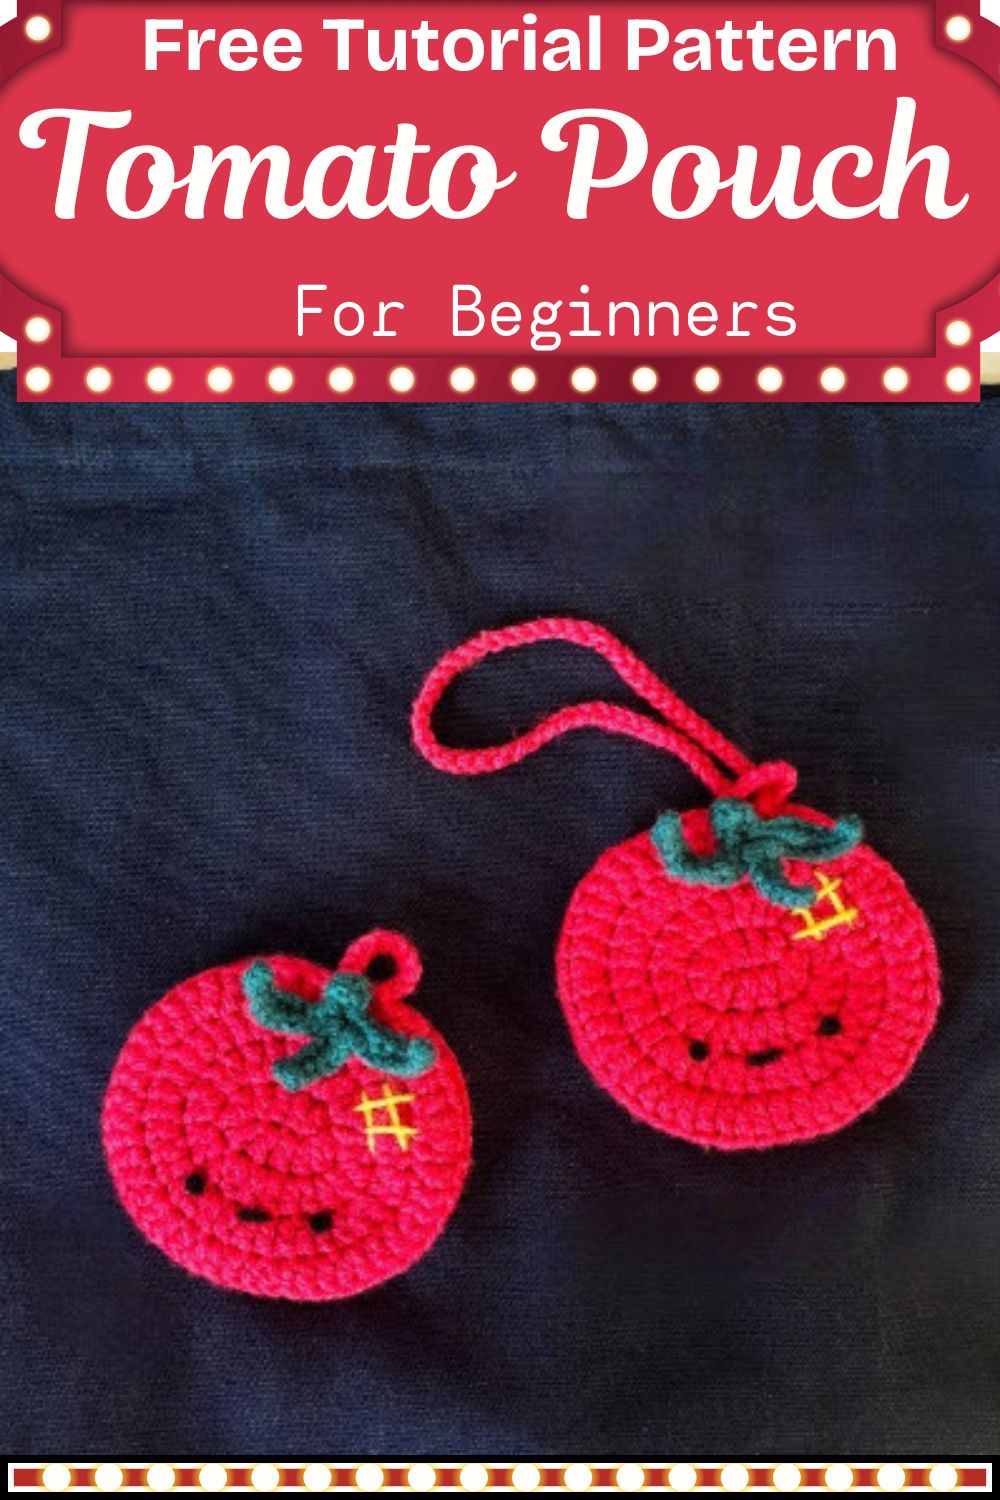
This crochet tomato pouch is a small, round bag for lip balm, hair ties, earbuds, and other light items. It is made from two matching panels worked in rounds, which are then joined around the edge. You can finish it with a long strap, or skip the strap and add a button instead. A tiny loop at the top also lets you hang or clip it wherever you like.
About the Free Crochet Tomato Pouch and Its Key Features
The pouch starts with a short chain and grows into a flat circle. Because both panels share the same first three rounds, the pattern is easy to remember once the first panel is done. A small loop at the top makes hanging simple, and the strap is optional.
Key features:
- Two panels made with the same first three rounds
- A flat top edge created in the final round
- An optional 60-chain strap for crossbody or shoulder wear
- A movable green stem with leaves
- Simple black felt details for a cute face
Skill Level for This Crochet Tomato Pouch
This project suits confident beginners and up. It uses double crochet, half double crochet, single crochet, and increases, with no complicated shaping. The only part that needs a little extra attention is the branching stem. Still, anyone who can crochet a flat circle will find the rest straightforward.
Materials Needed and Yarn Information
- Medium-weight acrylic or cotton yarn in red and green
- A little yellow yarn (optional, for a bit of scratch-style detail)
- 4 mm crochet hook
- Stitch markers
- Scissors
- Darning needle
- Black felt and strong glue
- A button (optional, only for the version without a long strap)
Acrylic gives a soft, slightly stretchy pouch, while cotton gives a firmer, more structured one. Either works, so choose based on how sturdy you want the finished pouch to feel. Red makes the body, and green makes the stem and leaves.
Finished Size and Sizing Options
The original instructions do not give a finished measurement, so the exact size depends on your yarn and tension. The easiest way to check is to measure the first panel once Round 4 is done.
For a different size, change the yarn weight and use a matching hook. A thicker yarn gives a larger pouch, and a thinner one gives a smaller pouch. Adding or removing rounds would change the stitch counts, so that kind of change needs a little testing first.
Stitches and Abbreviations
- ch: chain
- sc: single crochet
- hdc: half double crochet
- dc: double crochet
- inc: increase (two stitches in the same stitch)
- sl st: slip stitch
- Join stitches: single crochets worked through the front loop of the front panel and the back loop of the back panel
Round 1 begins with a slip knot and a short chain. After that, the pattern uses only dc, hdc, sc, and increases until the stem, which is made with chains.
Gauge Information
No official gauge comes with this pattern. Tight, even stitches matter more than hitting a number, because gaps would let small items slip out. If the fabric looks loose or see-through, try a smaller hook. Matching tension on both panels also helps the edges line up when it is time to join them.
Tips Before You Start Crocheting the Tomato Pouch
- Place a stitch marker in the first stitch of every round so counting stays easy.
- Count your stitches at the end of each round. The totals are 12 after Round 1 and 24 after Round 2.
- Keep your tension steady, since uneven stitches make the circle ripple instead of lying flat.
- If possible, make both panels in the same sitting, because tension can drift from one day to the next.
- Decide on a strap or a button before starting the second panel, as the choice changes Round 4.
Step-by-Step Crochet Tomato Pouch Instructions
Making the First Panel
Start: Make a slip knot and chain 6.
Round 1: Skip the first two chains from the hook. Then start double crocheting in the third chain and work around until there are 12 stitches in total.
Round 2: Chain 2, then work a double crochet increase in every stitch. This brings the total to 24 stitches.
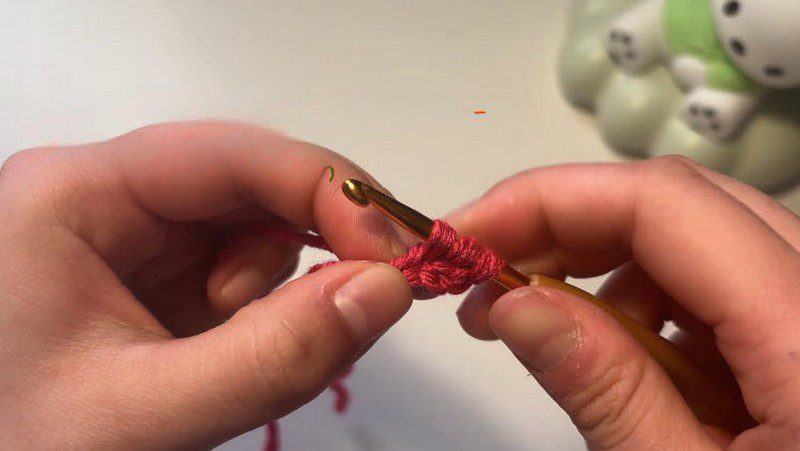
Round 3: Alternate one double crochet with one double crochet increase around. This is the round that later holds the stem, so keep the stitches neat.
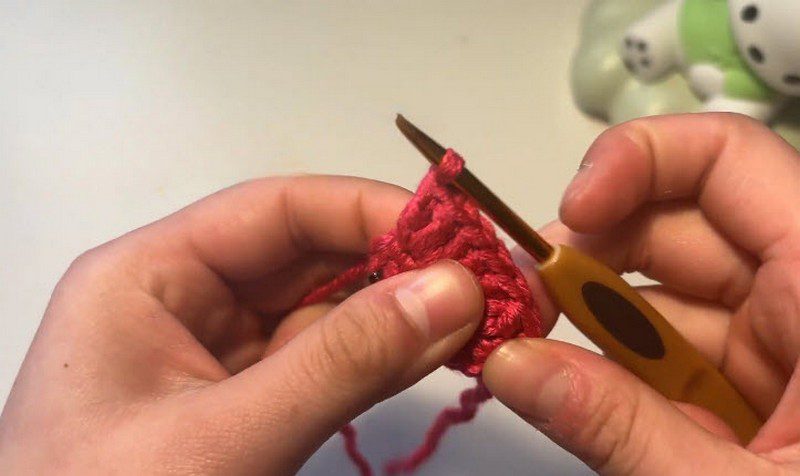
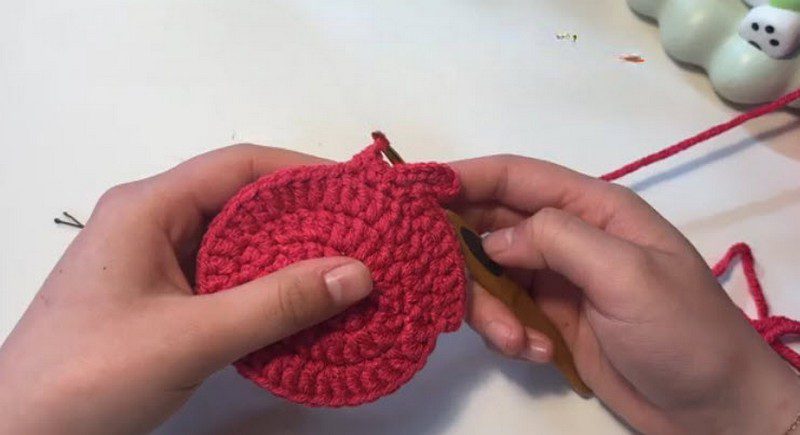
Round 4 (final round): Mix double crochets, half double crochets, and single crochets to create a flat top edge. The small hanging loop is also made here, using 10 chains.
Making the Second Panel
Rounds 1 through 3 are identical to the first panel. Round 4 then depends on the version you choose:
- Long strap version: Chain 60 during Round 4 to form the strap.
- No strap version: Skip the chain 60 and continue the round normally.
Joining the Two Panels Together
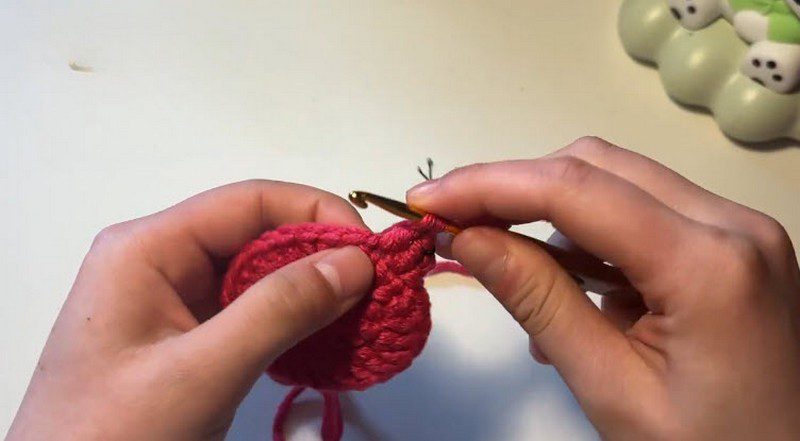
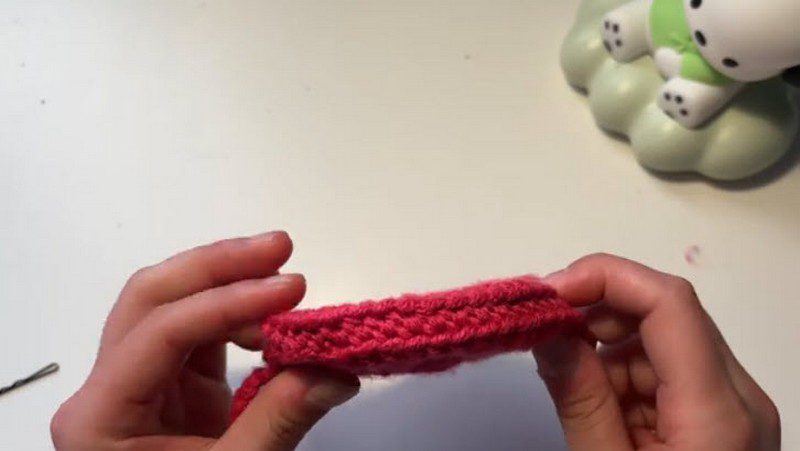
Place both panels with the wrong sides facing outward. Next, work around the edges with join stitches, which are single crochets worked through the front loop of the front panel and the back loop of the back panel. Keep the stitches even so the seam looks tidy and the pouch holds its round shape.
Making the Stem
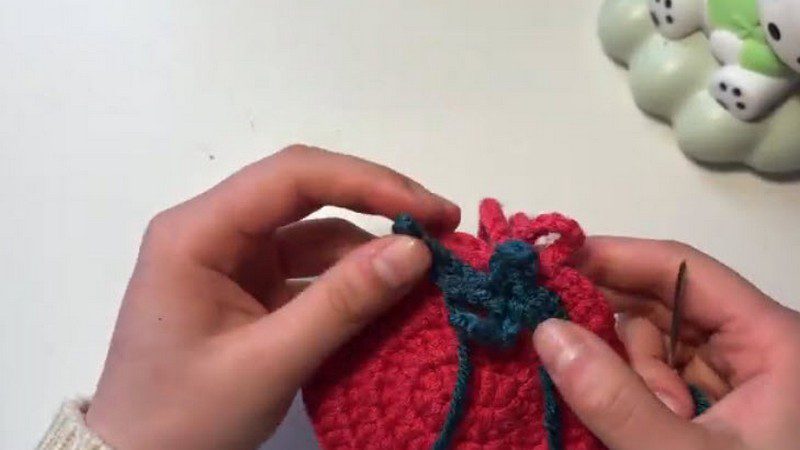
With green yarn, chain 6 and follow the branching technique to create the stem and leaves. Then sew only the centre of the stem onto Round 3 of the pouch, which lets the leaves move freely instead of lying flat.
Final Details
Cut small facial features from black felt and glue them onto the pouch with strong glue. If you are making the version without a strap, sew a button onto the back as well.
Pattern Construction and Assembly Order
The order matters for a clean result. First, make both circular panels. Then build the strap or loop into Round 4 and join the panels. The stem goes on last, because sewing it earlier would make joining harder. Finally, add the felt features so glue never touches the yarn while stitching is still underway.
Customisation Options for Your Tomato Pouch
- Strap or button: The 60-chain strap turns the pouch into a small crossbody piece, while the button version suits a keychain or bag charm.
- Yarn type: Cotton gives a firmer finish, and acrylic gives a softer one.
- Yellow accents: The optional yellow yarn can add small scratch-style marks on the surface.
- Face style: Felt features can be simple dots, a smile, or any small shape.
- Stem leaves: The branching stem can have shorter or longer branches, as long as the centre still attaches at Round 3.
Common Mistakes and Troubleshooting
The panel curls into a bowl. Too few increases usually cause this, so recount each round against the stitch totals.
The panel ripples. Too many increases cause ruffling. In that case, recount and rework the round.
The two panels do not match. Differences in tension are the usual reason, so keep the same hook size and work both panels together.
Gaps appear along the seam. The join stitches may be too loose, so pull each one snug before moving on.
The stem looks flat. It was probably sewn down fully. Attach only the centre so the leaves can lift.
The felt peels off. Use strong glue and let it dry completely before handling.
Finishing Instructions and Care
Weave in all yarn ends with the darning needle, hiding them inside the seam. Then check the join stitches for loose spots and reinforce them if needed. Glue the felt features last. For care, follow the label on the yarn you used, and if the label is missing, spot cleaning with a damp cloth is a safe choice.
Bonus: What Fits Inside a Crochet Tomato Pouch
Small, light items work best. Good picks include lip balm, hair ties, earbuds, a few coins, a spare key, or a small stitch marker set. Heavy items stretch the yarn over time, so save this pouch for lightweight things.
Frequently Asked Questions About the Crochet Tomato Pouch
Is this crochet tomato pouch pattern really free?
Yes, the full instructions are right here on this page.
Can a beginner make it?
Yes, as long as double crochet and single crochet feel comfortable.
Is the strap required?
No. The strap is optional, and a button version works well for anyone who prefers a keychain style.
What hook size is needed?
A 4 mm hook is used for this pattern.
Does the pouch close?
A button on the back is included for the non-strap version. You can test other closure ideas on a spare panel.
Which yarn works best?
Medium-weight acrylic or cotton both work well.
Time to Start Your Own Tomato Pouch
A crochet tomato pouch adds a bit of colour to everyday carrying, and it comes together faster than most small projects. Pick up red and green yarn, choose a strap or a button, and begin the first circle. Finished pouches also make sweet gifts, so a few extra panels in your basket may come in handy.