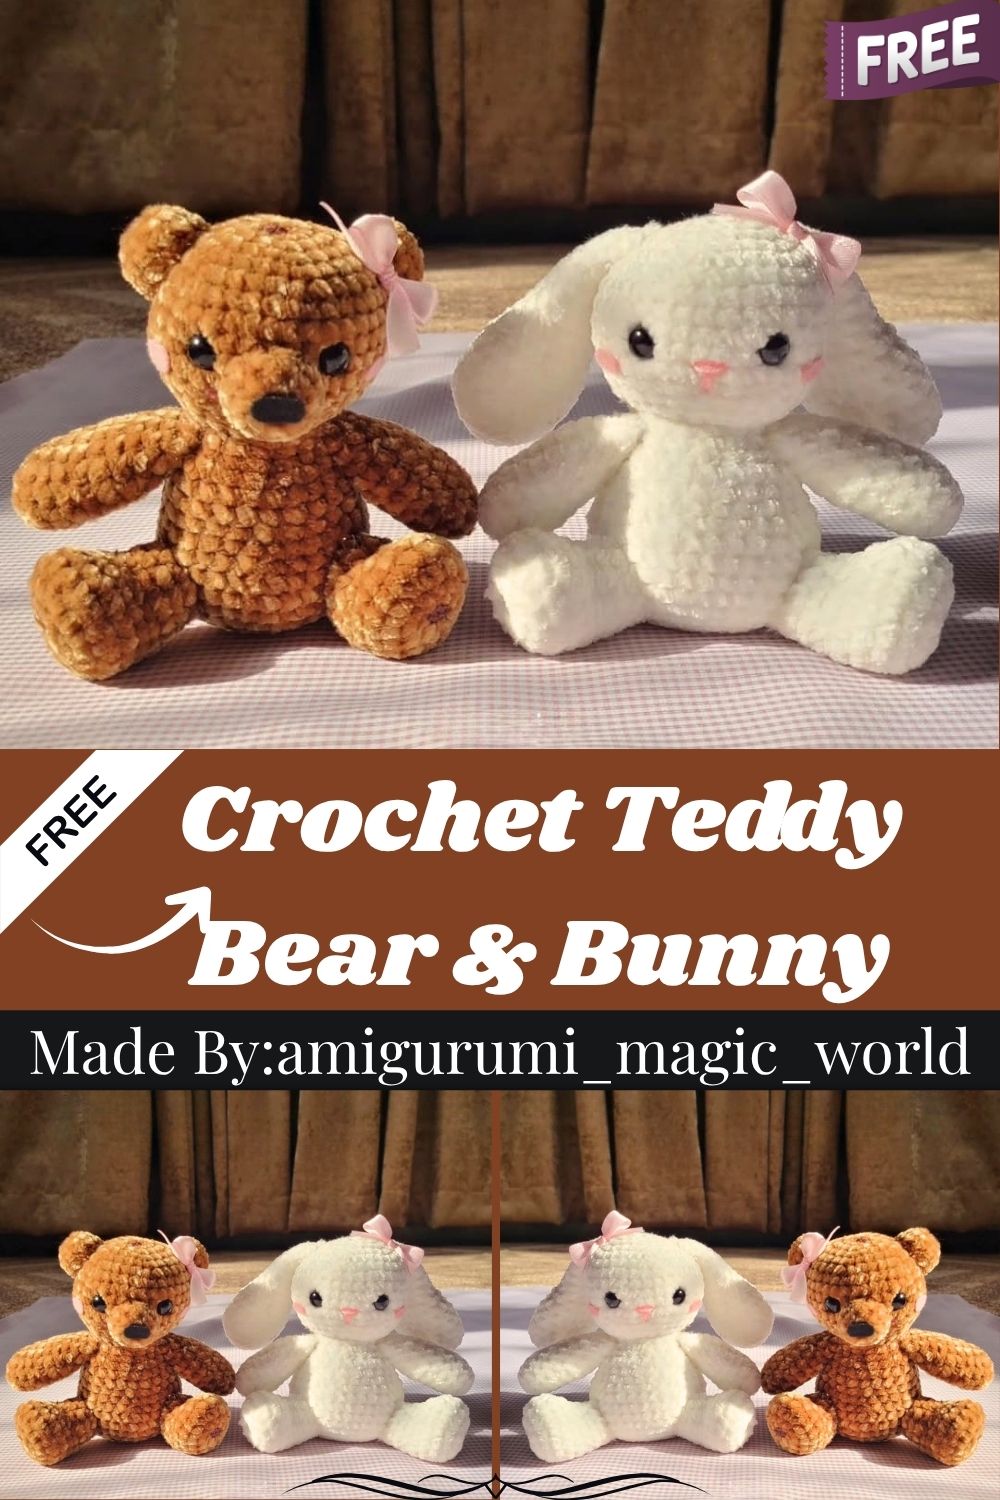
Adorable Crochet Teddy Bear & Bunny Plush Ideas for Gifts
Soft, squishy, and downright charming, this crochet bear and bunny plushie makes gifting personal again. Honestly, nothing beats handing someone a toy you made stitch by stitch, round by round. Grab a hook, pick a yarn color, and build a cuddly companion worth keeping for years.
Handmade plush toys carry warmth that store-bought gifts rarely match, and this teddy bear or bunny pattern proves that point fast. Beginners can finish either version in a single afternoon using basic single crochet, simple increases, and a few decreases. Trust me, the amigurumi shaping looks tricky on paper but feels easy once the rhythm clicks. Swap safety eyes for embroidery, add a ribbon bow, or shift to pastel yarn for the bunny variation. Every detail stays flexible, approachable, and genuinely satisfying for crafters at any level.
Skill Level
This pattern suits confident beginners already comfortable with magic rings, increases, and decreases. Ngl, the repeating rounds build muscle memory quickly, making heads, limbs, and ears feel manageable after one full piece.
Pattern Overview
- Amigurumi bear or bunny plush built entirely from basic crochet stitches
- Uses magic ring starts, single crochet, increase, decrease, and slip stitch closures
- Separate pieces for head, body, arms, legs, ears, muzzle, and tail
- Bunny version swaps ear shape and adds a pink nose detail
- Safety eyes give a finished look, though embroidery or felt work just as well
- Finished size depends on hook and yarn weight, roughly palm-sized with worsted yarn
Abbreviations
- MR – magic ring
- sc – single crochet
- inc – increase
- dec – decrease
- slst – slip stitch
- FO – fasten off
- rnd/rnds – round(s)
- st – stitch(es)
Materials Needed
- Brown yarn (or pink/white for the bunny)
- 3.5 mm crochet hook
- Safety eyes, 8 mm (or embroider/felt instead)
- Polyfill stuffing
- Sewing needle
- Pink ribbon or yarn for the bow (optional)
Special Techniques
- Magic ring start: every piece begins in a magic ring, keeping the center tight with no visible gap.
- Invisible fasten off: closing arms with a slip stitch row instead of a standard seam keeps edges smooth.
- Staggered stuffing: stuffing gradually while crocheting, rather than all at once, prevents lumps in the head and body.
- Safety eye placement: inserting eyes mid-pattern, before the head closes, avoids stretching finished stitches later.
Full Pattern Instructions
Head
- R1: 6sc in MR (6)
- R2: inc in each st (12)
- R3: (1sc, inc) x6 (18)
- R4: (2sc, inc) x6 (24)
- R5: (3sc, inc) x6 (30)
- R6: (4sc, inc) x6 (36)
- R7–R11: sc around (36), 5 rounds
- Insert safety eyes on rounds 9–10, about 6 stitches apart
- R12: (4sc, dec) x6 (30)
- R13: (3sc, dec) x6 (24)
- R14: sc around (24)
- Stuff firmly
- R15: (2sc, dec) x6 (18)
- FO and leave open
For the bunny version, add a pink yarn nose between the eyes.
Body
- R1: 6sc in MR (6)
- R2: inc in each st (12)
- R3: (1sc, inc) x6 (18)
- R4: (2sc, inc) x6 (24)
- R5: (3sc, inc) x6 (30)
- R6: (4sc, inc) x6 (36)
- R7–R9: sc around (36), 3 rounds
- R10: (4sc, dec) x6 (30)
- R11: sc around (30)
- R12: (3sc, dec) x6 (24)
- R13–R14: sc around (24), 2 rounds
- R15: (2sc, dec) x6 (18)
- R16–R17: sc around (18), 2 rounds
- FO, leaving a long tail for sewing
Legs (make 2)
- R1: 6sc in MR (6)
- R2: inc in each st (12)
- R3: (1sc, inc) x6 (18)
- R4–R5: sc around (18), 2 rounds — start stuffing here
- R6: (10sc, 4dec) (14)
- R7: (10sc, 2dec) (12)
- R8–R10: sc around (12), 3 rounds
- Stuff, then FO, leaving a long tail for sewing
Arms (make 2)
- R1: 6sc in MR (6)
- R2: inc in each st (12)
- R3–R8: sc around (12), 6 rounds
- R9: (2sc, dec) x3 (9)
- R10–R11: sc around, 2 rounds
- Stuff, fold in half, and slip stitch across 5 stitches to close
- FO, leaving a long tail for sewing
Ears – Bear Style (make 2)
- R1: 6sc in MR (6)
- R2: inc in each st (12)
- R3–R4: sc around (12), 2 rounds
- FO, leaving a long tail for sewing
- Stuff lightly while sewing
Ears – Bunny Style (make 2)
- R1: 6sc in MR (6)
- R2: inc in each st (12)
- R3: (1sc, inc) x6 (18)
- R4–R8: sc around, 5 rounds
- R9: (1sc, dec) x6 (12)
- R10–R17: sc around (12), 8 rounds
- FO, leaving a long tail for sewing
- Do not stuff
Muzzle
- R1: 6sc in MR (6)
- R2: inc in each st (12)
- R3: sc around (12)
- Sew onto head rounds 9–13, between the eyes, 6 stitches apart
- Stuff lightly while sewing
Tail
- R1: 6sc in MR (6)
- R2: inc in each st (12)
- R3: sc around (12)
- R4: dec around (6)
- Stuff lightly
- Add a small pink ribbon or yarn bow, glued or sewn for extra hold
Assembly
- Attach bear ears across rounds 4–8 of the head
- Attach bunny ears across rounds 3–4 instead, for the softer floppy look
- Sew the muzzle onto round 8, centered between the eyes
- Attach the tail across rounds 5–7 on the body
- Sew arms onto rounds 15–16 of the body, one on each side
- Sew legs onto rounds 5–8, spacing them about 8 stitches apart
- Optional: cut a small pink felt oval for blush on each cheek
Common Mistakes
- Skipping stitch markers, which leads to losing track of round starts
- Stuffing too late, leaving the head or body soft and floppy
- Placing safety eyes too early, before checking spacing against the muzzle
- Sewing limbs unevenly, which throws off the bear’s finished posture
- Rushing the fasten-off, leaving a loose tail that unravels over time
Uses & Benefits
Crochet plushies work well beyond nursery decor, and this bear or bunny fits several everyday roles. Real talk, a handmade toy makes a warmer baby shower gift than anything mass-produced. Parents appreciate a soft, chemical-free alternative to plastic toys, especially with safety eyes secured properly. Crafters selling handmade goods find that amigurumi bears sell steadily on marketplaces like Etsy. Beyond gifting, the pattern doubles as a portfolio piece, a photography prop, or a cozy shelf decoration that adds handmade charm to any room.
Helpful Beginner Tips
- Count stitches after every increase or decrease round to avoid drifting numbers
- Use stitch markers on round one to track where each round begins
- Keep tension slightly tight so stuffing doesn’t peek through gaps
- Practice the magic ring separately before starting the full pattern
- Photograph pieces mid-project to compare shaping against the pattern photos
Where Can You Use This Pattern?
- Baby shower or newborn gifts, personalized with yarn color choices
- Nursery décor, paired with matching blankets or wall hangings
- Handmade market stalls or online shops selling amigurumi toys
- Birthday presents for kids who love soft, huggable animals
- Photography props for maternity or newborn photo sessions
Why Beginners Will Enjoy This Pattern
Low-key, this pattern rewards patience without demanding advanced skills. Each piece repeats familiar increase and decrease sequences, so confidence builds naturally with every round. Beginners finish one arm or ear and immediately understand the next, which keeps momentum high. Small pieces also mean mistakes stay easy to unravel and fix without losing hours of work.
Tips and Tricks for Success
- Work with a slightly smaller hook than usual for tighter, stuffing-proof stitches
- Pin pieces together before sewing to check placement and symmetry
- Use a yarn needle with a bent tip for smoother sewing through tight gaps
- Weigh similar pieces, like both arms, to keep stuffing amounts consistent
- Save leftover yarn scraps for the nose, bow, or tiny accent details
Why This Crochet Pattern Is Trending
Amigurumi bears and bunnies keep circulating across Pinterest and craft forums because they balance simplicity with real charm. For real, the pattern’s flexibility- one base shape producing two distinct animals- keeps crafters coming back to try new colorways.
- Neutral, gender-flexible design appeals to a wide range of gift occasions
- Quick project size fits busy schedules better than blankets or garments
- Customizable details, from eye style to bow color, keep every plush unique
Conclusion
Building this crochet bear or bunny turns a few skeins of yarn into a lasting, huggable keepsake. No joke, the pattern’s straightforward shaping makes it a solid pick for anyone easing into amigurumi. Whether it’s a gift, a shop item, or a shelf decoration, this plush delivers handmade warmth every time.