Crochet Teddy Bear Amigurumi Pattern with Cozy Scarf
Overview
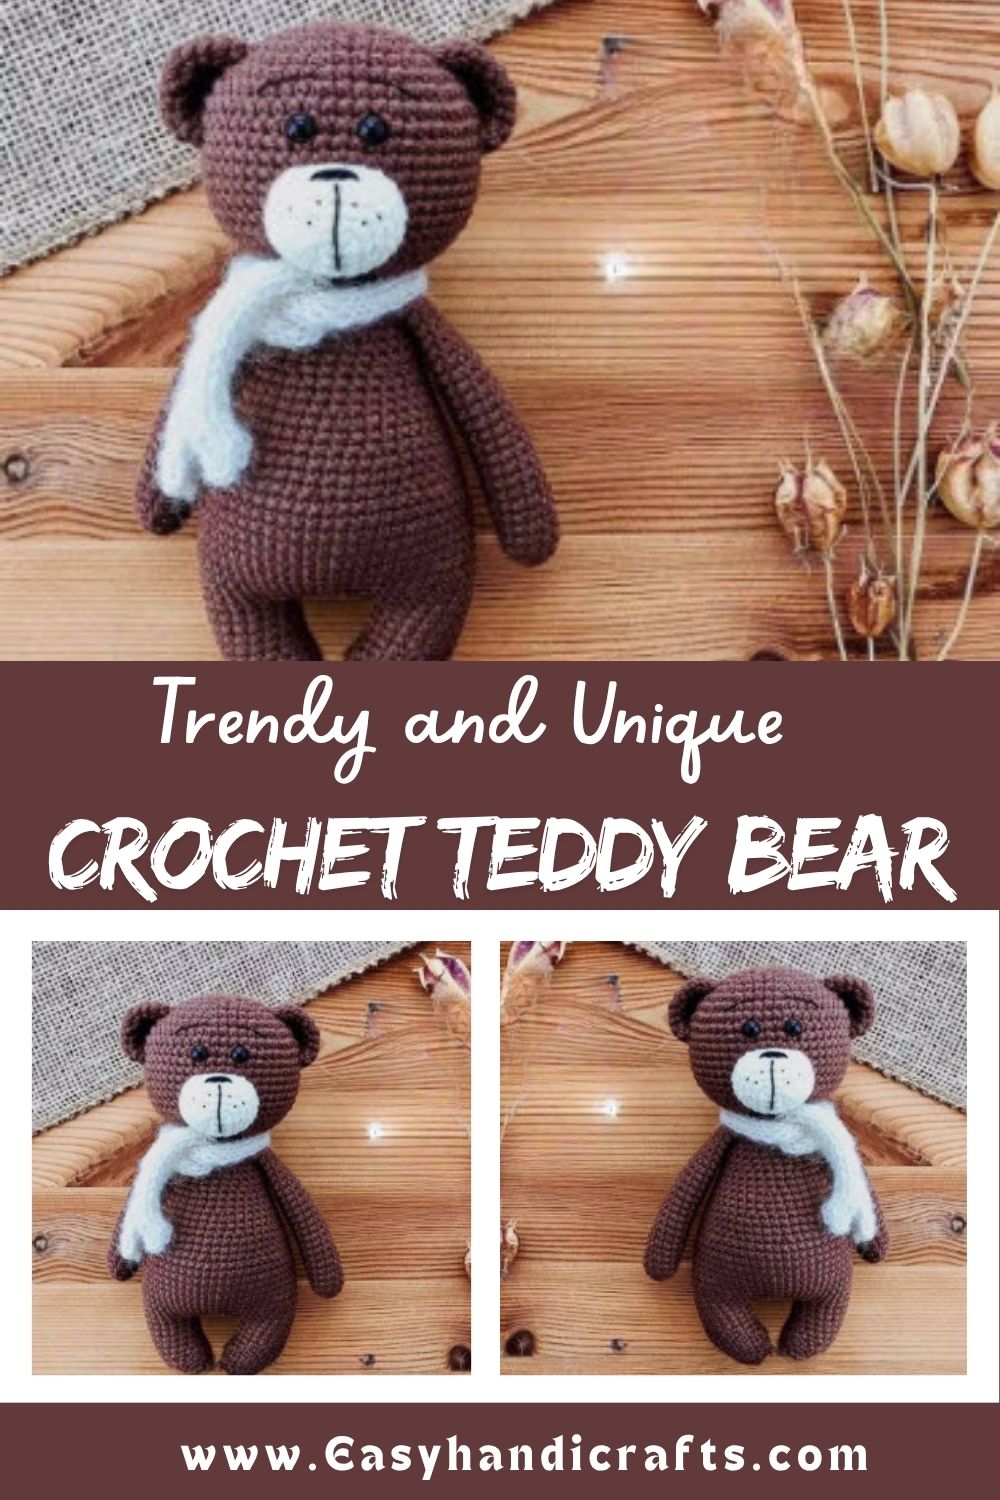
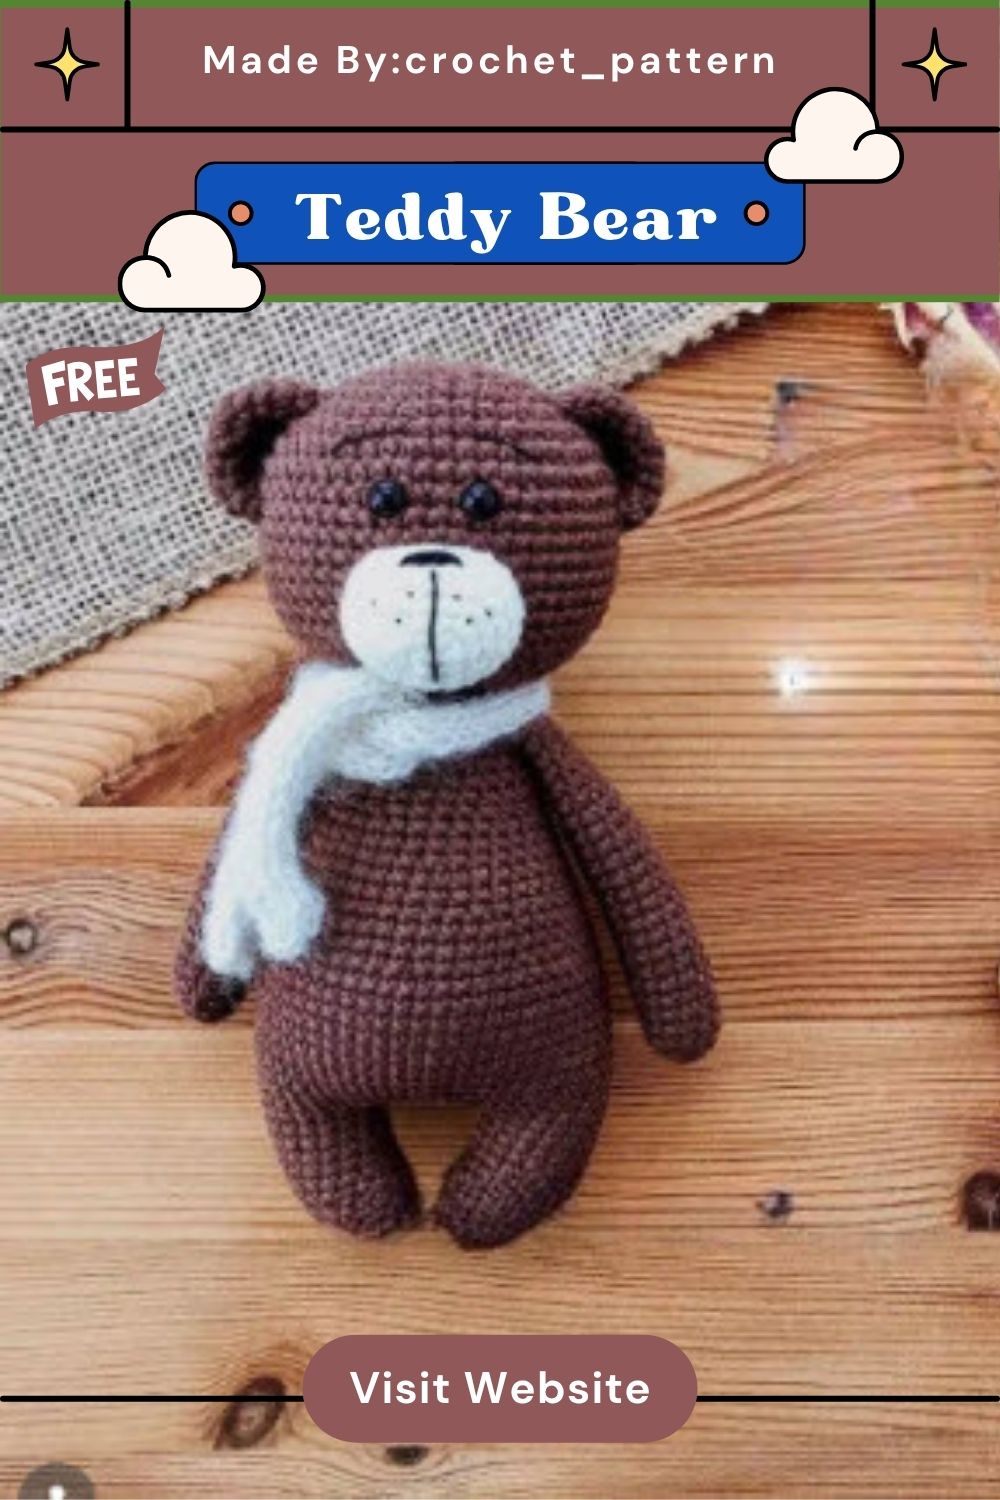
Picture a round-headed bear with tiny rounded ears, a soft muzzle, and a scarf wrapped snugly around its neck. That’s exactly what this pattern delivers. Every section below breaks the bear into manageable pieces: head, ears, muzzle, arms, legs and body, tail, and scarf, so nothing feels overwhelming.
Trust me, once the pieces are stuffed and joined, the personality shows up fast. A bear like this works equally well as a nursery decoration, a shelf sitter, or a gift tucked into a baby basket.
Skill Level
Rated beginner to intermediate. Anyone comfortable with single crochet, increases, and decreases can finish this bear. The scarf adds a light knitting element, so a touch of familiarity with knit and purl stitches helps, though it’s not required to enjoy the project.
Materials and Tools
- Worsted weight yarn (brown or tan for the bear body)
- Small amount of contrasting yarn for the scarf
- 3.5mm or 4mm crochet hook
- Knitting needles (for the scarf section)
- Safety eyes
- Polyester fiberfill stuffing
- Yarn needle for sewing pieces together
- Stitch marker
- Scissors
Head
The head starts small and grows into a full sphere before tapering back down, which gives the bear its signature round face.
- 6 sc in a magic ring
- Inc around (12 st)
- (1 sc, inc) repeated six times (18 st)
- (2 sc, inc) repeated six times (24 st)
- (3 sc, inc) repeated six times (30 st)
- (4 sc, inc) repeated six times (36 st)
- (5 sc, inc) repeated six times (42 st)
- (6 sc, inc) repeated six times (48 st)
- (7 sc, inc) repeated six times (54 st) 10–17. Sc even for eight rounds (54 st each round)
- (7 sc, dec) repeated six times (48 st)
- (4 sc, dec) repeated eight times (40 st)
- (3 sc, dec) repeated eight times (32 st)
- (2 sc, dec) repeated eight times (24 st)
- (2 sc, dec) repeated six times (18 st)
Fasten off and leave a long tail for sewing later.
Ears
Two small rounded ears give the head its finishing touch.
- 6 sc in a magic ring
- Inc around (12 st)
- (1 sc, inc) repeated six times (18 st)
- (2 sc, inc) repeated six times (24 st)
- Sc even (24 st)
Fasten off, leaving a long tail. Make two.
Muzzle
An oval muzzle shape gives the bear its friendly expression, and it works up from a starting chain rather than a magic ring.
- Chain 4, then work an inc, 1 sc, inc twice into the last chain, turn and continue along the opposite side of the chain with an sc, inc (10 st)
- Inc, 3 sc, inc twice, 3 sc, inc (14 st)
- 1 sc, inc, 3 sc, inc, 2 sc, inc, 3 sc, inc, 1 sc (18 st)
- 1 sc, inc, 5 sc, inc, 2 sc, inc, 5 sc, inc, 1 sc (22 st)
- Sc even (22 st)
- Sc even (22 st)
Fasten off, leaving a long tail for sewing.
Arms
Two long, slim arm tubes fold flat at the top before joining the body.
- 6 sc in a magic ring
- Inc around (12 st) 3–24. Sc even for twenty-two rounds (12 st each round)
Fold the top edge flat and single crochet across with 6 sc to close it off. Fasten off, leaving a long tail. Make two.
Legs and Body
This section is worked as one continuous piece, joining both legs into a single body — a clever construction that skips extra seams.
First leg:
- 6 sc in a magic ring
- Inc around (12 st)
- (1 sc, inc) repeated six times (18 st)
- Sc even (18 st)
- Dec twice, 6 sc, inc twice, 6 sc (18 st)
- Sc even (18 st)
- Dec twice, 6 sc, inc twice, 6 sc (18 st) 8–11. Sc even for four rounds (18 st each)
Fasten off and cut the yarn. Make a second leg the same way, but this time, don’t cut the yarn — you’ll continue directly into the body.
Joining and body:
Chain 6 to bridge the two legs together.
- Sc 18 around the first leg, 6 sc along the chain, 18 sc around the second leg, then 6 sc along the other side of the chain (48 st)
- 15 sc, (1 sc, inc) repeated six times, 21 sc (54 st) 14–23. Sc even for ten rounds (54 st each)
- (7 sc, dec) repeated six times (48 st) 25–26. Sc even (48 st each)
- (6 sc, dec) repeated six times (42 st) 28–29. Sc even (42 st each)
- (5 sc, dec) repeated six times (36 st) 31–32. Sc even (36 st each)
- (4 sc, dec) repeated six times (30 st) 34–35. Sc even (30 st each)
- (3 sc, dec) repeated six times (24 st) 37–38. Sc even (24 st each)
- (2 sc, dec) repeated six times (18 st)
- Sc even (18 st)
Fasten off, leaving a long tail for sewing the body closed once stuffed.
Tail
A tiny rounded tail adds the last bit of personality to the back of the bear.
- 6 sc in a magic ring
- Inc around (12 st)
- Sc even (12 st)
- (1 sc, dec) repeated six times (6 st)
Fasten off, leaving a long tail for sewing.
Scarf
Cast on 6 stitches on your knitting needles. Work in stockinette stitch: one row knit, one row purl, until the scarf reaches your desired length. Bind off and weave in the ends.
Assembly Guide
Putting the bear together is where the magic really happens, so take your time here.
- Stuff the head firmly, then place the safety eyes between rounds 11 and 12, spacing them 4 stitches apart.
- Sew the muzzle onto the front of the head, positioning it roughly between rounds 13 and 20.
- Stuff the body and legs, then sew the head securely to the top of the body.
- Attach both arms to the sides of the body, lining them up between rounds 37 and 38.
- Sew on the ears, tail, and finally wrap and tie the knitted scarf around the neck.
Usage Ideas
- Display it as a nursery shelf decoration alongside soft blankets and picture frames.
- Use it as a photo prop for baby announcements or seasonal family photos.
- Gift it as a first birthday or baby shower keepsake.
- Pair it with a handmade blanket for a coordinated newborn gift set.
Helpful Tips
Stuff firmly but evenly, since lumpy stuffing shows through the stitches on a piece this size. Count stitches at the end of every round for the first few rows; low-key, this habit saves you from unpicking rows later. Keep a stitch marker in the first stitch of each round so you never lose track of where a round begins.
Customization and Variations
Swap the brown yarn for gray, cream, or even a soft pastel to match a nursery theme. A different scarf color, or a pattern like stripes, changes the whole personality of the bear. For instance, a red scarf leans festive, while a pale blue one feels more like a classic teddy bear look.
Adding a small crocheted bow instead of the scarf works nicely for a bear meant as a girl’s gift. Embroidered eyebrows or a stitched nose also change the expression without much extra effort.
Common Mistakes to Avoid
- Skipping stitch counts at the end of rounds, which causes the shape to drift off.
- Under-stuffing the head, leaving it soft and floppy instead of round.
- Sewing the muzzle too high or too low, which throws off the bear’s expression.
- Forgetting to leave long tails for sewing, which makes assembly harder later.
Finishing Tips
Weave in every yarn tail securely before calling the bear finished, since loose ends tend to work themselves loose with handling. Brush the surface lightly with a soft brush if using a fuzzy yarn, as this helps blend seams and gives the bear a plush, polished look. Real talk, a few extra minutes on finishing touches makes a noticeable difference in the final result.
Gifting Ideas
A finished bear tucked into tissue paper inside a small box makes a lovely baby shower present. Adding a handwritten note about the pattern or the yarn used gives the gift a personal touch. Pairing the bear with a matching crocheted blanket turns it into a coordinated nursery gift set.
Frequently Asked Questions
Can beginners make this Crochet Teddy Bear Amigurumi pattern?
Yes. The stitches used are basic single crochet, increases, and decreases, so a beginner with some magic ring experience can complete this bear.
What yarn weight works best?
Worsted weight yarn paired with a 3.5mm or 4mm hook gives the tightest, most even stitches for hiding stuffing.
Do I need knitting skills for the scarf?
Basic knit and purl stitches are enough. No joke, the scarf is one of the simplest parts of this whole project.
How much yarn does this Crochet Teddy Bear Amigurumi need?
Plan on roughly one skein of worsted weight yarn for the body, plus a small amount of contrasting yarn for the scarf.
Can I use a different eye size?
Smaller safety eyes give the bear a more delicate look, while larger ones create a more cartoonish, playful expression.
Conclusion
Few projects feel as rewarding as watching a pile of yarn turn into a bear with its own quiet personality. This crochet teddy bear amigurumi pattern, complete with its cozy knit scarf, works equally well as a first crochet project or a quick gift for someone special. Once the pieces are stuffed, sewn, and dressed, the bear practically comes to life on its own. Keep the yarn colors and scarf style flexible, and this pattern can be remade again and again without ever feeling repetitive.