Crochet Orange Pig Keychain Amigurumi Pattern for Animal Lovers
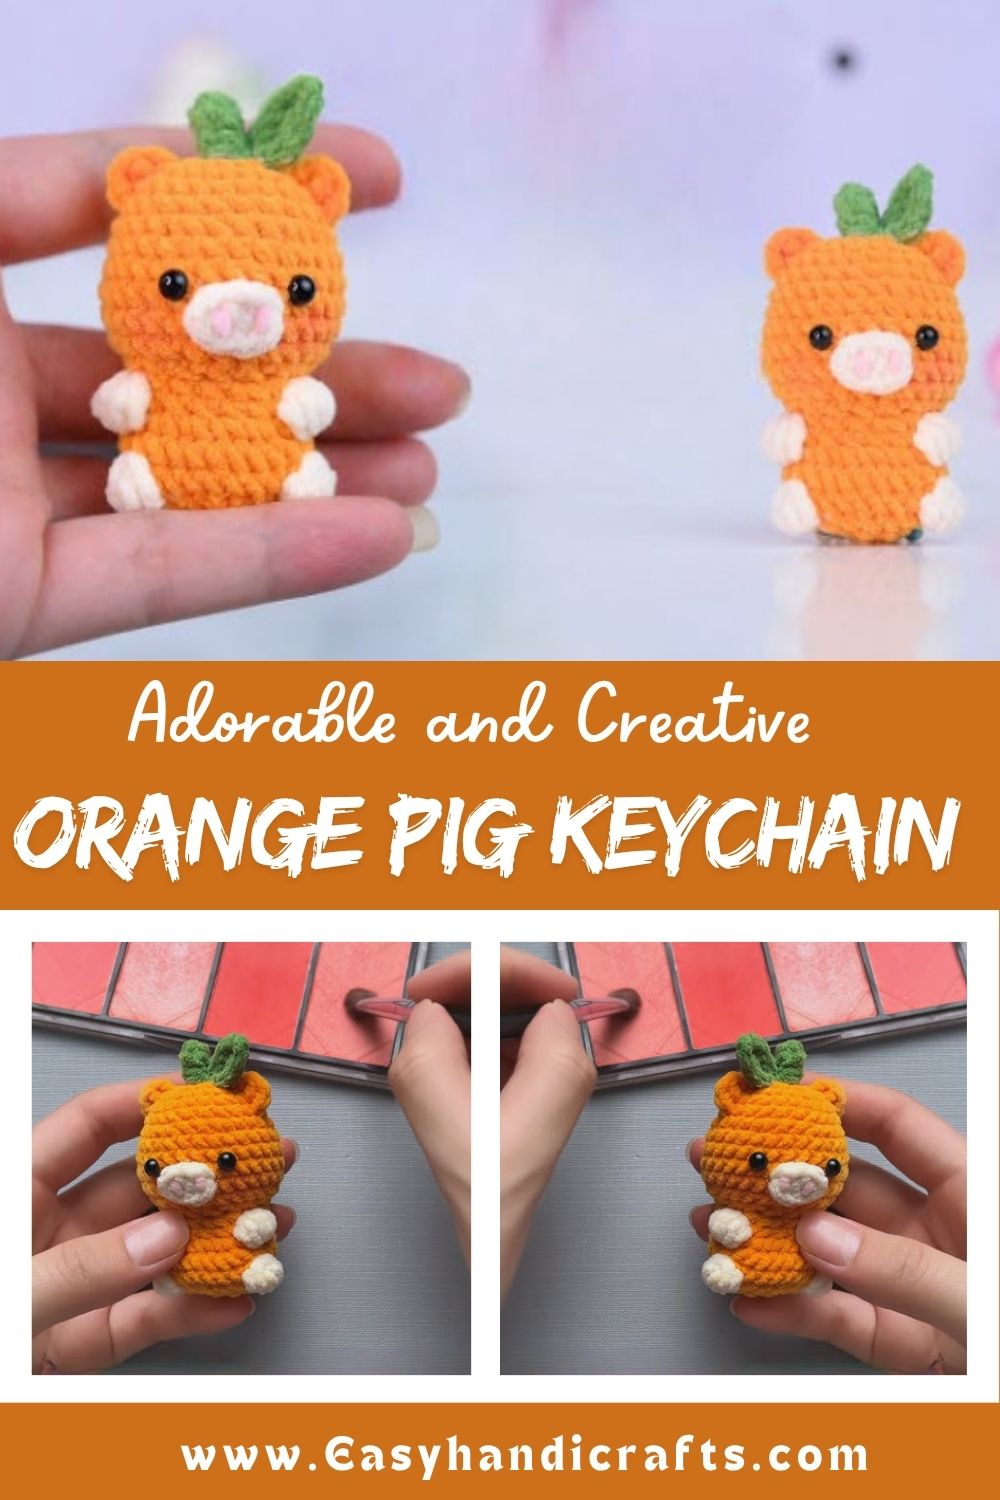
This crochet pattern turns a few balls of yarn into a chubby little pig keychain that fits in your palm. Trust me, the round body, curled tail, and tiny snout make this one of the most charming amigurumi ideas for anyone who loves handmade crochet accessories.
The finished piece works as a school bag charm, home keys , or shelf decoration. It’s a fast, satisfying make.
Skill Level
This pattern suits beginner crocheters who already know basic stitches. Confidence with magic rings and increases helps, but nothing here is overly tricky. Take it slow, and the whole project comes together within a single afternoon. No joke, first-timers finish this pig with ease.
Materials and Supplies
Gather everything before starting so the process stays smooth and enjoyable.
Yarn:
- Orange worsted weight yarn (main color, for the body and head)
- Small amount of white or cream yarn (for the snout and inner ears)
- Pink yarn (optional, for cheek blushing accents)
Tools and Extras:
- 3.0mm or 3.5mm crochet hook
- Pair of 6mm or 8mm safety eyes
- Polyester fiberfill stuffing
- Yarn needle for sewing pieces together
- Sharp scissors
- Stitch markers (locking type work best)
- Keychain ring with a jump ring or clasp attachment
Crochet Techniques Used
- Magic ring – the foundation for a tight, hole-free start
- Single crochet (sc) – the main stitch used throughout the pattern
- Increase (inc) – two single crochets in one stitch, for shaping curves
- Decrease (dec) – invisible decrease, for rounding off the head and body
- Sewing parts together – attaching ears, snout, and tail with a yarn needle
Step-by-Step Pattern Instructions
Making the Head
Start with a magic ring and work 6 single crochets into it. Increase every stitch on the next round to reach 12 stitches, then continue increasing every other stitch until the head measures around 18 to 24 stitches wide. Work several rounds even, without increasing, to build the rounded shape. Begin decreasing gradually once the head reaches its widest point, leaving a small opening for stuffing.
Making the Body
Repeat a similar process for the body, starting smaller than the head since amigurumi pigs often look cuter with a rounder head. Increase steadily for the first few rounds, work even rounds through the middle section, then decrease toward the base. Stuff firmly as you close the final rounds.
Ears, Snout, and Tail
- Ears: Crochet two small flat triangles or rounded ovals in orange, with a touch of white or pink for the inner ear detail.
- Snout: Make a small flat oval in cream or white yarn, working just a few rounds without much shaping.
- Tail: Chain a short length and twist it into a curly spiral, or crochet a tiny spring-like tube for that signature curled pig tail.
Facial Details
Attach the safety eyes before finishing the head, spacing them evenly on either side of where the snout will sit. Sew the snout onto the lower front of the face and add two small nostril dots with a needle and thread. A few pink stitches on the cheeks give the pig extra charm.
Assembly Process
Sew the head onto the body using a whip stitch, keeping the seam tight and even. Attach the ears near the top of the head, angled slightly outward. Sew the tail onto the back of the body. Weave in every loose end before moving to the final touches.
Finishing Touches
Trim any excess yarn tails close to the stitches. Attach a keychain ring through a small loop of yarn or a jump ring fixed at the top of the head. Give the whole piece a gentle fluff and shape check before it’s ready to use.
Helpful Beginner Tips
- Keep stitches tight: Amigurumi needs a smaller hook than the yarn label suggests, so stuffing never peeks through.
- Use stitch markers: Mark the start of each round, since amigurumi works in a continuous spiral without joining.
- Stuff evenly: Add small amounts of stuffing gradually and push it into corners with a blunt tool for a smooth, firm shape.
Design Customization Ideas
- Swap orange for pink, brown, or spotted color combinations for a different pig personality.
- Add a tiny bandana, bow, or flower accessory around the neck.
- Crochet a mini version using thinner yarn and a smaller hook for an even tinier charm.
Frequently Asked Questions
What is the best yarn for amigurumi?
Cotton or acrylic worsted weight yarn works best for amigurumi since both hold their shape well and give stitches a clean, tight look.
How do I make a crochet plush firm?
Use a hook one or two sizes smaller than recommended for the yarn weight, and stuff the piece generously in small batches rather than one large clump.
How long does this project take?
Most crocheters finish this Crochet Orange Pig Keychain in two to four hours, depending on experience level and how detailed the finishing touches turn out.
Conclusion
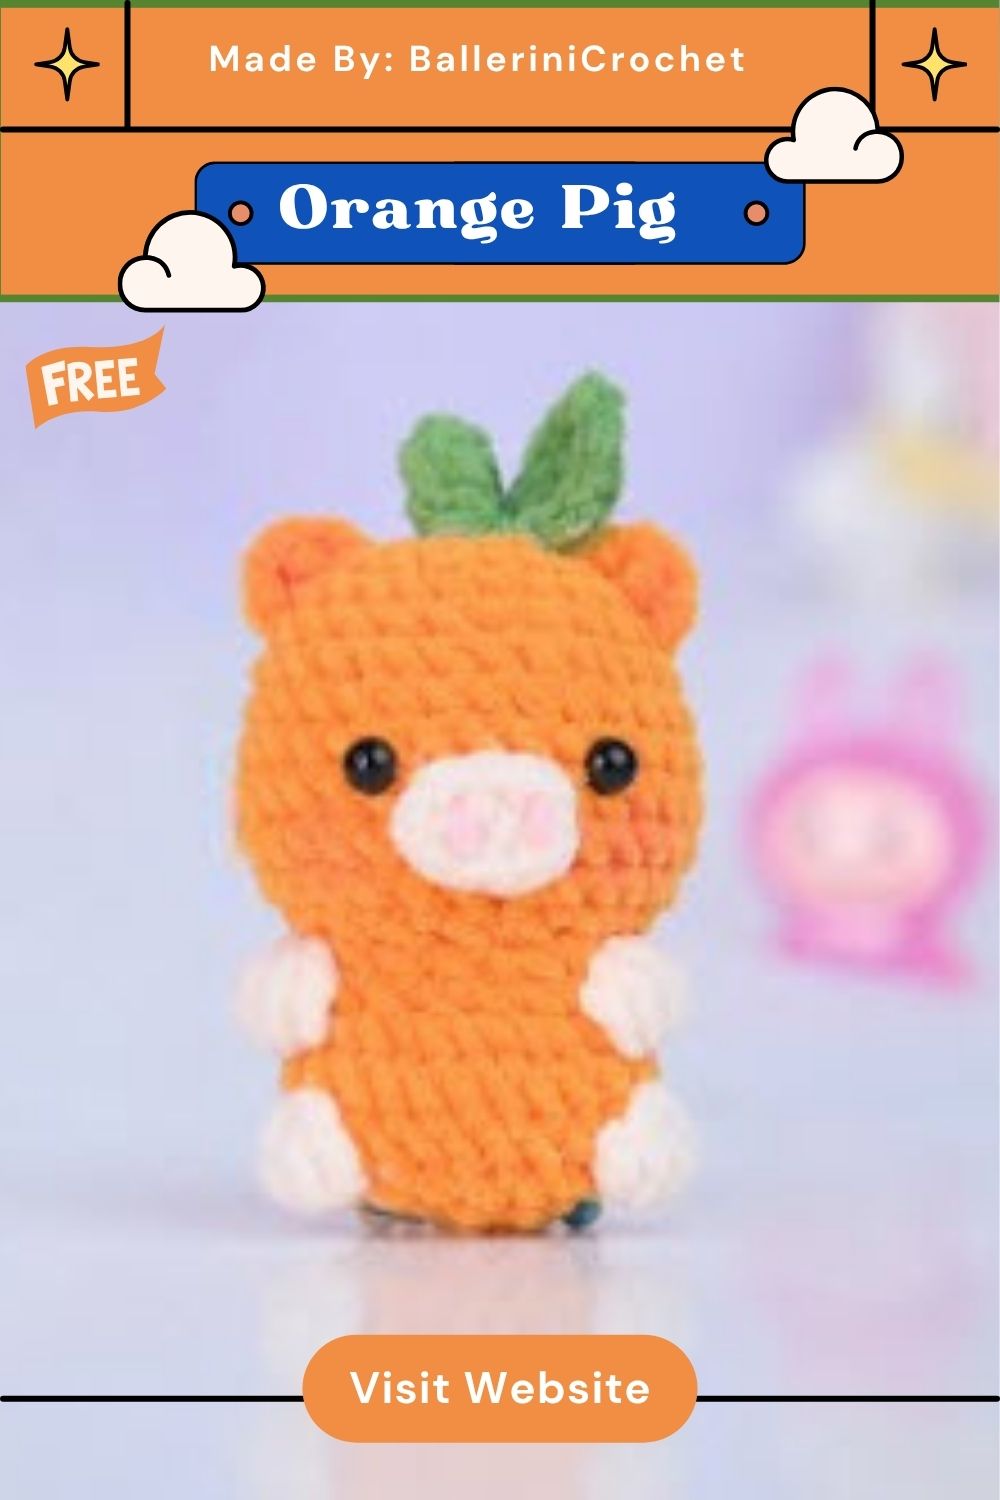
This Crochet Orange Pig Keychain amigurumi brings together simple stitches and a whole lot of charm in one tiny project. For real, it’s the kind of pattern that turns leftover yarn into a gift-worthy keepsake. Grab a hook, pick a color, and start stitching this little pig today.