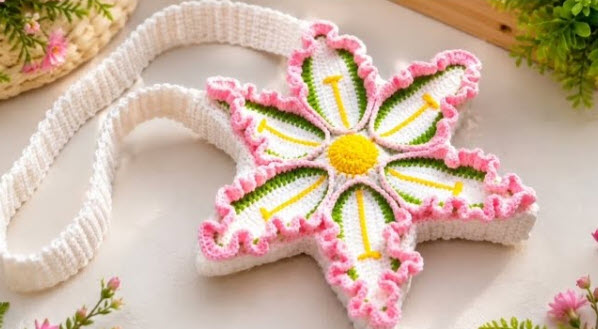
Harmonious Crochet Nupagi Belt Khutna Lonba Pouch Pattern
Handmade crochet accessories are having a real moment right now. First, they feel personal and unique, and next, they make simple outfits look more thoughtful and put together. Meanwhile, cotton yarn makes these projects extra practical because it holds shape and handles daily use well.
A crochet belt pouch is one of those pieces that looks trendy and works hard. After that, it becomes easy to keep small essentials close without having to carry a big bag. Finally, this beginner-friendly pouch brings style and function together in the cutest, most wearable way.
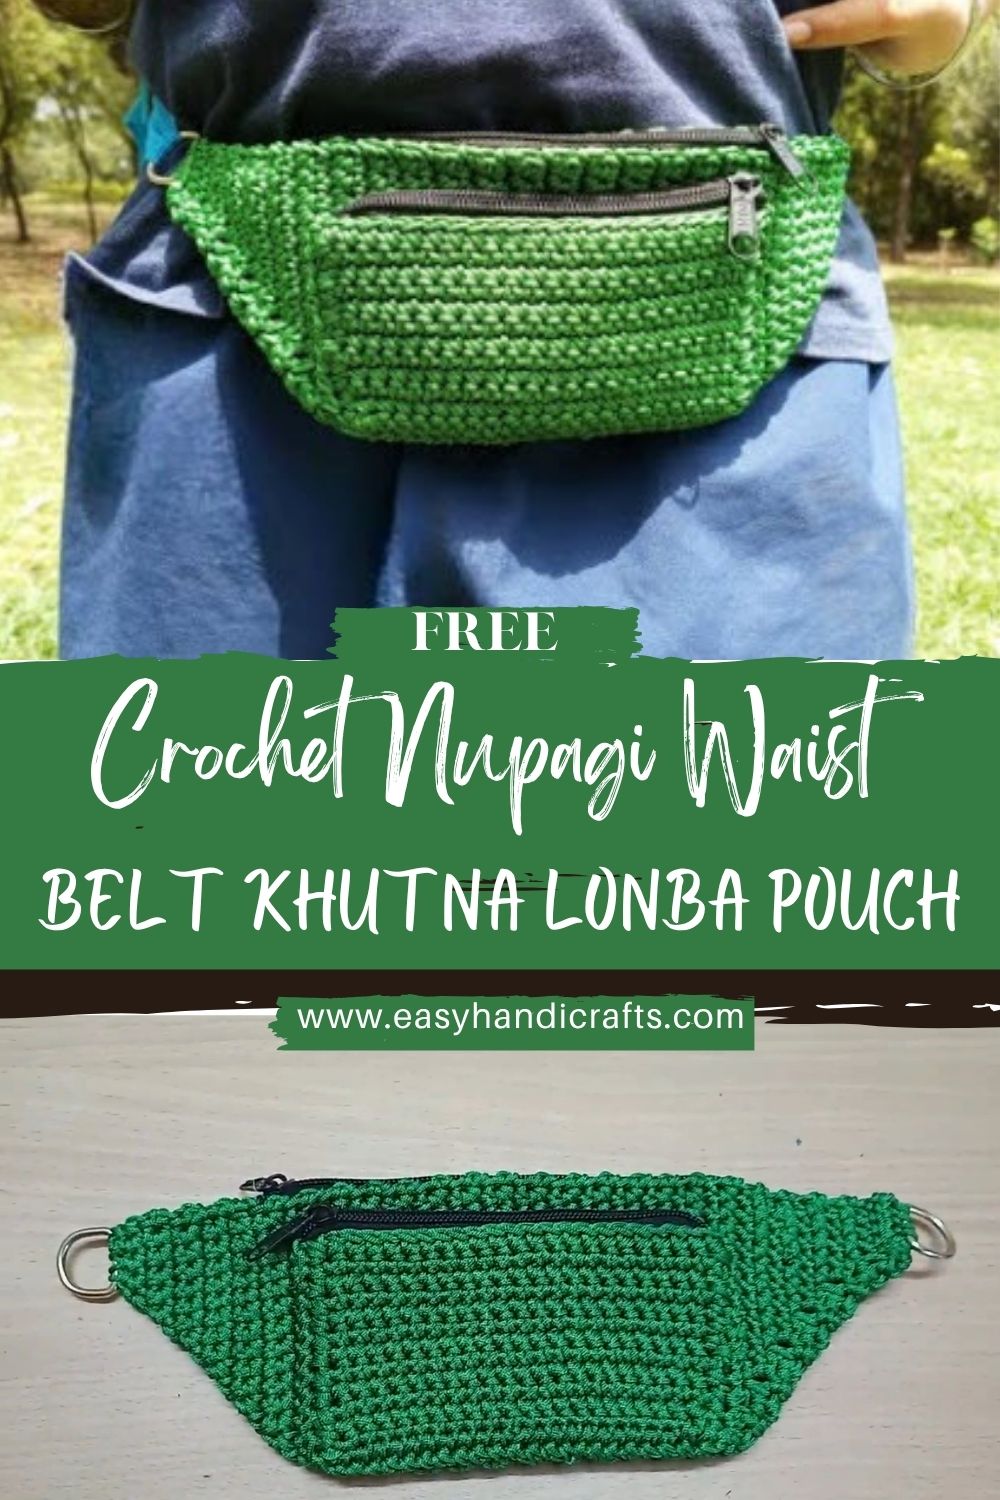
A belt pouch is especially useful because it keeps hands free while still holding the basics. After that, it’s perfect for quick errands, walks, markets, concerts, or travel days when pockets are not enough. Next, the zipper closure adds security, so items stay safe while moving around.
The Nupagi-style design keeps everything minimal and tidy. First, the shape stays compact and rectangular, and next, the edges look crisp and intentional. Finally, this Crochet Nupagi Belt Pouch Pattern is great for beginners because it uses simple stitches, straightforward construction, and easy assembly steps. Yet, the finished pouch looks modern and “store-bought” in the best way.
Materials Needed
- Medium-weight cotton yarn (worsted / size 4): 120–170 g total
- Main color: 100–140 g
- Accent/trim color (optional): 20–30 g
- Crochet hook: 4.0 mm–5.0 mm
- For a firmer pouch, choose 4.0 mm
- For a slightly softer pouch, choose 5.0 mm
- Zipper: 6–8 inches (15–20 cm)
- 6 in for a mini pouch, 7 in for medium, 8 in for roomy
- Stitch markers: 2
- Yarn needle: 1
- Scissors: 1
- D-rings or swivel clips: 2 pieces (about 1 inch / 2.5 cm wide)
- Adjustable belt strap: 1 piece, 30–50 inches (76–127 cm)
OR a crochet strap (instructions below)
Optional but helpful:
- Fabric lining: 1 small piece (about 10 x 8 inches / 25 x 20 cm)
- Sewing needle and thread (matching zipper or yarn color)
Skill Level
Beginner / Easy
Making Time (Overview)
Approximately 3–5 hours
Meanwhile, adding a lining or extra pockets can slightly extend the time.
Instructions
Before Starting (Quick Setup)
First, decide the pouch size. A popular everyday size is about 7.5 in wide x 4.5 in tall x 1.5–2 in deep (19 x 11.5 x 4–5 cm). Next, choose a hook that creates tight stitches so the pouch holds its shape.
Recommended stitches: single crochet (sc), slip stitch (sl st), increases/decreases (optional), and simple seaming.
Body (Main Pouch)
Making time: 120–180 minutes. 1) Create the base (rectangle foundation)
This base is worked as an oval-shaped rectangle: first, crochet along one side of the chain, then crochet along the other side to create a clean, sturdy bottom.
- Ch 31 (adjust later for width).
- Round 1:
- Sc in 2nd ch from hook and in each chain until the end (29 sc).
- In the last chain, place 3 sc to turn the corner.
- Next, sc along the underside of the chain back toward the start (28 sc).
- In the last chain (the starting end), place 2 sc to complete the oval-rectangle.
- Total is approximately 62 sc around (counts can vary slightly depending on how the ends are formed).
- Round 2: sc around, placing (sc, sc, sc) across the 3-stitch corner area to keep it flat.
- Round 3: sc around again.
After that, the base should look like a neat, rounded rectangle. Meanwhile, if it curls, go up a hook size; however, if it feels floppy, go down a hook size.
Size guide:
- More starting chains = wider pouch
- More base rounds = deeper pouch
2) Build the sides (pouch walls)
Now the pouch gets height. First, create a crisp edge, and next, build rows upward.
- Round 4 (edge round): Work sc in back loop only (BLO) around.
- This step creates a sharp fold line so the sides stand up neatly.
- Rounds 5–14: sc around (regular through both loops).
- Keep the stitch count consistent each round.
Next, check the height against the zipper length. The pouch body should sit slightly shorter than the zipper tape so the zipper can be sewn in cleanly.
3) Shape the edges (sleek taper option)
A Nupagi-style pouch looks great with slightly tapered sides. This step is optional; however, it adds a modern look.
- Round 15: (sc 12, dec) repeat around (reduces slightly).
- Rounds 16–17: sc around.
After that, the opening becomes a little tighter and more structured.
Additional Parts
Zipper Section
Making time: 45–60 minutes
A neat zipper finish makes the whole pouch look professional. First, prepare a clean top edge, and next, attach the zipper slowly and evenly.
1) Crochet a neat edge for zipper attachment
- Top edging round: sl st around the opening (or sc around if a thicker edge is preferred).
- Fasten off and weave in ends.
Meanwhile, this edging gives a stable line to sew into.
2) Attach the zipper securely
There are two beginner-friendly ways:
Option A (Easiest): Hand-sew the zipper to the crochet
- Pin or clip the zipper in place inside the pouch opening.
- Next, use sewing thread (or thin yarn) to whip stitch through the zipper tape and crochet stitches.
- After that, sew slowly around both sides, keeping the zipper centered and flat.
- Finally, test the zipper movement before tying off.
Option B (Cleaner edge): Tack zipper, then add a crochet border
- Tack the zipper in place with a few stitches.
- Next, crochet a thin border around the top to “frame” the zipper opening.
- Finally, secure the border neatly at the back seam.
Side Loops / Belt Holders
Making time: 20–30 minutes
Strong belt holders are the most important “function” piece. First, decide whether to use D-rings or clips, then attach them to the side seams.
Option A: D-rings (recommended for strength)
- Make 2 loops: ch 10, then sl st back to the first chain to form a loop (or make a short strap 1–1.5 in / 2.5–4 cm long).
- Thread each loop through a D-ring.
- Next, stitch each loop firmly to the pouch sides, placing them evenly.
- After that, reinforce with extra passes of yarn for durability.
Option B: Crochet belt tunnels (no hardware)
- Create a flat strip: ch 7, sc across for 8–10 rows.
- Next, sew the strip onto the back of the pouch, leaving the ends open so a belt can slide through.
- Finally, stitch the top and bottom edges securely.
Strap / Belt
Making time: 20–45 minutes
Option A: Adjustable belt strap
First, attach clips to the pouch D-rings. Next, adjust the strap length for waist or crossbody wear.
Option B: Crochet strap (simple and sturdy)
- Ch 151 (about 45–50 in / 114–127 cm, adjust as needed).
- Row 1: sc in 2nd ch from hook, sc across.
- Row 2: ch 1, turn, sc across.
- Repeat until the strap feels thick enough: 3–5 rows is usually perfect.
After that, add a buttonhole-style slit or sew the ends onto clips if hardware is available.
Heart / Accessories / Details (Optional)
Making time: 10–20 minutes
For a modern Nupagi vibe, minimal details work best. First, add texture if desired, and next, keep it subtle:
- Add a small label tag.
- Use a single contrast stripe near the top edge.
- Add a tiny button detail on the side (decorative only).
Meanwhile, avoid bulky decorations on the front if the goal is a clean, structured look.
Face & Assembly (Adapted for This Project)
Making time: 30–45 minutes
Even though this is not a character plush, assembly still matters. First, make sure the pouch shape is even, then finish the seams neatly.
- Join pouch pieces neatly: If the pouch was made in one piece, the seam is minimal; however, if the front and back panels were made separately, whipstitch or mattressstitch the sides and bottom.
- Attach the zipper and straps securely: reinforce stress points near the D-rings and zipper ends.
- Check function: Open and close the zipper several times. After that, gently tug the strap attachments to confirm strength.
- Final shaping: Smooth corners and edges so the pouch looks crisp.
Beginner tip: Place stitch markers where the zipper ends should sit. Next, match both sides to those markers so the zipper stays centered.
Special Features
- Texture: Strong, structured stitches that hold shape and resist stretching
- Design: Minimalist, clean Nupagi-style rectangle with an elevated handmade look
- Functionality: Great for phone, cards, keys, lip balm, and small daily items—hands-free comfort
Sizing Tips
First, adjust the foundation chain to change the width:
- Ch 26–28 = smaller pouch
- Ch 31–34 = medium pouch
- Ch 36–40 = larger pouch
Next, adjust height by adding rounds:
- Fewer rounds = slimmer pouch
- More rounds = taller pouch
After that, adjust depth by adding base rounds:
- 2 base rounds = flatter
- 3–5 base rounds = deeper and roomier
Finally, match the zipper length to the pouch opening. If the opening is wider than the zipper, add a few rounds of decreases; if it is narrower, add one more round before attaching.
Finishing Tips
- First, keep edges straight by counting stitches each round.
- Next, maintain even tension so the fabric stays structured.
- Meanwhile, reinforce all attachments (especially D-rings and strap points).
- After that, hide yarn ends by weaving through several stitches inside the pouch.
- Finally, block lightly with steam (optional) to smooth the surface, avoiding over-steaming cotton.
Common Mistakes to Avoid
- Incorrect measurements: measure the zipper and opening early, then adjust before sewing.
- Loose stitching: gaps reduce strength; go down a hook size if needed.
- Uneven zipper attachment: pin first, then sew slowly and evenly.
- Skipping stitch counting: missed stitches can tilt the pouch and twist the top edge.
Variations & Customization Ideas
- First, try different colors: black for sleek, beige for minimal, or bright shades for a bold streetwear look.
- Next, add texture patterns: thermal stitch, waistcoat stitch, or simple ribbing for a modern surface.
- After that, adjust size: make a phone-only pouch, a passport travel pouch, or a mini coin belt bag.
- Finally, add a lining: cotton fabric lining improves durability, reduces stretching, and makes the zipper area feel extra clean.
Tutor Suggestions
- First, measure everything before starting, especially the zipper length.
- Next, use tight stitches for a strong, structured pouch.
- Meanwhile, take time to attach the zipper; this is where the “professional” look comes from.
- After that, practice basic stitches on a small swatch to check tension.
- Finally, reinforce stress points twice, because belt bags get pulled and moved often.
Conclusion for ( Crochet Nupagi Belt Khutna Lonba Pouch)
A crochet belt pouch is one of those projects that feels satisfying from start to finish because it is both stylish and genuinely useful. First, the structured cotton stitches create a clean shape, and next, the zipper and belt attachment turn it into an everyday essential. Finally, this Crochet Nupagi Belt Pouch Pattern is a beginner-friendly way to make a modern accessory that looks polished, feels sturdy, and can be customized for any outfit or season.