
Crochet Kids’ Overalls Pattern for Stylish Little Outfits
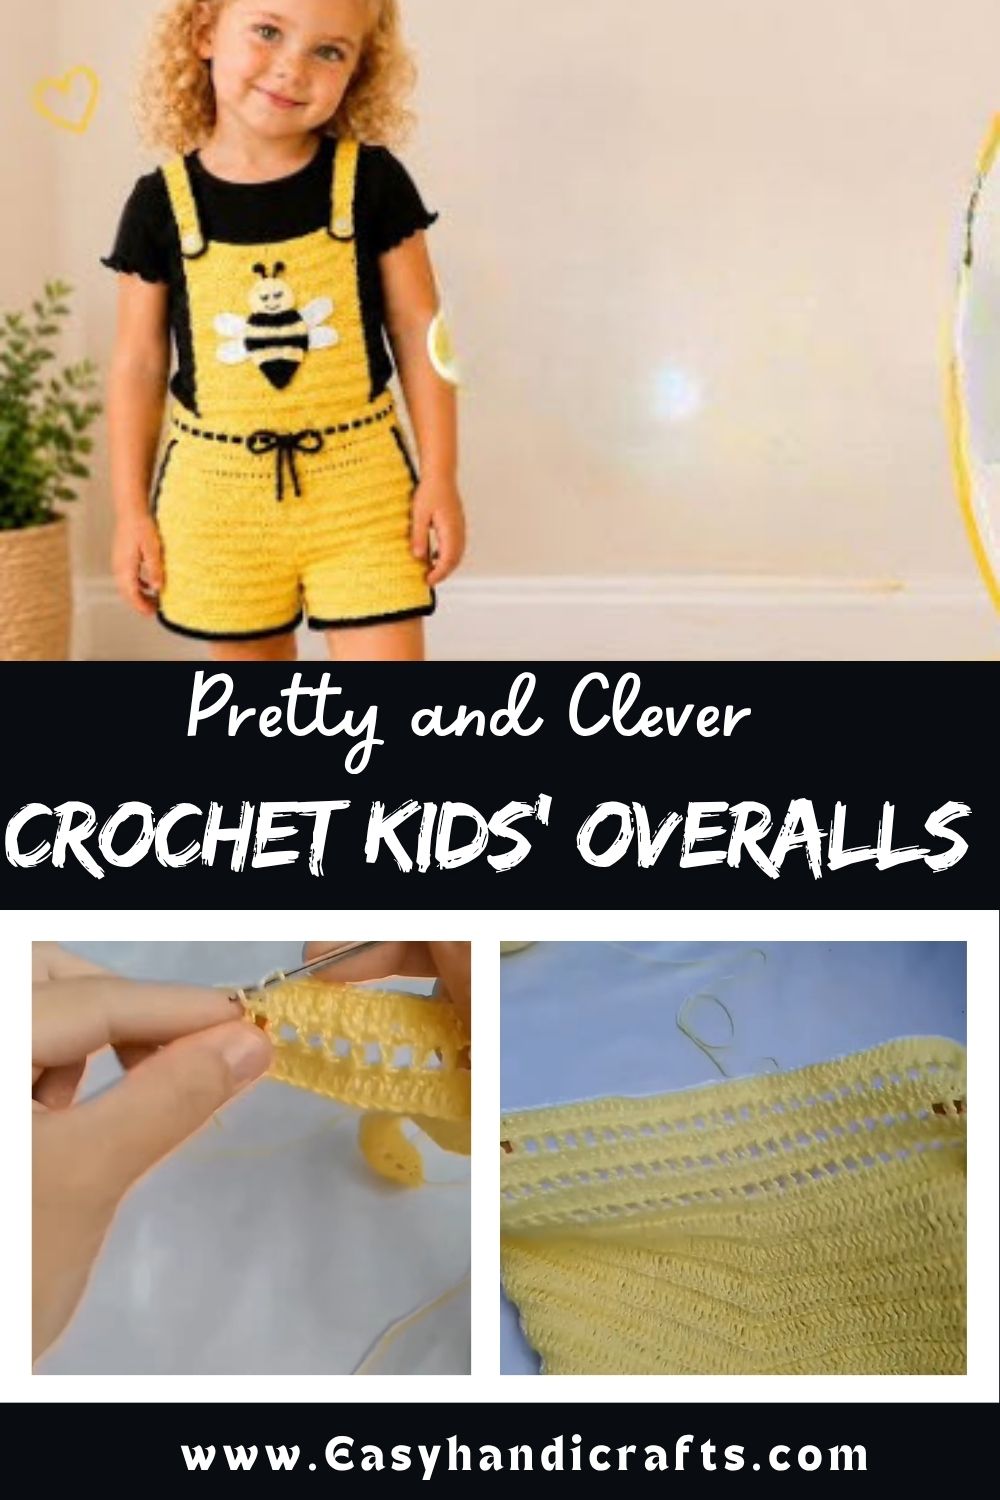
- Skill Level: Intermediate
- Finished Size: Customizable to child sizes (recommend measuring chest, waist, and length before starting)
- Estimated Time Required: 6 to 9 hours
- Recommended Yarn Weight: DK or Worsted weight cotton-blend yarn
- Crochet Hook Size: 3.5mm to 4.5mm
Materials Needed
- Yellow yarn (main color for the overalls)
- Black yarn (for trim and bee stripes)
- White yarn (for bee wings and small accents)
- Small amount of brown or dark yarn (for facial detail on the bee)
- Crochet hook (3.5mm–4.5mm)
- Tapestry needle
- Stitch markers
- Scissors
- Buttons or fasteners (for the overall straps)
- Fabric measuring tape
Crochet Stitches and Techniques
- Chain Stitch (ch): Forms the starting foundation for each panel.
- Single Crochet (sc): Builds the dense ribbed texture of the main body.
- Half Double Crochet (hdc): Adds subtle texture variation in the panel rows.
- Eyelet/Chain-Space Stitch: Creates the airy lattice detail near the top edge.
- Color Changes: Switches between yellow, black, and white throughout the trim and bee.
- Fastening Off: Secures each finished panel and appliqué piece.
- Sewing Pieces Together: Joins the overall panels and attaches the bee appliqué.
Only these techniques come into play across the whole pattern, which keeps the project approachable despite its garment format.
Pattern Instructions
Chaining the Foundation Row
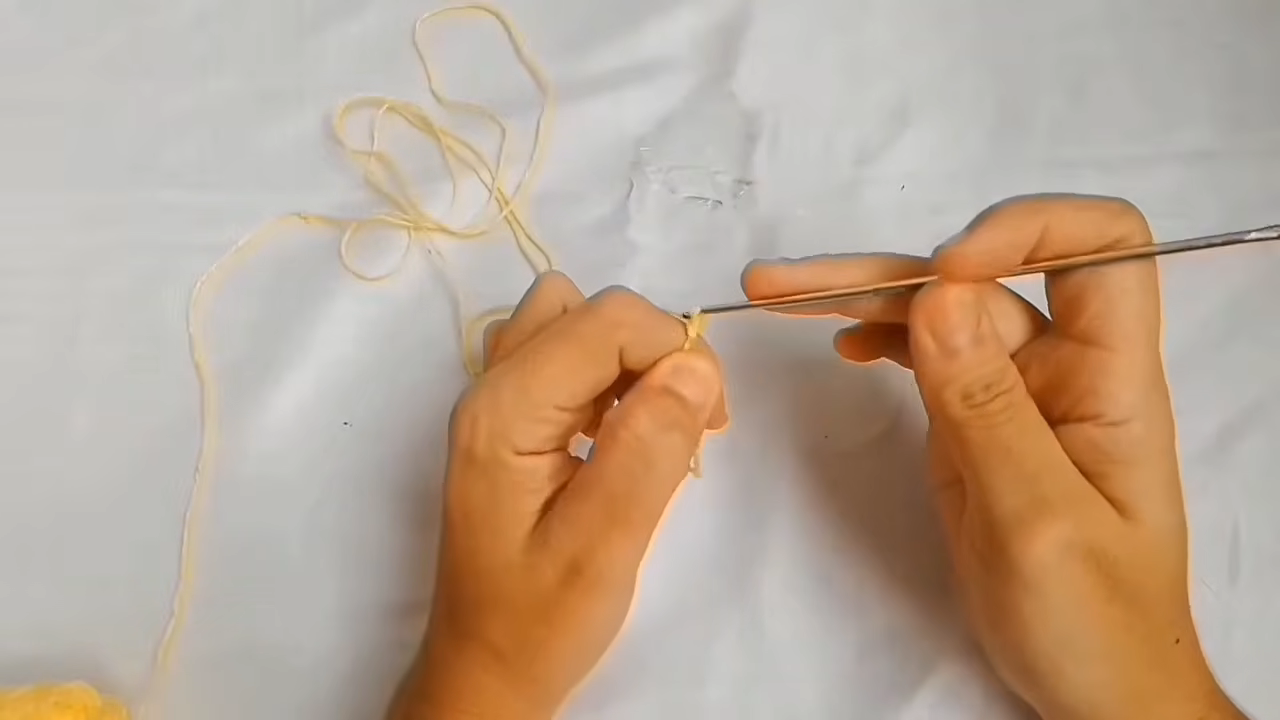
Chain a length matching your intended garment width, leaving a bit of extra room for seam allowance. Measuring against the child’s actual clothing beforehand saves guesswork later, since overall sizing varies more than typical amigurumi projects.
Working the Eyelet Trim Row
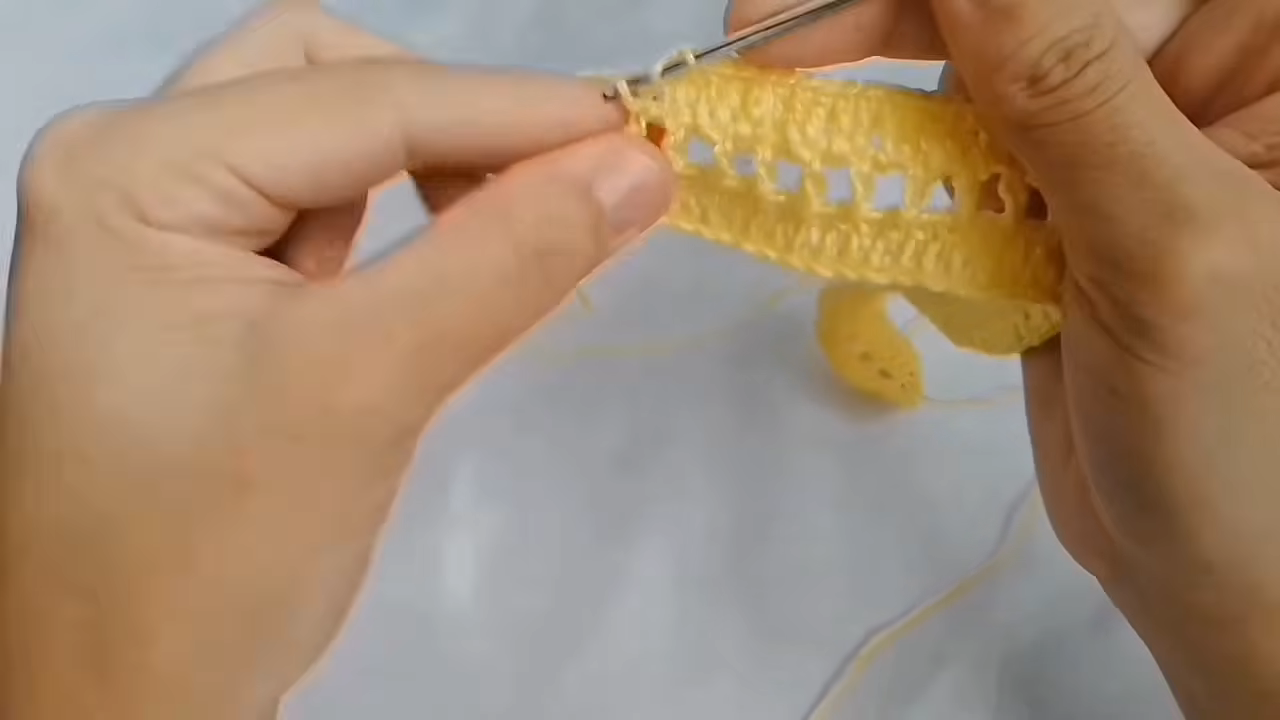
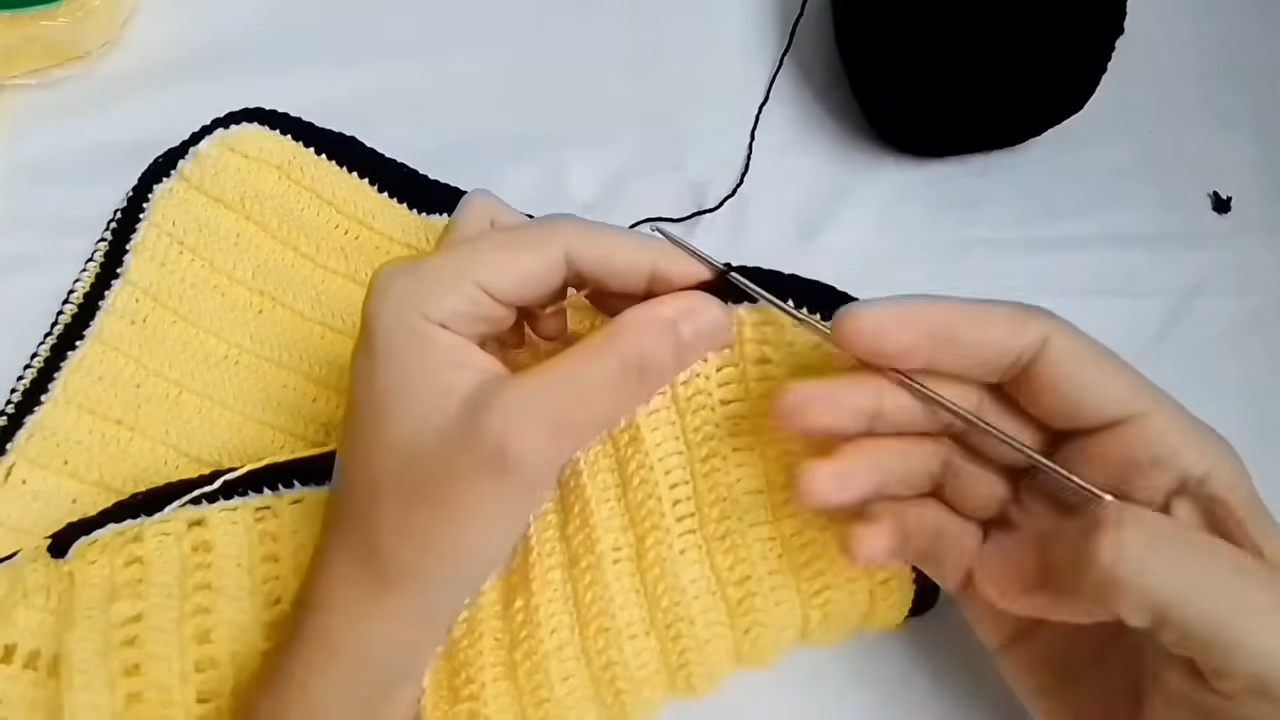
Alternate chain spaces with single crochet stitches across the row to create the lattice-style eyelet pattern near the top edge. Keeping the spacing consistent here matters, since uneven gaps become noticeable once the garment is finished and worn.
Building the Main Body Panel
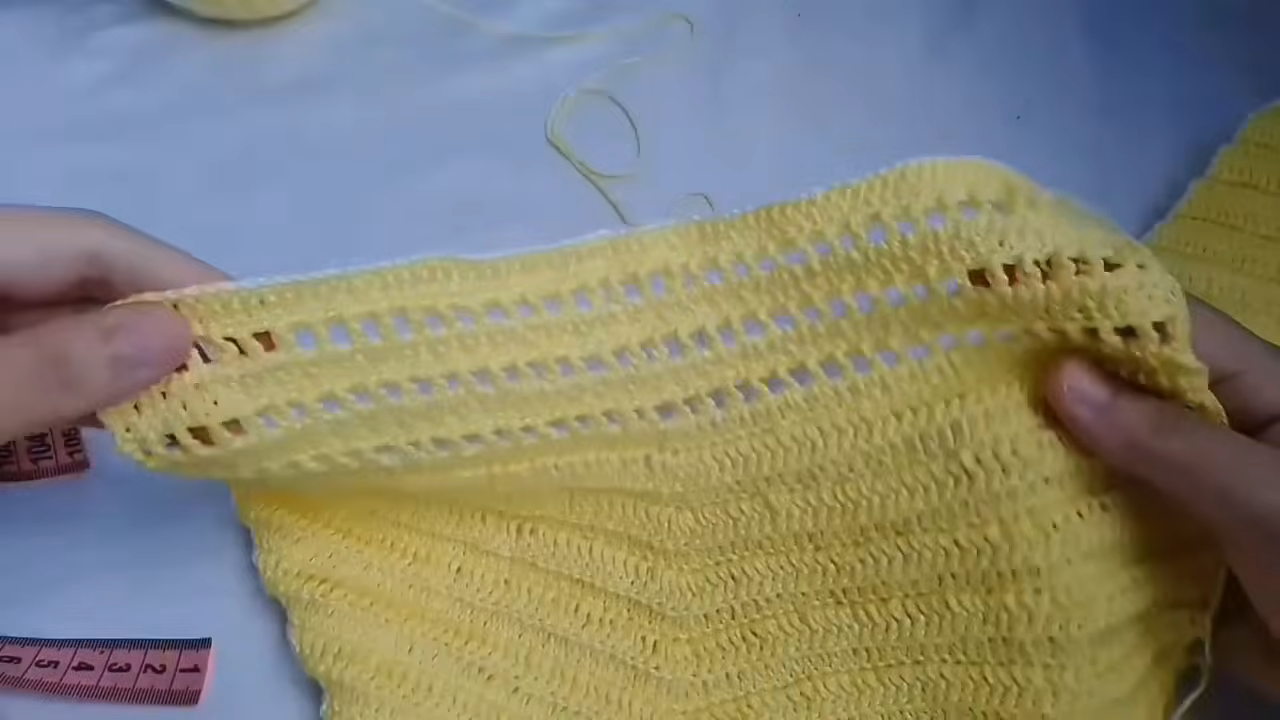
Switch into straight rows of single or half double crochet to build the bulk of the panel, working until the piece reaches the desired length for the child’s torso. Density stays fairly tight through this section, giving the fabric enough structure to hold its shape during everyday wear.
Adding the Black Contrast Border
Once the main panel reaches full length, switch to black yarn and work a clean border round along the bottom or side edge. This trim frames the piece nicely and sets up the color palette that carries through into the bee appliqué.
Making the Bee Appliqué
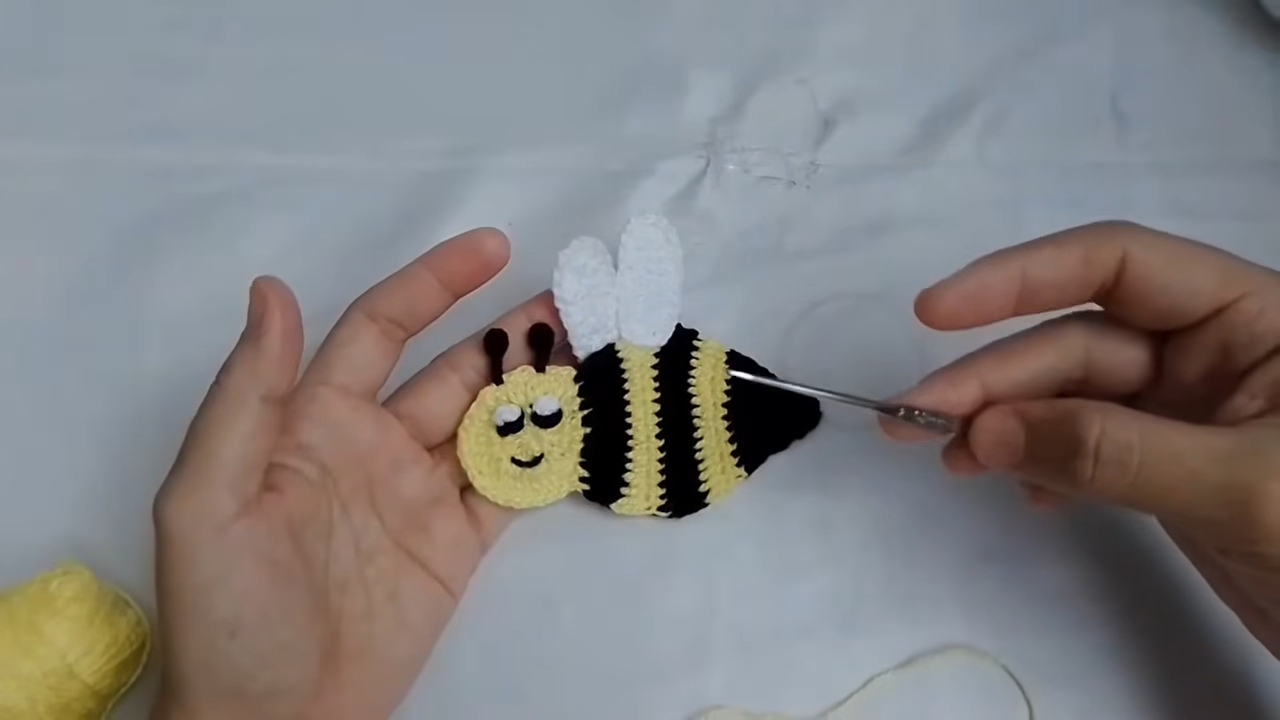
Start the bee body with yellow yarn, working a small oval shape before adding alternating black stripe rounds across the top. Attach white wing pieces separately, shaping them into small teardrop shapes before setting them aside for assembly. Finish the face with tiny black dot eyes, a curved smile, and two short antennae stitched or embroidered above the head.
Attaching the Bee Detail
Position the finished bee appliqué against the front panel, adjusting placement until it sits centered and balanced. Stitch it securely in place using a tapestry needle, tucking all yarn tails between the appliqué and the panel so nothing shows on either side.
Assembling the Straps
Crochet two narrow strips long enough to reach comfortably from the front panel over the shoulder to the back. Attach buttons or fasteners at the ends so the straps stay adjustable as the child grows.
Final Assembly
Sew the front and back panels together along the sides, leaving openings where needed for movement and comfort. Weave in every remaining loose end, then double-check the strap length and button placement before considering the piece complete.
Tips for Success
- Measure against actual child-sized clothing before chaining the foundation row.
- Keep eyelet spacing even across the whole row for a clean lattice look.
- Block panels before assembly to help seams lie flat.
- Attach appliqué pieces with small, tight stitches to prevent snagging during wear.
- Add extra button options along the straps for room to grow.
Personalization Ideas
Swapping the bee for a ladybug, flower, or small animal patch keeps the same construction method while changing the whole theme entirely. Pastel yellow or soft mint instead of the classic bright yellow gives the overalls a gentler, nursery-friendly palette. Adding a small front pocket creates a practical spot for little treasures, and extending the leg length transforms the piece into a full jumpsuit rather than shorts-style overalls.
Common Mistakes to Avoid
Skipping pre-measurement often leads to overalls that fit too snugly or too loosely once finished, so checking sizing against real clothing early on prevents most fit issues. Rushing the appliqué placement sometimes results in an off-center bee, so pinning it in place before stitching helps catch alignment problems early. Loose tension along the strap pieces can also stretch out over time, so working those sections slightly tighter than the main body helps them hold shape through repeated wear.
Frequently Asked Questions
What yarn works best for children’s clothing like this?
Cotton or cotton-blend yarn feels soft against skin and holds up well through regular washing, making it a solid choice for kids’ garments.
How do I size this Crochet Kids’ Overalls Pattern for different ages?
Measuring the child’s existing overalls or a similar garment beforehand gives the most accurate reference for adjusting row and panel length.
Can I skip the bee appliqué entirely?
Certainly. The overalls work perfectly well as a plain garment, and the appliqué can always be added later or replaced with a different design.
Is this Crochet Kids’ Overalls pattern machine washable once finished?
That depends on the yarn chosen, so checking the yarn label’s care instructions before washing helps the garment stay in good shape longer.
How long does the whole project typically take?
Most makers finish within six to nine hours, though appliqué detail work can extend that depending on experience level.
Can I use a different color scheme?
Absolutely. The construction method stays the same regardless of color choice, so feel free to match any wardrobe preference.
Do I need advanced crochet experience for this pattern?
Some comfort with basic garment shaping helps, but none of the individual stitches used are especially advanced on their own.
Conclusion
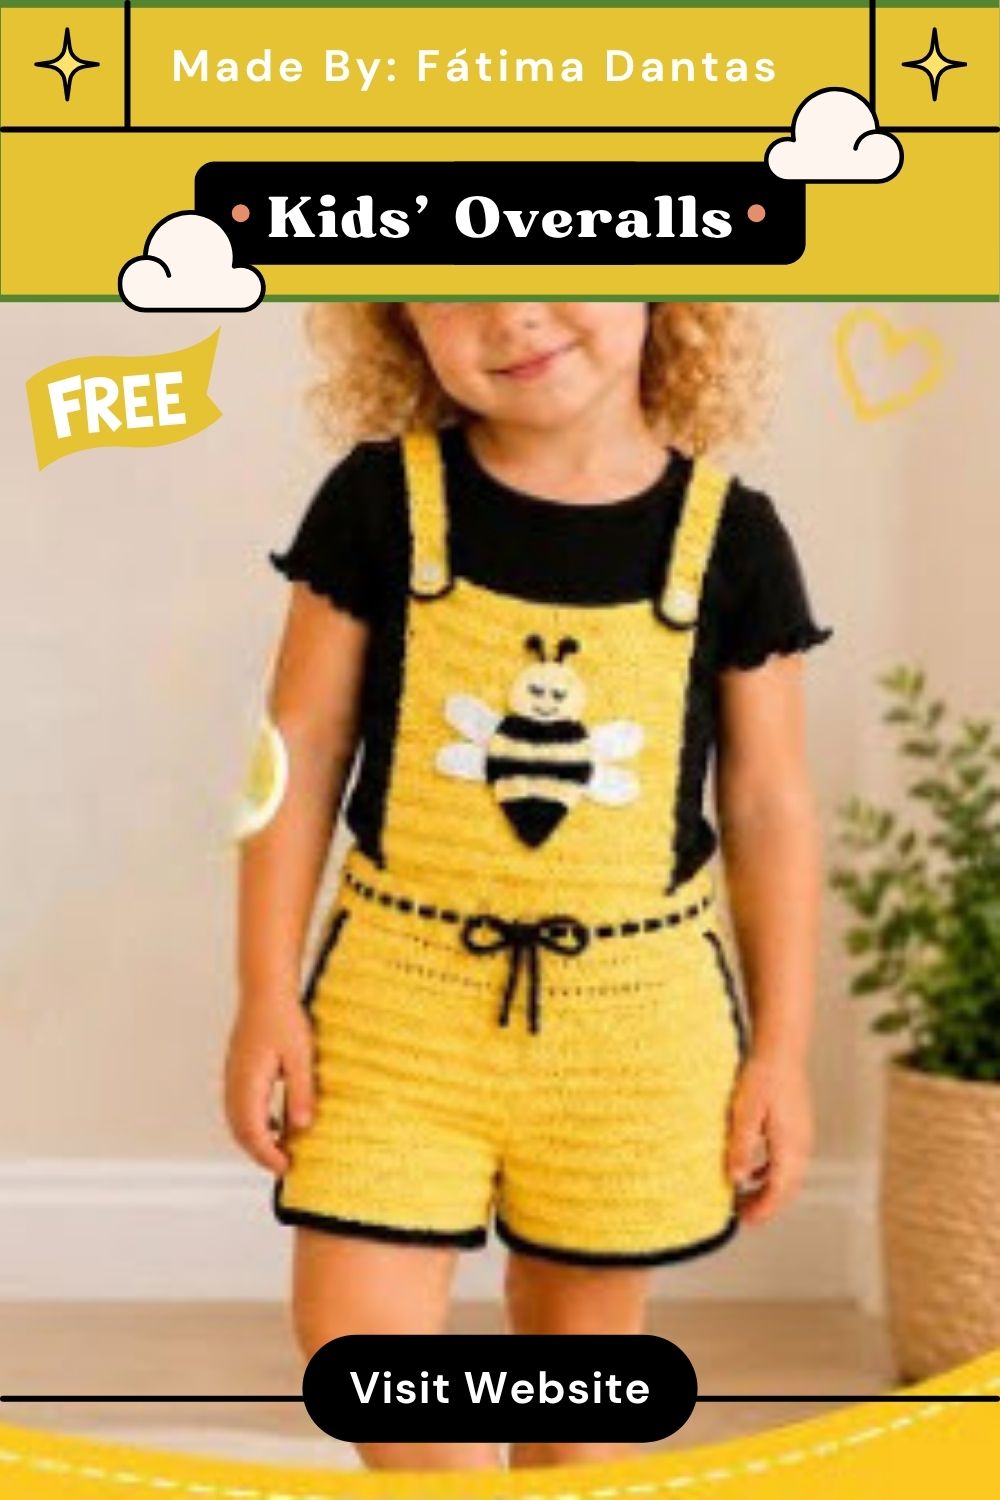
Handmade overalls carry a warmth that store-bought clothing simply can’t match, and the little bee appliqué adds just the right touch of personality to this cozy design. Give this pattern a try, experiment with different colors or appliqué themes, and share the finished outfit with fellow crocheters who appreciate a Crochet Kids’ Overalls Pattern project made with love.


