Crochet Halloween Cat Amigurumi Pattern for Spooky Collections
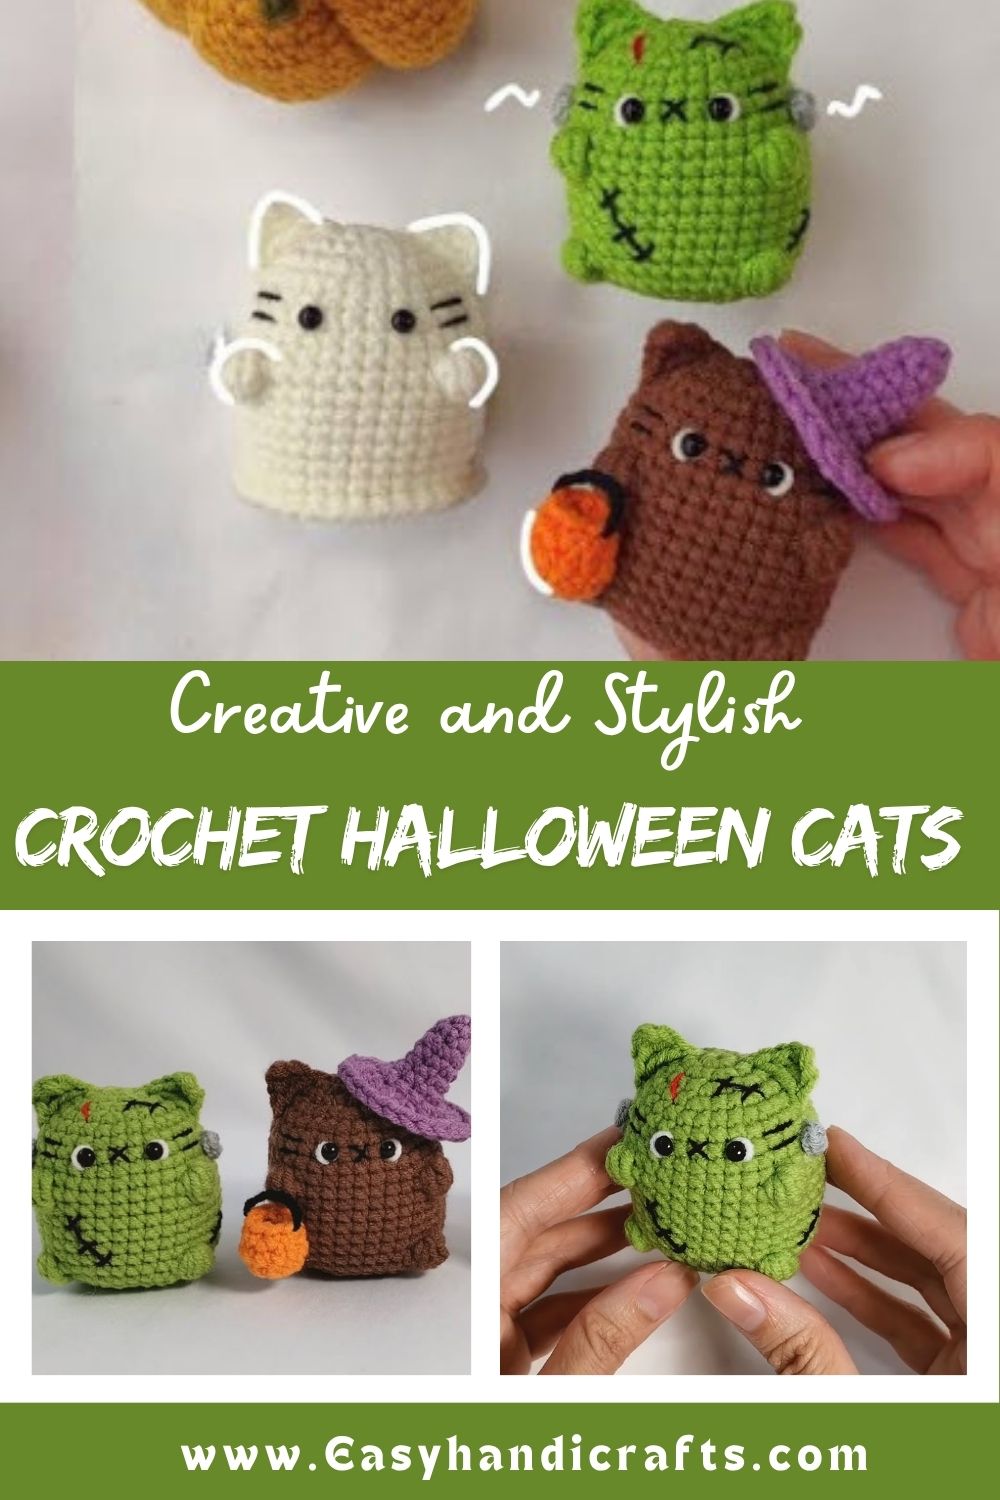
Skill LevelBeginner to Intermediate. If you already know how to single crochet, increase, and decrease, you can absolutely make this pattern. A little amigurumi experience helps with shaping the ears and tail smoothly, but nothing here is too tricky for a confident beginner willing to take it slow.
Materials and Supplies
Gathering your supplies ahead of time makes the whole project smoother. Here’s everything you’ll need:
- Yarn: Worsted weight (medium, #4) acrylic or cotton yarn in black (main color), plus small amounts of orange, white, and green for accents
- Crochet hook: 3.0mm or 3.5mm hook (size depends on your yarn weight and desired stitch tightness)
- Safety eyes: 8mm or 9mm black or green safety eyes (or embroider eyes with black yarn for a child-safe option)
- Stuffing: Polyester fiberfill stuffing
- Needle: Yarn needle for sewing pieces together and weaving in ends
- Scissors: A small, sharp pair for trimming yarn
- Stitch markers: To track the beginning of each round
- Optional accessories: Keychain ring and clasp, small bell, or ribbon bow if you want to turn your cat into a keychain or ornament
Crochet Techniques Used
Before you start, it helps to know which stitches and techniques you’ll be using throughout this pattern.
Magic Ring
This is how you’ll start the head, body, and most small pieces. A magic ring lets you close the center hole tightly so there’s no gap once your work is stuffed.
Single Crochet (sc)
The main stitch used throughout this entire pattern. Keeping your single crochet stitches even helps your amigurumi hold its shape.
Increase and Decrease
Increases (working two stitches into one) shape the rounded parts of the head and body, while decreases (working two stitches together) shape the top of the head and close off pieces neatly.
Sewing Parts Together
Once all your pieces are made, a yarn needle and matching yarn color are used to attach the ears, tail, and any accessories to the main body.
Step-by-Step Crochet Pattern Instructions
Head Creation
- Start with a magic ring and work 6 single crochet stitches into it, then pull tight to close.
- Increase evenly over the next two rounds until you reach around 24 stitches, keeping the shape rounded rather than flat.
- Work several rounds even (no increases) once you reach your target stitch count, building up the height of the head.
- Insert the safety eyes a few rounds down from the top, spacing them evenly apart for a friendly, alert cat expression.
- Begin decreasing gradually over the following rounds, adding stuffing gradually as you go so the head stays firm and round.
- Close the final small opening and weave in the end securely.
Body Making
- Begin the body the same way as the head, with a magic ring and 6 single crochet stitches.
- Increase over a couple of rounds until the body reaches a slightly wider circumference than the head, giving your cat a cute, chubby silhouette.
- Work even rounds to build the body height, stuffing firmly as you go.
- Decrease gradually at the top of the body to create a neck that will connect smoothly to the head.
Ears, Accessories, and Tail
Ears: Work two small triangular pieces using single crochet with quick increases at the base and a point at the top. Leave these unstuffed or lightly stuffed so they hold a soft, pointed shape.
Tail: Chain a small foundation, then single crochet around it to form a long, slightly curved tube. A light stuffing or a pipe cleaner inserted inside gives the tail a nice curl for that classic spooky-cat pose.
Optional accessories: A tiny orange bow, a mini witch hat, or a bat-shaped patch can be sewn on for extra Halloween flair.
Facial Details
- Attach the safety eyes securely before adding any stuffing to the head.
- Embroider a small pink or black nose using a few straight stitches.
- Add a subtle mouth using backstitch or straight stitches in black or dark brown yarn.
- Optional whiskers can be added using thread or thin yarn strands pulled through the face and knotted on each side.
Assembly Process
-
- Pin or hold the head against the top of the body to check placement before sewing.
- Using a yarn needle, sew the head to the body with small, even stitches, going around the entire opening for a secure hold.
- Attach the ears to the top of the head, angling them slightly outward for a natural, alert look.
- Sew the tail to the back of the body at a slight upward angle.
- Attach a keychain ring at the top of the head if you’re making a bag charm version.
Finishing Touches
Once everything is sewn on, go over each seam to check for gaps and weave in any remaining loose ends. Fluff up the stuffing gently through the fabric if any part feels lumpy, and give your finished cat a final shape check before it joins your Halloween collection.
Helpful Beginner Tips
- Keep your stitches tight. Amigurumi needs small, tight single crochet stitches so the stuffing doesn’t peek through. If your work feels loose, try going down a hook size.
- Use stitch markers. Amigurumi is worked in a continuous spiral, so a stitch marker at the start of each round keeps you from losing track and helps you count rows accurately.
- Stuff a little at a time. Add small amounts of stuffing as you crochet each section instead of waiting until the end. This keeps the shape smooth and prevents lumpy, uneven areas.
Design Customization Ideas
Once you’re comfortable with the base pattern, there’s plenty of room to make it your own.
- Different colors: Try classic black, spooky purple, or a warm orange tabby version for variety across your collection.
- Cute accessories: Add a witch hat, tiny scarf, or bat wings to give each cat its own personality.
- Mini size variations: Use a thinner yarn and smaller hook to create tiny keychain or ornament-sized versions of the same pattern.
FAQ Section
What is the best yarn for amigurumi?
Worsted weight cotton or acrylic yarn works best for amigurumi because it holds its shape well and has a tight enough gauge to keep stuffing from showing through the stitches.
How do I make my crochet plush firm?
Use a smaller hook than the yarn label suggests, keep your tension tight, and stuff firmly in small amounts as you go rather than all at once at the end.
How long does this Crochet Halloween Cat Amigurumi project take?
Most crocheters finish this Halloween cat in a few hours, though total time depends on your experience level and how many accessories you decide to add.
Conclusion
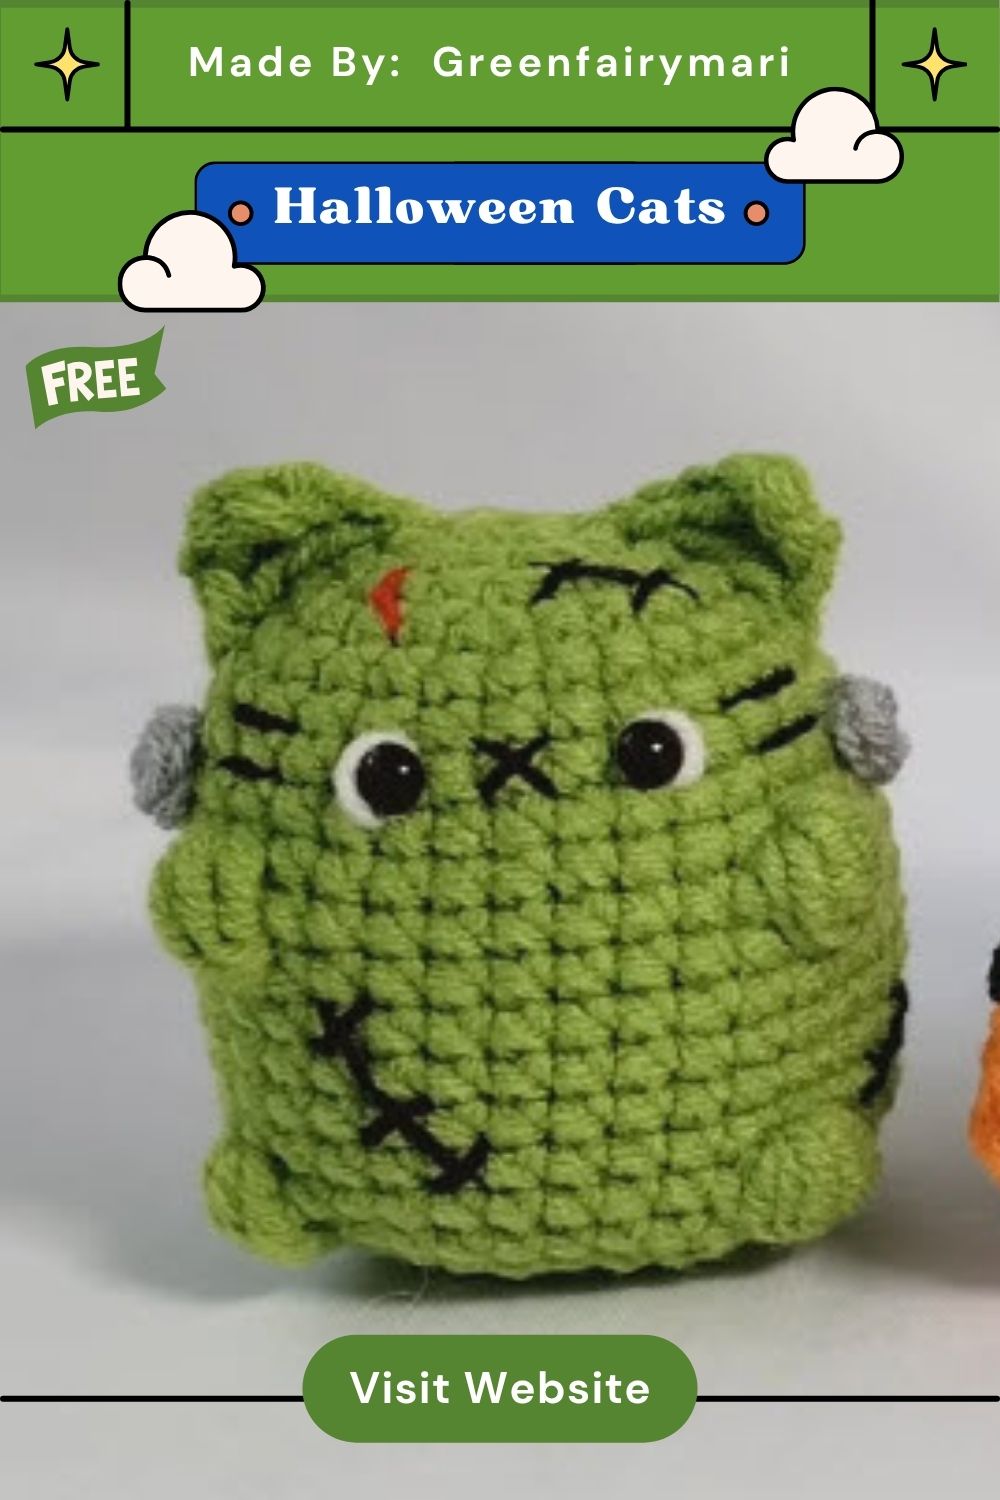
This Crochet Halloween Cat Amigurumi is a fun, quick project that brings a little handmade spookiness to your fall décor. Grab your hook and favorite black yarn, and give this pattern a try; your shelf (or your Halloween basket) is waiting for a new furry friend.