Mini Crochet Fluffy Bird Keychain Amigurumi Pattern
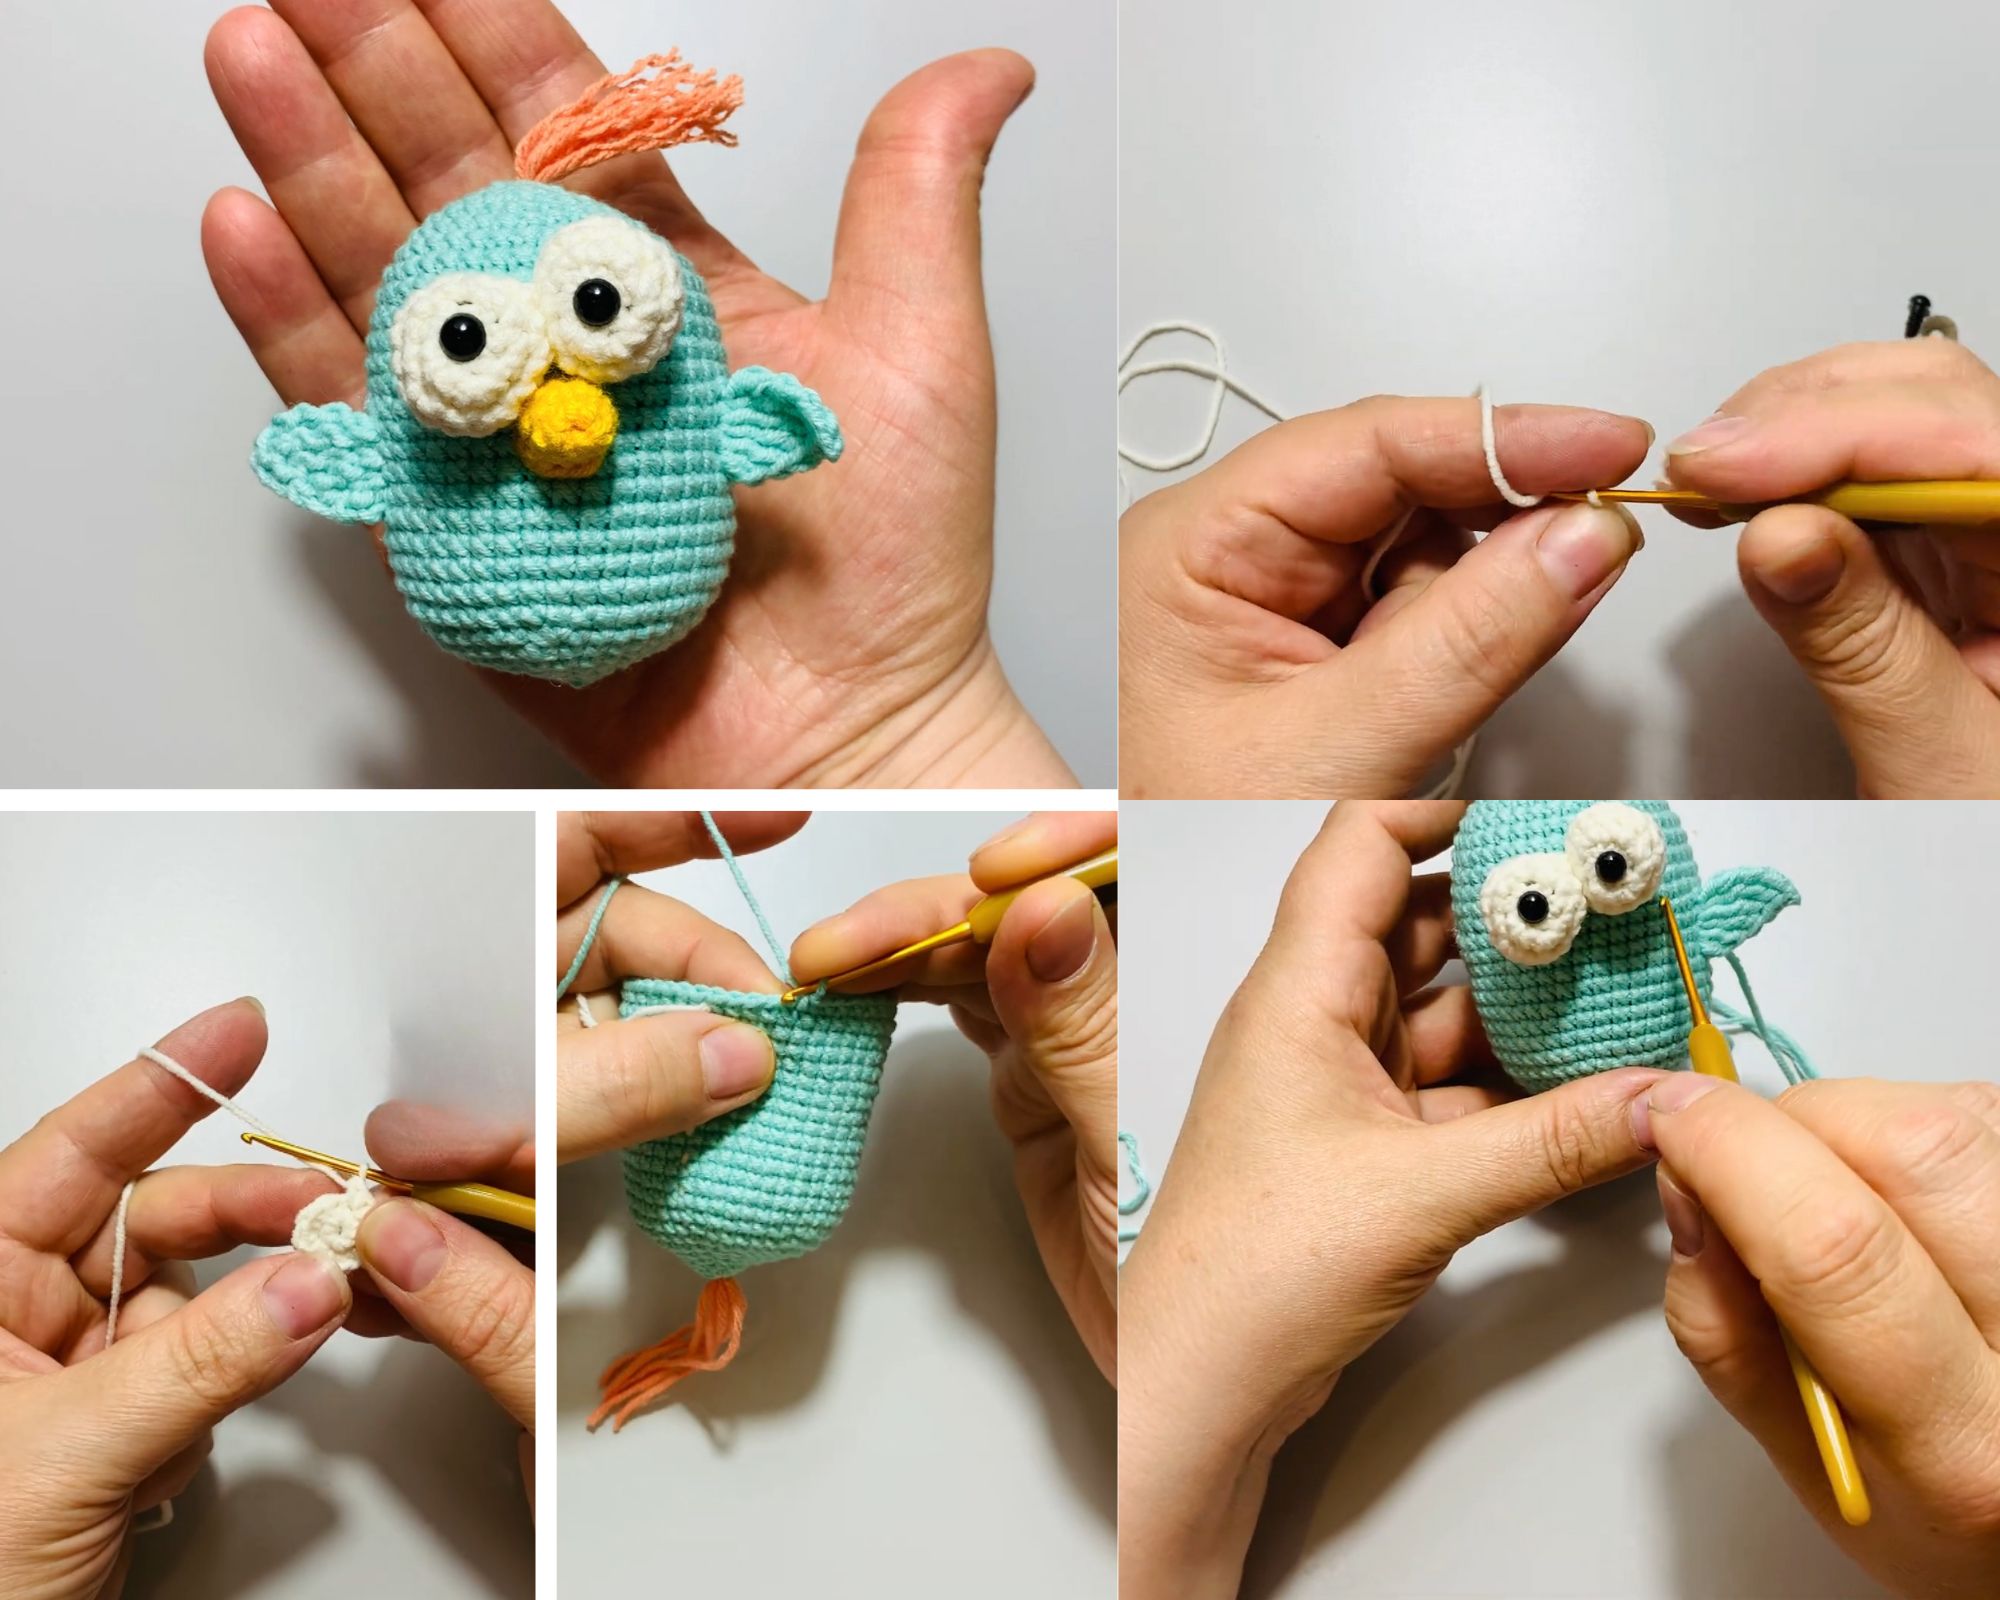
Tiny, round, and impossibly cute, this Crochet Fluffy Bird Keychain has become one of those projects crocheters can’t stop making once they start. Bag charms, gift tags, and desk buddies all get a boost from a plump little bird with a fuzzy chest and bright button eyes. Beginners love it because the shapes are simple, while experienced makers enjoy how quickly a finished piece comes together. Grab a small ball of yarn and a spare afternoon, and this pattern rewards you almost immediately.
A round body worked in basic single crochet stitches gives this tiny bird its distinctive fluffy shape, while fluffy or bouclé yarn on the chest adds even more softness and realism. Small wings, a tiny beak, and simple shaping bring this charming bird together in just a few rounds, winning hearts the moment it’s seen. Shelf styling, office desk decor, cute crochet displays, and anyone drawn to unique handmade decor will find this a lovely crochet project too.
Project Details
- Skill Level: Beginner to Easy Intermediate
- Finished Size: Approximately 2.5–3 inches tall (excluding keychain clasp)
- Estimated Time Required: 2–3 hours
- Recommended Yarn Weight: DK or worsted weight (Category 3–4), with a small amount of fuzzy/bouclé yarn for the chest
- Crochet Hook Size: 2.5mm–3.0mm (adjust based on yarn weight for a tight fabric)
Materials Needed
- Worsted or DK weight yarn in your chosen bird color (yellow, blue, or brown work beautifully)
- Small amount of white or cream fuzzy/bouclé yarn for the chest patch
- Orange or yellow scrap yarn for the beak
- Small amount of black yarn or embroidery floss for the eyes (or 4mm safety eyes)
- Fiberfill stuffing
- Tapestry needle for sewing pieces and weaving in ends
- Stitch marker to track the start of each round
- Sharp scissors
- Keychain clasp and jump ring
- Optional: small bell, felt wings, or a tiny bow for extra personality
Crochet Stitches and Techniques
Working through this pattern only requires a handful of core amigurumi skills, so newer crocheters shouldn’t feel intimidated.
- Magic Ring (MR): Forms a tight, adjustable starting loop for the body and head
- Chain Stitch (ch): Used briefly for the wings
- Single Crochet (sc): The primary stitch throughout the entire pattern
- Increase (inc): Two single crochets worked into one stitch, shaping the rounded body
- Invisible Decrease (dec): Keeps decrease rounds smooth and gap-free
- Slip Stitch (sl st): Joins rounds and finishes edges cleanly
- Color Changes: Switching yarn colors for the chest patch and beak
- Fastening Off: Securing yarn at the end of each piece
- Sewing Pieces Together: Attaching wings, beak, and features to the finished body
Pattern Instructions
Creating the Body
Start with a magic ring and work 6 single crochets into it, pulling the loop tight to close any gap. From there, increase every stitch on round 2 to reach 12 stitches, then alternate single crochet and increase on round 3 to reach 18. Continue increasing every third stitch through round 4 until you hit 24 stitches, which forms the widest point of the bird’s belly.
Work several rounds even, without increasing, once you reach 24 stitches, to build height into the body. Somewhere around round 8, begin decreasing steadily, working an invisible decrease every third stitch until the opening narrows enough to stuff. Fill the body firmly but not so tightly that the stitches distort, then finish decreasing until only a small closing gap remains.
Making the Head
A slightly smaller magic ring gives the head its proportions. Six stitches into the ring, then increase every stitch to reach 12, followed by an increase-every-other-stitch round to reach 18 total. Hold steady at 18 stitches for two or three rounds so the head has enough roundness to read as a bird rather than a ball.
Decrease gradually back down once the head reaches its desired size, stuffing as you go rather than waiting until the very end. A firmly stuffed head holds its shape far better through years of keychain use.
Crocheting the Chest Patch
Switch to the fuzzy or bouclé yarn for this small but memorable detail. Working a flat circle of single crochet, increasing every round the way you did for the body, produces a soft textured patch that mimics fluffy feathers. Stop once the patch measures roughly an inch across, then set it aside for the assembly stage.
Wings
Two identical wings finish the sides of the bird nicely. Chain four, then single crochet back down the chain, followed by a half double crochet or two into the final stitch to create a slight curve. Fasten off with a long tail for sewing, and repeat for the second wing.
Beak and Feet
Orange or yellow yarn worked into a tiny triangle, or simply folded felt, makes a fast and effective beak. Feet aren’t strictly necessary on a keychain version, though a few short embroidered lines beneath the body add a charming finishing touch for makers who want extra detail.
Facial Features
Safety eyes placed a stitch or two apart give the bird an alert, friendly expression, while embroidered eyes work just as well for anyone avoiding small parts. A tiny embroidered smile beneath the beak, stitched in a single strand of contrasting thread, rounds out the personality without adding bulk.
Joining All Pieces
Position the head directly on top of the body and pin it in place before sewing, checking that it sits centered from every angle. Stitch around the base of the head using a whip stitch, tucking the working yarn tail inside the body once finished. Attach the chest patch slightly below the neck, sewing only around its edges so the fuzzy texture stays raised and dimensional.
Final Assembly
Sew the wings onto either side of the body at a slight downward angle, which gives the bird a more natural, lifelike posture. Thread a jump ring through several stitches at the top of the head, reinforcing the attachment point with a few extra passes of yarn since keychains take regular wear. Clip on the keychain hardware last, once every yarn tail has been woven in and trimmed.
Tips for Success
- Count stitches at the end of every round, especially through the increase rounds where mistakes compound quickly
- Use a stitch marker consistently, moving it up each round rather than guessing where the round begins
- Stuff a little at a time throughout the body instead of all at once at the end
- Keep tension even by practicing on a scrap swatch first if your stitches tend to loosen
- Weave in ends through several stitches in different directions so nothing works its way loose
- Block the fuzzy chest patch gently with your fingers after sewing, fluffing the texture into place
Personalization Ideas
- Swap the yellow for cardinal red, bluebird blue, or robin brown for a whole flock of different species
- Add a tiny felt flower or bow behind one ear for a springtime version
- Work the entire body in variegated yarn for a naturally speckled finch look
- Attach a small bell inside the stuffing for a playful jingle
- Scale the pattern up using bulky yarn and a larger hook for a huggable jumbo version
- Turn the finished bird into a Christmas ornament by swapping the clasp for a ribbon loop
Common Mistakes to Avoid
Losing track of stitch count ranks as the most frequent issue beginners run into, particularly during the increase rounds where numbers climb fast. Marking every tenth stitch with a locking marker as you work solves this almost instantly.
Understuffing leaves the finished Crochet Fluffy Bird Keychain and prone to losing its shape, so err on the side of firm rather than soft. Sewing the head on slightly crooked is another common slip; pinning both pieces in place and checking the angle from above before stitching prevents a lopsided finish. Finally, skipping the reinforcement stitches around the jump ring attachment often leads to the head loosening from repeated keychain use, so a few extra passes there go a long way.
Frequently Asked Questions
What yarn works best for the fluffy chest patch?
Bouclé, eyelash, or a soft chenille-style yarn all create convincing texture. Any fuzzy novelty yarn in a small quantity works.
Can I make this without safety eyes?
Embroidered eyes using black thread or floss work just as well and are safer for gifts intended for young children.
How long does one bird take to finish?
Most crocheters finish a single bird in two to three hours, including assembly and finishing touches.
What hook size gives the tightest stitches?
Going one size smaller than the yarn label recommends produces a denser fabric that holds stuffing in without gaps.
Can this Crochet Fluffy Bird Keychain pattern be scaled into a larger plush?
Bulky yarn paired with a 5mm–6mm hook turns this same pattern into a full-size decorative bird or pillow-style plush.
Is this Crochet Fluffy Bird Keychain pattern suitable for complete beginners?
Yes, since it only relies on single crochet, increases, and decreases, making it an approachable first amigurumi project.
How do I attach the keychain hardware securely?
Loop the jump ring through multiple stitches near the top of the head and reinforce with several extra passes of yarn before attaching the clasp.
Conclusion
Few projects deliver this much charm for such a small time investment. Once the first bird comes together, most crocheters find themselves reaching for a new color to start a second, then a third, until a whole flock of tiny keychains lines the desk. Give this pattern a try, and share a photo of your finished bird once it’s done. Seeing everyone’s color choices and little personal touches is always the best part of a pattern like this one.