Make Your Crochet Flower Coasters Pattern
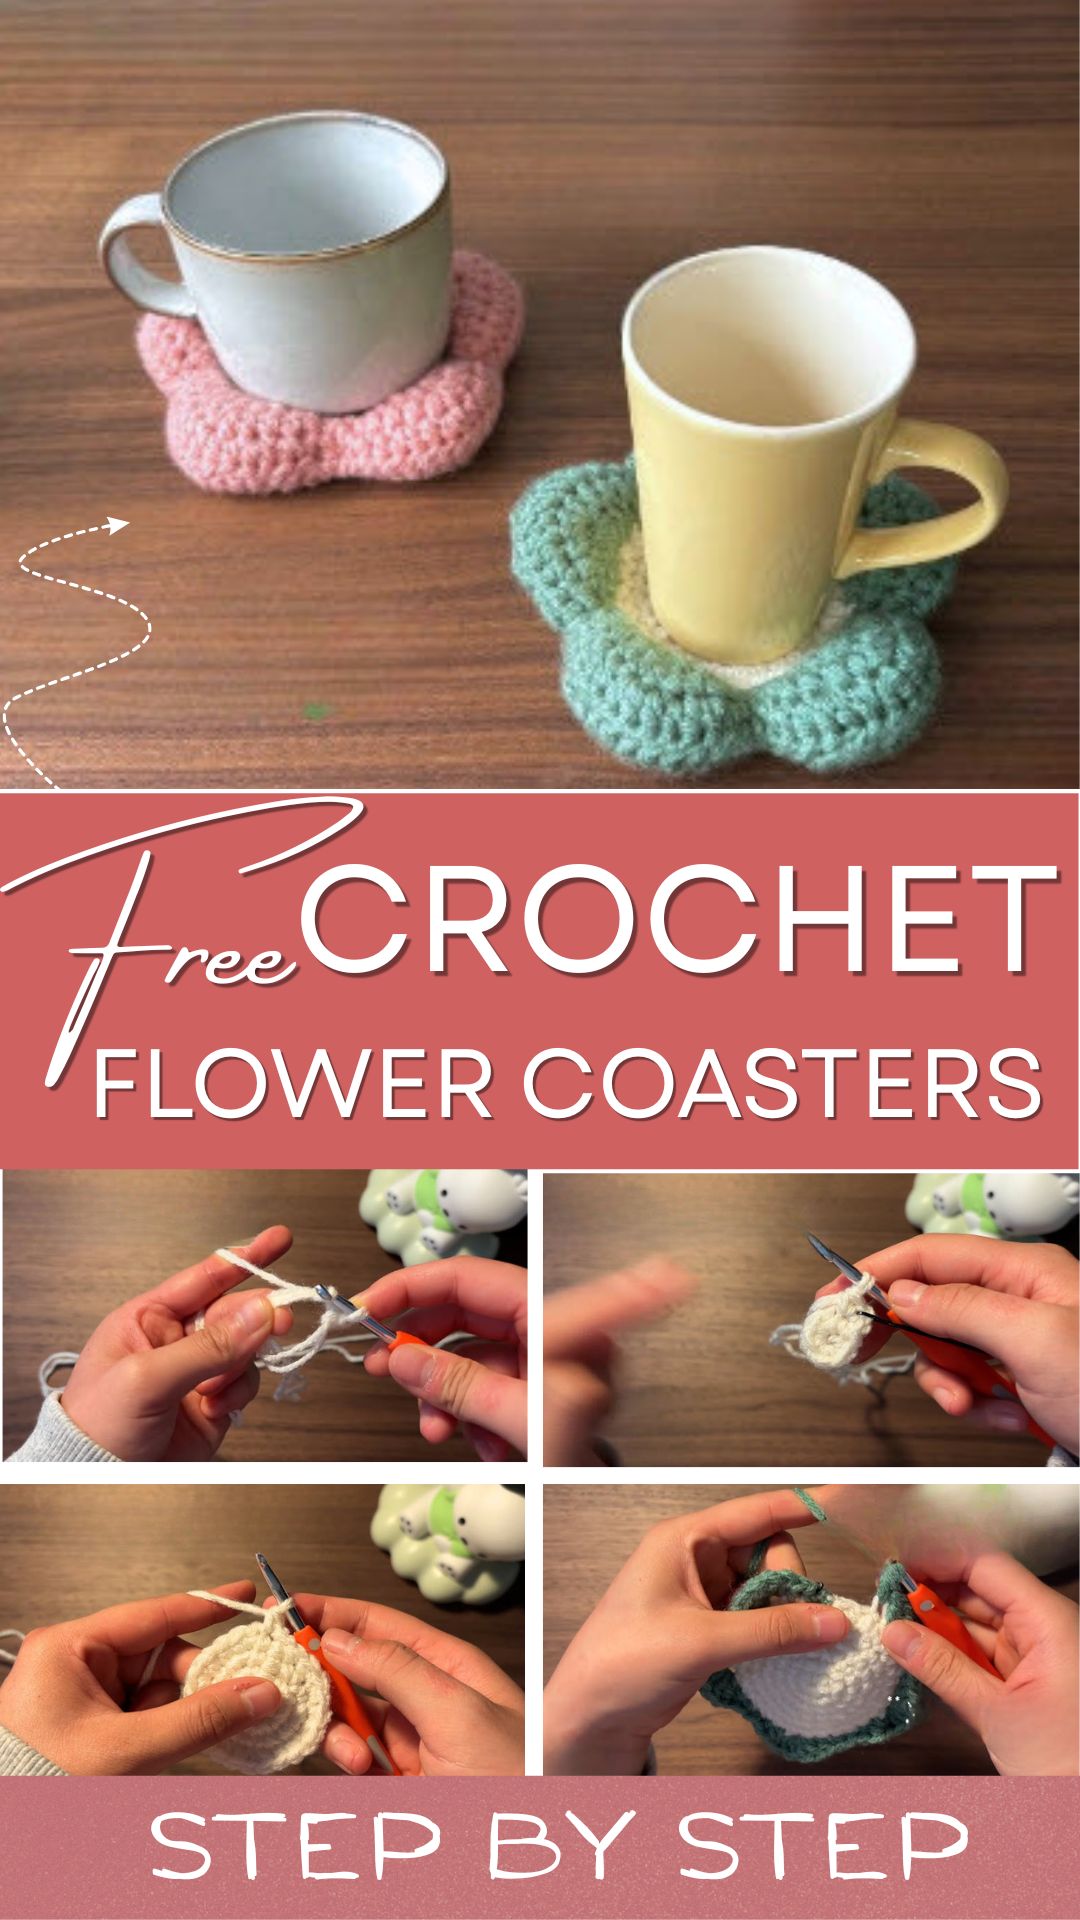
This crochet flower coaster pattern turns an ordinary drink rest into a soft, puffy flower with a creamy white centre and rounded green petals. Most coasters stay flat and plain, but this one feels cushiony under a cup, looks sweet on a coffee table, and doubles as cheerful home decor between drinks.
Below, you will find everything you need, from the double-stranded acrylic yarn and 5 mm hook to the white base, the front and back petals, and the final stuffing. In addition, every photo step comes with a clear explanation, so the shaping stays easy to follow even for a confident beginner. By the end, you will have a plush flower coaster ready to use, gift, or display.
Crochet Flower Coasters Pattern Overview
You start with a white circle and work it in rounds. Next, you crochet green petals around its edge, first through the front loops and then through the back loops. As a result, you get a two-sided flower with a built-in rim.
Since polyfill fills the flower, it sits somewhere between a coaster and a small cushion. It suits mugs, plants, bedside tables, and shelf displays. In addition, acrylic yarn keeps the stitches firm and easy to wipe down.
Crochet Flower Coasters Pattern Features
Here is what this design offers:
- Double-sided design: both faces show the same petals.
- Color contrast: a white center sets off the green petals.
- Plush filling: polyfill gives the coaster a soft, rounded body.
- Basic stitches only: no advanced techniques required.
- Repeating petal sequence: each petal follows the same stitch order, so the rhythm becomes easy to learn.
Skill Level for the Crochet Flower Coasters Pattern
The pattern does not state an official skill level. Based on the stitches involved, though, it suits confident beginners and advanced beginners. The magic ring, increases, and 5-double-crochet petals take a little practice. However, the shaping repeats and stays predictable, so this crochet flower coasters pattern gets easier as you go.
Materials for the Crochet Flower Coasters Pattern
Gather these supplies:
- Yarn: double-stranded 4 mm acrylic yarn, green for the petals and rim, white for the flower center base
- Crochet hook: 5 mm
- Polyfill stuffing
- Stitch markers
- Tapestry needle
- Scissors
Yarn Information
The pattern calls for acrylic yarn held double, with a 4 mm yarn thickness. Holding two strands together makes a dense fabric that keeps its shape under stuffing and resists gaps.
Acrylic works well here because it holds colour, handles frequent use, and cleans up easily. Other yarns can work, but the fabric will change. For example, cotton gives a firmer, less bouncy coaster. Also, anything much thinner or thicker changes the size, so test a small swatch first.
Finished Size
The pattern does not list finished measurements, so none are claimed here. Size depends on your tension, your yarn, and how tightly you stuff the piece. If you plan a matching set, measure the first finished flower and note it down.
Stitches and Abbreviations
- Magic ring: an adjustable loop that starts a circle with no centre hole
- SC (single crochet): a short, tight stitch that forms the base
- HDC (half double crochet): a slightly taller stitch that rounds out the base and petals
- DC (double crochet): a tall stitch that forms the petal curve
- Slip stitch: a flat stitch that closes rounds and finishes each petal
- Increase: two stitches worked into one stitch
- Front loop and back loop: the two top strands of a stitch, which let one base carry petals on both sides
Gauge Information
The pattern gives no gauge. For this design, overall size matters more than exact stitch counts, since the flower only has to make a pleasing coaster. However, keep the stitches tight enough that the stuffing cannot show through. If gaps appear, drop a hook size or hold the yarn more firmly.
Tips Before You Start Your Crochet Flower Coasters Pattern
- First, keep both strands of yarn together, since splitting the plies causes uneven stitches.
- Also, mark the first stitch of every round with a stitch marker.
- Work the base flat. If it starts to ruffle or cup, space the increases more.
- Plan your green yarn before you begin, because you work the petals twice.
- Finally, leave a long tail at the end of the final round for sewing.
Step-by-Step Crochet Flower Coasters Pattern
Step 1: Make the Magic Ring
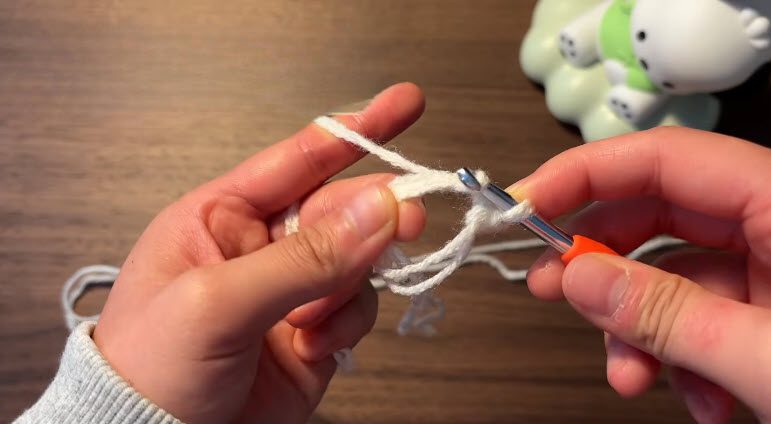
Use the white double-stranded yarn and the 5 mm hook. First, form an adjustable loop and work 6 single crochets into the ring. Then tighten the tail to close the center, and join with a slip stitch.
Step 2: Grow the Base (Rounds 2 to 5)
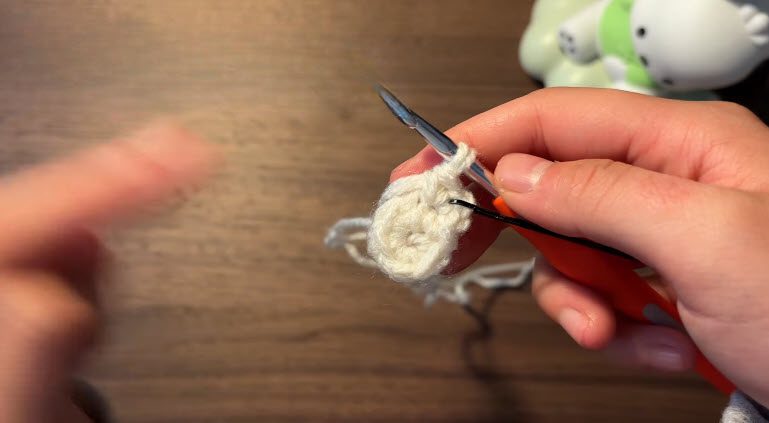
Round 2 begins with an increase in every stitch. After that, Rounds 3, 4, and 5 continue with single crochets and increases, and you space the increases a little further apart each round. As a result, the circle stays flat as it widens.
Step 3: Finish the White Center
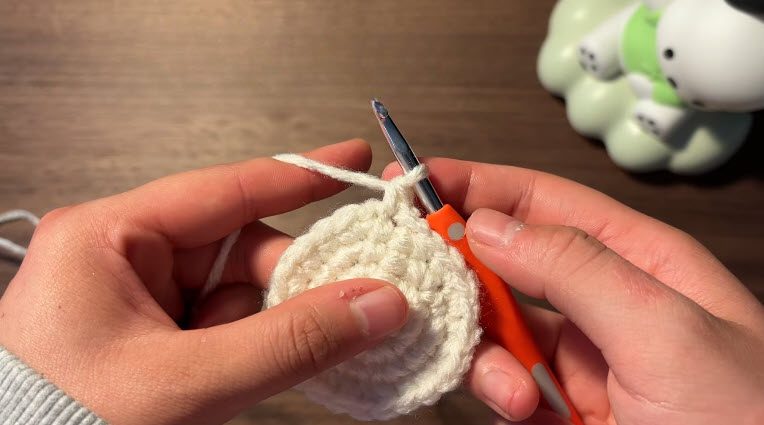
Next, work Round 6 in half double crochets with the white yarn. This round lifts the edge of the circle slightly and gives the petals a solid place to start.
Step 4: Add the Front Petals (Rounds 7 to 9)
Join the green yarn to the front loops of the white base. Each petal follows this sequence:
- 1 single crochet
- 1 half double crochet
- 5 double crochets in the same stitch
- 1 half double crochet
- 1 single crochet
- 1 slip stitch
Repeat the sequence around the base until you finish all the petals. Then, in Rounds 8 and 9, use half double crochets and increases to enlarge and shape the petals.
Step 5: Work the Back and Prepare to Stuff
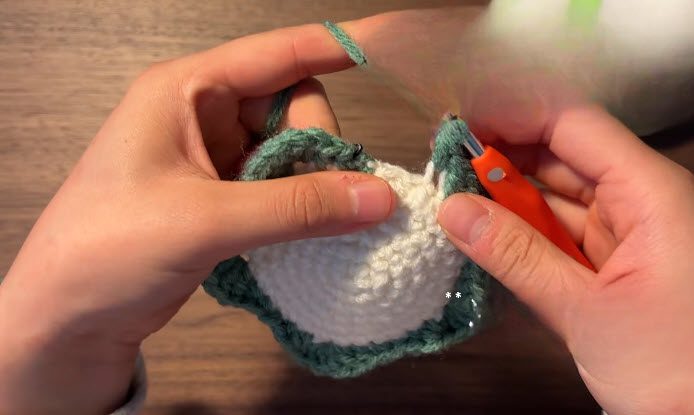
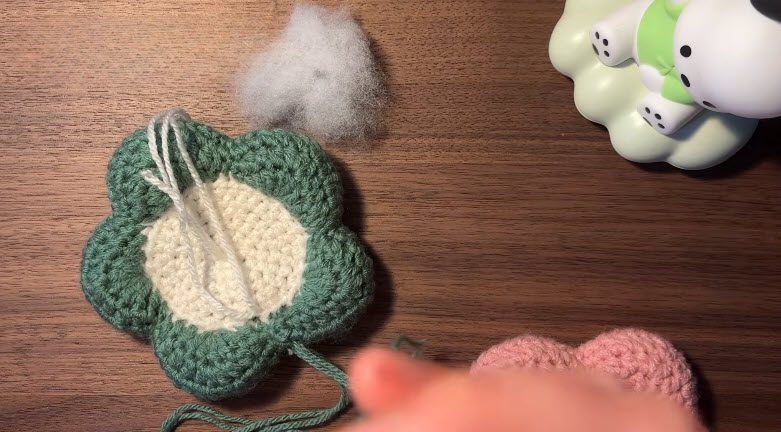
Turn the piece over and join the green yarn to the back loops of the white base. Then repeat Rounds 7 to 9 exactly as before, so both sides carry petals.
The fifth photo shows the flower lying flat with the polyfill waiting beside it, while the tail and yarn ends sit ready for weaving in.
Pattern Construction
The coaster comes together in three working stages: a white base, green petals on the front loops, and green petals on the back loops. After that, joining the two petal layers creates a pocket for the stuffing.
Customization Options
- Swap the green for pink, yellow, or lavender petals.
- Change the white centre to a pale shade that matches your tablecloth.
- Make a set in different colours so guests can mix them at the table.
- Use a slightly thinner yarn for a smaller, firmer flower.
Bonus: Styling Ideas for Your Flower Coasters
Stack two or three coasters in different colours for a centrepiece. Alternatively, set a single flower under a small potted plant or beside a mug on a desk. For gifts, tie a set together with a ribbon.
Common Mistakes and Troubleshooting
- The base curls: you added too few increases, so space them a little more evenly.
- The base ruffles: you added too many increases, so slow down the shaping.
- Stuffing shows: your tension is too loose, so drop a hook size.
- Petals look uneven: count the stitches in each petal sequence before you move on.
- The coaster feels lumpy: stuff in small pieces and spread them evenly.
Finishing Your Crochet Flower Coasters Pattern
First, sew the two petal layers together along the edge with the tapestry needle, and stop before the opening closes completely. Next, push the polyfill in tightly and evenly. Then sew the opening shut and weave in every remaining tail.
Care Instructions
Check the yarn label first. Acrylic generally tolerates gentle hand washing, but stuffed items take a long time to dry, so spot cleaning is safer. Dry the coaster flat and keep it away from direct heat.
FAQs About the Crochet Flower Coasters Pattern
Can I make this crochet flower coasters pattern with one strand of yarn?
The original uses double strands. A single strand makes a smaller, less firm flower.
Is the flower safe as a coaster for hot mugs?
Acrylic can melt under high heat, so it works best for warm drinks, not scorching ones.
Do I need to work the petals on both sides?
Yes, since the pattern repeats Rounds 7 to 9 on the back loops.
What if the base will not lie flat?
Pull back a few rounds and adjust where the increases fall.
Set the Table With a Handmade Bloom
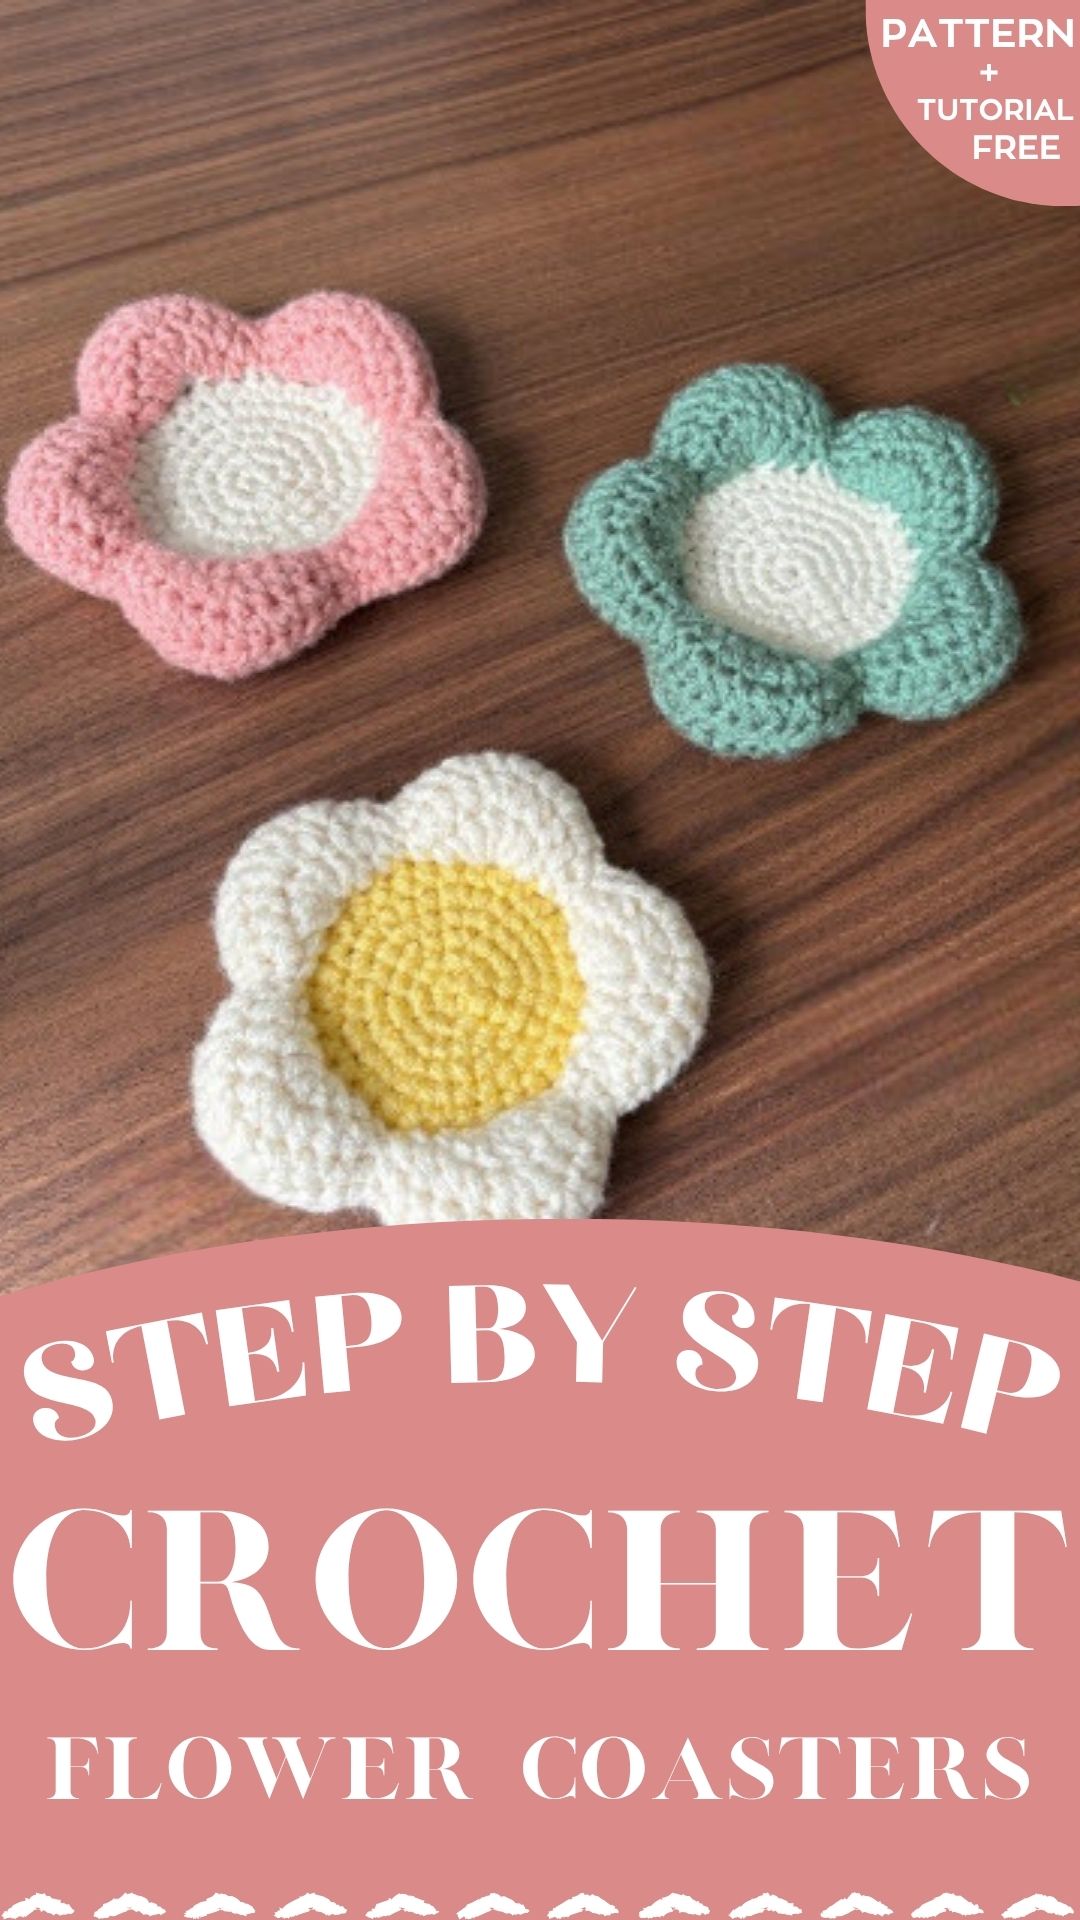
This crochet flower coasters pattern turns a few simple stitches into a soft, cheerful piece. With a white center, double-sided petals, and plush stuffing, it suits gifts, home decor, and table styling. So pick two colors, work the first round, and watch how quickly the flower takes shape.