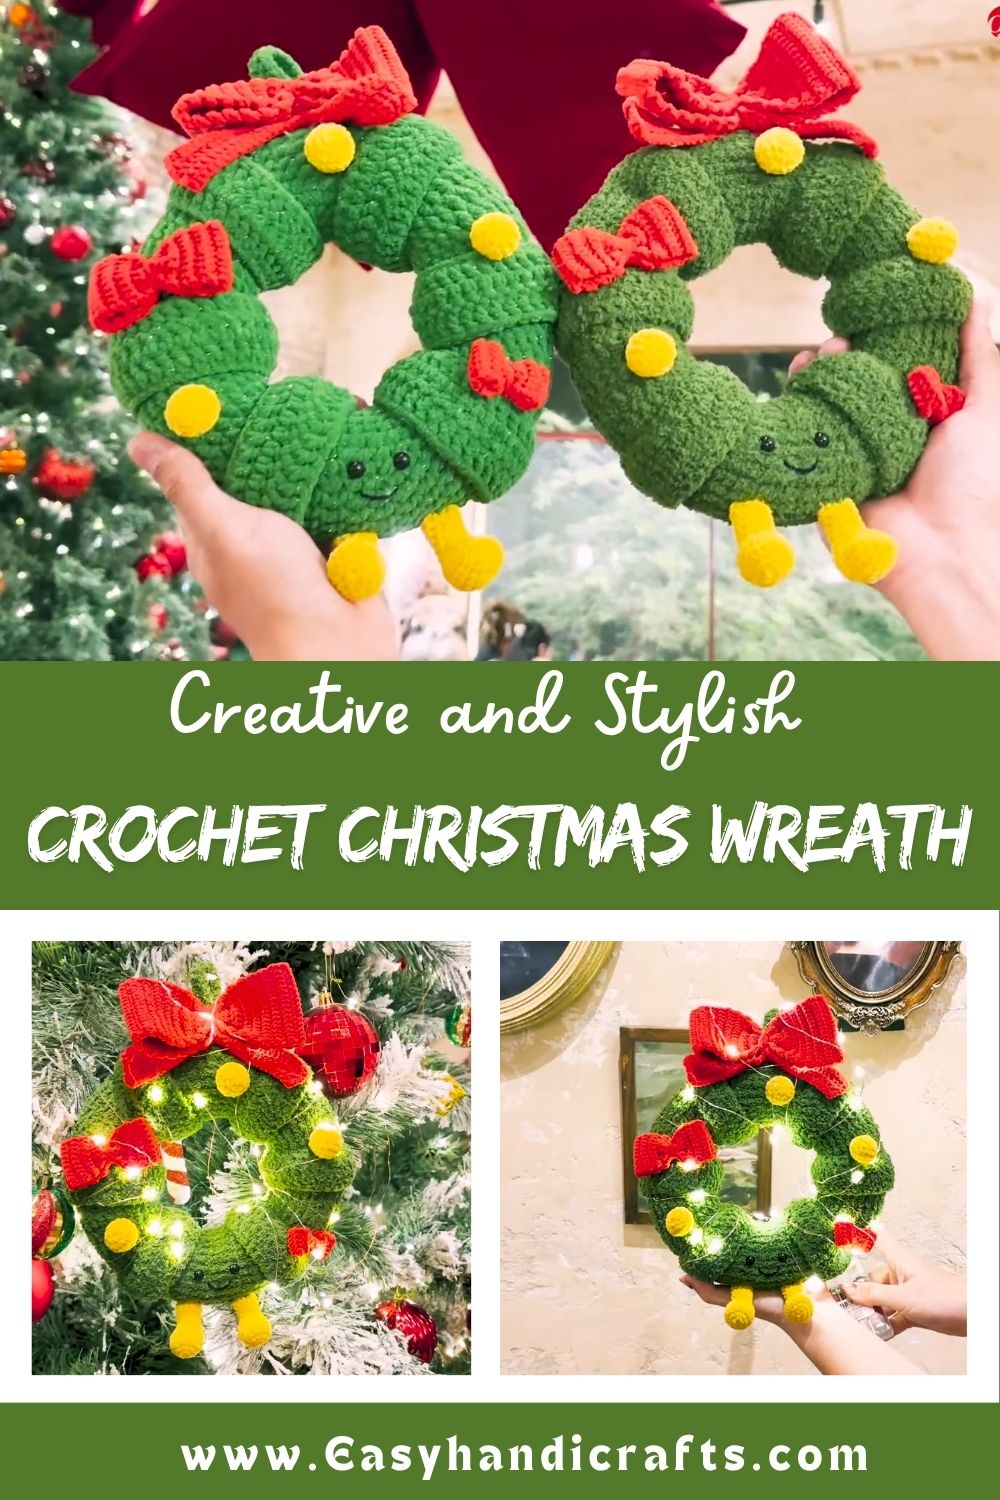
Crochet Christmas Wreath Pattern for Front Door Displays
Skill Level
Beginner to Beginner-Intermediate
If you already know how to single crochet, chain, and make a magic ring, you can absolutely handle this wreath. The shaping is forgiving, the stitch count stays low, and there is plenty of room for happy little imperfections that only add to the handmade charm.
Materials and Supplies List
Gather these basics before you start, and you’ll be ready to crochet the whole wreath in one relaxed sitting (or two, if you like to sip cocoa between rounds).
- Yarn colors: worsted weight yarn in forest green (main wreath body), holly green (leaves), cherry red (berries and accents), and a coordinating color for the bow (classic red, plaid, or gold work beautifully)
- Crochet hook size: 4.5mm (US size 7) or 5mm (US size H-8), depending on your yarn weight and gauge
- Safety eyes: not required for this pattern, but two small black safety eyes or beads are optional if you want to add a whimsical little face to a bird or ornament accent
- Stuffing: polyester fiberfill, for plumping up the berries and any add-on ornaments
- Needle and scissors: a large-eye tapestry needle for sewing pieces together, plus a good pair of sharp scissors
- Keychain ring or accessories: a sturdy wire wreath form or foam ring (12–14 inches works well), plus a ribbon loop or ornament hook for hanging
Optional extras like jingle bells, pinecones, or a wooden “Welcome” tag make lovely finishing touches if you want to personalize your design.
Crochet Techniques Used
This pattern leans on a handful of friendly, beginner crochet techniques:
- Magic ring – for starting the berries and any rounded accent pieces
- Single crochet (sc) – the main stitch used for the wreath body strip and holly leaves
- Increase and decrease – to shape the rounded berries and taper the holly leaf tips
- Sewing parts together – attaching leaves, berries, and the bow onto the finished wreath base
Knowing these four techniques is really all you need to complete this crochet tutorial from start to finish.
Step-by-Step Crochet Pattern Instructions
Making the Wreath Body Strip
The wreath body is worked as one long flat strip that gets wrapped around your ring form, so it looks lush and full rather than thin and sparse.
- With forest green yarn, chain 21.
- Row 1: Single crochet into the second chain from the hook and in each chain across (20 sc total). Chain 1, turn.
- Row 2 onward: Single crochet in each stitch across. Chain 1, turn.
- Repeat Row 2 until your strip is long enough to wrap fully around your ring form with a little overlap (this usually takes 100–130 rows, depending on the size of your form).
- Fasten off, leaving a long tail for sewing.
Working the whole strip flat, rather than trying to crochet directly around the ring, makes this project so much easier to control and much friendlier for beginners.
Crocheting the Holly Leaves
- With holly green yarn, chain 8.
- Starting in the second chain from the hook, single crochet in the first 2 chains.
- Half double crochet in the next chain.
- Double crochet in the next 2 chains.
- Half double crochet in the next chain.
- Single crochet in the last 2 chains, then chain 1 and slip stitch to close the point.
- Fasten off, leaving a tail for sewing. Make 6–8 leaves total, or as many as you’d like for a fuller look.
This shaping combination is what gives the leaf its pointed, tapered look instead of a plain oval shape.
Making the Berries
- With cherry red yarn, make a magic ring and work 6 single crochet into it (6 sc).
- Round 2: Increase in every stitch around (12 sc).
- Round 3: Single crochet around, no increases (12 sc).
- Round 4: Decrease every other stitch around (8 sc). Stuff lightly with fiberfill.
- Round 5: Decrease around until the opening closes (about 4 sc).
- Fasten off and cinch the top closed. Make 5–7 berries for a nice cluster.
Crocheting the Bow
- Chain a length equal to about twice the width you’d like your finished bow to be.
- Work single crochet back and forth in rows until you have a rectangle roughly 3 inches wide by 8–10 inches long.
- Fasten off and pinch the rectangle in the center to form a bow shape.
- Crochet a small separate strip and wrap it around the center pinch point, then sew it in place to hold the bow shape secure.
Assembly Process
Assembly is where all your pieces finally come together into one cheerful wreath.
- Wrap the long green strip snugly around your ring form, matching up the beginning and end of each row as you go so there are no lumpy overlaps.
- Using your tapestry needle and matching yarn, stitch the wrapped strip’s edges together along the back of the ring so it stays firmly in place.
- Arrange your holly leaves in a cluster or two around one section of the wreath, and sew them down through the base strip.
- Tuck the berries in among the leaves and stitch them in place.
- Center the bow over the leaf cluster and sew it securely to the wreath body.
Finishing Touches
Once everything is sewn down, weave in any remaining loose ends with your tapestry needle and trim them close to the surface. Attach a ribbon loop or sturdy string to the back of the wreath for hanging, and give the whole piece a gentle fluff and shape before hanging it on your door.
Helpful Beginner Tips
A few small habits make a big difference in how polished your finished wreath looks.
- Keep tight stitches for amigurumi-style pieces like the berries, so stuffing doesn’t peek through gaps
- Use stitch markers on the first stitch of each round when working the berries, so you never lose track of where a round starts
- Practice proper stuffing techniques by adding small pinches of fiberfill at a time rather than one big handful, which keeps the berries smooth and round instead of lumpy
Design Customization Ideas
This crochet pattern is easy to make your own, so don’t be afraid to play around with it.
- Different colors: try a farmhouse-style wreath in cream and sage, a Nordic look in white and icy blue, or a bright candy-cane theme in red and white stripes
- Cute accessories: add crochet mini mittens, a tiny gnome, jingle bells, or a small crochet cardinal for extra personality
- Mini size variations: shrink the base ring down to 6–8 inches and scale the strip length accordingly for an adorable mini wreath perfect for a mantel or wall hook
Frequently Asked Questions
What is the best yarn for amigurumi and wreath accents?
A medium worsted weight acrylic or acrylic-blend yarn works wonderfully for this project. It holds its shape well, is easy on the wallet, and comes in a huge range of holiday colors, which makes it a top pick for both amigurumi pieces and wreath accents like these berries and leaves.
How do I make my Crochet Christmas Wreath Pattern firm and full?
Firmness comes down to two things: tension and stuffing. Keep your stitches snug rather than loose, and add fiberfill gradually in small amounts, pressing it evenly as you go so there are no soft spots or lumps once the piece is closed up.
How long does this Crochet Christmas Wreath Pattern project take?
Most crocheters finish this wreath in about 4 to 6 hours of total crochet time, though it’s easy to break the project into a few relaxed evening sessions. The long body strip takes the longest, while the leaves, berries, and bow come together quickly.
Wrap Up and Get Crocheting
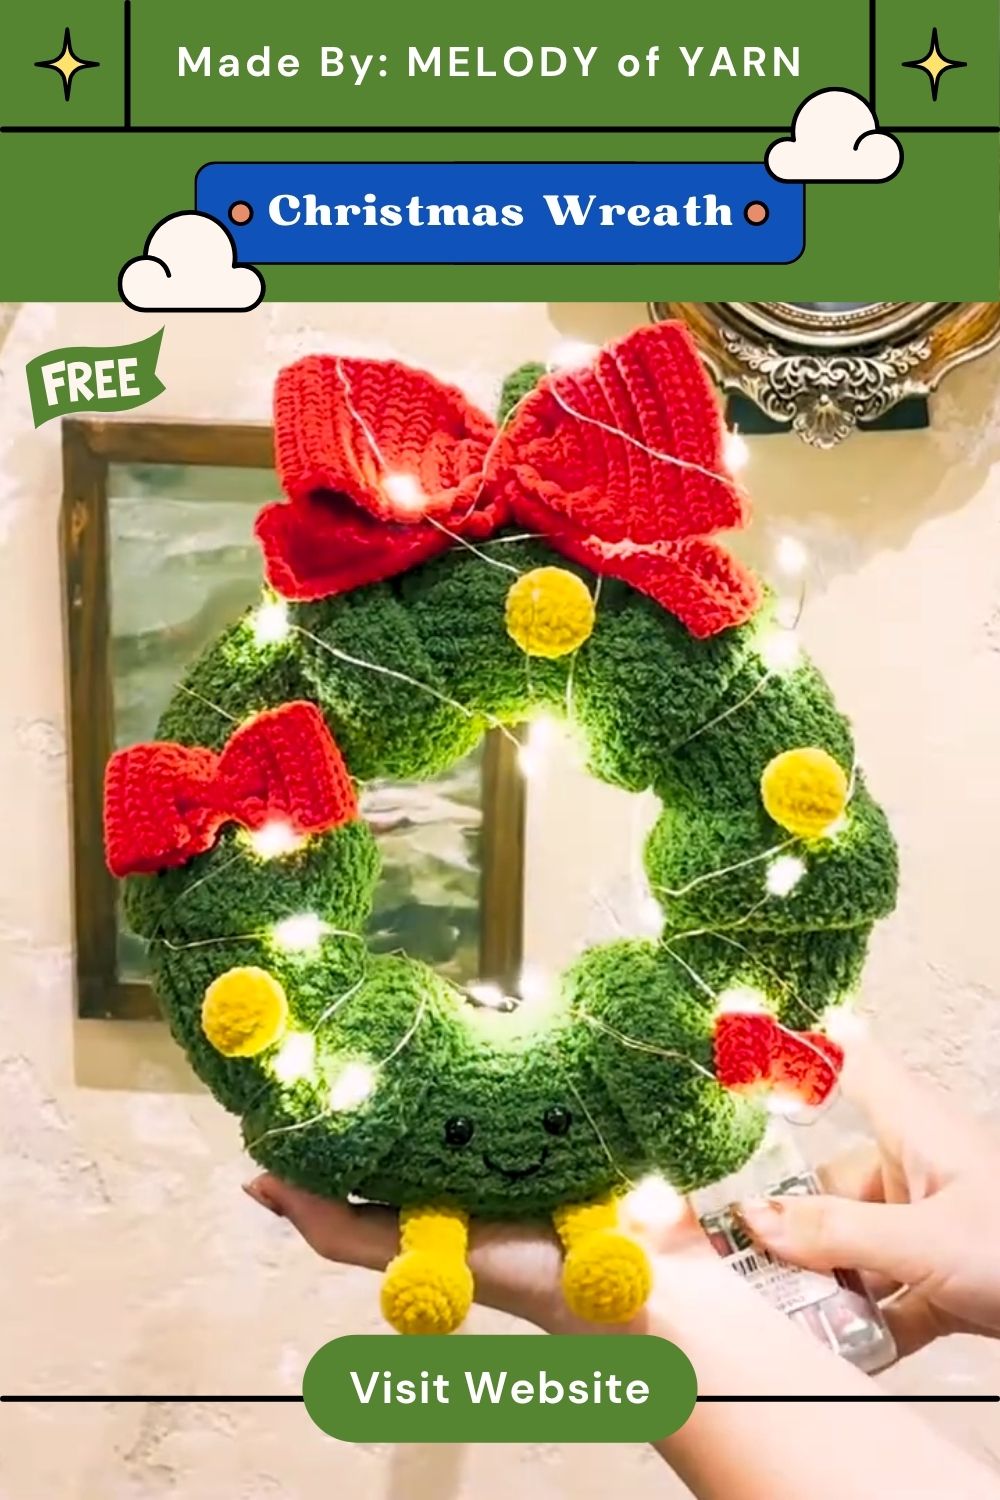
This crochet Christmas wreath pattern shows how simple stitches can create something special. It’s a beautiful handmade decoration for your front door. Whether you’re making your first amigurumi project or have years of experience, this pattern is easy to enjoy. It brings warmth and festive charm to your home.
Grab your hook and choose your favorite holiday colors. Start stitching today and enjoy the process. When your wreath is finished, hang it on your door. Then step back and admire the cozy handmade touch it adds.