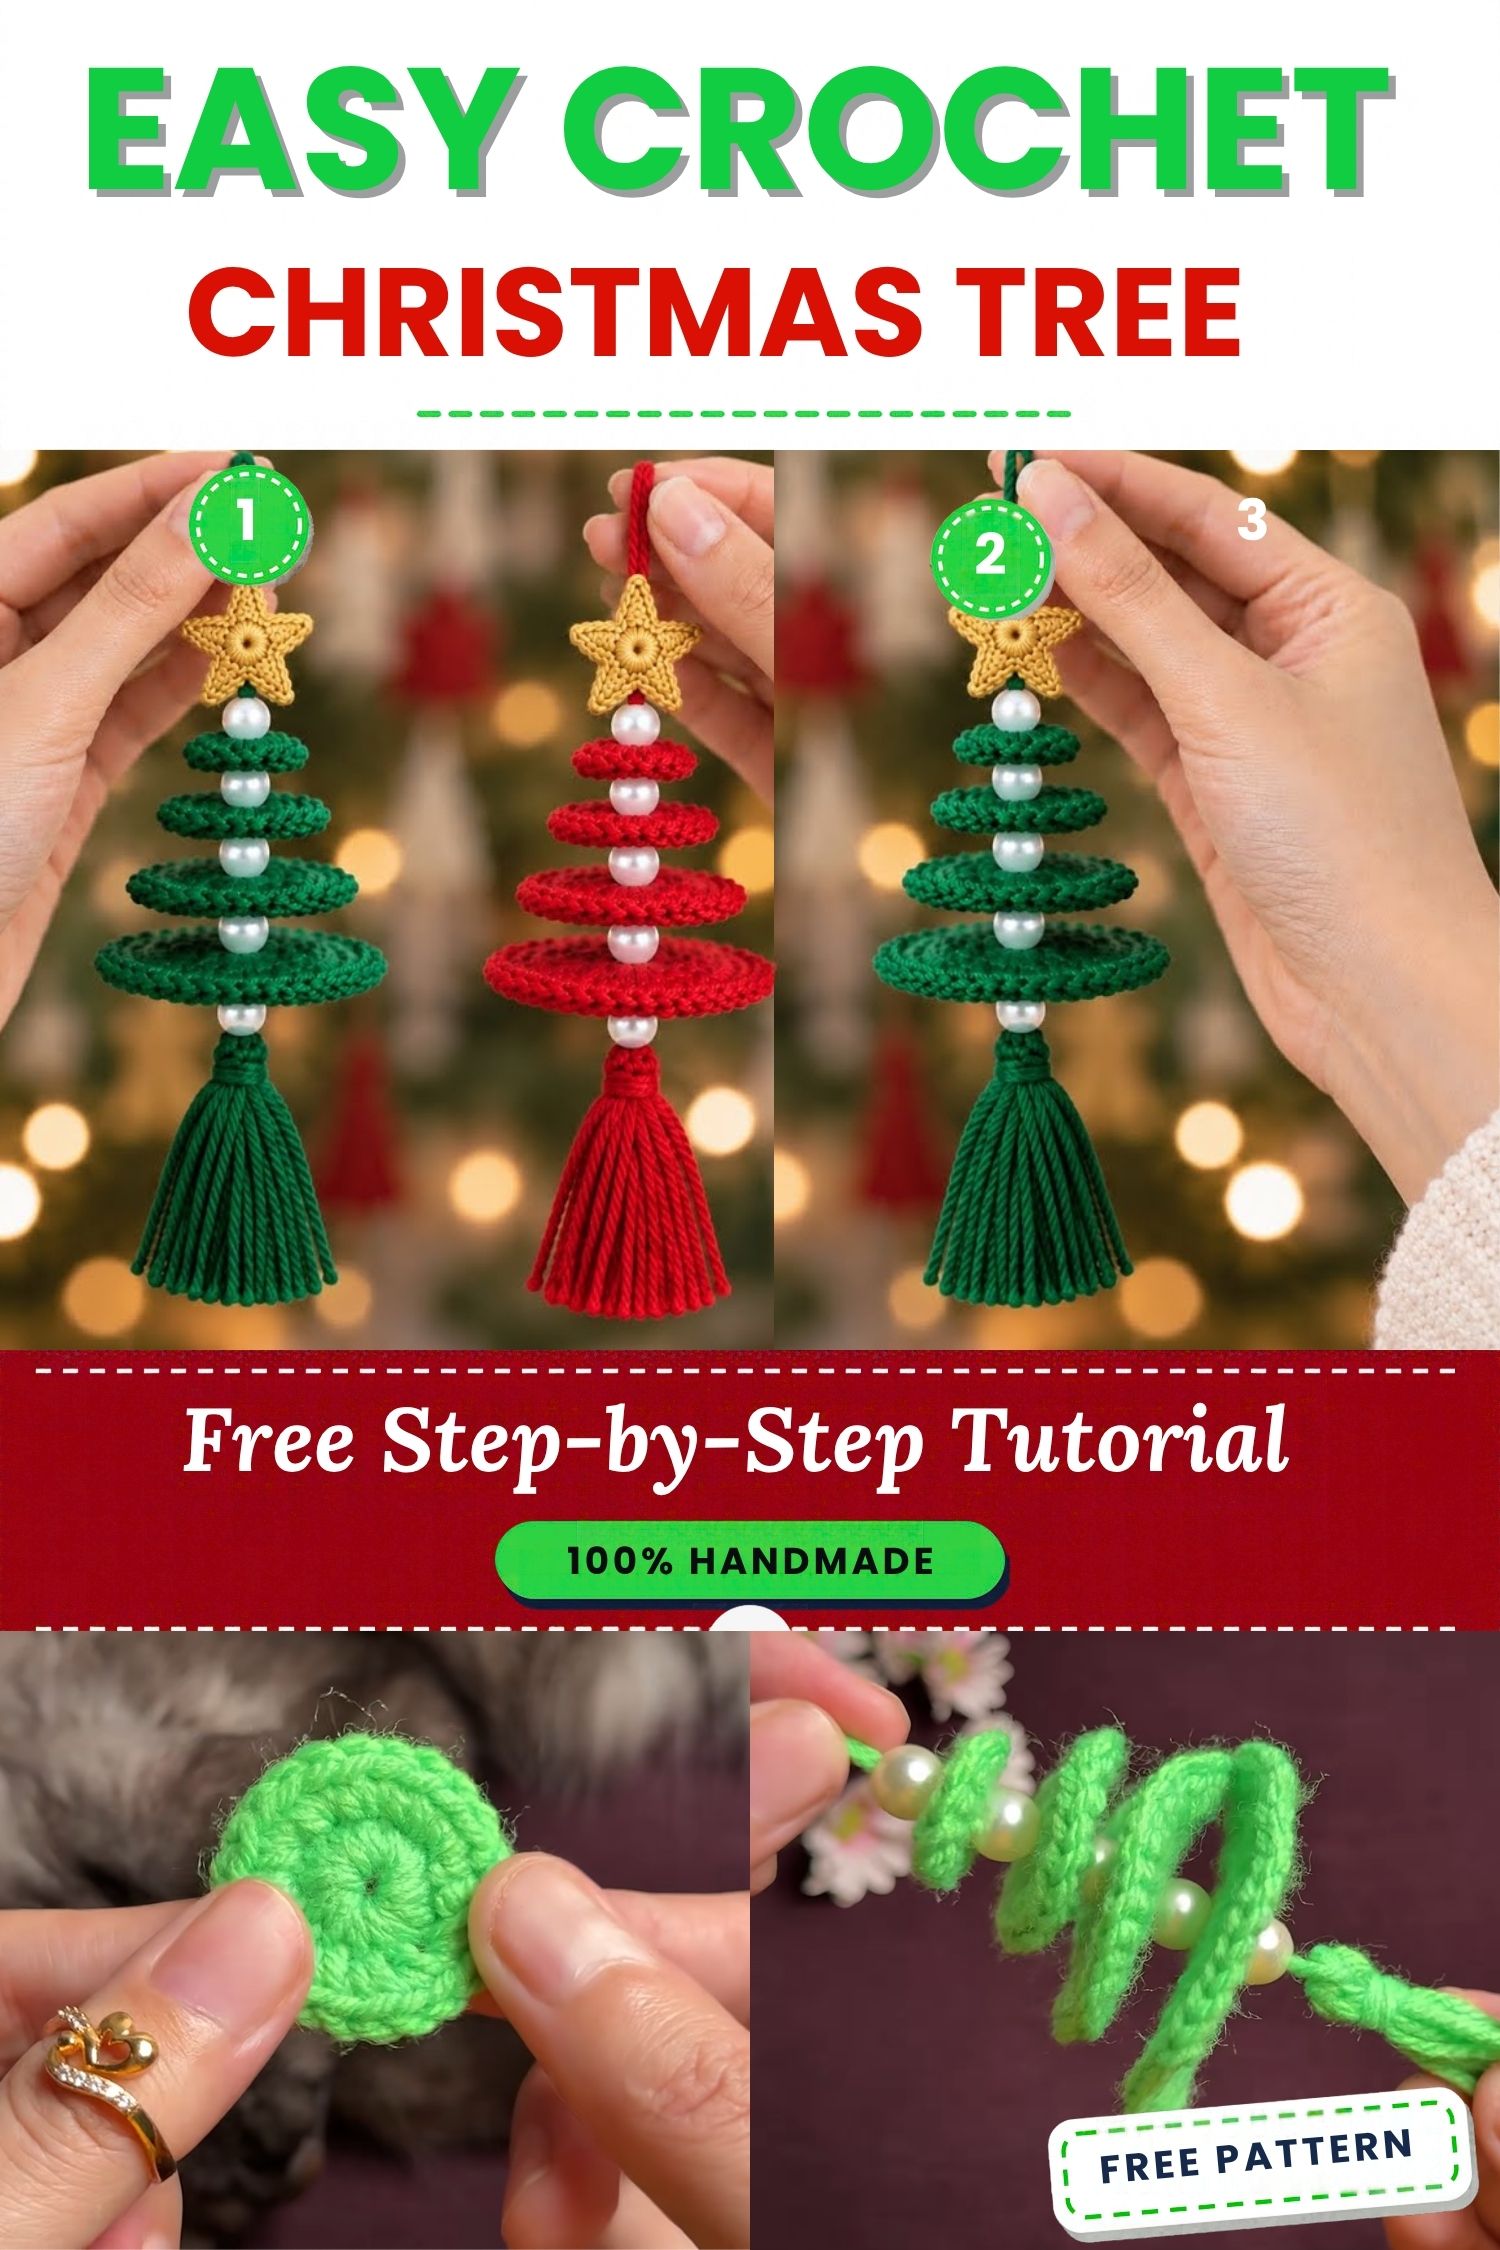
Free Crochet Christmas Tree Ornament Pattern
Few things feel more festive than a handmade crochet Christmas tree ornament. This cheerful bear was inspired by cozy winter forests and the warm glow of holiday lights. Because it works up quickly, it’s a great choice for beginners and for anyone who wants a thoughtful handmade gift.
You crochet this ornament in the round, starting at the top of the head and working down to the body. First, you make a few small parts: the head, the body, two ears, and a tiny tail. Next, you sew everything together. When it’s finished, the bear stands about three inches tall and hangs from a keychain ring on your tree.
The pattern uses only basic stitches, so anyone who knows the magic ring and single crochet can get started. Once you finish your first bear, try changing the colors to build a whole tree full of friends.
Skill level: Beginner
Materials for This Crochet Christmas Tree Ornament
- Yarn: Light worsted (DK) weight. Use green for the body, ivory or peach for the head and ears, red for the hat, and a small amount of brown or black for the facial details.
- Crochet hook: 3.0 mm (US D-3)
- Safety eyes: 6 mm
- Stuffing: Polyester fiberfill
- Tapestry needle and scissors
- Keychain ring or a small jump ring for hanging
- Stitch markers to keep track of each round
- Optional: A small pom-pom maker for the hat
Crochet Techniques Used in This Ornament
- Magic ring: A flexible starting circle that closes tightly at the center, so there’s no hole at the top of the head.
- Single crochet (sc): The main stitch in this project. It creates the dense, firm fabric that amigurumi needs.
- Increase (inc): Two single crochet stitches worked into one stitch. This makes the piece grow wider.
- Decrease (dec): Two stitches worked together as one. This closes the shape as each part comes to an end.
- Sewing parts together: Using a tapestry needle and matching yarn to attach the ears, head, and body.
Abbreviations
- MR: Magic ring
- sc: Single crochet
- inc: Increase (2 sc in the same stitch)
- dec: Decrease (sc two stitches together)
- rnd: Round
- sl st: Slip stitch
Step-by-Step Crochet Christmas Tree Ornament Pattern
Head (Ivory or Peach)
- Rnd 1: 6 sc in MR (6)
- Rnd 2: 2 sc in each stitch around (12)
- Rnd 3: Sc in next stitch, inc, repeat around (18)
- Rnd 4: Sc in next 2 stitches, inc, repeat around (24)
- Rnd 5: Sc in next 3 stitches, inc, repeat around (30)
- Rnds 6–10: Sc in each stitch around (30)
- Rnd 11: Sc in next 3 stitches, dec, repeat around (24)
- Rnd 12: Sc in next 2 stitches, dec, repeat around (18)
- Rnd 13: Sc in next stitch, dec, repeat around (12)
Place the safety eyes between rounds 7 and 8, about six stitches apart. Stuff the head firmly before you continue. Then work the final round:
- Rnd 14: Dec around (6)
Fasten off, weave the yarn tail through the last six stitches, and pull tight.
Body (Green)
- Rnds 1–5: Follow the same pattern as head rounds 1–5 (30)
- Rnds 6–9: Sc in each stitch around (30)
- Rnd 10: Sc in next 3 stitches, dec, repeat around (24)
- Rnd 11: Sc in next 2 stitches, dec, repeat around (18)
- Rnd 12: Sc in next stitch, dec, repeat around (12)
Stuff the body well. It should feel firm but still have a little give when you squeeze it. Then finish the shape:
- Rnd 13: Dec around (6)
Fasten off, then close the opening with a few tight stitches.
Ears (Make 2, Ivory or Brown)
- Rnd 1: 6 sc in MR (6)
- Rnd 2: 2 sc in each stitch around (12)
- Rnd 3: Sc in each stitch around (12)
- Rnd 4: Dec around (6)
Flatten each ear gently and work a few sc across the opening to close it. Leave the ears unstuffed so they stay flat.
Tail (Optional, Brown or Ivory)
- Rnd 1: 6 sc in MR (6)
- Rnd 2: 2 sc in each stitch around (12)
- Rnd 3: Sc in each stitch around (12)
- Rnd 4: Dec around (6)
Stuff lightly, close the opening, and leave a long tail for sewing.
Hat (Optional, Red with White Pom-Pom)
Work a simple cap in red using head rounds 1–5. Stop at 30 stitches, then work two rounds of sc without increasing. Fasten off, sew the brim to the top of the head, and attach a small white pom-pom to the tip.
Adding Facial Details
Once the safety eyes are in place, use a tapestry needle and a little brown or black yarn to add a small mouth. Two short stitches make a simple smile. A couple of straight stitches create a tiny nose. If you’d like rosy cheeks, dab on a little pink blush or stitch two small pink dots below the eyes.
Assembling the Crochet Christmas Tree Ornament
Follow these steps for a neat finish:
- Sew the ears to the top sides of the head, about two rounds in from the edge.
- Place the head on top of the body and make sure it sits centered.
- Use a whipstitch with matching yarn to join the head to the body. Stitch through both pieces all the way around.
- Sew the tail to the back of the body so it sits low and looks natural.
- If you’re making a hat, attach it after the head is joined to the body.
Finishing Touches for Your Ornament
Weave in all loose ends with the tapestry needle, then trim them close so they don’t show. For a fluffier look, brush the fibers gently with a fabric pick or a soft brush.
To make the ornament hang, push a 10-inch piece of yarn through the top of the head and tie a knot. Thread the loop through your keychain ring and knot it securely. Your bear is now ready for the tree.
Helpful Beginner Tips for Crochet Christmas Tree Ornaments
Amigurumi takes a little practice. These tips will help your first few pieces turn out well.
- Keep your stitches tight. Loose stitches let the stuffing show through. If you see gaps, pull the yarn firmly and work the next stitch right away.
- Use stitch markers. Place one at the start of each round. This makes it easier to keep your place, especially during increases.
- Stuff in small amounts. Add fiberfill a little at a time and push it into the corners with the handle of your hook. Firm stuffing gives the ornament a clean shape.
- Count your stitches. Check the count at the end of each round. One missed increase can change the whole shape.
- Keep your tension even. Avoid pulling the yarn too tightly, and keep your hands relaxed.
Design Ideas for Your Crochet Christmas Tree Ornament
This pattern is easy to change, so feel free to experiment.
Different Colors
Swap the green body for blue, white, or gold for a frosty winter look. A pastel palette suits a soft nursery theme, while brighter shades make a playful tree.
Cute Accessories
Add a tiny scarf, a crocheted star on the hat, or a small bell hung from the ring. Mini candy canes made with white and red yarn also look great on a tree.
Mini Size Variations
For a smaller version, switch to a 2.5 mm hook and fingering-weight yarn. Keep the same rounds, and the ornament will be about half the size. Mini ornaments work well as gift tag decorations or as part of a tree cluster.
Frequently Asked Questions About Crochet Christmas Tree Ornaments
What is the best yarn for amigurumi?
Cotton or acrylic yarn in light worsted or DK weight works very well. Acrylic is soft, affordable, and easy to wash. Cotton holds its shape and gives a crisp finish. Choose a smooth yarn with a tight twist, since it shows the stitches clearly.
How do I make a crochet plush firm?
Use a smaller hook than the yarn label suggests, and stuff the piece in small amounts. Keep your stitches tight and don’t skip the firm stuffing step. If the plush still feels soft, add a little more fiberfill and push it into the edges.
How long does this project take?
Most beginners finish one ornament in about two to three hours, and your speed will improve with practice. If you’re making several pieces as a gift set, plan for an afternoon of stitching or a relaxed evening with a cup of hot cocoa.
Bonus: Gift Tag Ideas
Pair your finished ornament with a handmade gift tag. Cut a small card from cardstock, write a short holiday message, and punch a hole at the top. Thread a little yarn through the hole and tie the tag to a present. It’s a small touch that makes the gift feel more personal.
Wrapping Up Your Festive Stitching
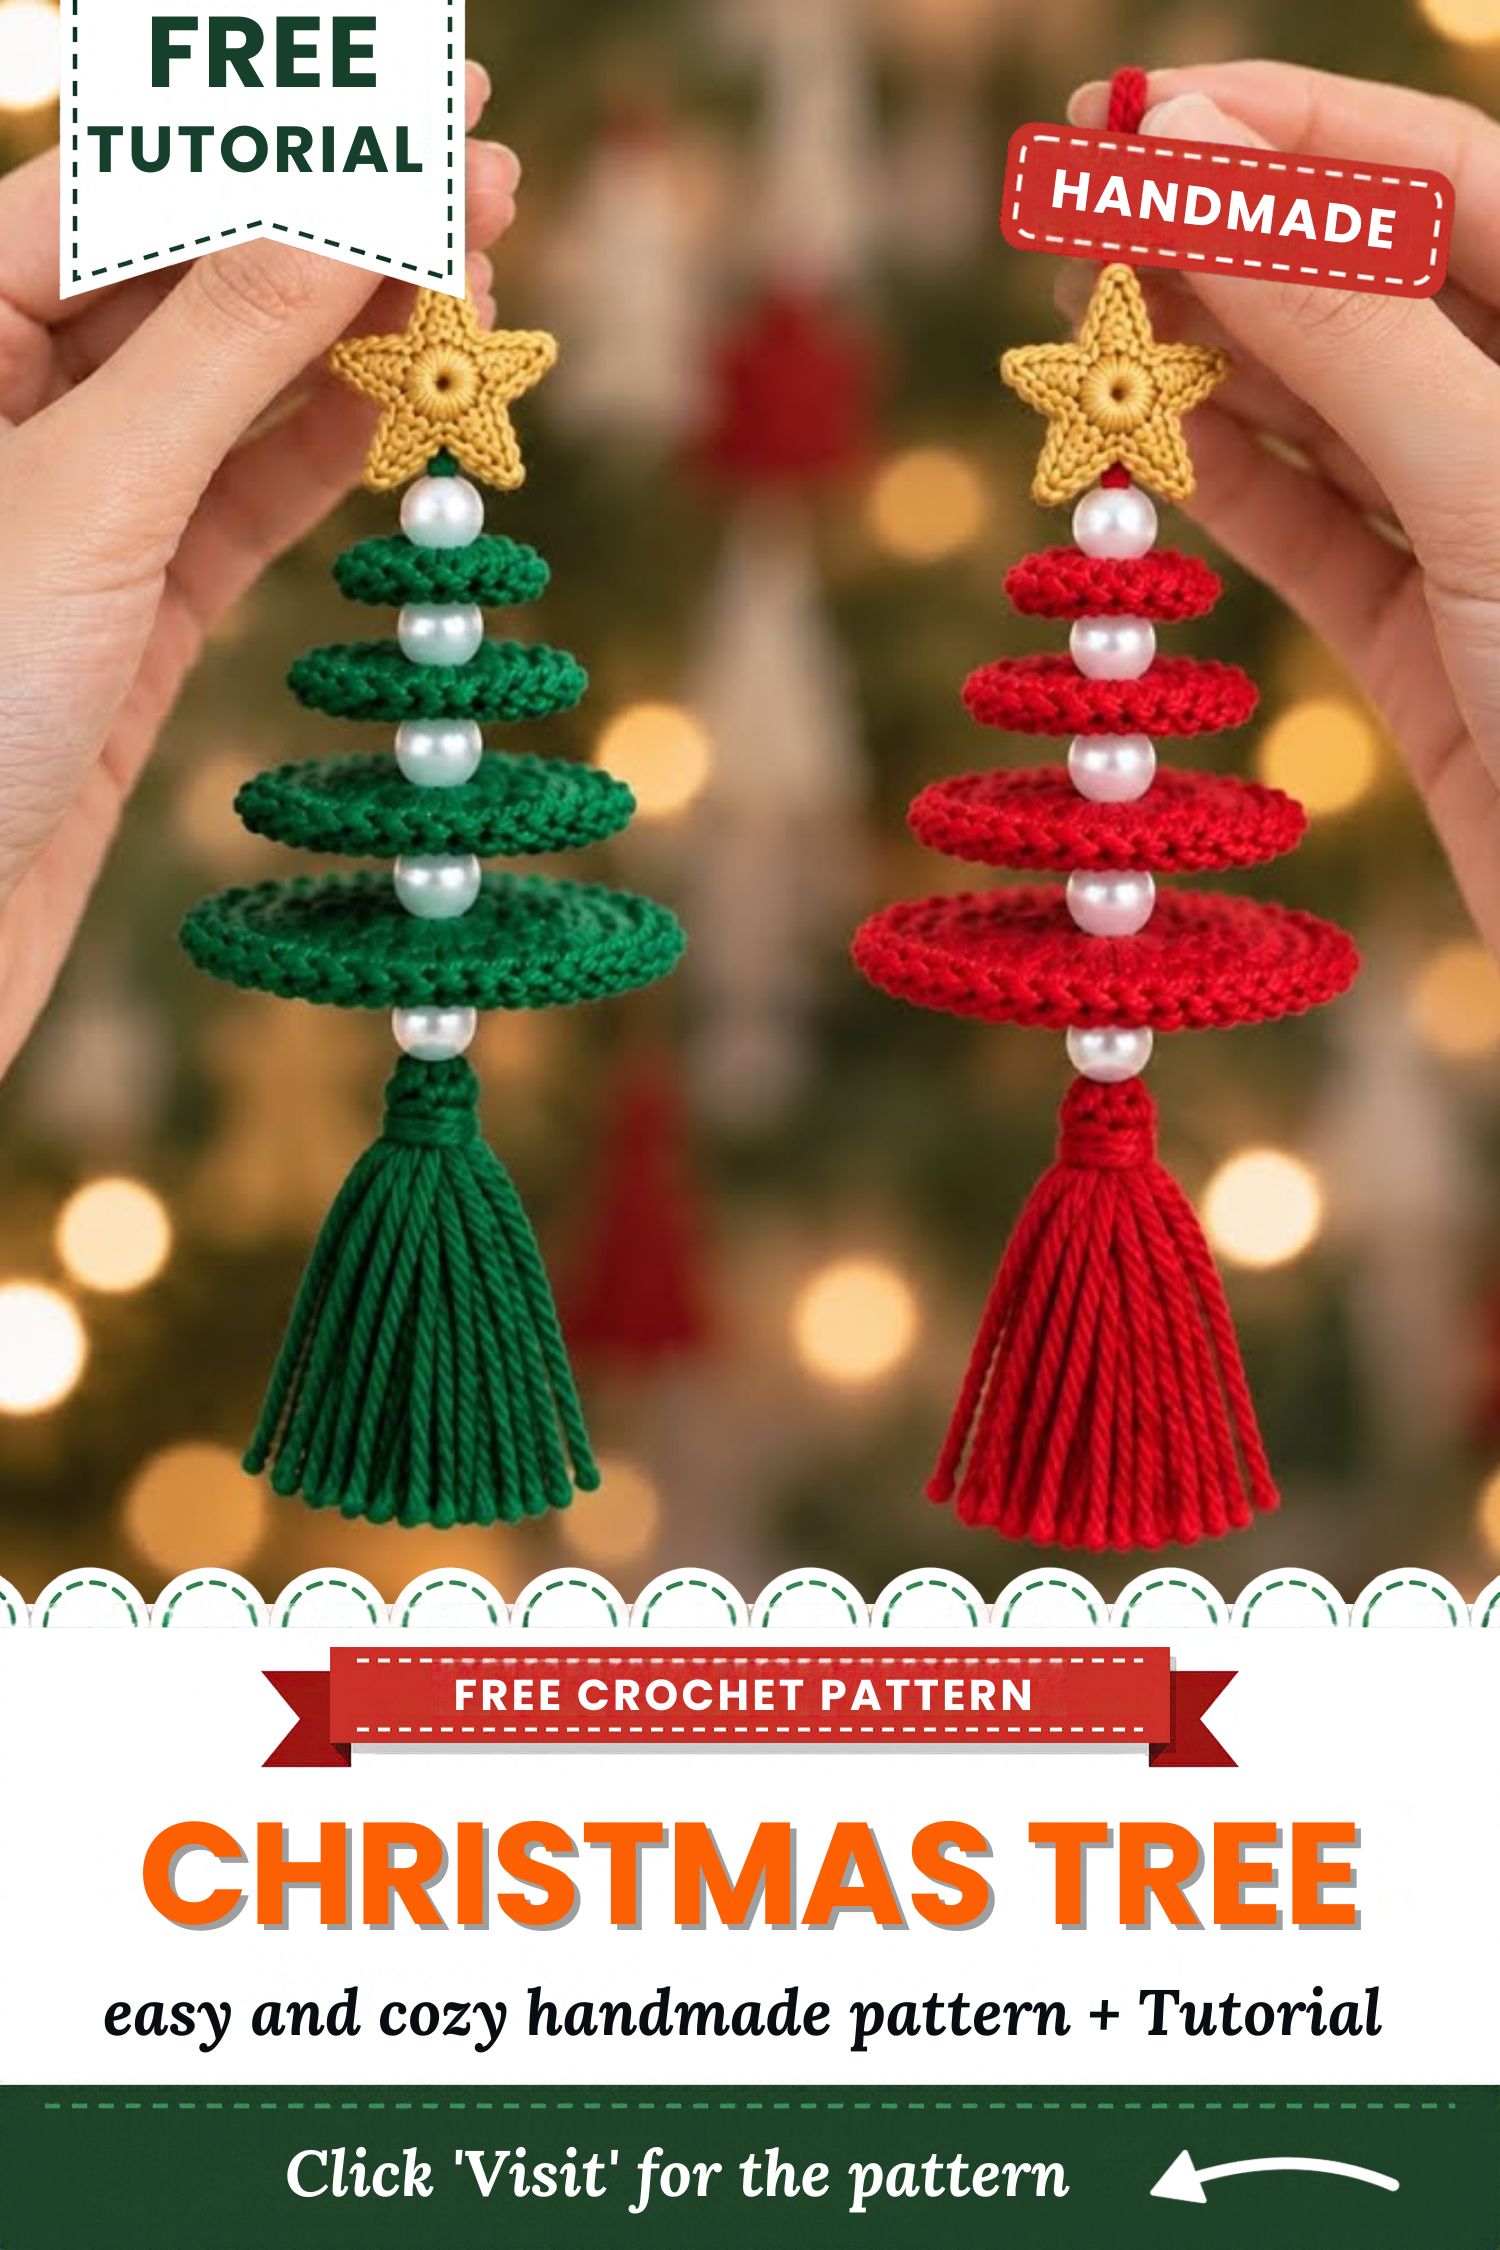
This ornament is a fun project and a good way to build confidence with amigurumi. You practiced the magic ring, single crochet, increases, and decreases, then combined them into one small bear. If your first one looks a little wobbly, don’t worry. With each round, your stitches will get more even.
Ready to begin? Choose your favorite holiday yarn, set up your hook, and start with the head. To see each step in action, watch the full video tutorial on YouTube. Share your finished ornaments in the comments or tag us online. We love seeing what you make, and your tree will look even more cheerful with handmade decorations.