Charming Crochet Christmas Gnome Pattern for Holiday Decor
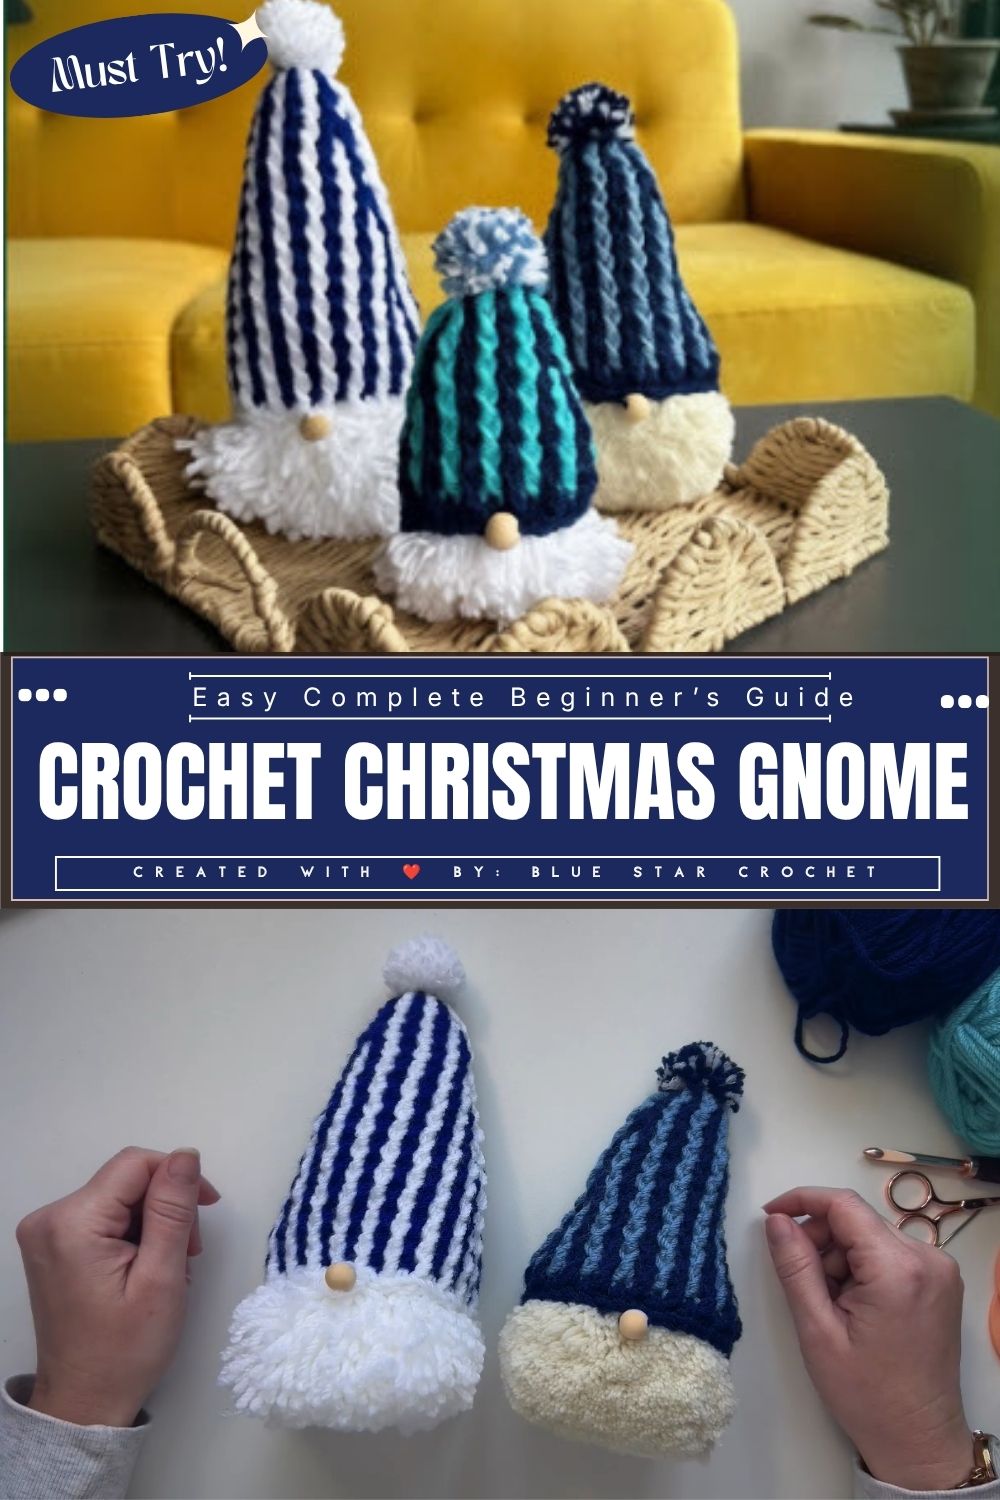
A tall hat rises to a soft point, a full beard spills beneath it, and one round nose peeks out between the two: the Charming Crochet Christmas Gnome Pattern for Holiday Decor builds a small amigurumi figure made to stand on a mantel or shelf.
Most of the work goes into three shaped pieces: a cone hat with a real point, a beard full enough to frame the nose, and a base flat enough to stand alone. Each gets a shape check before you close it. Make one for a holiday decor shelf, or stitch a small family in graduated sizes for a mantel line-up.
Pattern Overview
- Pieces: body with weighted base, hat, beard, nose
- Every piece is worked in the round
- Assembly order: beard, hat, nose
- Purpose: decor, not a toy
Materials
- Yarn: one color for the body, one for the hat, and a soft yarn for the beard. Smooth, tightly plied yarn keeps stitches crisp.
- Hook: a size below what the label suggests, so the fabric closes over the stuffing.
- Stuffing: polyester fiberfill.
- Weighting: plastic poly pellets, sealed inside a small stitched pouch of tightly woven fabric.
- Nose: a crocheted ball. Skip beads.
- Notions: at least three stitch markers, tapestry needle, pins, scissors, scrap thread, wide-tooth comb.
- Optional: hat-tip pom-pom, cord for a hanging loop.
Abbreviations
MR: magic ring. sc: single crochet. inc: increase. inv dec: invisible decrease. sl st: slip stitch.
Important Stitches
- Magic ring: closes the center of the base, hat tip, and nose with no hole.
- Invisible decrease: worked through the front loops only. It keeps the body top and hat point free of gaps.
- Beard fringe: fold a strand in half, pull the fold through a stitch, feed the tails through the loop, and tug snug.
Before You Start
Test your tension first. Press a fingernail into a few finished stitches. Firm fabric resists, and no light shows through when it is stretched over stuffing.
Keep a scrap of paper nearby for tallies. Work in good light. Small parts matter here: the nose, any pom-pom, and the pellets are choking hazards, so keep the gnome away from children under three.
Time Box (estimate)
- Prep: winding yarn and cutting beard strands. Short.
- Stitching: body, hat, and nose fit into roughly one relaxed evening.
- Finishing: fringing, trimming, and placement take a second, slower sitting.
Gnome Construction
1. Base and Body
- Start with a magic ring. Increase in evenly spaced spots until the base sits flat on a table. Ripples mean too many increases.
- Work the sides straight up, then let them narrow gently into a cone. Keep a marker in the first stitch of each round and move it up as you go.
- Stop while the opening still fits your hand. Drop in the sealed pellet pouch, pack fiberfill around it so it cannot slide, then stuff upward in small pinches.
- Stand the body on a table before closing. It should not lean. Close with invisible decreases and finish the seam at the back.

2. Hat
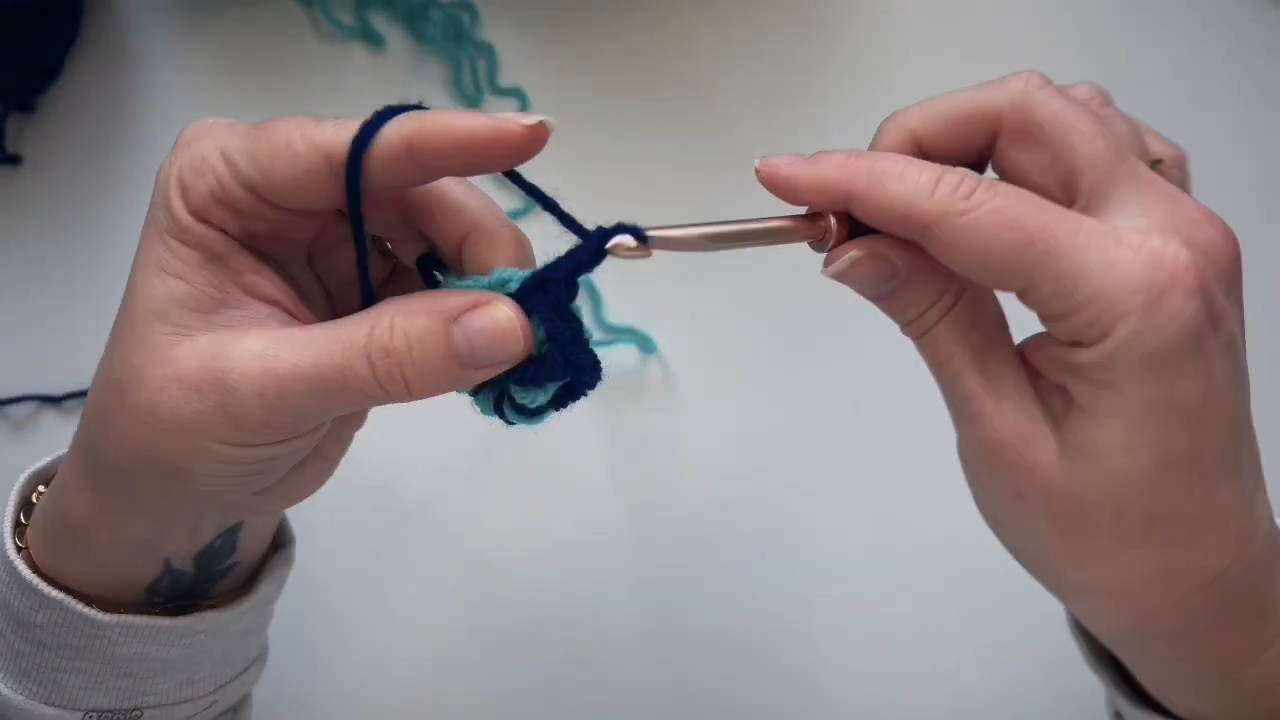
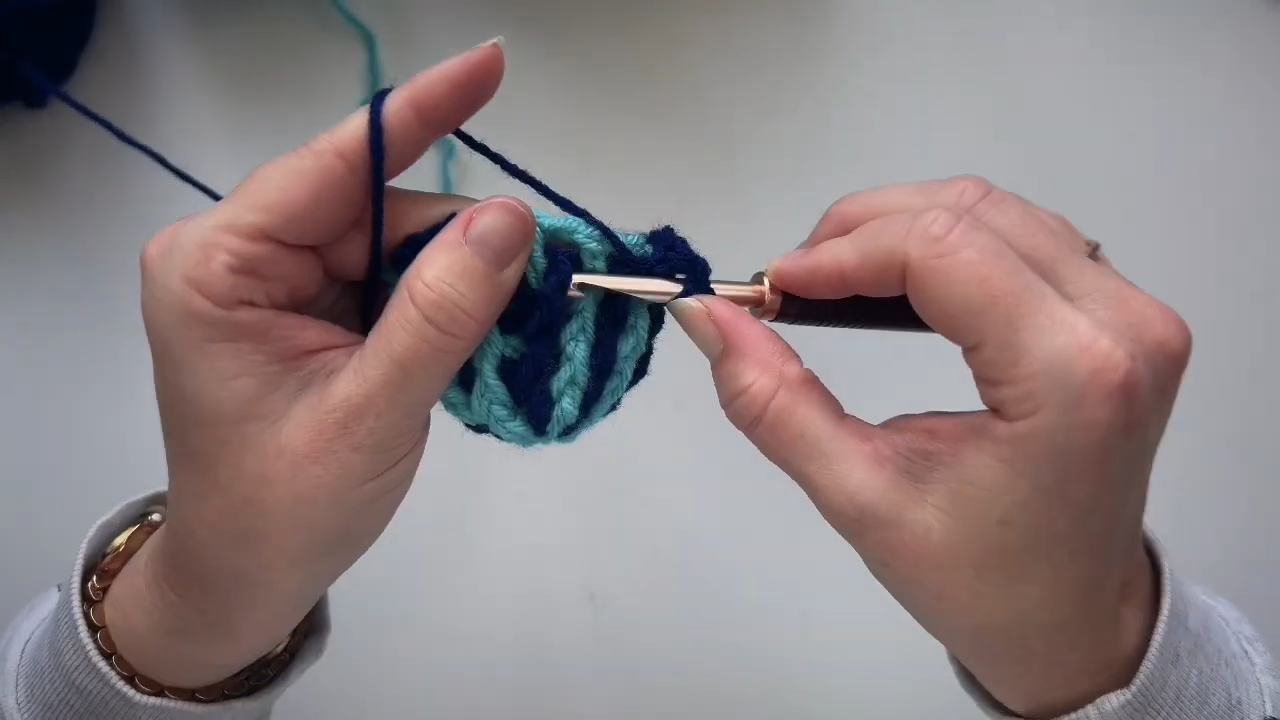
- Work the cone in continuous rounds. The shortest rounds sit near the point, and one dropped stitch there tilts the whole tip. Tally each round.
- Stagger where increases or decreases land so the cone stays smooth instead of ridged.
- Test-fit as you go. The brim should reach low enough to meet the nose position.
- Stuff lightly at the base of the cone. Leave the tip soft for a gentle bend, or pack it for a rigid point.
- Add a marker in the round before any color change.
3. Beard
- Cut strands longer than the finished beard. Folding and trimming eat length.
- Mark the beard’s top edge across the front with scrap thread, arching toward the nose position.
- Fringe from the bottom point upward so higher rows hide the knots below. Fill every stitch on the first row, then stagger.
- Tug each bundle. Then part the beard down the middle. If the body shows, add bundles in the gaps.
- Comb out the ends and trim last.
4. Nose
- Work a magic ring, increase, add a few plain rounds, then decrease. Stuff firmly until the ball holds its shape, and leave a long tail.
Pro-Tip: Pin the hat, beard, and nose in place before sewing anything. Then take a phone photo from the front. A photo flattens the gnome, so a tilted hat or off-center nose that hides in person shows up right away.


Assembly
- Close the body with the seam at the back.
- Fringe the beard.
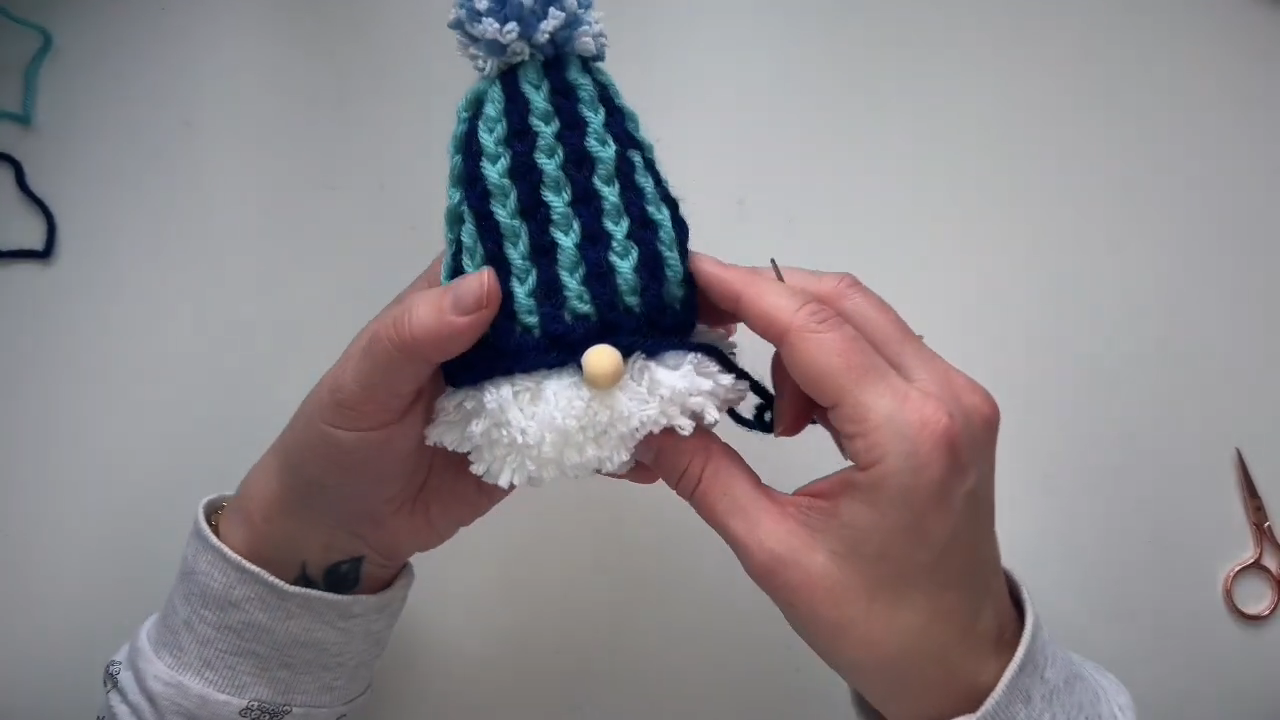
- Slide the hat on and pin it at the front, back, and both sides.
- Sew the hat through the brim round with small stitches, burying the thread in the beard.
- Sew the nose last, tucked just under the brim edge.
The brim decides the nose’s home, so it goes on after the hat.
Face Placement and Symmetry
- Treat the back seam as the centerline. Mark front center with scrap thread.
- Count rounds down from the hat brim to the nose. Repeat the count at each side.
- A slight forward tilt looks charming. A sideways tilt looks like a mistake, so compare the brim’s distance from the body top on the left and right.
- Center the nose over the front marker, with the beard’s peak directly beneath.
Stuffing and Weighting Tips
- Weight goes in first, stuffing second.
- Small pinches pressed against the walls prevent lumps. One large wad creates them.
- Hold the body to a light. If stuffing shows between stitches, rework with a smaller hook.
- Firm fabric resists a fingernail press.
Stitch Count and Shape Checkpoints
Counts change with yarn and hook, so check shape instead:
- The base is flat.
- The sides are smooth.
- The brim reaches the nose position.
- The nose is round.
- The beard covers without the body showing through.
In the hat’s short rounds, count at every round’s end.
Common Mistakes
- Floppy hat: loose tension or too little stuffing.
- Sparse beard: skipped stitches or too few strands.
- Lumpy body: stuffing in large wads.
- Tipping base: increases stopped too early, or too little weight.
- Nose too high or low: placed before the hat.
- Visible stuffing: hook too large.
Troubleshooting
- Leans after closing: knead the body to reseat the pouch. If it still tips, widen the base next time.
- Hat slides: add small anchor stitches at each pin point.
- Beard sheds: tug-test and re-fringe loose bundles.
- Off by one stitch in the cone: correct it in the next round with a single increase or decrease near the spot. Unraveling isn’t needed.
Size Modification
- Thicker yarn with a larger hook makes a larger gnome. Thinner yarn makes a mini. Keep the hook slightly under the label.
- Add plain rounds before shaping for a taller hat, or remove some for a shorter one.
- Bigger gnomes need more weighting. Tiny ones may need little.
Color Variations
- Classic Christmas: red or green hat, cream or white beard.
- Scandinavian neutral: oatmeal, gray, and cream.
- Buffalo plaid: two-color hat bands, or a grid embroidered over a solid hat.
Care Instructions
Dust with a soft brush or lint roller. Spot clean with a damp cloth. Do not machine wash a weighted gnome. Air dry flat, away from heat and candles.
Personalization Ideas
Name Tags
Stitch initials onto a small felt tag and tuck it under the brim.
Ornament Loop
Sew a cord loop at the hat tip so it hangs from a branch.
Garland
String several gnomes in a row on ribbon across a shelf edge.
Gnome Family Sizes
Change the yarn and hook for parent and child sizes.
FAQs
Can I skip the weighting?
Yes. Use a wide base and firm fiberfill, and expect it to tip more easily.
How do I stop the beard from shedding?
Tug every bundle after fringing. Trim only after combing.
Why does my hat flop?
Loose tension, or soft stuffing. Firmer stuffing gives a stiffer point.
Is the gnome a toy?
No. Treat it as decor and keep it away from young children.
Storing Between Seasons
Store the gnome upright in a breathable box. Tuck tissue into the hat point so the cone keeps its shape. Avoid plastic bags, which trap moisture.

Finishing
Weave in ends. Comb the beard, then trim. Check the stand test once more. Confirm the nose and any pom-pom are sewn securely.