Free Crochet Bunny Mittens Pattern With Pink Cuffs
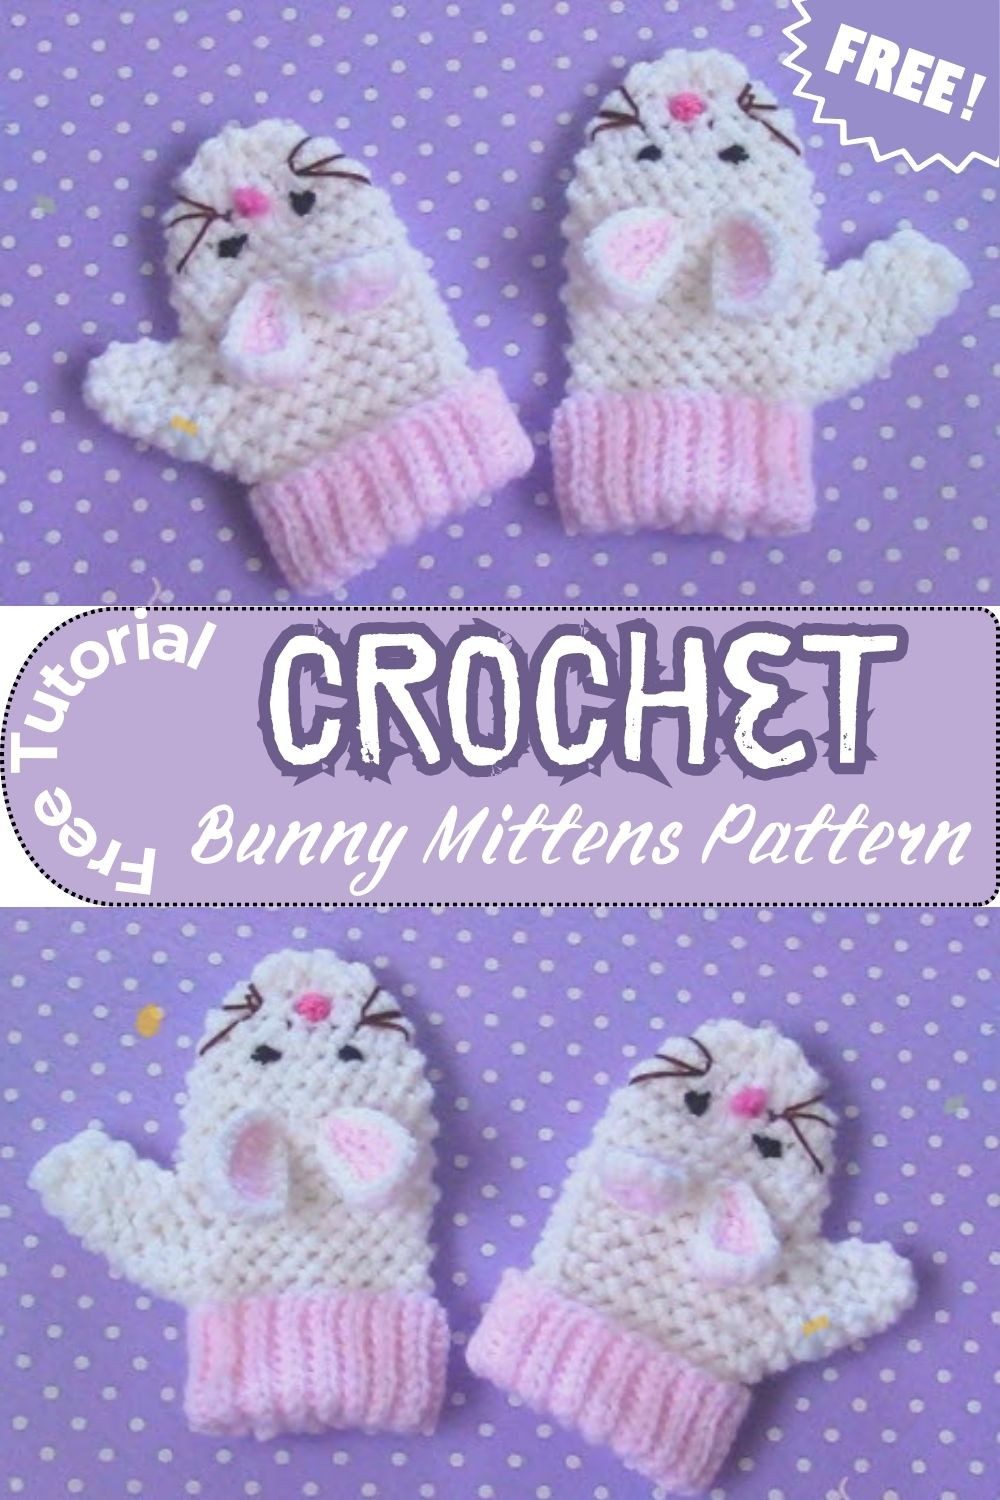
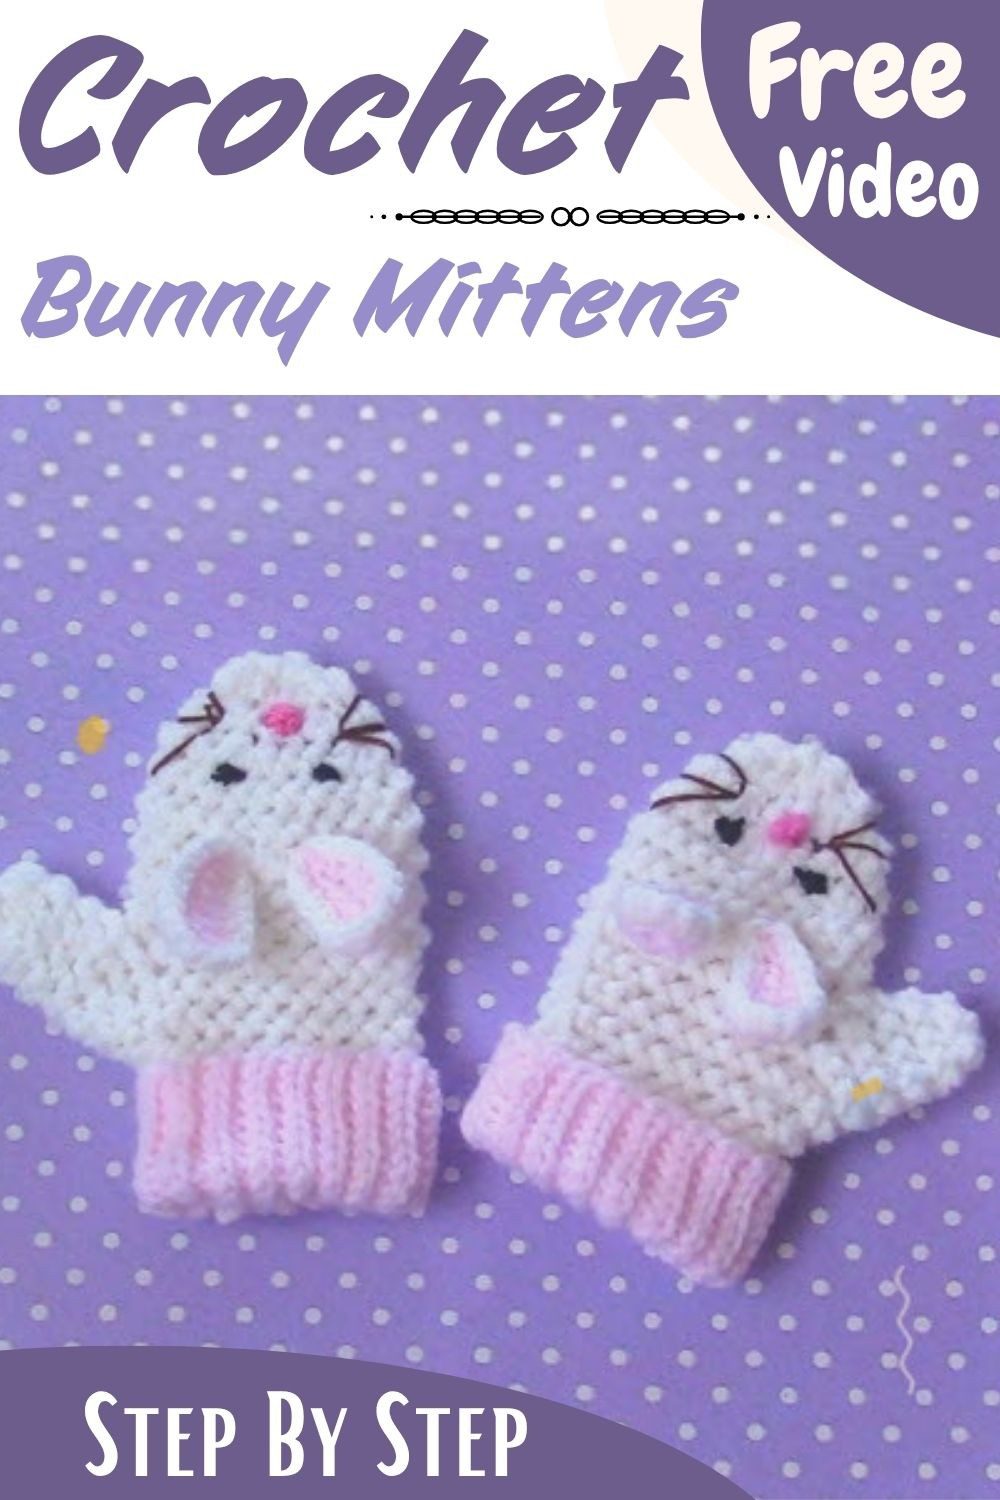
The crochet bunny mittens pattern makes soft white mittens with pink ribbed cuffs, a separate thumb and two little bunny ears on the front. Also, the ears are pink inside with a white edge, and the mittens are sized for children aged 1 to 4 years.
The steps below are easy to follow if you have some crochet experience, and a finished pair makes a lovely winter gift.
Crochet Bunny Mittens Pattern Overview
These are full-coverage winter mittens with a separate thumb. First, you start with the pink cuff, which is worked in rows and then joined into a band. After that, the white hand is worked in joined rounds from the cuff edge. Finally, two bunny ear appliqués are sewn onto the front of each mitten.
- Skill level: Advanced beginner to intermediate
- Fits: Children aged 1 to 4 years, snug and warm, with a ribbed cuff for stretch
- Finished size: Cuff about 4.5 inches long when slightly stretched, hand about 4 to 4.5 inches above the thumb, thumb about 1.5 inches
Materials for the Crochet Bunny Mittens Pattern
Luckily, you only need small amounts of pink and white yarn, so leftovers work well.
- Baby soft acrylic yarn, or a similar lightweight DK baby yarn, with a smooth plied texture
- Color A: Pink
- Color B: White
- 2.75 mm crochet hook
- Stitch markers
- Tapestry needle
- Scissors
- Fabric-safe glue or hot glue, or small buttons, for the eyes and nose
Abbreviations for the Crochet Bunny Mittens Pattern (US Terms)
- ch = chain
- sl st = slip stitch
- sc = single crochet
- hdc = half double crochet
- hhdc = herringbone half double crochet
- dc = double crochet
- tr = treble crochet
- BLO = back loop only
- FLO = front loop only
- inc = increase (2 stitches in the same stitch)
- dec = decrease (2 stitches worked together)
- hhdc2tog = herringbone half double crochet 2 together
- sc2tog = single crochet 2 together
Special Techniques in the Crochet Bunny Mittens Pattern
Herringbone Half Double Crochet (hhdc)
Yarn over and insert the hook into the stitch. Next, yarn over again and pull the yarn through the stitch and the first loop on the hook in one motion, which leaves two loops on the hook. Finally, yarn over and pull through both loops.
Ribbed Cuff
The ribbing is made from rows of slip stitches worked in the back loop only (BLO). As a result, the cuff gets its stretch.
Joining Rounds
End each round with a slip stitch into the first stitch, then chain 1 to begin the next round.
Sizing Guide for the Crochet Bunny Mittens Pattern
A good fit matters with children’s mittens, so measure first.
How to Measure Little Hands
- Wrist: measure snugly around the wrist bone.
- Hand length: measure from the wrist crease to the tip of the longest finger.
Size Options
- Toddler, 1 to 4 years (the main pattern): chain 10 for the cuff, 18 stitches in the first round.
- Small child, 4 to 6 years (optional adaptation): chain 12 for the cuff, 22 stitches in the first round.
- Medium child, 6 to 9 years (optional adaptation): chain 14 for the cuff, 26 stitches in the first round.
Only the toddler size is the tested pattern. The two larger sizes, on the other hand, are suggested adaptations.
Crochet Bunny Mittens Pattern Instructions
Step 1: Crochet the Pink Wrist Cuff
Use Color A and the 2.75 mm hook. Chain 10.
- Row 1: Sl st in the 2nd ch from the hook and in each ch across. (9 sl st)
- Row 2: Ch 1 and turn. Working in BLO, sl st in each stitch across. (9 sl st)
- Rows 3 onward: Repeat Row 2 until the cuff measures about 4.5 inches when slightly stretched, or until it fits the child’s wrist.
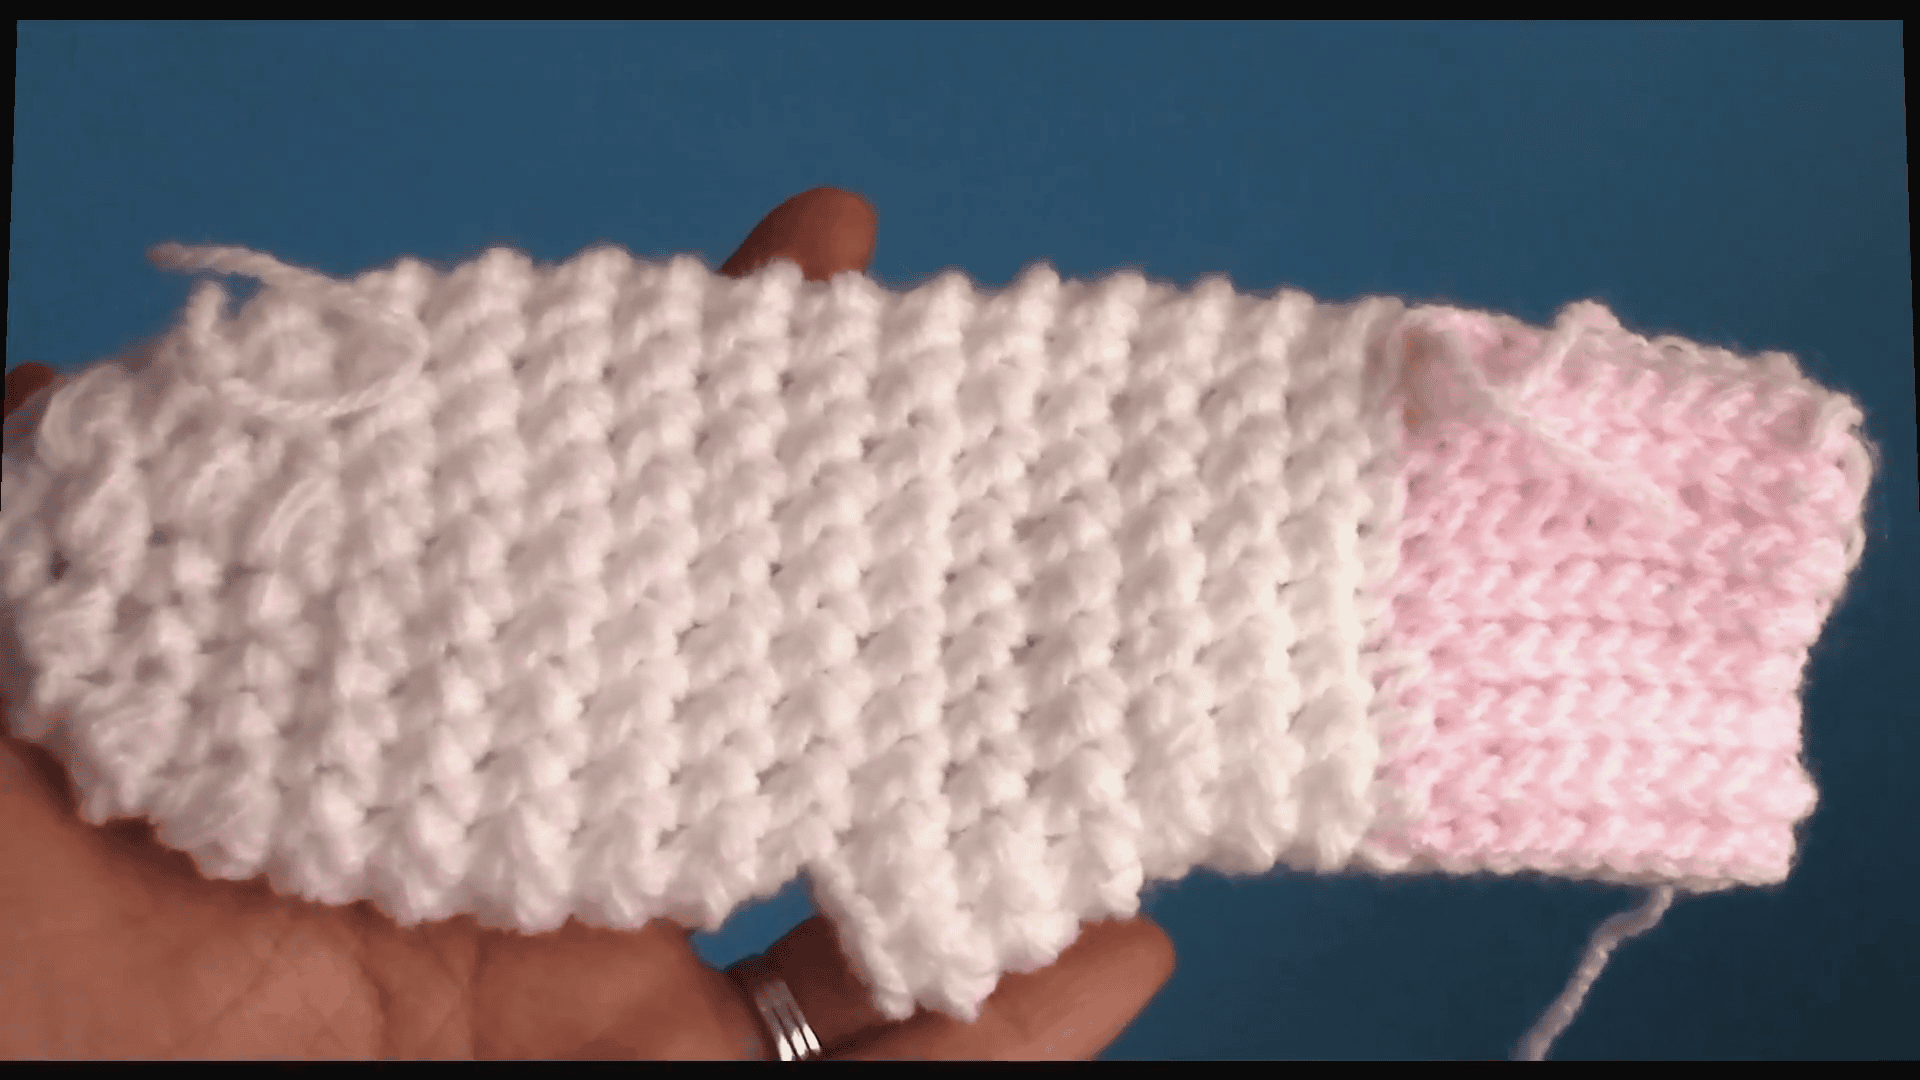
Then join the two short ends with slip stitches to form a ring.
Step 2: Work the White Hand Base
Next, switch to Color B.
- Round 1: Ch 1 and work 18 sc evenly around the edge of the cuff. Join with a sl st to the first sc. (18 sc)
Step 3: Work the Hand Body of the Crochet Bunny Mittens Pattern
- Rounds 2 to 5: Ch 1 and work 1 hhdc in each stitch around, then join with a sl st. (18 hhdc)
- Round 6 (shaping): Ch 1. Work 2 hhdc in the same stitch at the shaping points, then hhdc in each stitch between them. Join.
- Rounds 7 and 8: Keep working hhdc rounds, with the occasional increase as in Round 6, to shape the hand.
Step 4: Make the Thumb Opening
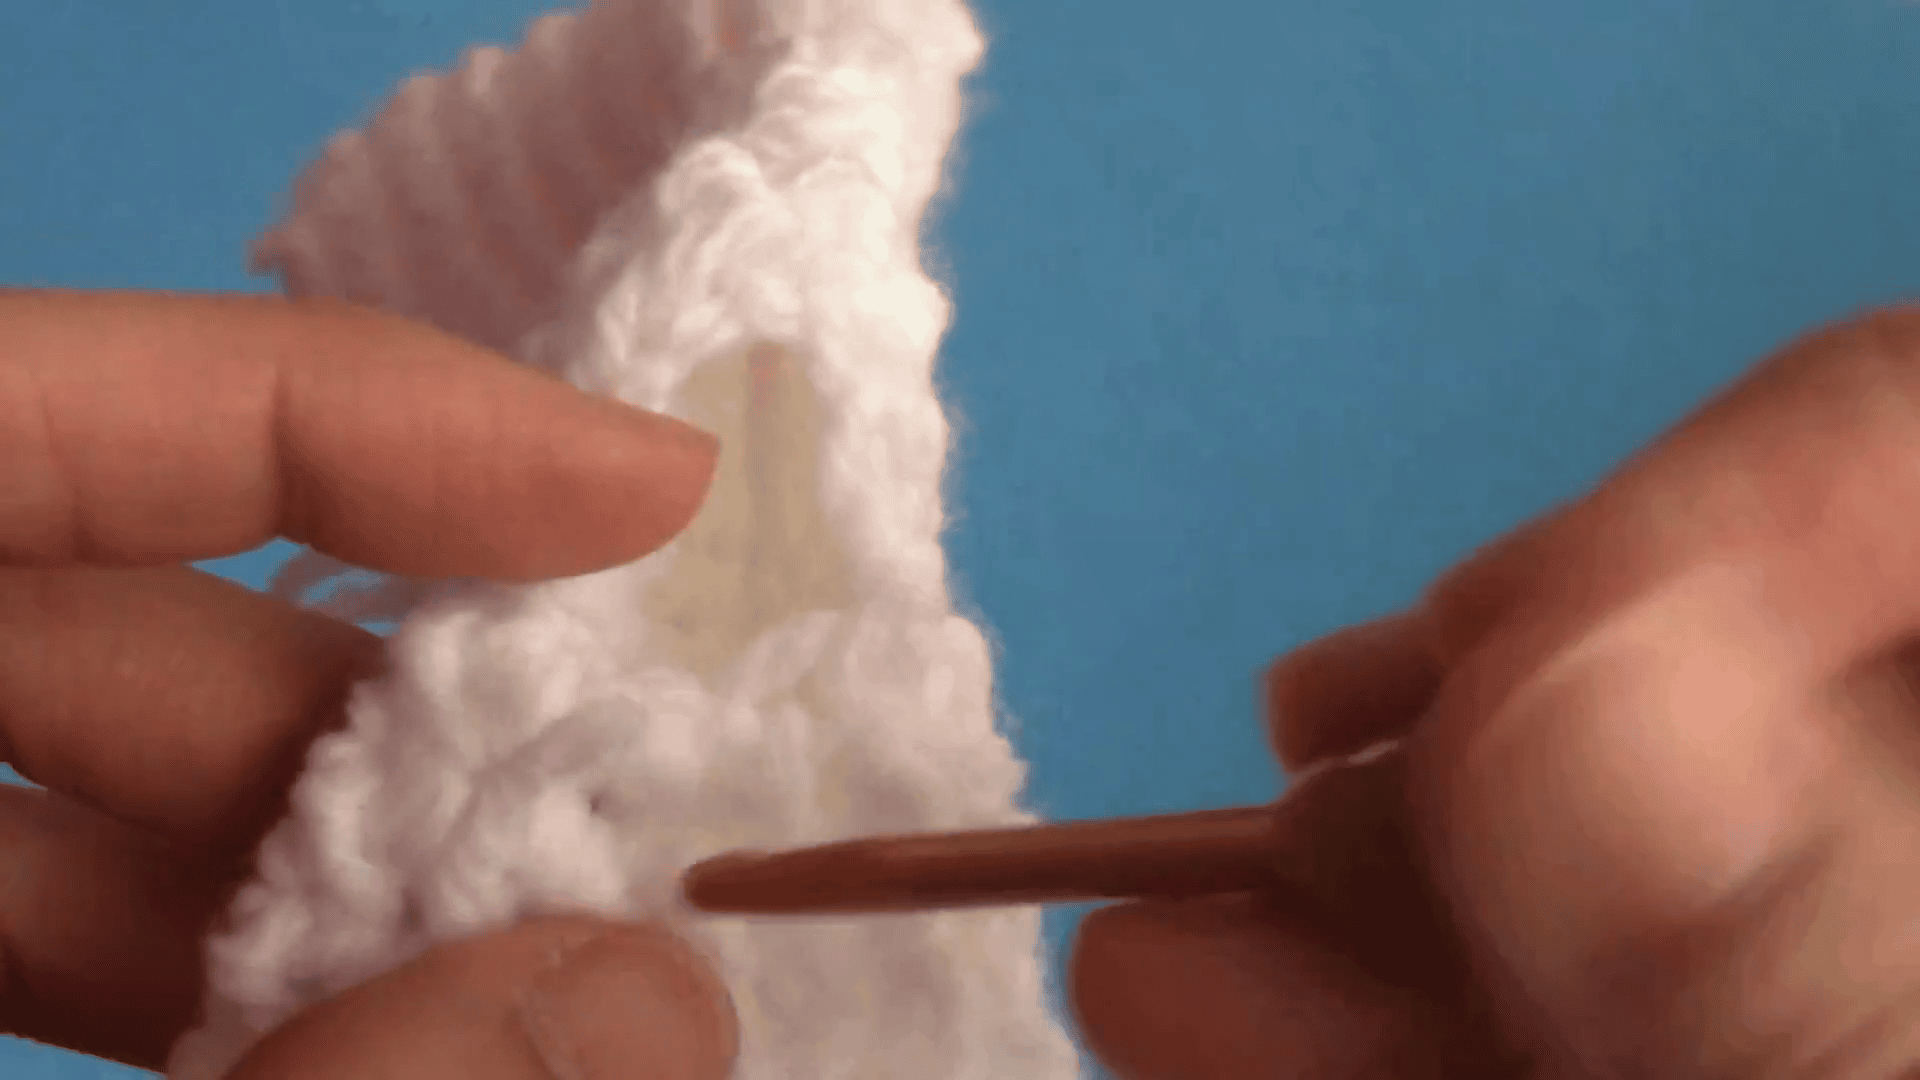
- Round 9: Ch 1 and work hhdc across the first few stitches. Chain 3 and skip 3 stitches, then continue with hhdc around the rest of the round. On the next round, work into the chain stitches.
Pro Tip: Check that the thumb opening allows free movement before you close the thumb tube.
Step 5: Finish the Hand Length and Top Shaping
- Rounds 10 onward (to Round 15): Work 1 hhdc in each stitch around until the mitten reaches the top of the fingers. That is about 4 to 4.5 inches past the thumb opening.
- Top decreases: Work rounds of hhdc2tog evenly around until the opening is small. Then cut the yarn, thread it through the last stitches, pull tight and close. In this way, all four fingers sit together in one pouch.
Step 6: Crochet the Thumb for the Crochet Bunny Mittens Pattern
First, join the yarn at the base of the thumb opening, in white or pink.
- Round 1: Ch 1 and work hhdc evenly around the thumb hole. Join with a sl st. Pick up the stitches snugly at the corners of the gap so no holes form.
- Rounds 2 to end: Ch 1 and work 1 hhdc in each stitch around until the thumb is about 1.5 inches long.
- Closing: Work decrease rounds (hhdc2tog or sc2tog) until the thumb closes. Finally, fasten off and weave in the ends.
Step 7: Make the Bunny Ears for the Crochet Bunny Mittens Pattern (2 for Each Mitten)
Use the 2.75 mm hook. Each mitten gets 2 ears, so the pair needs 4 in total.
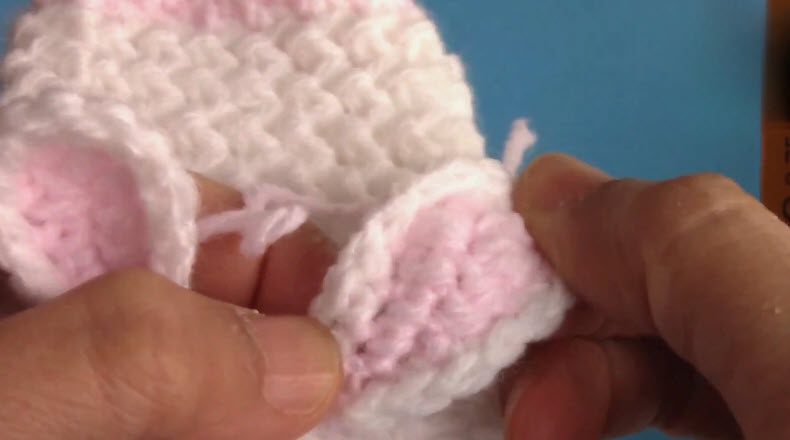
- Base (Pink): Chain 6. Work 2 sc, then 2 hdc along the chain. Work 4 dc in the last chain. Turn and work down the opposite side of the chain with 2 hdc and 2 sc. Join with a sl st and fasten off pink.
- Border (White): Join white with a ch 1. Sc in the next 4 stitches, work 2 sc in the same stitch (increase), sc in the next 3 stitches, then sc evenly around the tip. Join with a sl st and fasten off.
Pro Tip: Sew the bunny ears neatly to the top of the mitten.
Step 8: Make the Second Mitten
Lastly, repeat Steps 1 to 7, including the thumb and the 2 ears, for the cuff, hand base, body and top decreases. This time, place the thumb opening on the opposite side of the hand so the thumbs mirror each other. When the mittens are worn, both thumbs point inward toward the palms.
Tips for the Trickier Parts of the Crochet Bunny Mittens Pattern
Joining the White Body to the Pink Cuff
First, take the finished pink cuff ring and switch to Color B. The white body then grows straight from the pink band.
Working Around the Thumb Gap
Next, join the yarn at the base of the thumb opening and insert the hook into the edge stitches. Also, pick up the stitches snugly at the corners so no holes form.
Placing the Bunny Ears
After that, hold both ears side by side on top of the mitten, then sew each one in place neatly.
Adding the Eyes and Nose
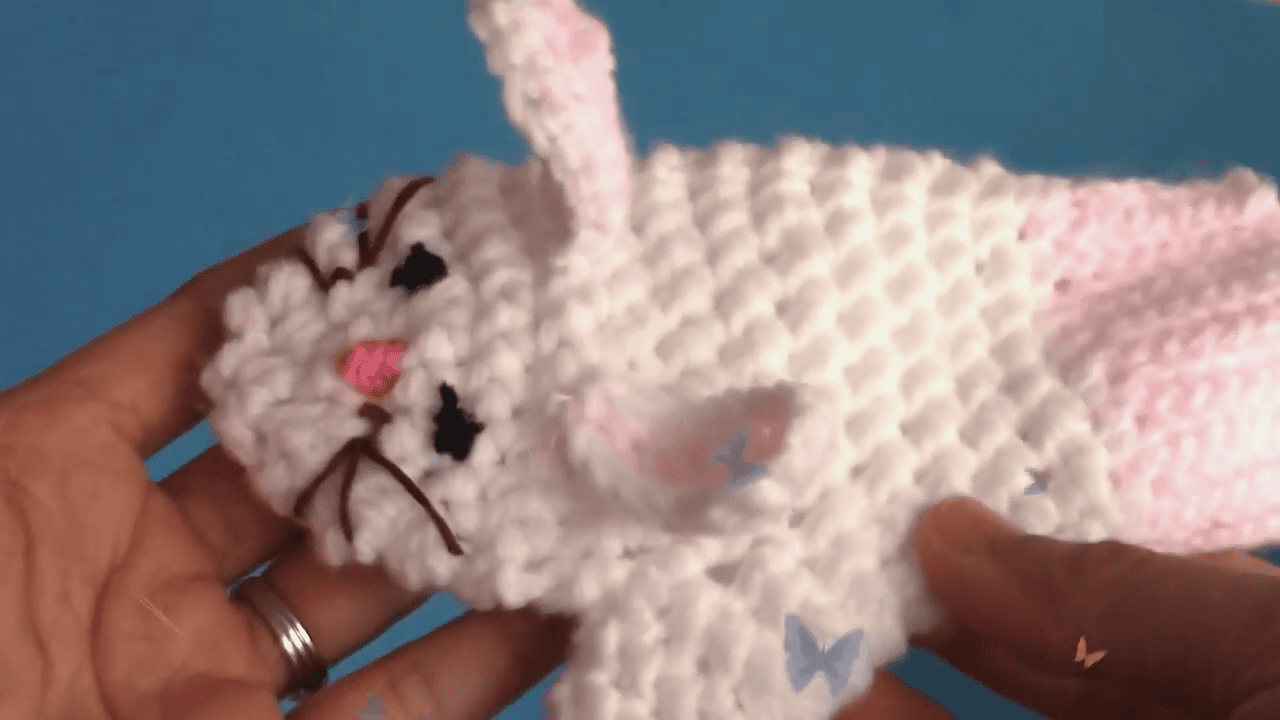
Add the eyes and nose to the front of the mitten with fabric-safe glue or tight stitches. For the youngest toddlers, however, tight stitches are safer than buttons.
Stitch Count Check for the Crochet Bunny Mittens Pattern
- Cuff Row 1: chain 10, then 9 sl st.
- Round 1: next, 18 sc.
- Rounds 2 to 5: then 18 hhdc each round, so the count stays steady.
- Thumb: the count depends on how many stitches you pick up around the opening.
- Overall, the counts stay the same on straight rounds and suit standard toddler proportions.
Fitting Checkpoints for the Crochet Bunny Mittens Pattern
- Wrist: first, the ribbing should stretch comfortably over the widest part of the hand without being loose.
- Thumb: also, the opening should allow free movement before you close the thumb tube.
- Length: finally, the mitten should reach past the fingertips with a little ease.
Finishing the Crochet Bunny Mittens Pattern
- First, weave in all tails on the wrong side with a tapestry needle.
- Next, sew the bunny ears neatly to the top of the mitten.
- Finally, add the eyes and nose to the front of the mitten with fabric-safe glue or tight stitches.
Common Mistakes in the Crochet Bunny Mittens Pattern
Twisted Foundation Chain
First, check that the cuff chain is not twisted before you start Row 1.
Tight Cuff Tension
Keep the slip stitches loose, so the hook fits into them on the next row.
Holes at the Thumb Base
Instead of leaving gaps, pick up stitches snugly around the corners of the thumb gap.
Cheat Sheet for the Crochet Bunny Mittens Pattern
Use this short summary to check your progress at a glance. For the full wording, go back to the steps above.
- Cuff: chain 10 and work 9 sl st in each row, using BLO from Row 2, until it measures about 4.5 inches. Join into a ring.
- Hand base: next, work 18 sc evenly around the cuff edge in white.
- Hand body: then work hhdc rounds, with shaping increases from Round 6 onward.
- Thumb opening: after that, chain 3 and skip 3 stitches in Round 9.
- Hand length: then keep working hhdc rounds until the mitten reaches about 4 to 4.5 inches past the thumb opening.
- Top: next, work hhdc2tog rounds, then pull the yarn tight to close.
- Thumb: pick up stitches around the gap, work to about 1.5 inches, then decrease to close.
- Ears: make 2 for each mitten, which gives 4 in total, then sew them on.
Bonus: Easy Color Swaps
- For example, grey with a white border gives a soft bunny look.
- Likewise, cream with brown ears gives a teddy-bear look.
- Finally, mint with white suits spring.
Bonus: Caring for the Finished Mittens
Washing instructions depend on the yarn you choose, so check the label on your ball of acrylic or DK baby yarn before you wash the mittens. If the eyes and nose are glued on, however, test a small wash first, or stitch them on tightly instead. After washing, reshape the mittens gently while they are damp and let them dry flat.
Gift Ideas for Little Hands
A finished pair is a warm winter present for a toddler. Since the pattern needs only small amounts of pink and white, you can also stitch a few pairs from leftovers.
Crochet Bunny Mittens Pattern FAQs
Which yarn and hook suit this pattern?
Use baby soft acrylic yarn, or a similar lightweight DK baby yarn, with a smooth plied texture. Work with a 2.75 mm hook.
Is it an easy mitten pattern for toddlers?
It suits crocheters at the advanced-beginner to intermediate level, so a little experience helps.
Which ages does it fit, and are larger sizes possible?
It fits children aged 1 to 4 years. Two larger sizes are optional adaptations, but only the toddler size is tested.
How are the bunny ears attached?
First, make all 4 ears, then sew them neatly to the top of the mittens.
How do the fingers and thumb close, and why do the thumbs mirror?
Rounds of hhdc2tog close all four fingers in one pouch, and the thumb closes with its own decrease rounds. Meanwhile, the second mitten has its thumb opening on the opposite side, so both thumbs point inward.
Time to Get Hooking
So that’s pretty much it. First you do the pink cuff, then the white body, and you leave a gap for the thumb. After that, sew the ears on top and you’re done. I hope the little one loves them.