Crochet Bear Bath Scrubber Pattern for Kids
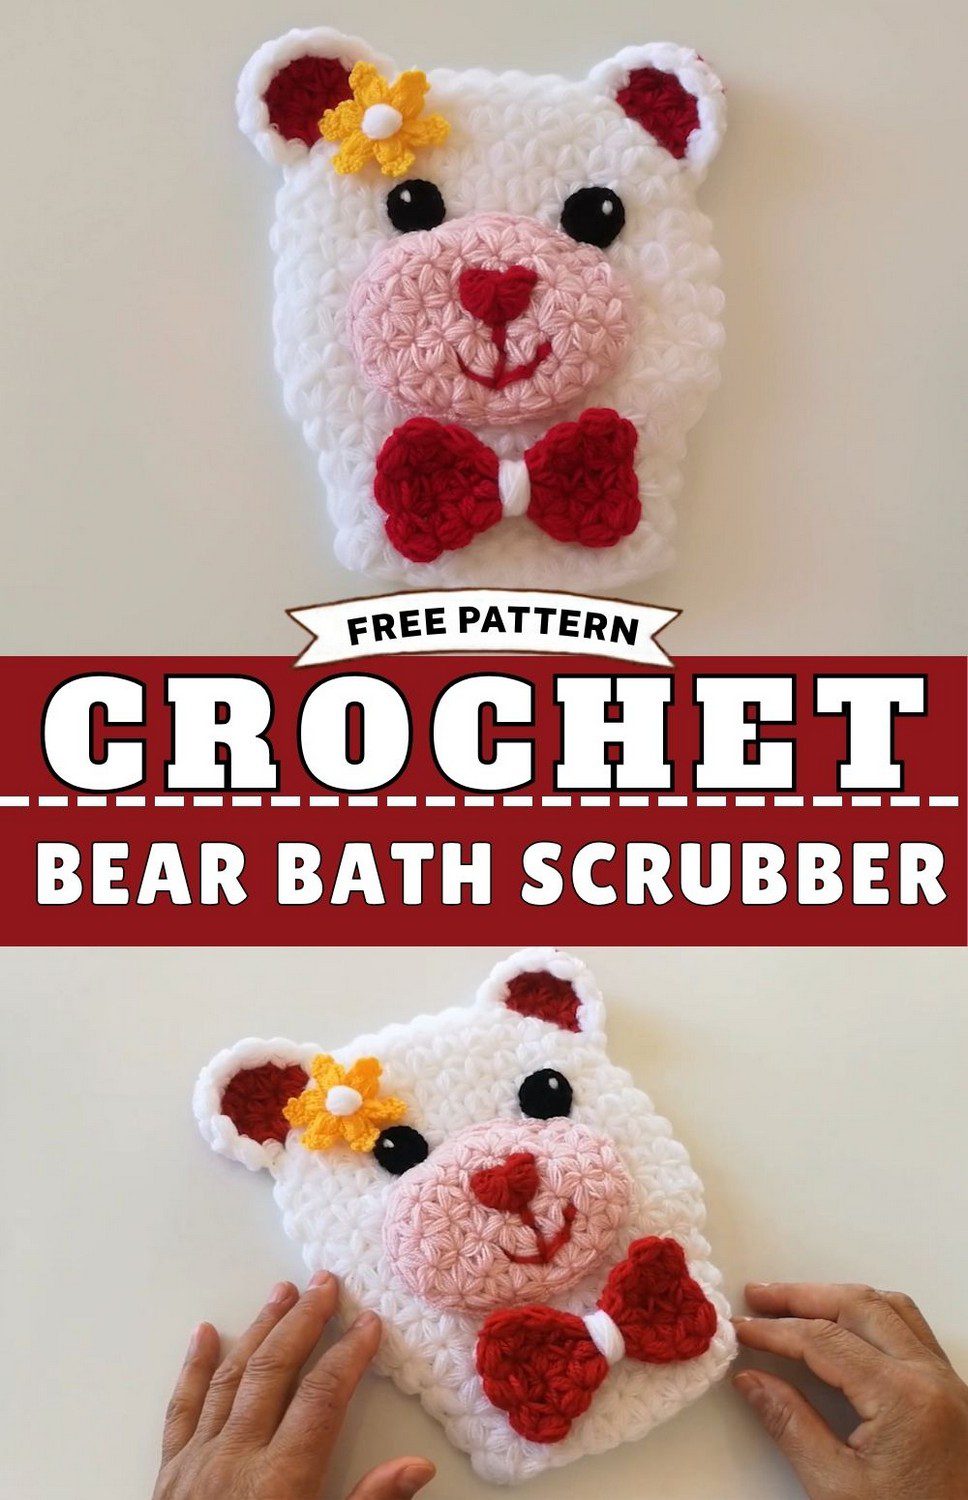
This white bear face pouch is a sweet way to scrub at bath time. Our crochet bear bath scrubber has a pink muzzle and a red bow tie. Follow this free crochet scrubbie pattern and make one for your kids.
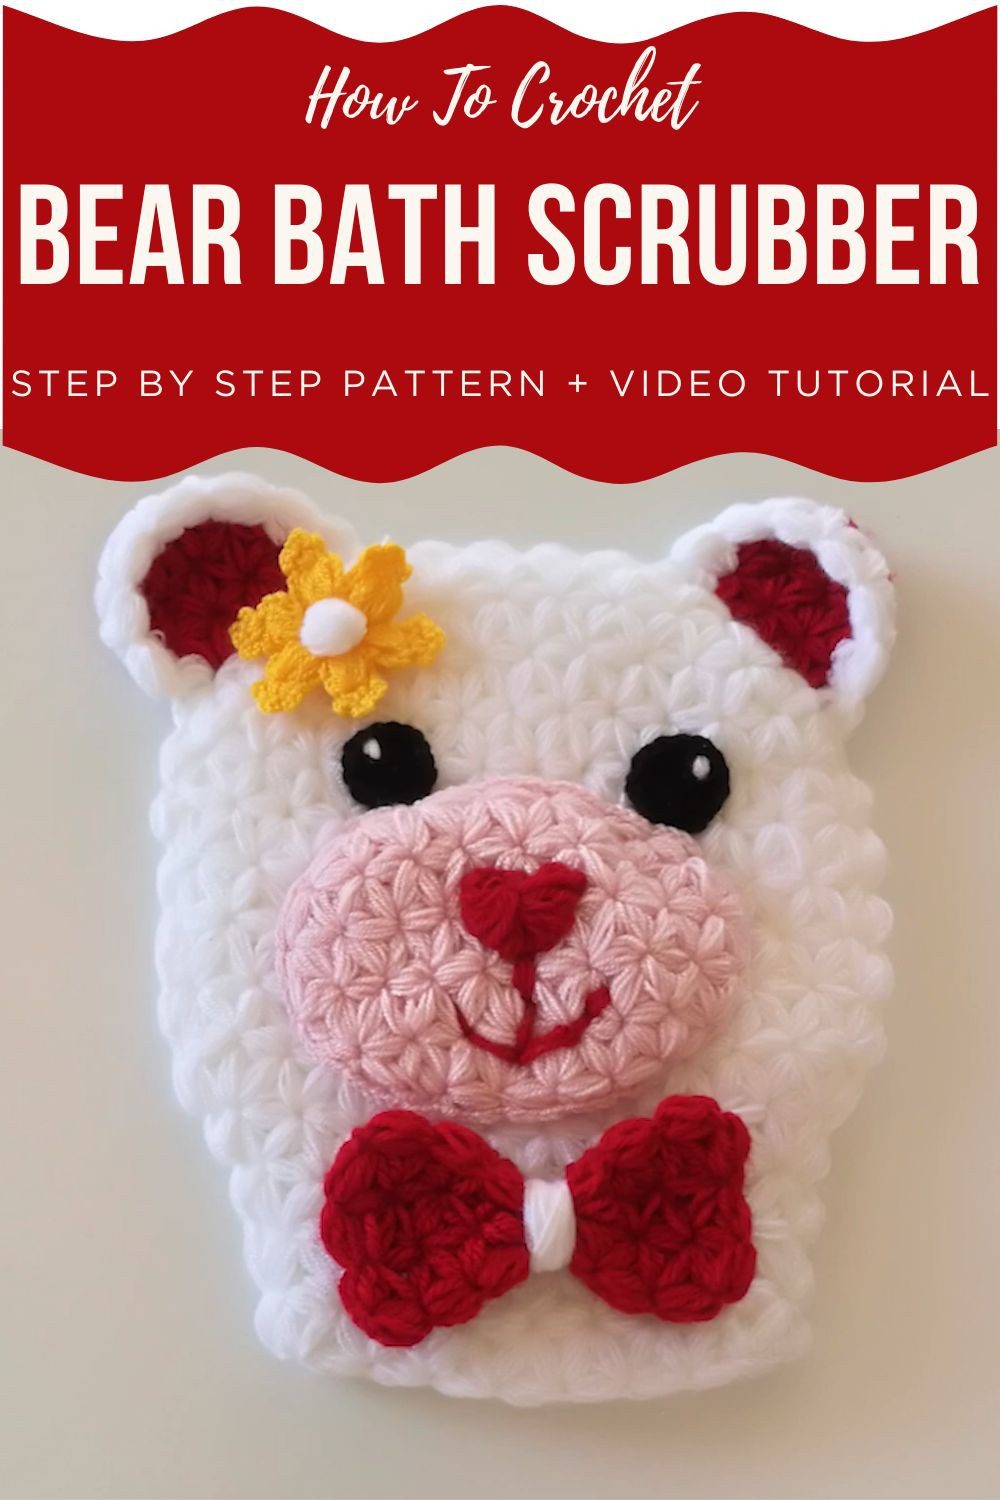
If your kids like cute things at bath time they will love this one. It is a crochet bear bath scrubber made in star stitch with a white face and a pink muzzle. The red nose and red bow tie stand out. A little yellow flower sits near the ear. The ears are dark red inside. Use this bear scrubbie crochet pattern as a bath scrubbie or a hand pouch.
Crochet Bear Bath Scrubber Overview
Skill level: Beginner-friendly to intermediate
Finished size: About 5 to 6 inches (13 to 15 cm) wide and 6 to 7 inches (15 to 18 cm) tall, estimated, depending on your yarn and hook
Project type: Smiley bear face hand pouch / Turkish kese lif scrubbie
The bear is white with a pink muzzle, a red puff nose, black eyes with small white highlights, and a red smile. The ears are white outside with a dark red inner part. Meanwhile, a yellow flower with a white centre sits near one ear, and a red bow tie rests below.
Use it as a bath scrubbie or a cute decorative hand pouch. Because kids love a bear that smiles back, this star stitch bath scrubber makes a fun crochet bath scrubbie for kids.
Materials and Tools for the Crochet Bear Bath Scrubber
First, gather the yarn, hook, and tools below.
Yarn
- Type: Acrylic baby yarn, or traditional Turkish polyester/acrylic scrubbie yarn (lif ipi)
- White: main body and eye highlights
- Pink or dusty rose: muzzle
- Dark red: inner part of the ears
- Yellow: flower petals
- Black: eyes
- Red: nose, smile, and bow tie
- Quantity: small leftover balls of each colour
Hook
- US C/2 to E/4 (2.5 mm to 3.5 mm), depending on your yarn weight
- In the video, the creator uses standard baby or sport weight yarn with a standard hook
Tools
- Yarn needle (tapestry needle) for sewing and weaving in ends
- Scissors
- Stitch markers (optional, to mark placement)
Abbreviations and Stitch Guide for the Crochet Bear Bath Scrubber
First, here are the US terms used throughout the pattern.
- ch: chain
- sl st: slip stitch
- dc: double crochet
- sc: single crochet
Magic ring: A magic ring is an adjustable starting loop. You use it for the eyes, nose, and flower centres.
Puff / bobble stitch: Follow these steps for each puff.
- First, wrap the yarn around the hook.
- Next, insert the hook into the stitch and draw up a loop.
- Then repeat 3 times in the same space. Use 4 to 5 wraps for scrubbie yarn.
- After that, yarn over and draw through all loops on the hook.
- Finally, secure with a chain.
Star stitch (Yıldız Tekniği): The star stitch is made from “open puffs”, which are pulled-up loops left on the hook. Work them in this order:
- First, make the first open puff on top of the previous stitch.
- Second, make the next open puff into the base of the previous stitch.
- Third, make the last open puff into the next space.
- Then close all three open puffs together in one single step.
- Finally, secure with a chain.
Wall stitch: Turn your work at the end of every row. Then start each row with one closed anchor puff (the “wall”) before you continue the star stitch sequence.
Increases: Work two open puffs at the edge, one in the top and one in the base. However, do not move on to a next space. As a result, the row edge gets wider, adding 2 stitches (one star width) per edge.
Decreases: Skip the closing step on the individual edge puffs. Then group 4 open puffs together across the shaping edge, so the work slopes inward.
Pattern Notes for the Crochet Bear Bath Scrubber
Pieces you will make: Before you start, note that the bear is made from these parts.
- Front main body panel (white)
- Back main body panel (white)
- Muzzle (pink)
- Eyes, 2 pieces (black, with white embroidered highlights)
- Nose (red, worked in a 3D puff style)
- Ears, 2 pieces (dark red inner part, white trim)
- Bow tie (red)
- Flower with centre (yellow and white)
Common beginner mistakes: Two slips cause most of the trouble.
- Pulling the puff stitches too tight, which makes it hard to insert the hook
- Forgetting the closed “wall” puff at the start of each row
Crochet Bear Bath Scrubber Pattern
First, make the pieces in the order below. Then sew them together at the end.
Main Body Panels (Make 2 Identical White Pieces)
Wrist cuff and foundation
- To begin, work Row 1: Ch 3, and then work a 3-loop puff stitch into the 2nd chain from the hook and close it. Repeat to build a foundation of 9 puff stitches in total.
- Next, for Rows 2 to 3, turn, ch 1, and work 1 closed puff (the wall) at the start. Then continue with star stitches (top, base, next space) across the row, and end with 8 to 9 completed star stitch groups.
Body expansion (increases)
- In Row 4 (increase), turn and work 1 closed puff at the edge. After that, add an open puff into the base without moving forward. Continue with star stitches across, and end with an edge increase (1 puff in the top, 1 in the base). Stitch count: 10.
- Likewise, Row 5 (increase) repeats the increase at both edges. Stitch count: 12.
Straight body section
- Then work Rows 6 to 11 as 6 even rows with 12 star stitch units across, with no increases or decreases. As a result, this builds the height of the pouch.
Top head shaping (decreases)
- For Row 12, turn and begin with a decrease by skipping the closing of the first puff and pulling through together. Next, work star stitches across until 2 spaces remain, and then work a 4-puff decrease at the end. Stitch count: 10.
- Afterward, Row 13 repeats the decrease row. Stitch count: 8.
- Finally, Row 14 is the last decrease row. Stitch count: 6. Fasten off.
- Last, make a second identical white panel.
Pink Muzzle
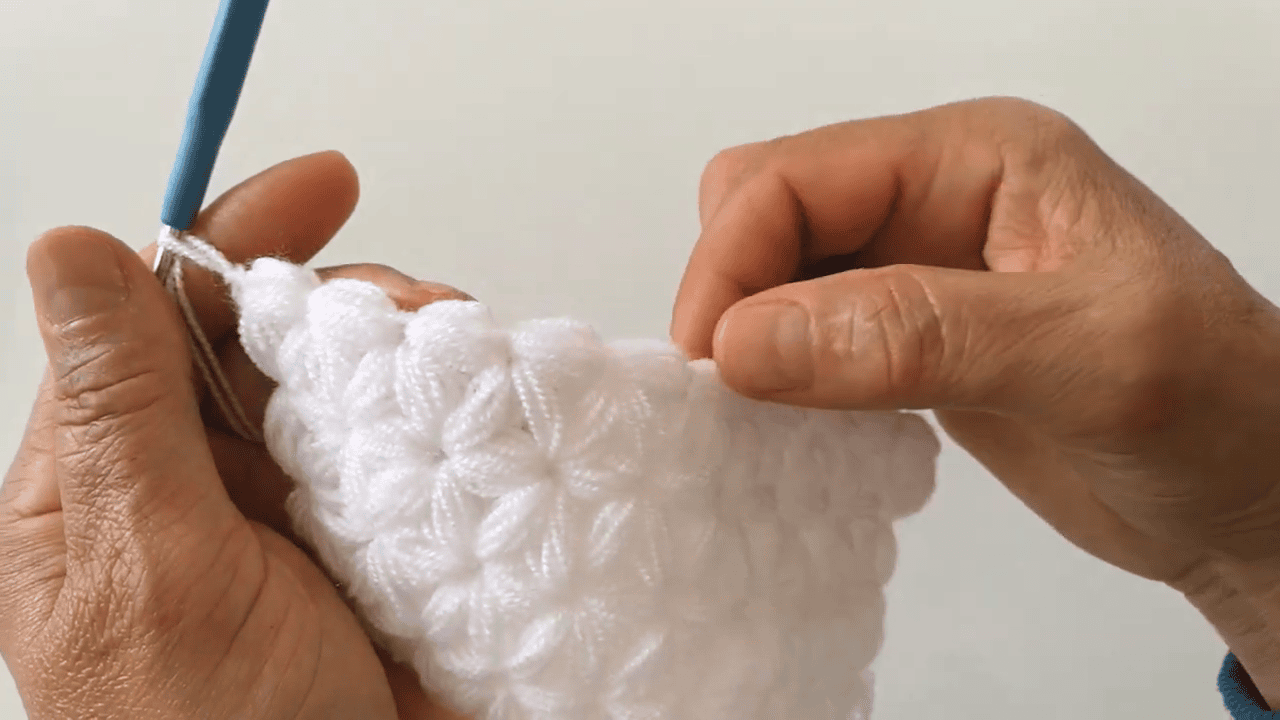
- To start, work Row 1: Ch 3, and then work 6 puff stitches in a sequence similar to the body base.
- Next, Row 2 (increase) uses edge increases to expand to 7 stitches.
- After that, Row 3 (increase) expands the piece to 9 stitches.
- Then work Row 4 (straight) even across 9 stitches.
- For Rows 5 to 6 (decrease), decrease back down to 5 stitches. Afterward, finish with a round of sc and ch-loops around the border to neaten the edges.
- Finally, sew the muzzle onto the lower centre of the front panel. It should cover about rows 1 to 4 from the bottom, in the chin area.
Black and White Eyes (Make 2)
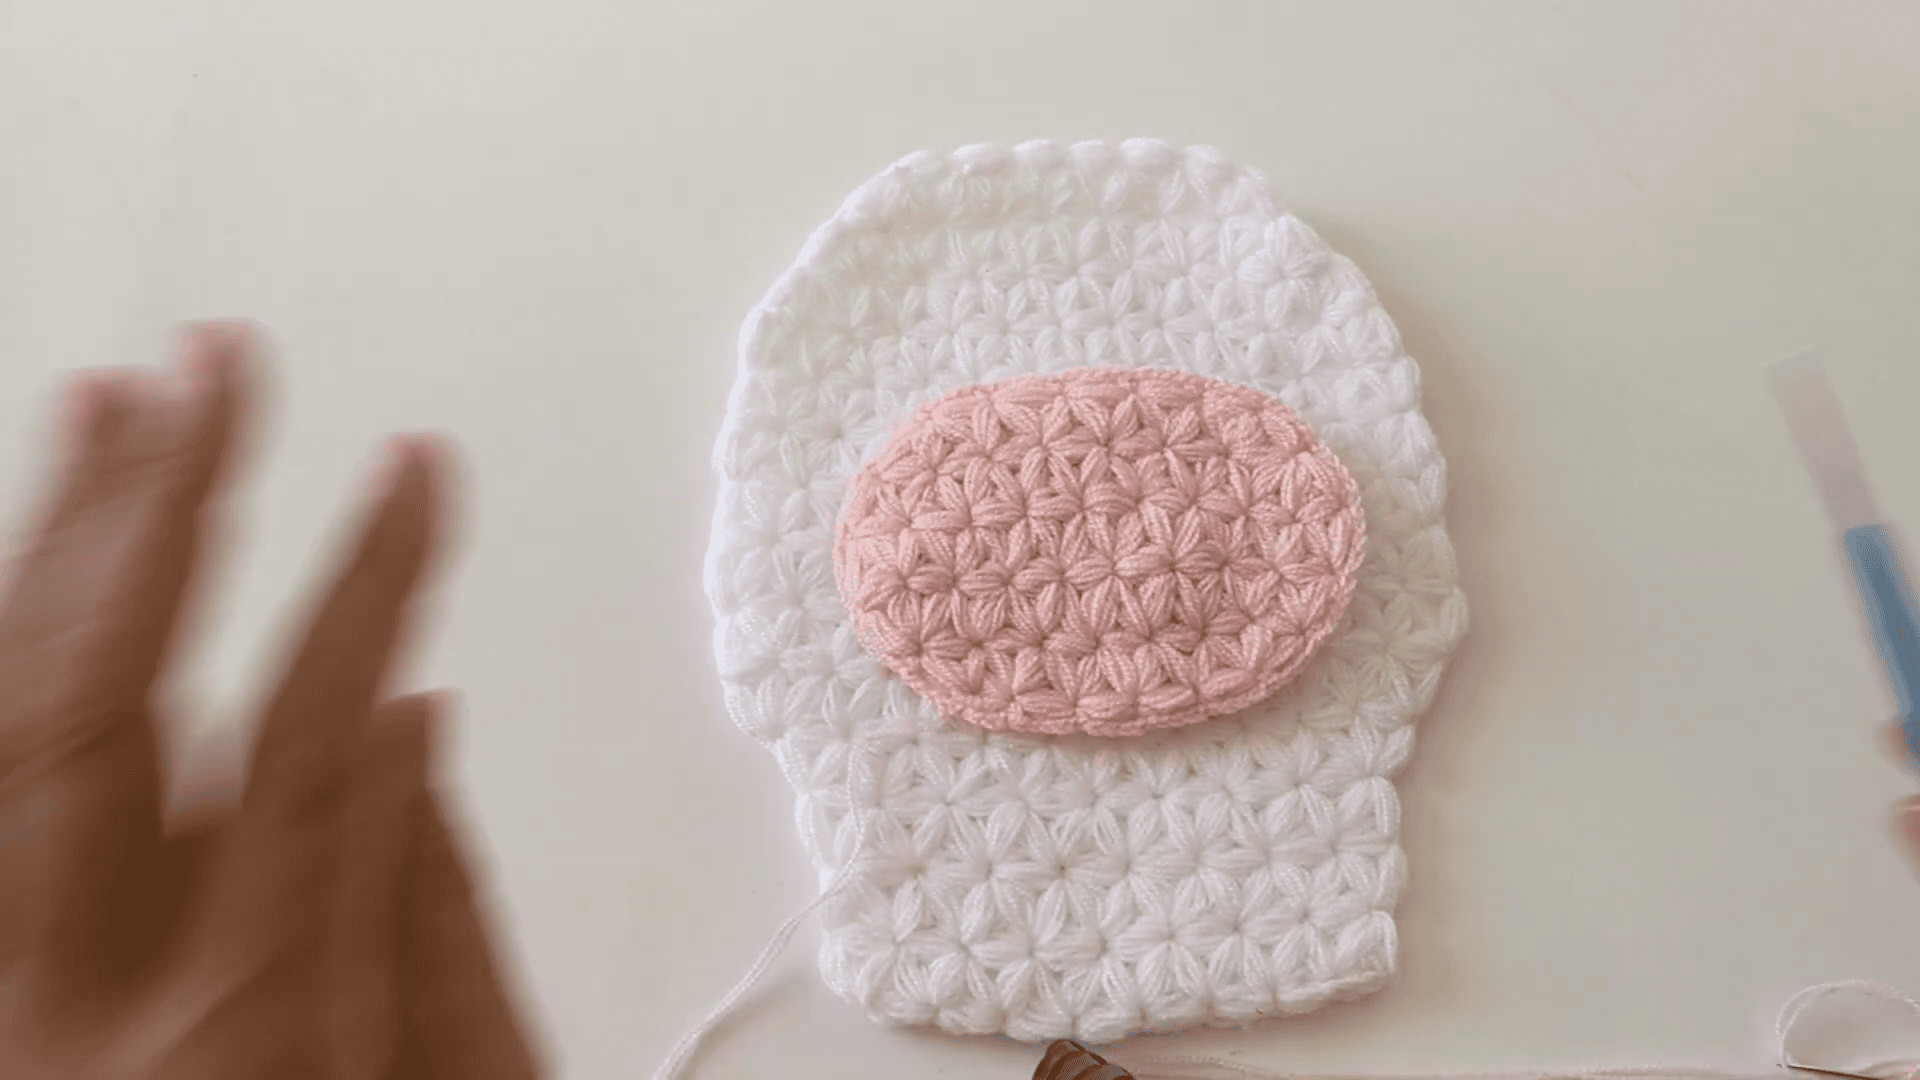
- First, start with a magic ring.
- Next, ch 3 and work 16 dc into the ring.
- Then sl st to join, and leave a long tail for sewing.
- After that, embroider a small white highlight onto each black eye with the yarn needle.
- Finally, sew both eyes securely above the muzzle.
Red Puff Nose
- First, start with a magic ring.
- Next, ch 5, pull up a loop, and wrap 12 times into the ring. This makes a dense 3D puff.
- Then slip stitch across the loops to bind off.
- After that, sew the red nose to the centre top of the muzzle.
- Finally, embroider a smiley mouth line downward from the nose with red yarn.
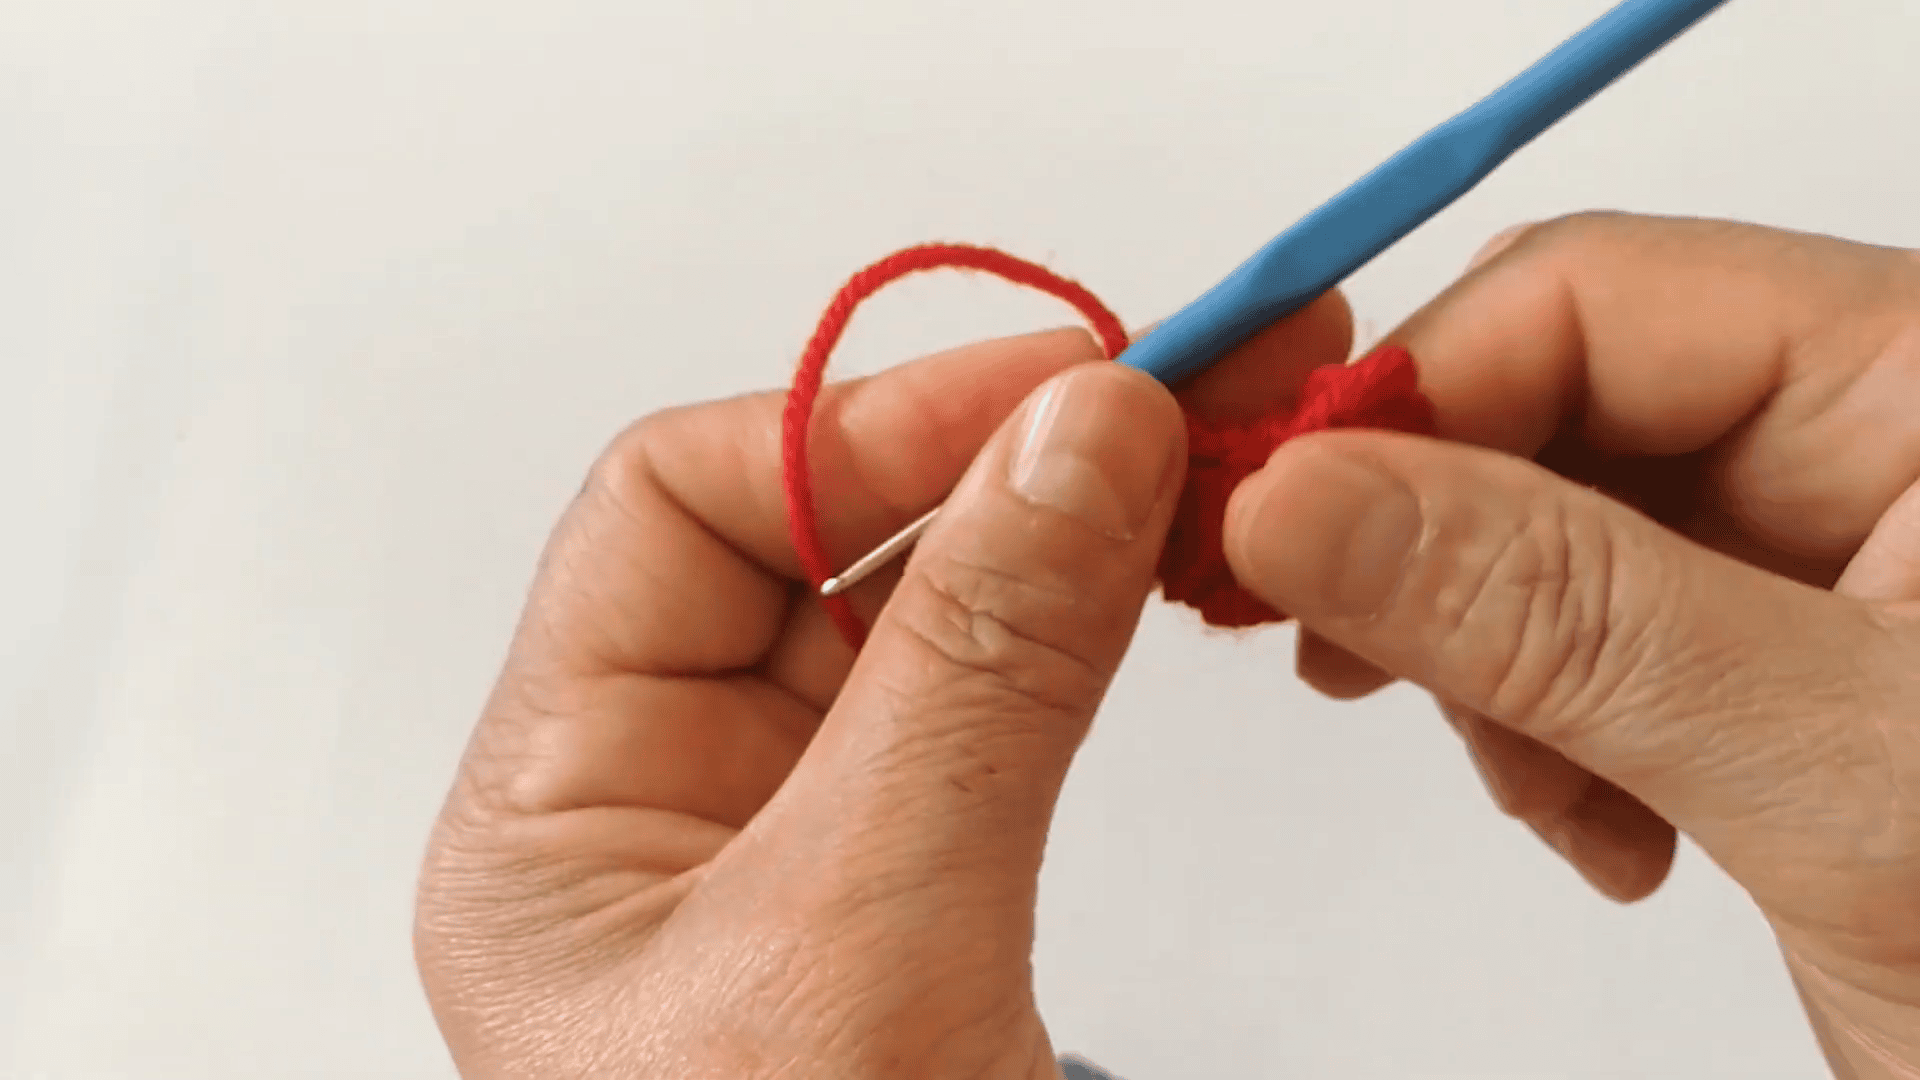
Ears with Dark Red Inner Part (Make 2)
- To begin, attach dark red yarn to the 2nd chain loop of the ear base.
- For Row 1, work 3-stitch groups across the base loops.
- Next, work Row 2 even across the 3 star groups. This forms 3 parallel ridges.
- Then, in Row 3 (decrease), work edge decreases to round off the top of the ear, and bind off.
- Finally, repeat for the second ear.
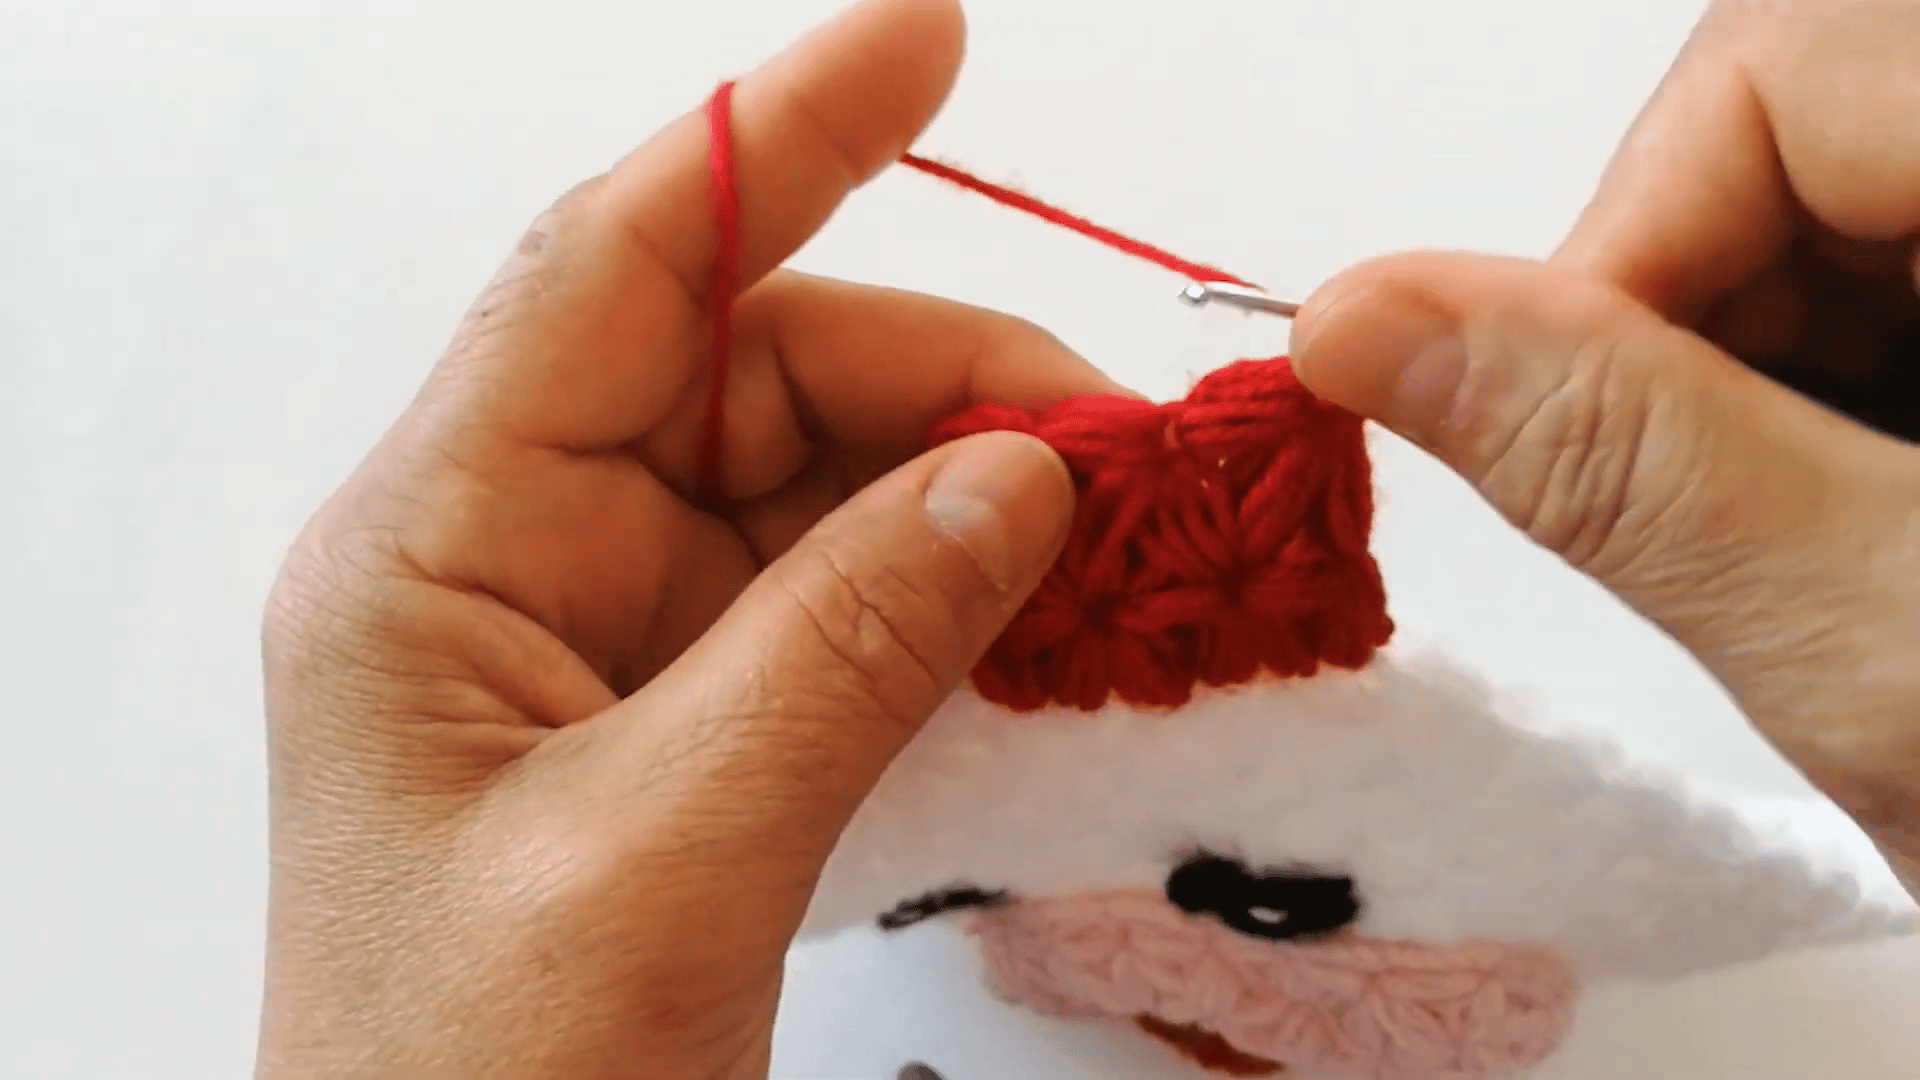
Red Bow Tie
- To start, ch 3 and work 7 initial puff stitches.
- Next, work 3 rows of star stitches to form a small rectangle, 7 stitches wide, tapering or straight.
- Then wrap white yarn tightly around the centre of the rectangle to form the bow shape.
- Finally, sew the bow tie below the chin and muzzle area.
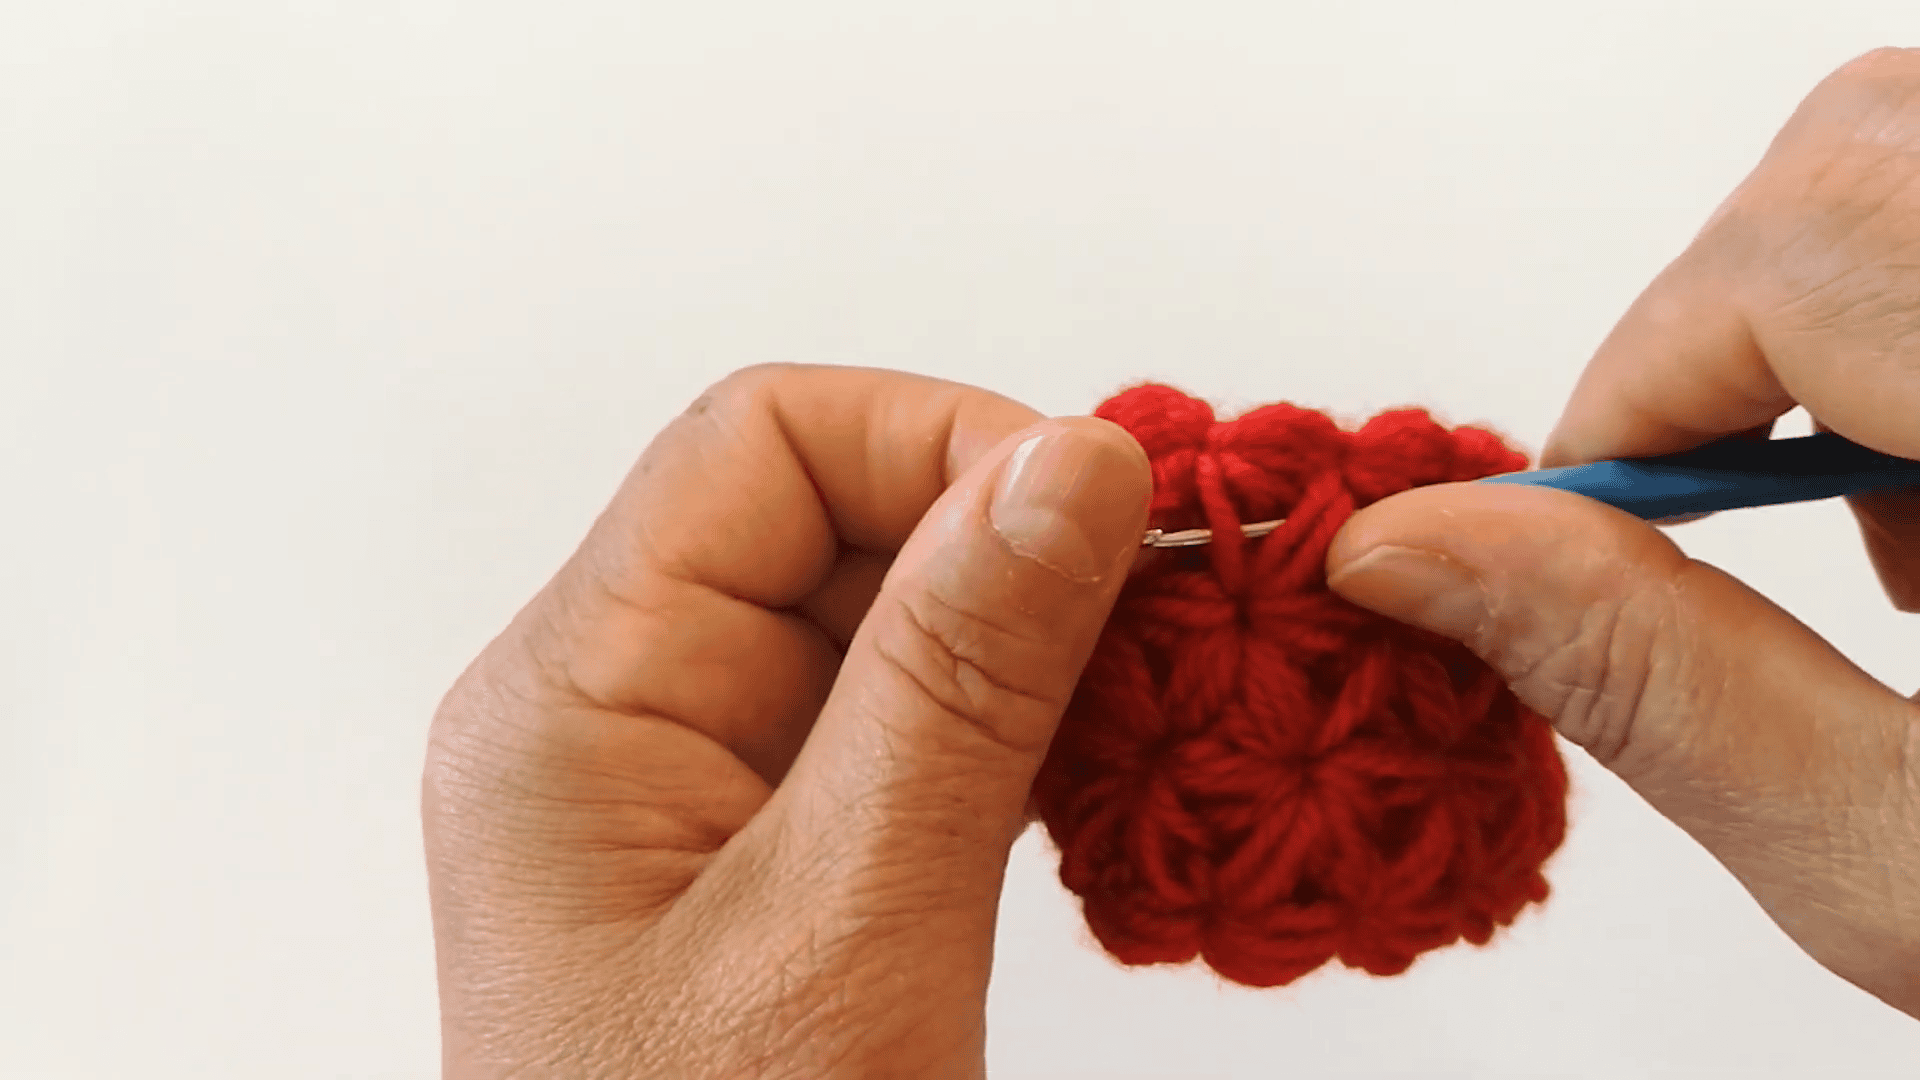
Yellow Accent Flower
Flower base: Start with a magic ring. Then ch 3 and work 12 dc / ch-1 spaces around the ring.
Petals: In each ch-1 space, work a puff cluster (3 wraps each), followed by a 3-chain picot (ch 3, sl st into the base). Then repeat around all 6 petal slots.
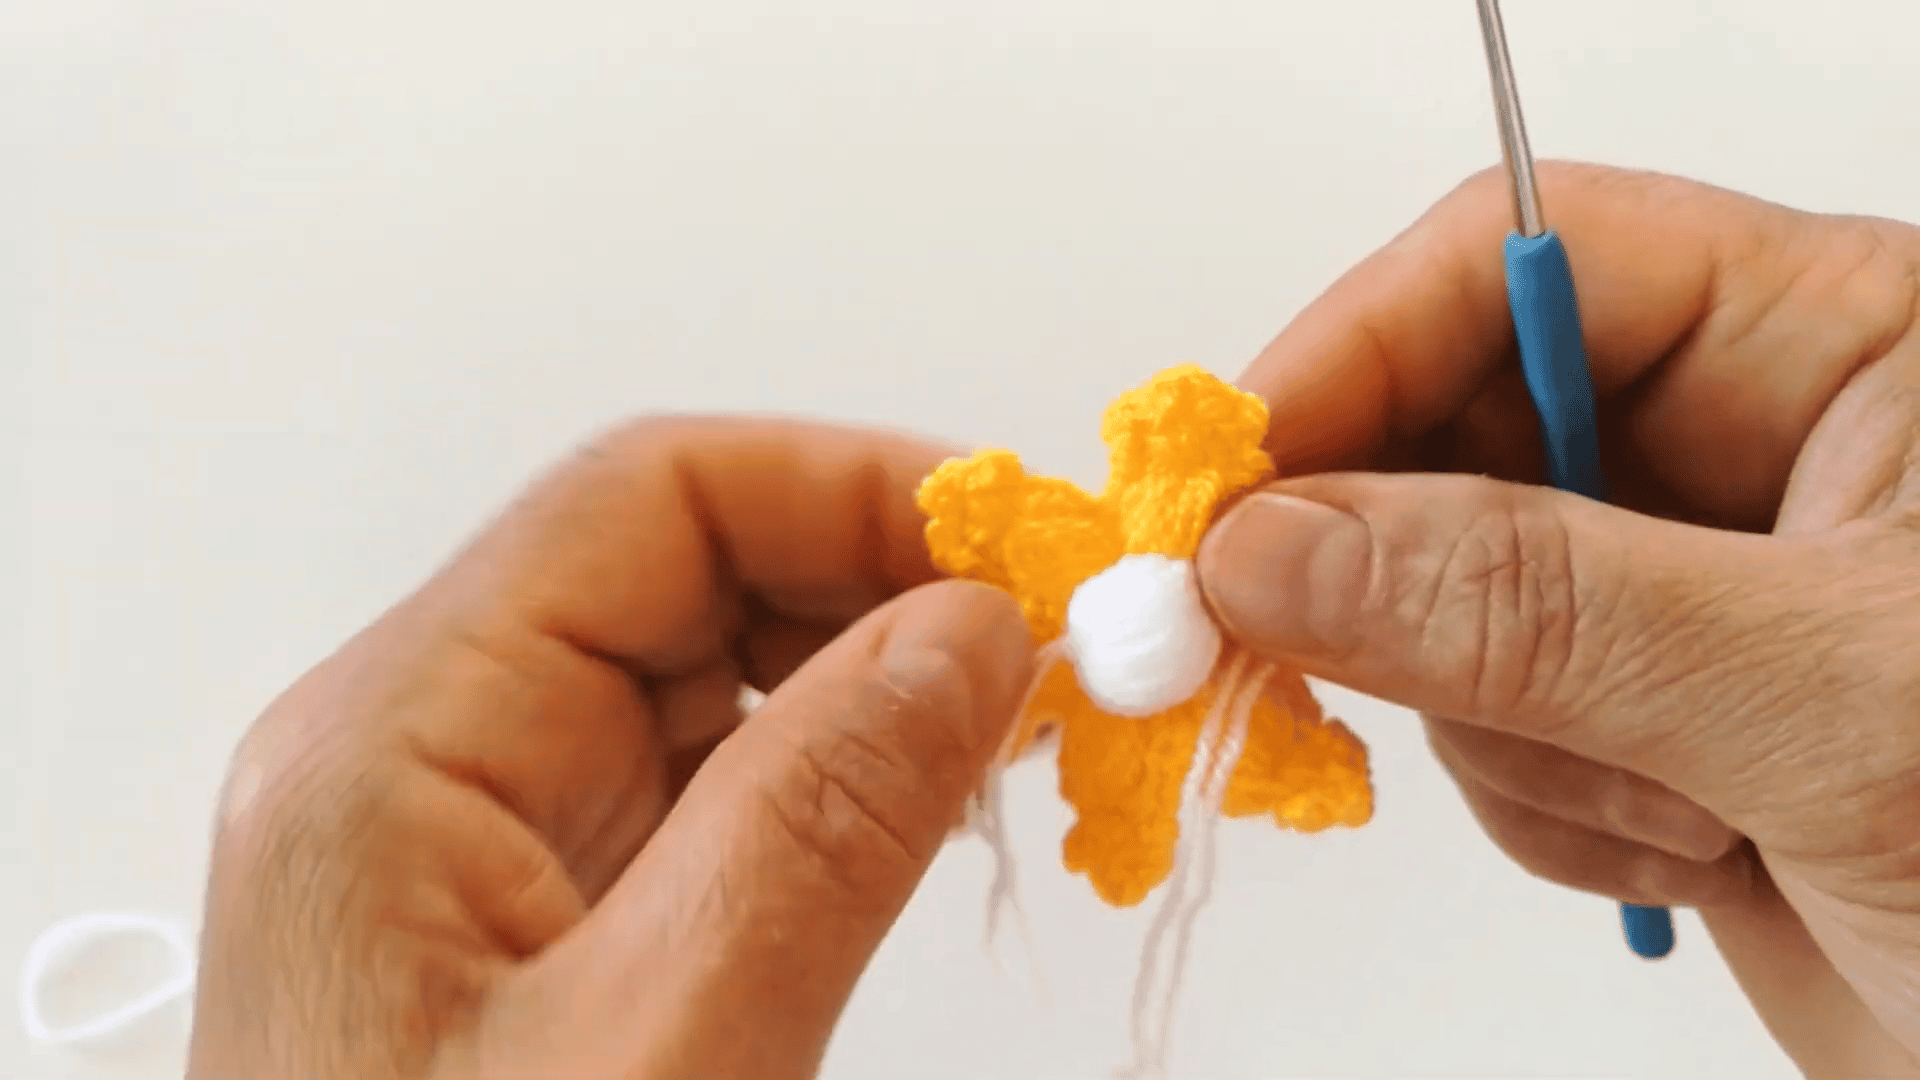
Centre: Make a white puff cluster with 8 wraps in a magic ring. After that, sew the centre onto the flower, and attach the flower near the bear’s ear.
Final Assembly of the Pouch
- First, place the front and back panels together with the wrong sides facing inward.
- Next, seam the outer edges together with slip stitches or a whip stitch through the border puffs.
- However, leave the bottom wrist opening unstitched so a hand can go in.
Stitch Count Summary
Main body: The foundation row has 9 star stitches, and Rows 2 to 3 stay at 9. Then Row 4 grows to 10, and Row 5 grows to 12. After six straight rows at 12 (Rows 6 to 11), the panel shrinks to 10 in Row 12, 8 in Row 13, and 6 in Row 14, where you fasten off.
Muzzle: Row 1 has 5 to 6 stitches, and Row 2 has 7. Next, Rows 3 and 4 both have 9. Finally, Rows 5 to 6 decrease to 5 stitches.
Other pieces: Each eye is 16 dc in a magic ring. Meanwhile, each ear has 3 star groups, shaped down toward the top.
Bonus: Quick Face Placement Guide
Before you sew anything, lay the front panel flat and check the order of the pieces. First, the muzzle goes onto the lower centre of the panel, in the chin area. Next, the eyes sit securely above the muzzle, and the red nose goes on the centre top of the muzzle.
After that, embroider the red smile downward from the nose. Finally, the bow tie sits below the chin and muzzle area, while the yellow flower goes near the ear. Stitch markers can help here, so pin each piece in place before you sew.
Finishing Your Crochet Bear Bath Scrubber
Weaving in ends: First, secure all yarn tails. Then weave them neatly into the inside star stitches.
Blocking and shaping: Next, lightly steam or flatten the facial features. As a result, the muzzle and ears sit flat.
Helpful Tips for the Crochet Bear Bath Scrubber
These quick reminders help the pattern go smoothly.
- Keep your puffs loose.
- Start each row with the closed wall puff.
- With scrubbie yarn, use 4 to 5 wraps.
- Leave a long tail on each eye for sewing.
- Also, leave the wrist opening unstitched.
Crochet Bear Bath Scrubber Gift Ideas
Besides using it at home, you can give this little bear in several ways.
- A bath gift for kids
- A party favour
- A teacher thank-you
- A small soap bar tucked inside the pouch
Crochet Bear Bath Scrubber FAQ
Is this crochet bear bath scrubber beginner-friendly?
It is marked beginner-friendly to intermediate. Also, the puff and star stitches are explained step by step above.
What yarn works?
Acrylic baby yarn works well. Alternatively, you can use traditional Turkish polyester/acrylic scrubbie yarn (lif ipi).
Can a hand fit inside?
Yes. Because the bottom wrist cuff stays open, a hand slips right in.
How do I make the pouch opening?
Seam the outer edges, but leave the bottom wrist opening unstitched.
Over to You: Make Your Bear
So that’s the bear. The best part is how a hand slips into the cuff and the little face looks back at you. Keep your puffs loose, and go slow.
Dig out some scraps and give it a try. Then hand it to a kid.