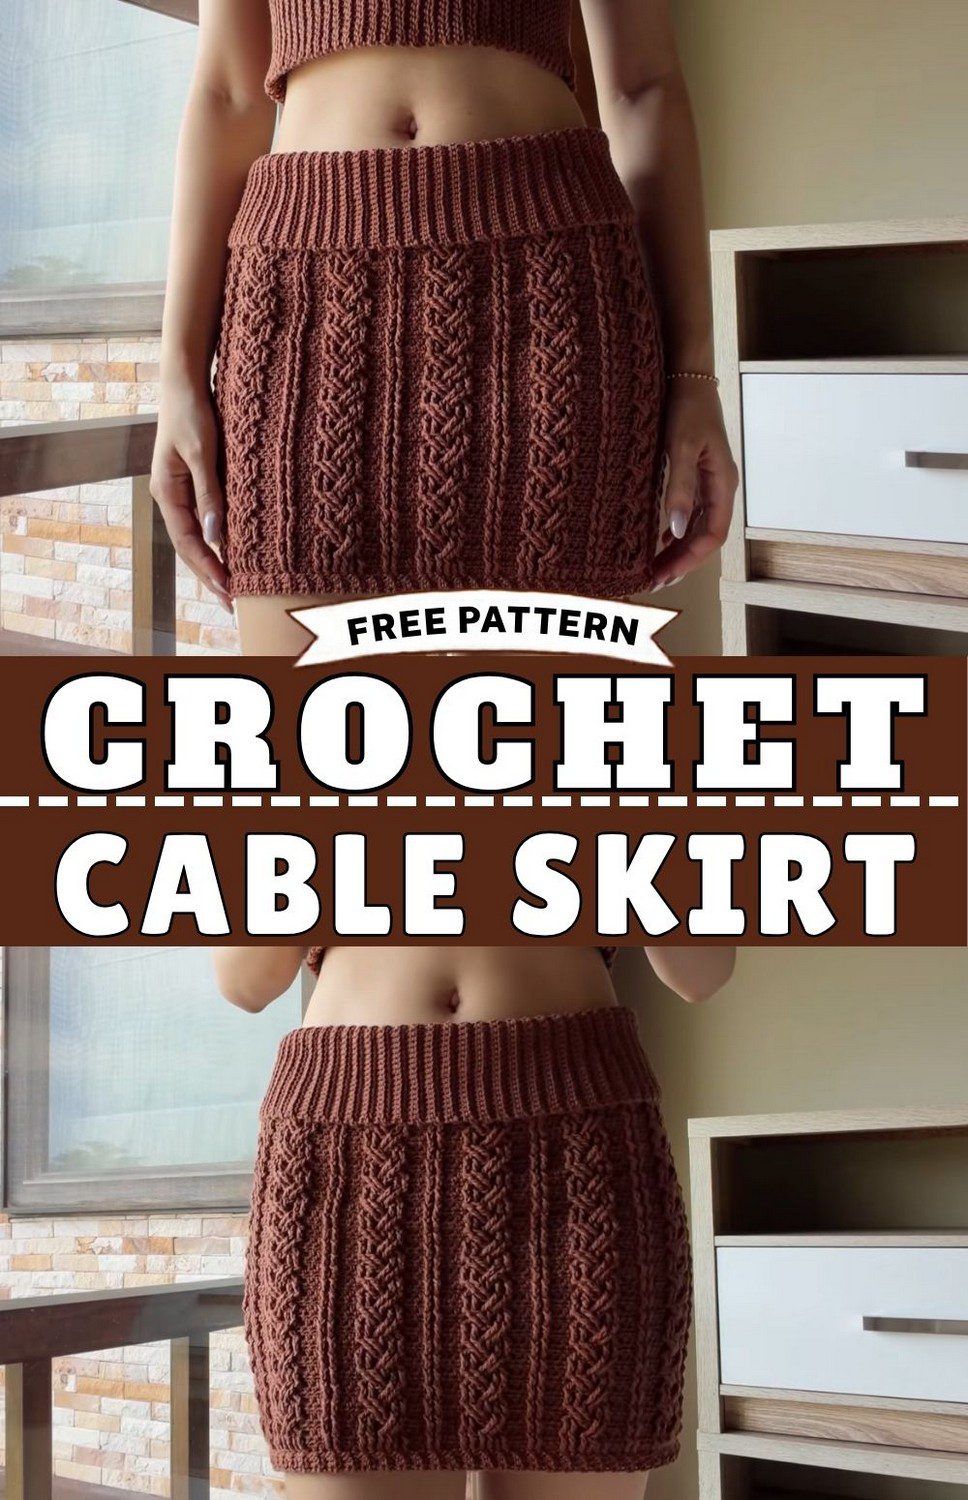
Crochet Cable Skirt Pattern with Braided Texture
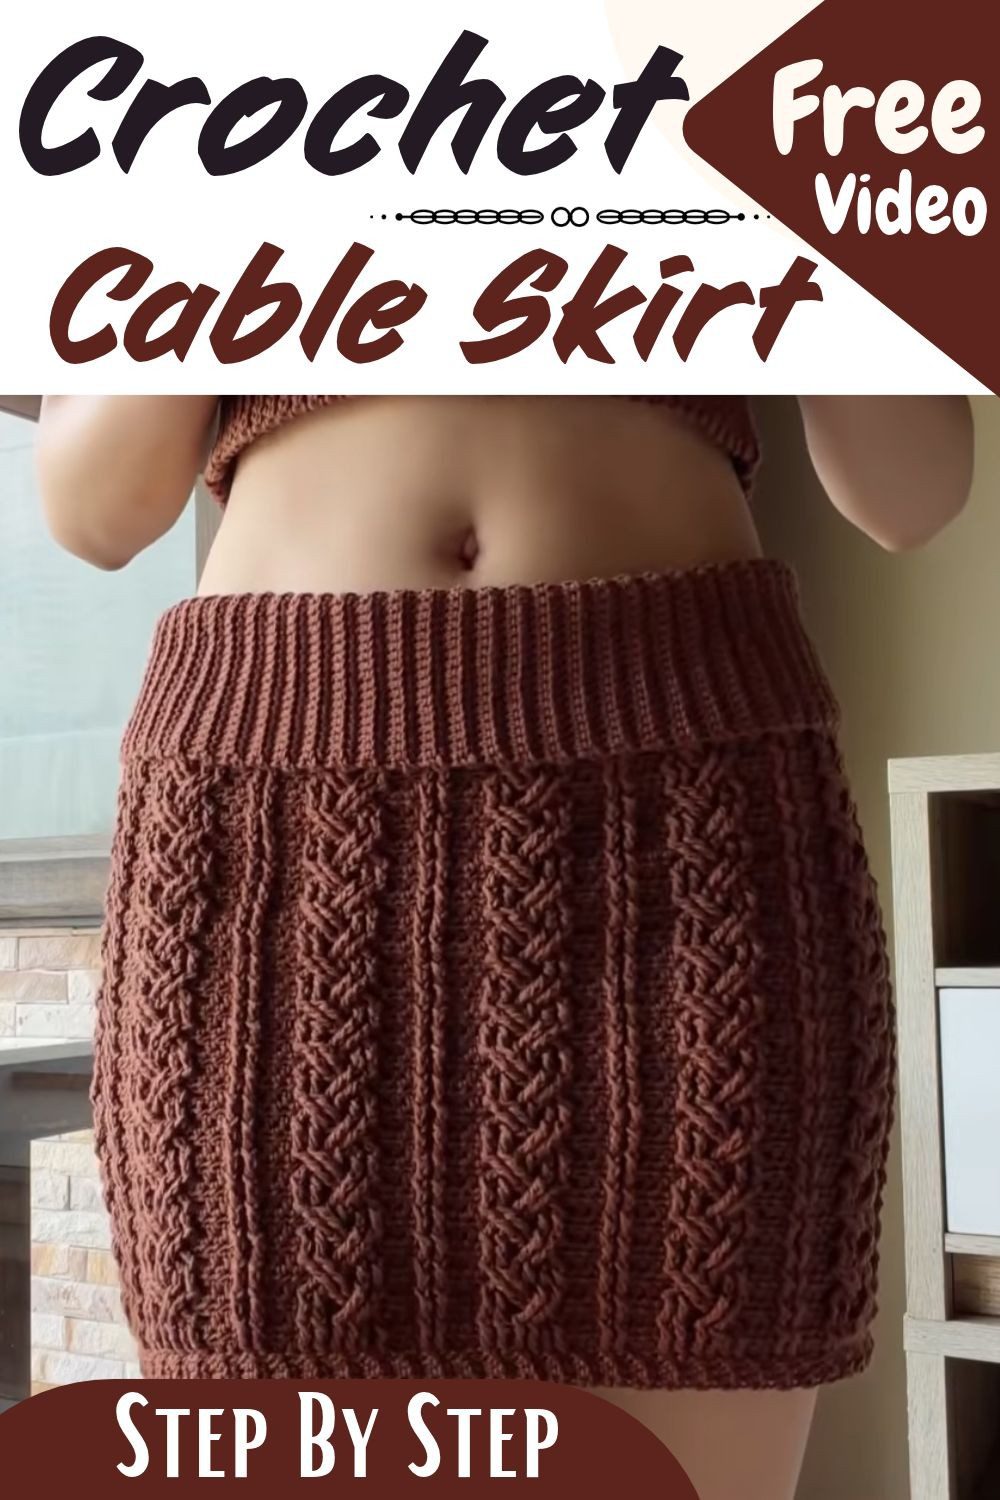
This crochet cable skirt pattern uses warm brown yarn, and pretty little braids run from the top down to the hem. Because the wide waistband folds over, it feels snug and comfortable. Also, a neat ribbed edge finishes the bottom, so the whole skirt looks tidy and cozy to wear.
Best of all, you get the free pattern right here. First, read the overview and materials below. Then follow the four steps in order, and soon you can wear this braided crochet skirt with a matching crop top.
Crochet Cable Skirt Pattern Overview
Skill level: Intermediate. Before you begin, you should be comfortable with post stitches and working in the round.
Finished size: Made to measure. The waistband is about 6.5 inches tall, and the skirt has 144 stitches around. However, the final length depends on how many times you repeat the cable rounds.
Materials for the Crochet Cable Skirt Pattern
- Yarn: Sport weight (number 2) yarn. Since 100% cotton is recommended, the creator used about 340 g (around 940 m) in total.
- Hooks: 3 mm hook for the main skirt, and 2 mm hook for the elastic thread.
- Tools: Tape measure, stitch markers, scissors, yarn needle.
- Optional: Elastic thread.
Stitch Abbreviations
ch – chain
sc – single crochet
hdc – half double crochet
sl st – slip stitch
BLO – back loop only
FPtr – front post treble crochet
FPdtr – front post double treble crochet (yarn over 3 times)
st – stitch
WS – wrong side
Important Notes Before You Start the Crochet Cable Skirt Pattern
- First, remember that the pattern uses standard crochet terms.
- Also, the number of stitches around must be a multiple of 12, otherwise the cable repeat will not work.
- Wrap the waistband around your hips as you go. Because the cable part has less stretch than the waistband, don’t make the waistband too tight.
- Finally, every round starts with ch 1 and a turn, since the skirt is worked in turning rounds.
Crochet Cable Skirt Pattern: Step-by-Step Construction in Order
Hooks: First, use a 3 mm hook for the waistband, body and ribbing. Then switch to a 2 mm hook for the elastic thread.
Step 1: The Waistband
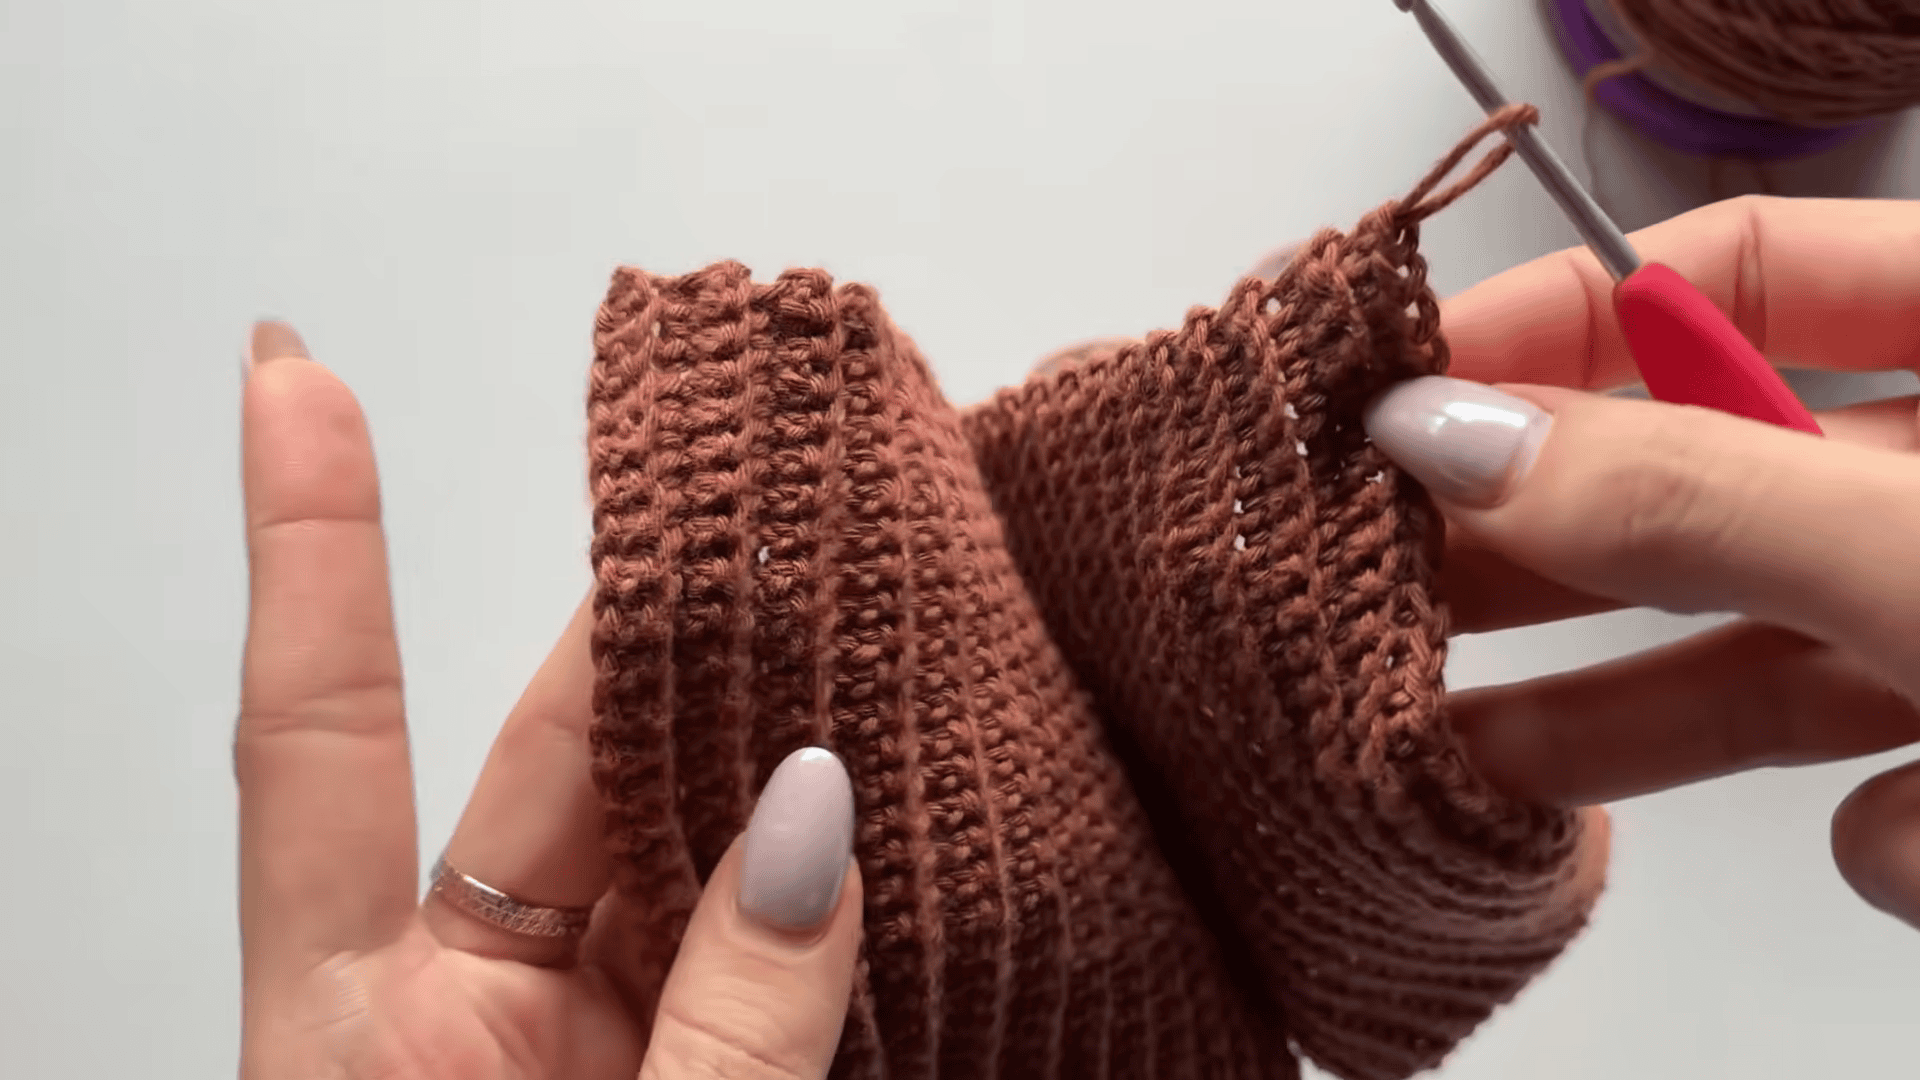
The waistband is the first part of the skirt. Also, it is a long, flat strip worked in rows of single crochet in the back loop only.
Making the strip
- First, chain to the height you want for your waistband. The creator’s chain is about 6.5 inches.
- Next, work back and forth in rows of single crochet in the back loop only.
- Then keep going until the strip is long enough to wrap comfortably around the widest part of your body.
Fold-over design
This is a fold-over waistband. After the strip is joined into a circle, it is folded in half.
Joining the strip
- When the strip reaches the length you need, fold it.
- Then join the two ends together with slip stitches to form a circle.
Fit and structure
The total number of rows in the waistband must be a multiple of 12. As a result, the cable stitch pattern in the body works correctly.
Step 2: The Body of the Crochet Cable Skirt Pattern
The body is the main part of the skirt, and it is worked in the round. Also, it has a braided texture made with post stitches. Since it builds on the waistband, this is the intermediate-level part of the construction.
Foundation
First, the body starts with two rounds of half double crochet.
Cable pattern
The braided cable effect comes from two stitches:
- Front post treble crochet
- Front post double treble crochet
Stitch requirement
The foundation stitch count must be a multiple of 12. Because of this, the cable pattern repeats correctly.
Pattern repeat
- First, form the cable design by repeating Rounds 5 through 8.
- Also, these rounds include the crossing stitches that give the braided look.
- Then keep repeating until the skirt is the length you want.
Finishing round
- Once you reach the length you want, work a finishing round.
- Next, use front post treble crochets and half double crochets.
- As a result, the hem looks neat before you add the ribbing.
Step 3: The Ribbing
The ribbing is the decorative trim on the bottom edge of the skirt. In addition, it gives the skirt a polished, clean look.
Foundation
First, chain to the height you want for the ribbing. In this skirt, it is a small, short length.
Stitch method
Next, work rows of single crochet in the back loop only.
Attachment
- First, build the ribbing row by row around the whole bottom edge.
- Then anchor each row to the skirt body with slip stitches.
Joining
- After you have worked all the way around the base, the two ends of the ribbing meet.
- Next, connect them on the wrong side with slip stitches.
- Finally, this completes the circle.
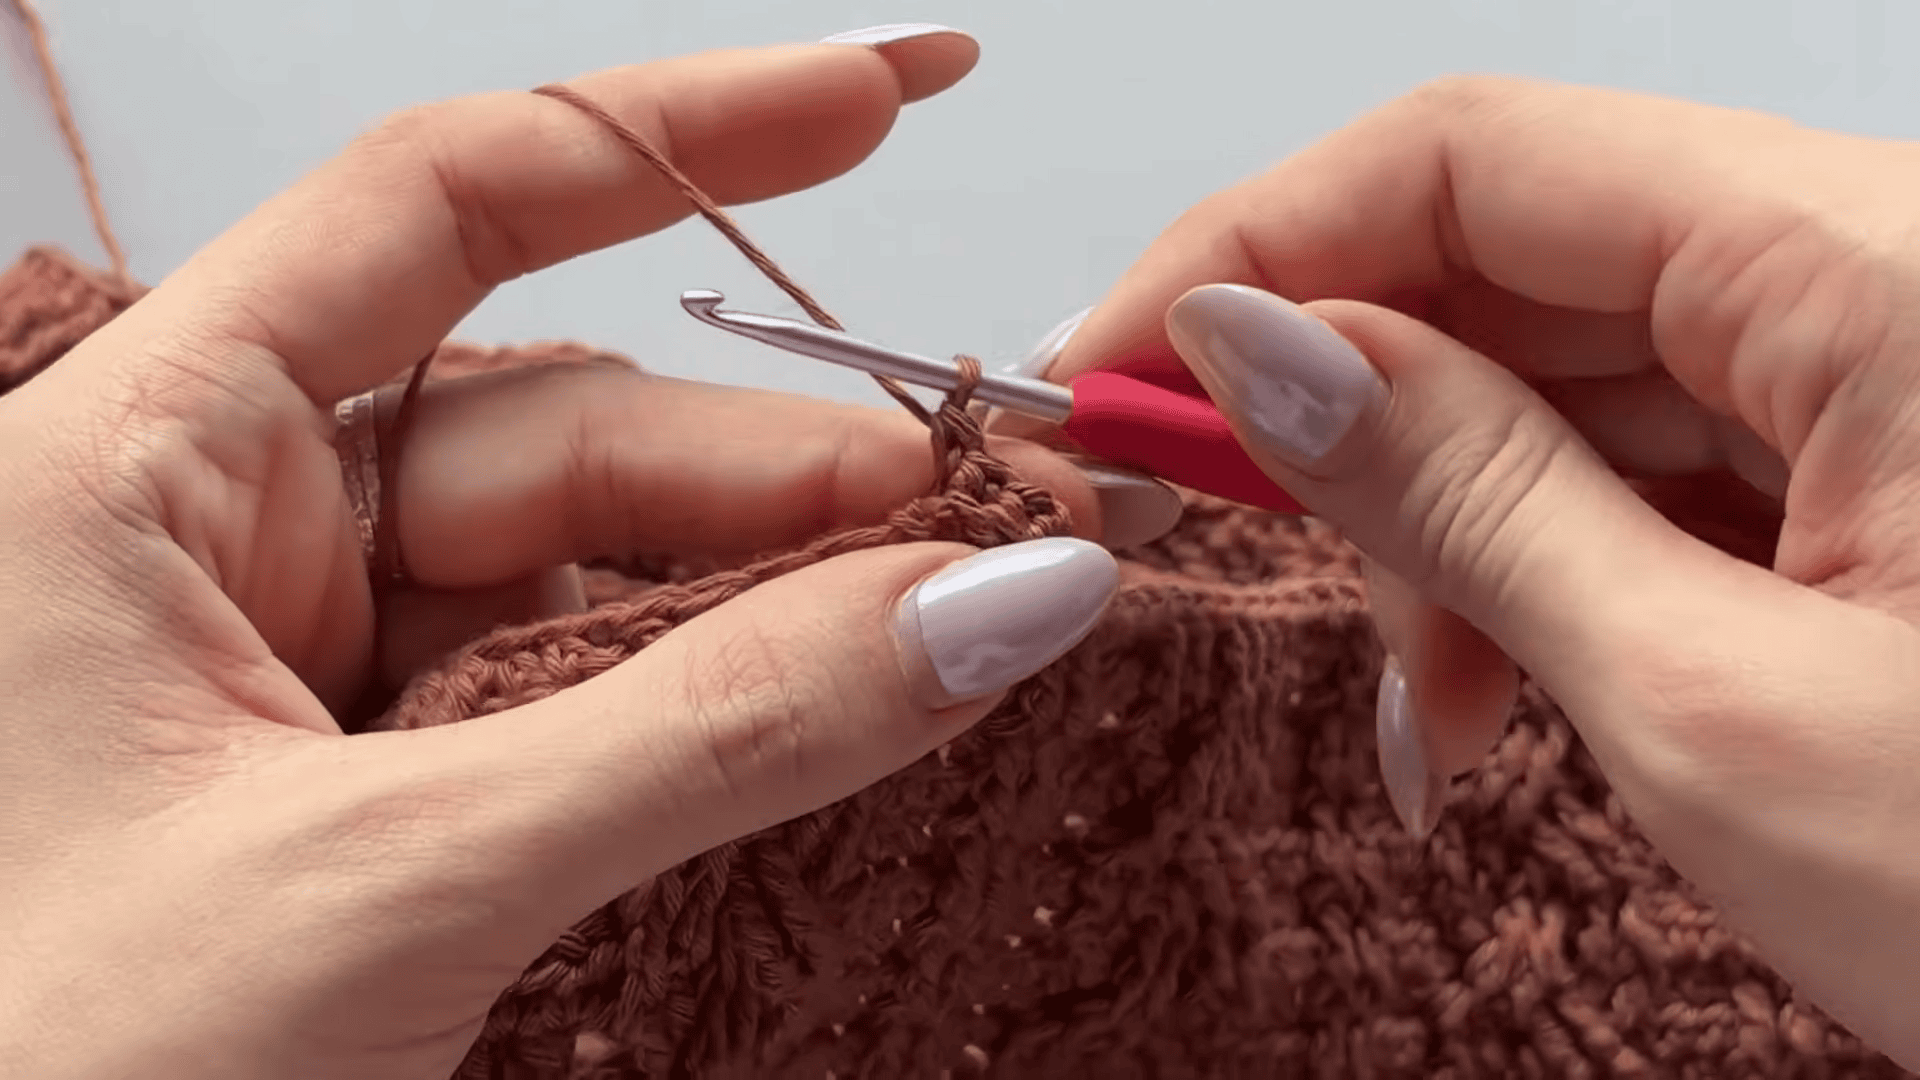
Step 4: Adding the Elastic (Optional but Highly Recommended)
This finishing technique helps the skirt fit securely. Also, it stops the skirt from slipping down while you wear it.
Placement
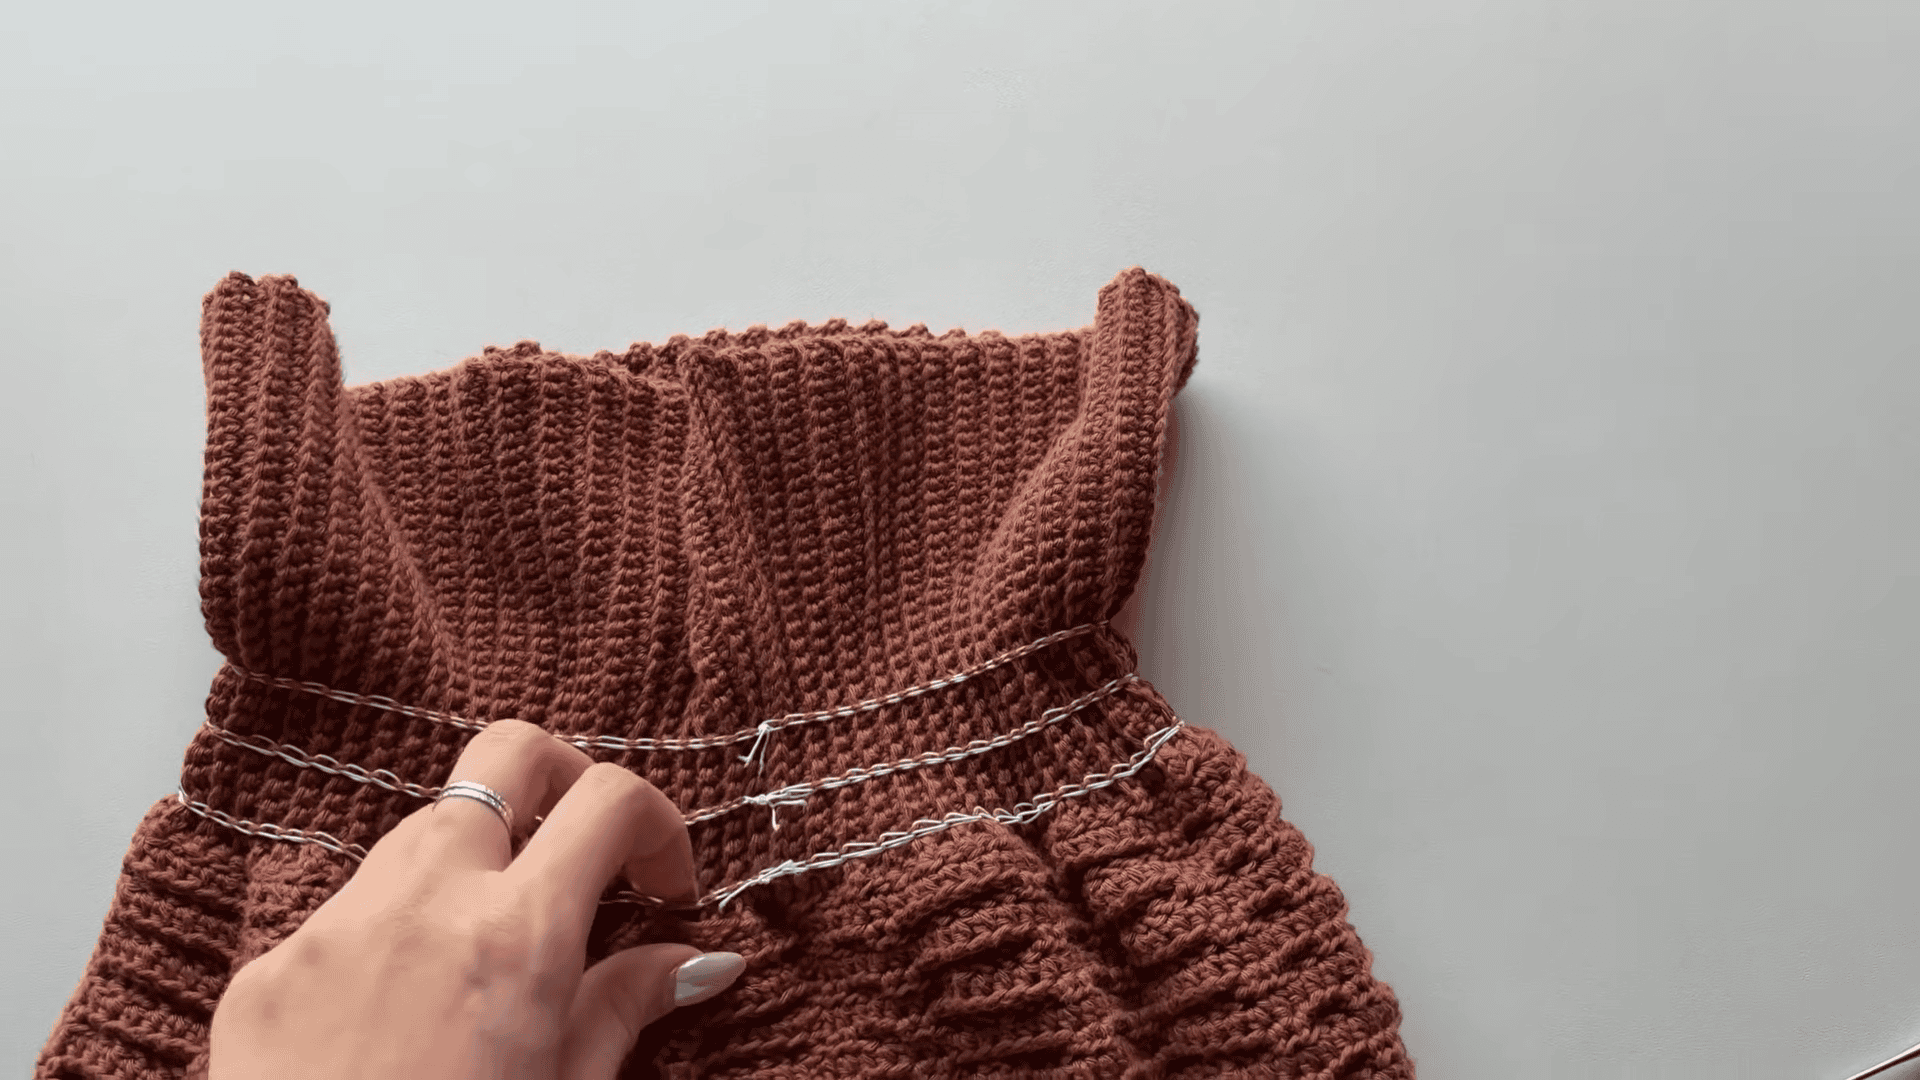
First, the elastic thread goes on the inside (wrong side) of the waistband.
Method
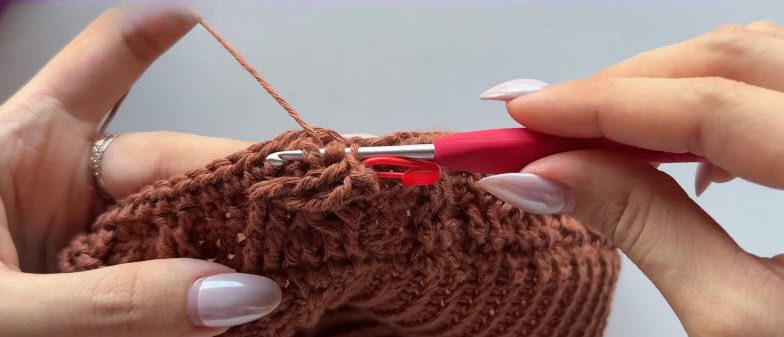
Use a 2 mm hook. Then work slip stitches into the raised rows you can see on the inside of the waistband.
Execution
- First, make a slip knot with the elastic thread.
- Next, insert your hook into a raised loop on the inside of the skirt and pull the slip knot through.
- Then chain 1.
- After that, work a slip stitch into each raised loop, one after another, all the way around.
- However, keep your tension loose so the elastic does not take away the natural stretch of the waistband.
- When you finish the round, make a final slip stitch into the first stitch.
- Finally, chain 2, then cut the elastic.
Finishing the elastic
Tie the ends together with a quadruple knot. Also, leave a small tail so the knot does not slip open.
Pro Tips for a Cleaner Crochet Cable Skirt Pattern
- First, try the waistband on as you work, because the cable section stretches less than the waistband.
- Take your time on Rounds 5 and 7. These are the two cross rounds, so the stitches you skip decide how the braid sits.
- On Round 7, push the front cables aside. That way, the skipped stitches are easy to see.
- Also, keep your tension loose while adding the elastic, so the waistband keeps its stretch.
- Finally, place a stitch marker in the loose loop when you join the waistband. Then the seam won’t unravel when you turn the skirt right side out.
Common Mistakes to Avoid
- Making the waistband too tight. Because the cable section stretches less, a tight waistband makes the whole skirt uncomfortable.
- Changing the stitch count. The number of stitches around must be a multiple of 12, or else the cable repeat will not line up.
- Working into the top loops on Round 3. Instead, the first cable stitches go around the stitches of Round 1, not into their top loops.
- Adding stitches into the seam on Round 1. So skip the seam area and leave it empty.
- Pulling the elastic stitches too tight. As a result, the waistband loses its stretch.
Uses and Benefits of This Crochet Cable Skirt Pattern
- The skirt is made to measure, so it fits your own hips.
- Also, the waistband is snug and stretchy, and the elastic thread row helps keep it from slipping down.
- Because the braided texture only needs post stitches and a simple cross, it adds interest without complicated stitches.
- Finally, cotton yarn gives it a clean, everyday look.
Bonus Section: Easy Styling Ideas
The braided texture looks best with simple tops. For example, try a plain fitted tee, a soft knit sweater, or a tucked-in blouse. Also, a neutral cotton yarn gives a clean everyday look. However, a bolder shade makes the cables stand out more.
Gift Ideas
- A handmade skirt in a favorite shade for a friend who loves wearable crochet.
- A made-to-measure birthday gift, since you can fit the waistband to the person receiving it.
- A cotton skirt for a crafty relative who enjoys unique handmade pieces.
Crochet Cable Skirt Pattern FAQs
1. What skill level is this crochet cable skirt pattern?
It is an intermediate pattern. Therefore, you should be comfortable with post stitches and working in the round.
2. What yarn works best for this skirt?
Sport weight (number 2) yarn is used here, and 100% cotton is recommended. Also, the creator used about 340 g (around 940 m) in total.
3. Which hooks do I need?
You need a 3 mm hook for the main skirt. Then a 2 mm hook is used for the elastic thread.
4. Why must the stitch count be a multiple of 12?
The cable repeat is worked over 12 stitches. Therefore, if the total is not a multiple of 12, the cable repeat will not work.
5. Can I make the skirt longer or shorter?
Yes. Simply repeat Rounds 5 to 8 until the skirt is as long as you want.
6. Is the elastic thread required?
It is listed as optional. However, it keeps the skirt from slipping down, so the creator made three rows of elastic stitches for a firm fit.
7. How do I stop the elastic from making the waistband tight?
Keep your tension loose while adding the elastic. Otherwise, pulling too tight takes away the stretch of the waistband.
Okay, Here’s How It Really Goes
Honestly, the cables look hard, but once you do the first cross, they start to make sense. So go slow on Rounds 5 and 7, because that’s where you’ll pause the most. Also, keep trying the waistband on as you go, and don’t pull the elastic too tight. After that, you just repeat the rounds until your crochet cable skirt pattern turns into a skirt of the length you like.