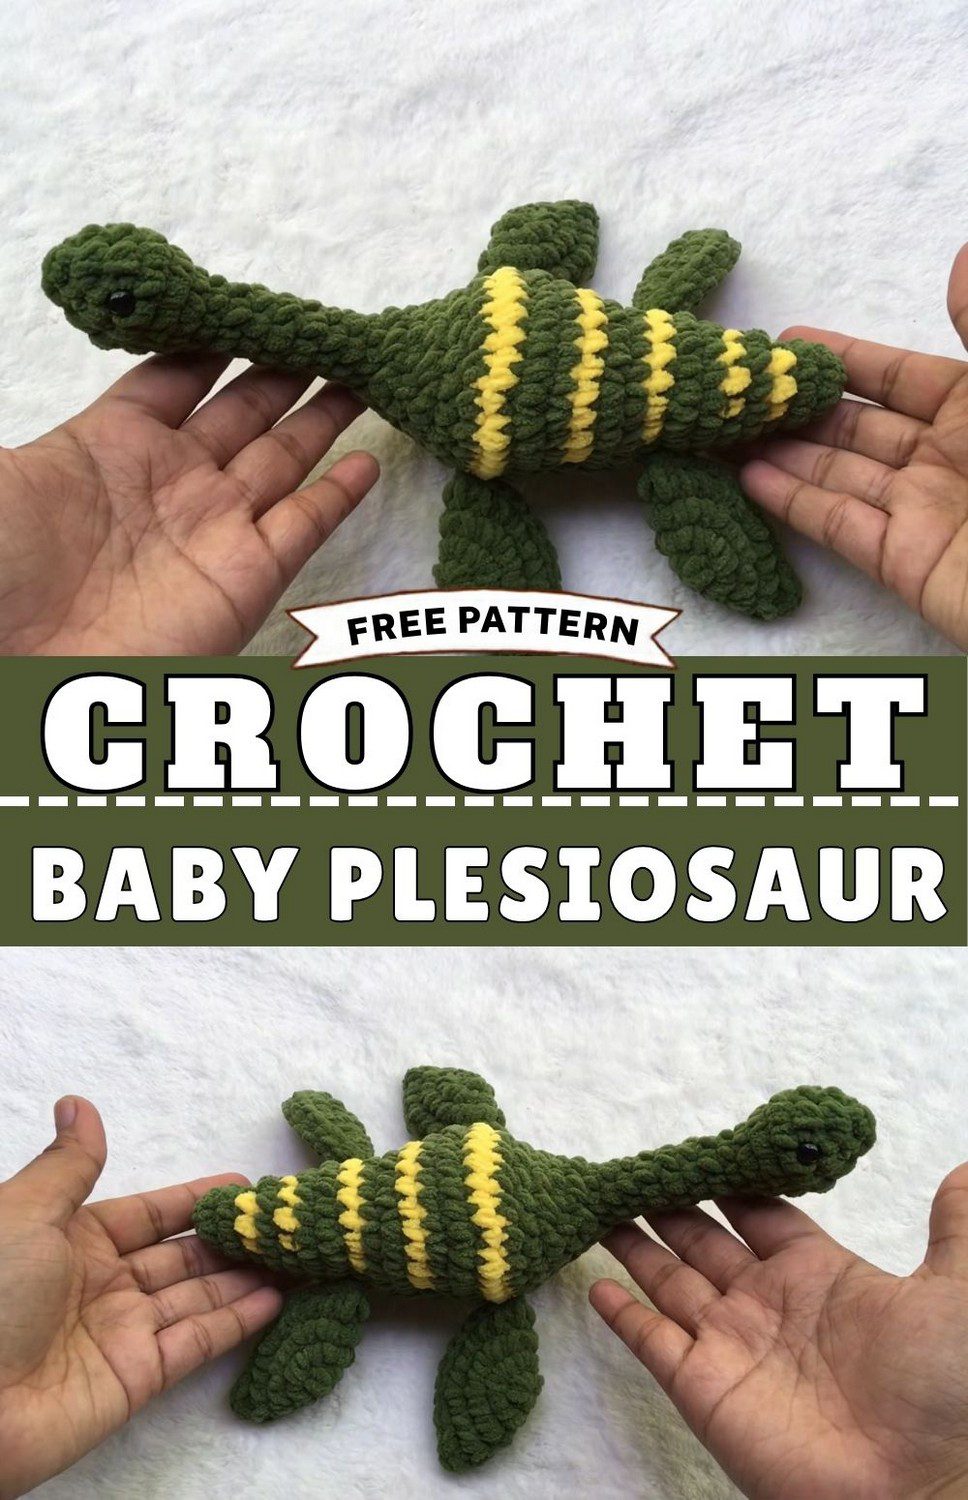
Crochet Baby Plesiosaur Pattern in Soft Chunky Green Yarn
This is a crochet baby plesiosaur pattern. It is green with yellow stripes. It has a long neck. The yarn is soft and thick. This free crochet pattern is fun to make. It is a nice gift for dinosaur fans.
Do you like dinosaurs? Try this crochet baby plesiosaur pattern. The toy is green with yellow stripes. It has a long neck and a round head. It has two black eyes and four flippers. The yarn is soft and thick. This free crochet pattern makes a cute dinosaur toy. It is a nice handmade gift for kids and dinosaur fans. Save this pin to make it later. Make one today.
Quick Overview of This Crochet Baby Plesiosaur Pattern
Skill level: Advanced beginner
Finished size: About 10 inches (25 cm) long, estimated
First, you crochet the toy in one piece, starting at the body and moving up the neck to the head. After that, you make the legs separately and sew them on at the end. In addition, a yellow belly and a green back give the dinosaur a sweet two-tone look.
Materials for the Crochet Baby Plesiosaur Pattern
- Yarn: Chunky weight green and yellow yarn.
- Hook: 5mm.
- Safety Eyes: 10mm.
- Other: Stuffing, yarn needle, scissors, and a stitch marker.
Abbreviations Used in This Plesiosaur Pattern
- sc: single crochet
- ch: chain
- sl st: slip stitch
Crochet Baby Plesiosaur Pattern Step by Step
Body of the Crochet Baby Plesiosaur Pattern
- First, make 6 sc in a magic ring for round 1.
- Next, stitch (1 increase, 1 sc) 3 times in round 2 = 9 total stitches.
- Then, crochet 9 sc for round 3.
- After that, add 3 sc (green), 3 sc (yellow), 3 sc (green) in round 4 = 9 total.
- In round 5, repeat (1 increase, 2 sc) 3 times = 12 total.
- Following that, complete 4 sc (green), 4 sc (yellow), 4 sc (green) in round 6 = 12 total.
- Similarly, make (1 increase, 3 sc) 3 times in round 7 = 15 total.
- Moving on, stitch (1 increase, 4 sc) 3 times in round 8 = 18 total.
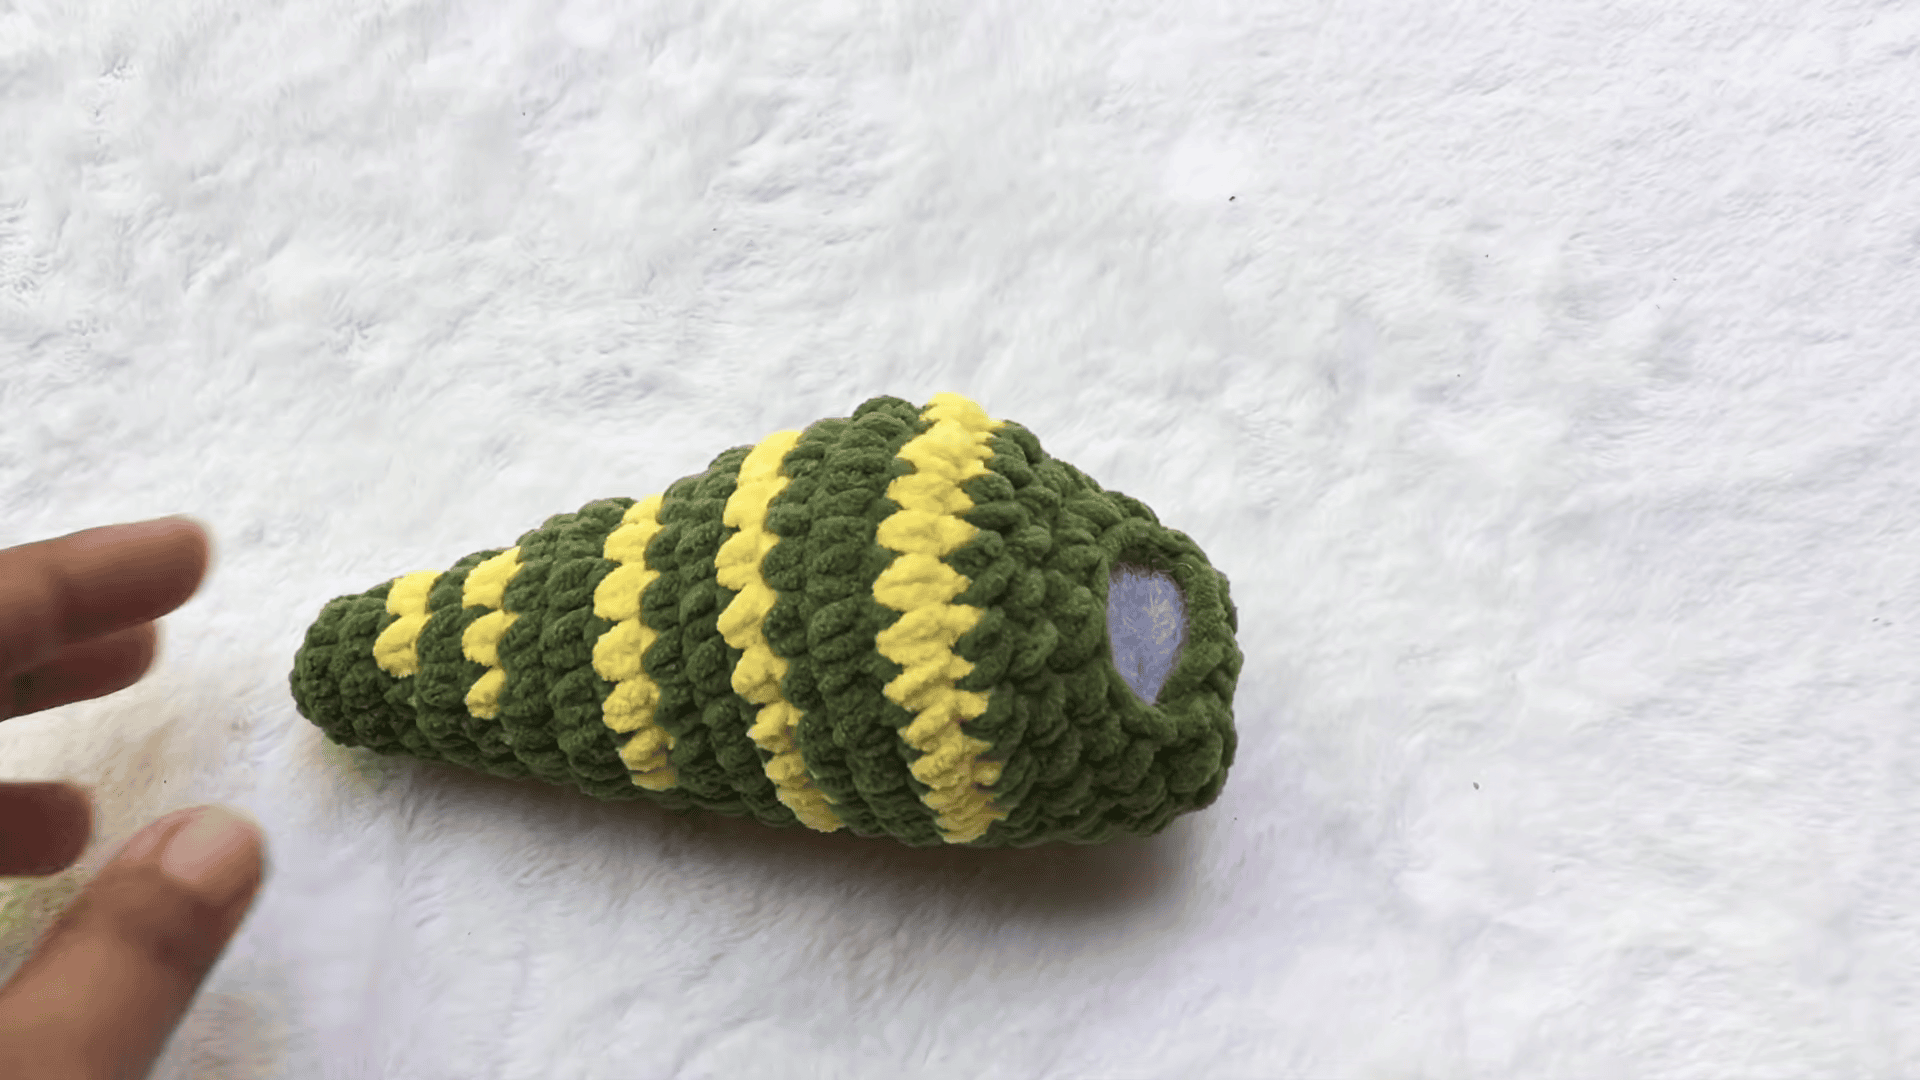
- Once that is done, crochet 6 sc (green), 9 sc (yellow), 3 sc (green) in round 9 = 18 total.
- Next, repeat (1 increase, 5 sc) 3 times in round 10 = 21 total.
- Likewise, add (1 increase, 6 sc) 3 times in round 11 = 24 total.
- Then, complete 8 sc (green), 15 sc (yellow), 1 sc (green) in round 12 = 24 total.
- After that, make (1 increase, 5 sc) 4 times in round 13 = 28 total.
- Continuing on, stitch (1 increase, 6 sc) 4 times in round 14 = 32 total.
- Afterward, crochet 12 sc (green), 20 sc (yellow) in round 15 = 32 total.
- Next, work 12 sc (green), 10 decreases in round 16 = 22 total.
- Then, add 22 sc in round 17.
- Finally, finish with 12 sc, 5 decreases in round 18 = 17 total.
Neck of the Crochet Baby Plesiosaur Pattern
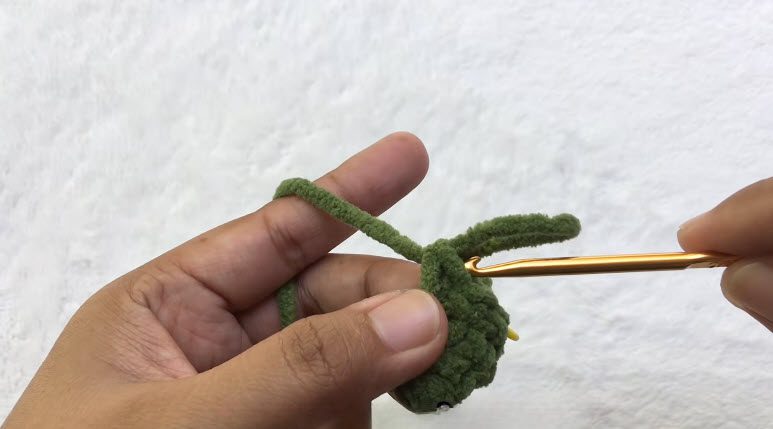
- To begin the neck, chain 4, skip 10 stitches from the hook, then join with a slip stitch.
- Next, in round 19, chain 1 and make 7 decreases.
- For round 20, start in any stitch, chain 1, and work 12 sc.
- After that, make 6 decreases in round 21.
- Finally, work 6 sc per round for rounds 22–29.
Head of the Crochet Baby Plesiosaur Pattern
- First, make (1 increase, 1 sc) 3 times in round 30 = 9 total.
- Next, repeat (1 increase, 2 sc) 3 times in round 31 = 12 total.
- In round 32, work 12 sc, then insert the 10mm safety eyes between rounds 32 and 33.
- After that, stitch (1 decrease, 2 sc) 3 times in round 33 = 9 total.
- Then, crochet (1 decrease, 1 sc) 3 times in round 34 = 6 total.
- To finish, work 3 decreases to close.
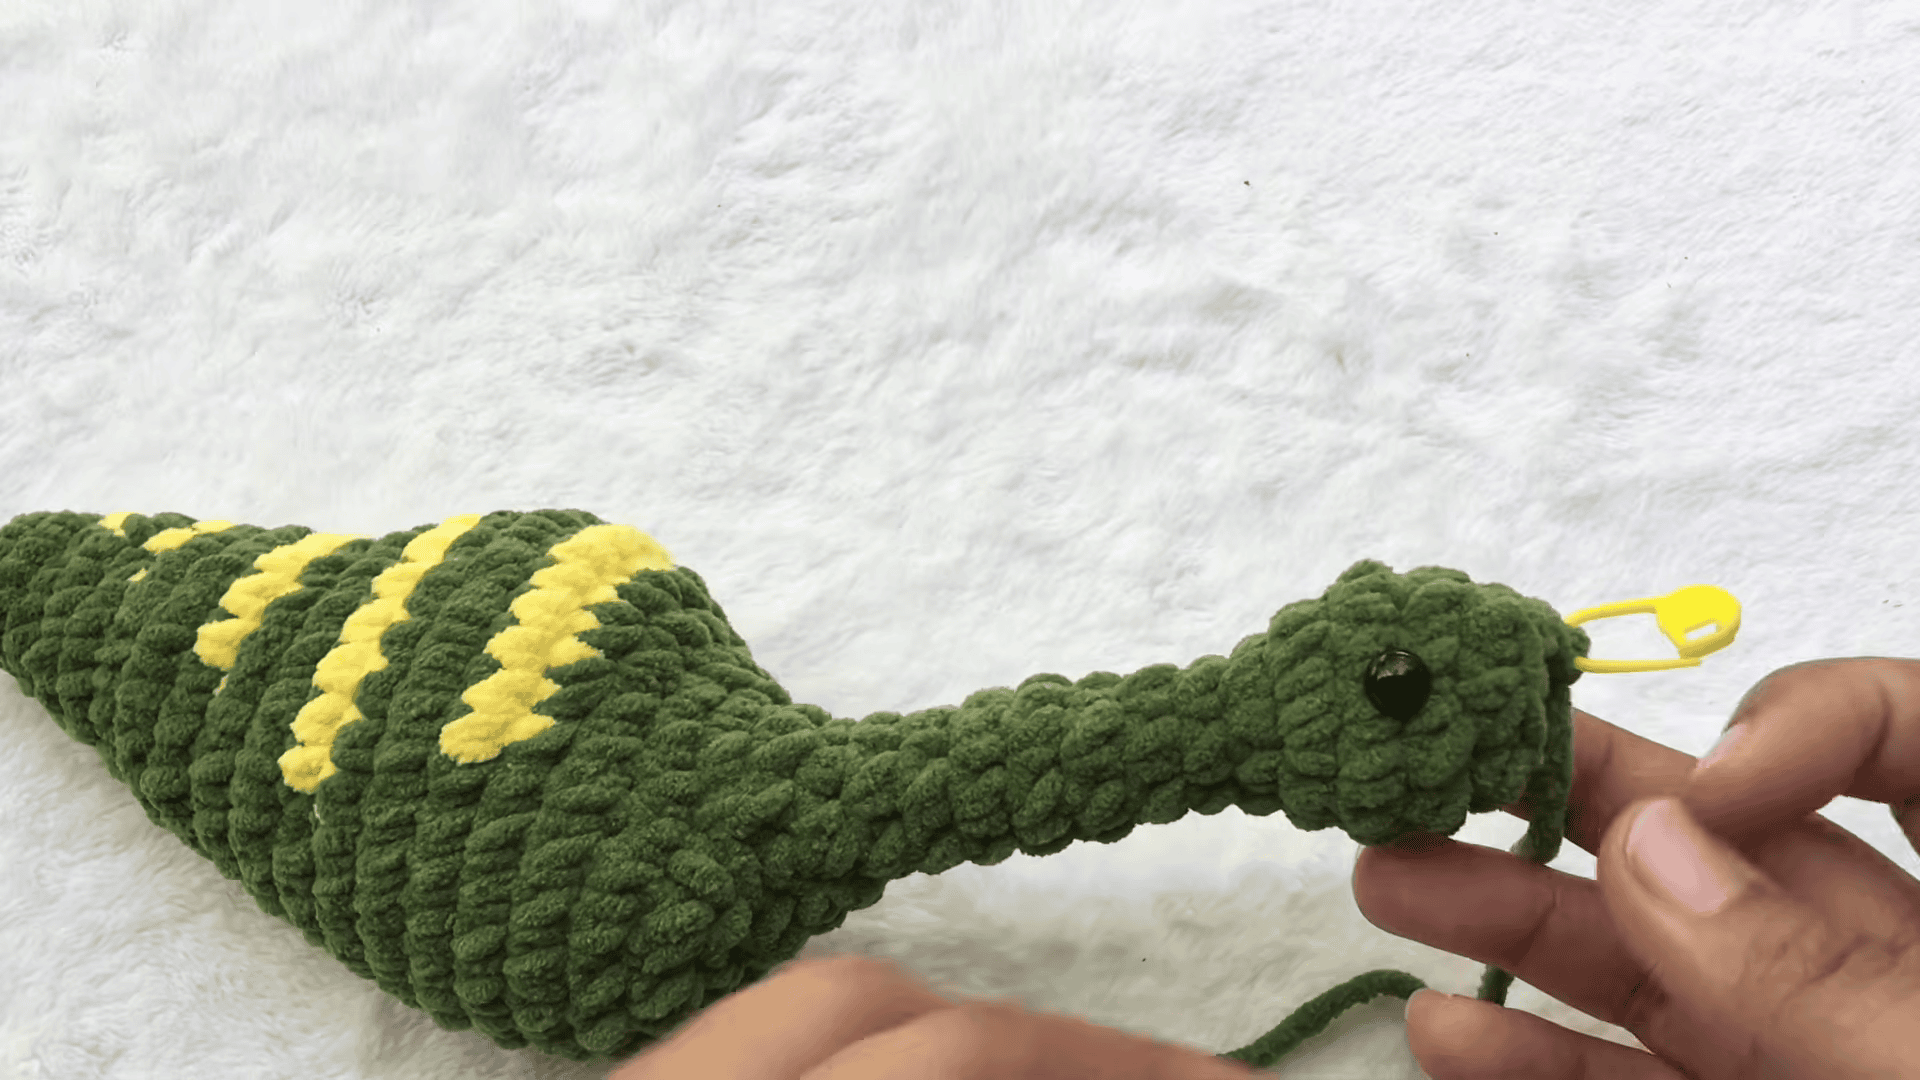
Plesiosaur Flipper Legs (Make 4)
- First, make 6 sc in a magic ring for round 1.
- Next, make 6 increases in round 2 = 12 total.
- Then, stitch (1 increase, 1 sc) 6 times in round 3 = 18 total.
- Finally, work (1 increase, 2 sc) 6 times in round 4 = 24 total.
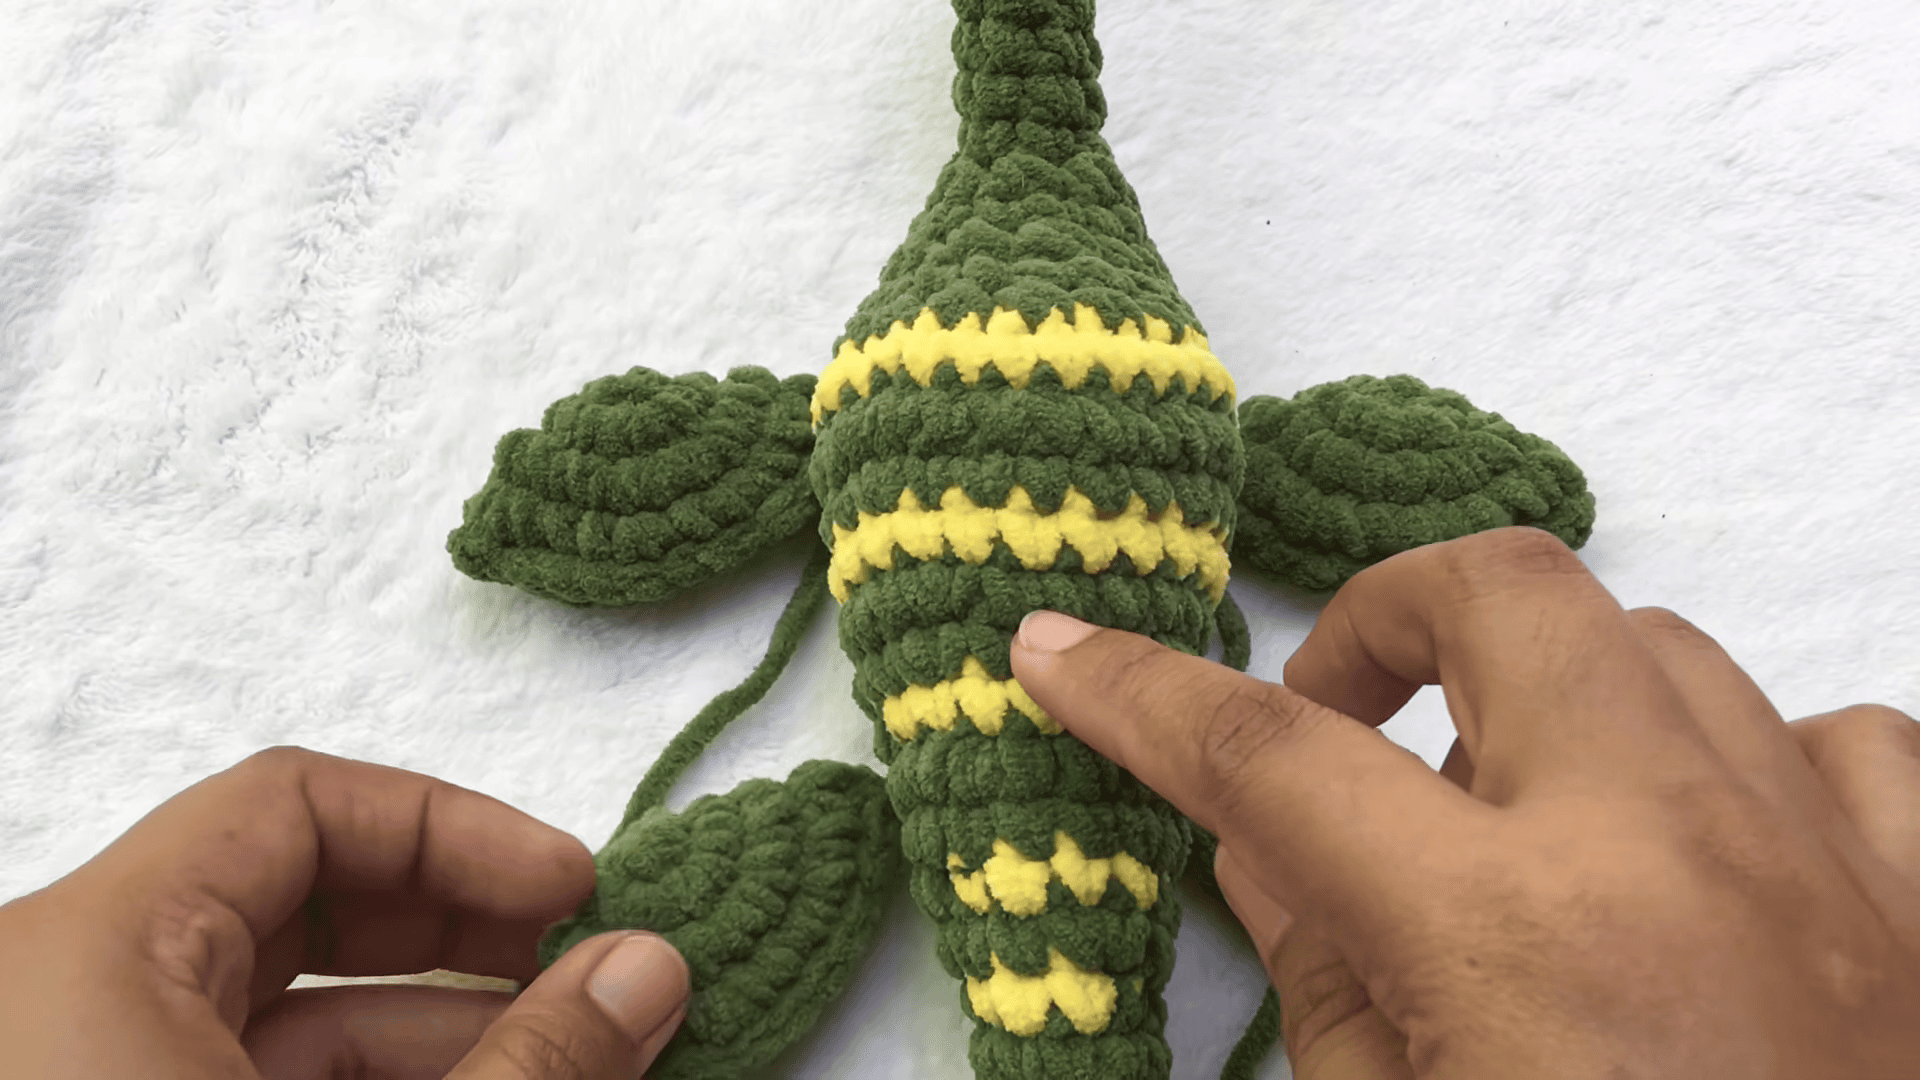
Assembling Your Baby Plesiosaur
- First, fold each leg in half and slip stitch the edge.
- Then, attach the legs to the body between rounds 8–9 and rounds 14–15.
Bonus: Easy Colour Swaps for Your Baby Plesiosaur
Green and yellow look lovely, but you can change the colours easily. For example, a soft blue back with a cream belly gives a sea-creature look. Similarly, purple with pink stripes suits a nursery. Meanwhile, grey with white works well for a calm, modern shelf toy. Just keep the same chunky yarn weight, so the size stays close to the pattern.
Also, try a tiny stripe of a third color on the neck. As a result, the long neck becomes the star of the toy.
Last Few Words Before You Start Hooking
So yeah, that’s our little plesiosaur done. Honestly, I love how that long neck gives it so much character. The neck part looks a bit scary at first, but it’s fine once you try it. Just go slow there, and you’ll be okay.
Overall, this one is really fun to make. The chunky yarn works up fast, and green with yellow just looks good together. So go ahead and make one for yourself, and maybe one for a friend too.