Easy Crochet Fanny Pack Pattern for Beginners
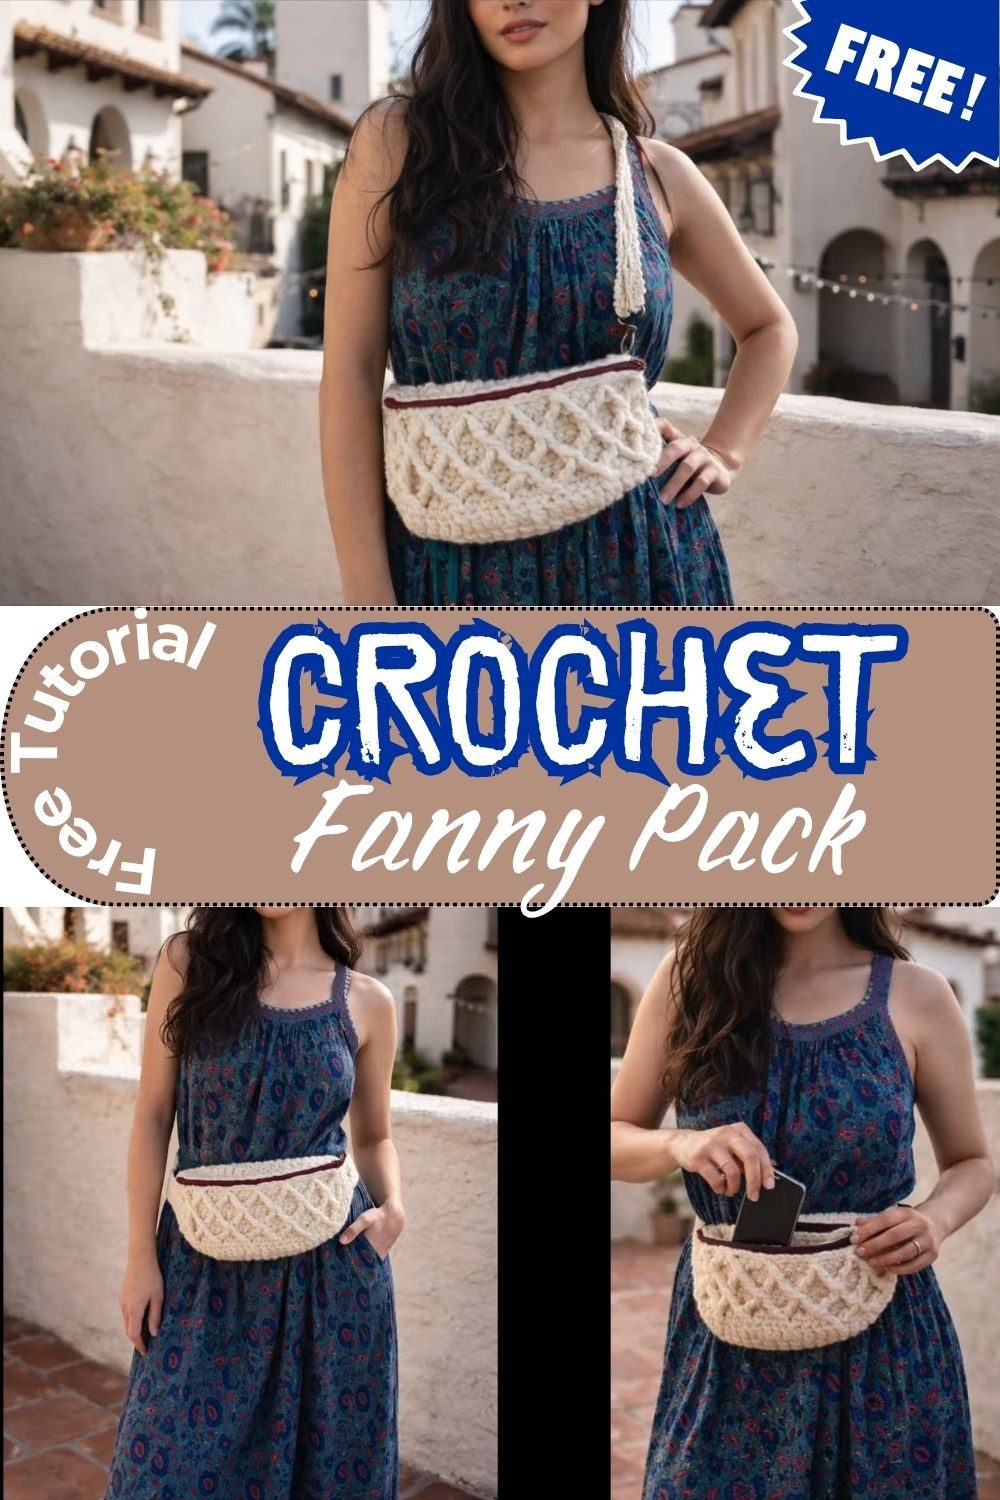
This Easy Crochet Fanny Pack combines soft cream yarn with a raised diamond pattern, so a plain waist bag becomes something you will want to wear everywhere. Inside, a dark red zipper keeps a phone and a few small things safe. Stitch it with the free pattern below, and then gift it this Christmas.
What the Crochet Fanny Pack Is Made Of
This crochet fanny pack has three parts. First, a circle worked in rounds becomes the base, ending at 64 stitches and about 11 inches (28 cm) across. Next, a 26-stitch section along its edge becomes the textured panel, worked back and forth in rows. Finally, a narrow strap, 6 stitches wide, uses the same texture so everything matches.
A zipper is sewn on by hand with embroidery thread. Because the strap connects through a metal adjustable slide and a swivel snap hook, you can change the length after the bag is finished. The pin photos show it worn at the waist and across the body.
Skill Level for This Crochet Fanny Pack
The tutorial is labeled for beginners, and the circle supports that, since every round is double crochet with a repeating increase. The magic circle may be the only unfamiliar move, and it appears just once.
The front post treble crochet two together needs the most attention. It appears on rows 3, 5, and 7 of the panel, and the same short sequence repeats across each row. Even so, anyone comfortable with double crochet can manage it by working slowly and counting. Overall, this crochet fanny pack is a friendly first textured project.
Materials You Need
The source does not list yarn weight, yardage, or hook size. However, the yarn in the photos looks thick and cream-colored, and the hook looks large, so match the hook to your yarn label and buy a little extra yarn.
- Thick yarn in one color
- Crochet hook suited to the yarn
- 2 stitch markers, plus extras for marking rows
- 1 zipper (length not stated, so match it to the panel edge)
- Tapestry needle and embroidery thread
- 1 metal adjustable slide buckle
- 1 swivel snap hook
Stitches Used
- Magic circle: an adjustable starting ring that pulls tight
- Chain and slip stitch: for foundations, joins, and moving across rows
- Single crochet and double crochet: the main fabric stitches
- Front post treble: a tall stitch worked around the post of a stitch in an earlier row
- Front post treble two together: two post trebles joined at the top, forming the diamond points
- Reversed single crochet: a backward single crochet that makes a rope-like edge
Before You Start
Chain 2 in round 1 and chain 3 in later rounds each count as a stitch. Count after every round, because each one adds exactly 8 stitches. Also mark the 26-stitch section carefully, since it sets the panel width. Keep post stitches loose so they lift off the fabric, and sew the zipper only after all crochet is done.
Finished Size: The bag measures about 10 inches (25 cm) wide, 5.5 inches (14 cm) tall and 3.5 inches (9 cm) deep. The adjustable strap is about 40 inches (100 cm), long enough to wear at the waist or across the body.
Crochet Fanny Pack Step-by-Step Instructions
Step 1: Start with a Magic Circle
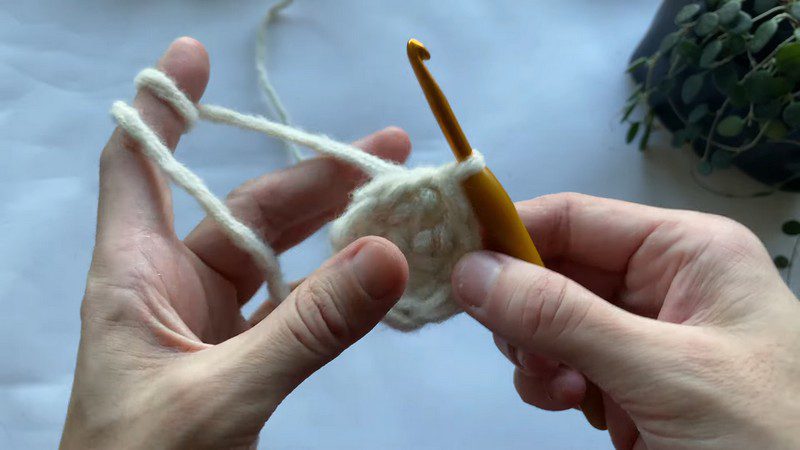
To begin, make a magic circle, chain 2, and work 7 double crochet into the ring. Because the chain counts as a stitch, the round has 8 double crochets. Then pull the tail to close the ring snugly and join with a slip stitch.

Step 2: Grow the Circle (Rounds 2 to 7)
Each round begins with chain 3 and 1 double crochet in the same stitch. Round 2 has 2 double crochets in every stitch, for 16. After that, the increases spread out. Round 3 alternates 1 plain stitch with 1 increase (24 stitches). Next, round 4 uses 2 plain stitches before each increase (32), while round 5 uses 3 (40), round 6 uses 4 (48), and round 7 uses 5 (56). Slip stitch to close every round.
Step 3: Finish the Base of the Crochet Fanny Pack (Round 8)
To finish the base, repeat the pattern with 6 plain double crochet before each increase, for 64 stitches. Then join, lay the circle flat, and measure it. It should be about 11 inches (28 cm) across. Finally, fasten off.

Step 4: Work the Textured Panel
First, place markers in the first and last stitch of a 26-stitch section. Then attach yarn and single crochet across to the second marker for 26 stitches, followed by a slip stitch in the next 2 stitches. For row 2, turn, skip 2 stitches, and double crochet in each stitch (26). After that, mark the first stitch, slip stitch in 2, and turn.
Row 3 forms the first diamonds. Start with 1 front post treble in the 3rd single crochet of row 1, skip the first double crochet, and single crochet in the next 3 stitches. Then make a front post treble two together: the first half goes in that same 3rd single crochet, and the second half goes in the 4th stitch after skipping three. Next, skip one stitch, single crochet in 3, and repeat across. To end the row, work 1 front post treble in the same single crochet, skip one stitch, and single crochet in the last stitch. Finally, slip stitch in 2 and turn.
Row 4 repeats row 2. For row 5, skip 2 slip stitches, single crochet in 2, and then work a front post treble two together over the first and second posts of the row below. After that, skip a stitch, single crochet in 3, and repeat, ending with a skipped stitch and 3 single crochet. Row 6 then repeats row 4, and row 7 repeats row 3 using the posts already there, finishing with a skipped stitch and 1 single crochet. Lastly, slip stitch in 2 and fasten off.

Step 5: Make the Strap and Zipper for the Crochet Fanny Pack
To make the strap, chain 7 and single crochet in the back bumps of the next 6 chains. Then, for row 2, chain 3, turn, and work 1 double crochet in each stitch (6). Next comes row 3: chain 1, turn, work 1 front post treble in the 3rd single crochet of the row below, skip the first double crochet, single crochet in 3, work another front post treble in that same stitch, skip one, and single crochet in the last stitch.
Repeat row 2 for row 4. After that, chain 1 and turn for row 5, single crochet in 2, work a front post treble two together over the two posts below, skip 2, and single crochet in the last 2. Row 6 repeats row 2, while row 7 mirrors row 3. Next, repeat rows 4 to 7 until the strap is long enough, and then chain 1 and work reversed single crochet around all 4 sides.
Finally, pin the zipper along the panel edge with stitch markers so it stays put. Then sew it on with a tapestry needle and embroidery thread.

Step 6: Attach the Hardware
First, thread the strap through the metal adjustable slide. Then sew on the swivel snap hook and weave in any loose ends.

Bonus: Marker Habits for Your Crochet Fanny Pack Panel
The pattern places a marker in the first stitch of several rows, so keep them there. They show where each row starts, which helps you count the 26 stitches and spot where a front post pair should land. Move or remove them only after the next row is finished. For this crochet fanny pack, that small habit saves a lot of recounting.
Customizing the Crochet Fanny Pack
The strap length is the easiest change, since rows 4 to 7 simply repeat. A different yarn color also works well if the thickness is similar. However, a thicker or thinner yarn changes the circle size, so measure after round 8 before starting the panel. Likewise, match the zipper length to your panel opening.
Troubleshooting
- The circle curls: There may be too few increases. Recount against the round totals.
- The circle ruffles: Extra stitches may have crept in. Pull back to the last correct round.
- The panel looks flat: Loosen the front post stitches so they sit on top.
- The panel is uneven: Check that exactly 26 stitches sit between the markers.
- The zipper puckers: Pin the whole edge and keep thread tension gentle.
Finishing and Care
Weave in all ends and test the zipper. Because the yarn fiber is not stated, follow the care symbols on your yarn label. Gentle spot cleaning is a safe choice for a crochet fanny pack with a zipper and metal hardware.
FAQs About the Crochet Fanny Pack
Can a beginner make this crochet fanny pack?
Yes, the tutorial is labeled for beginners and uses basic stitches for most of the work. Still, a small swatch of rows 3 to 5 can help with the front post stitches.
How big is the circle?
After round 8, it measures about 11 inches (28 cm) across.
What hardware is used?
A metal adjustable slide buckle and a swivel snap hook.
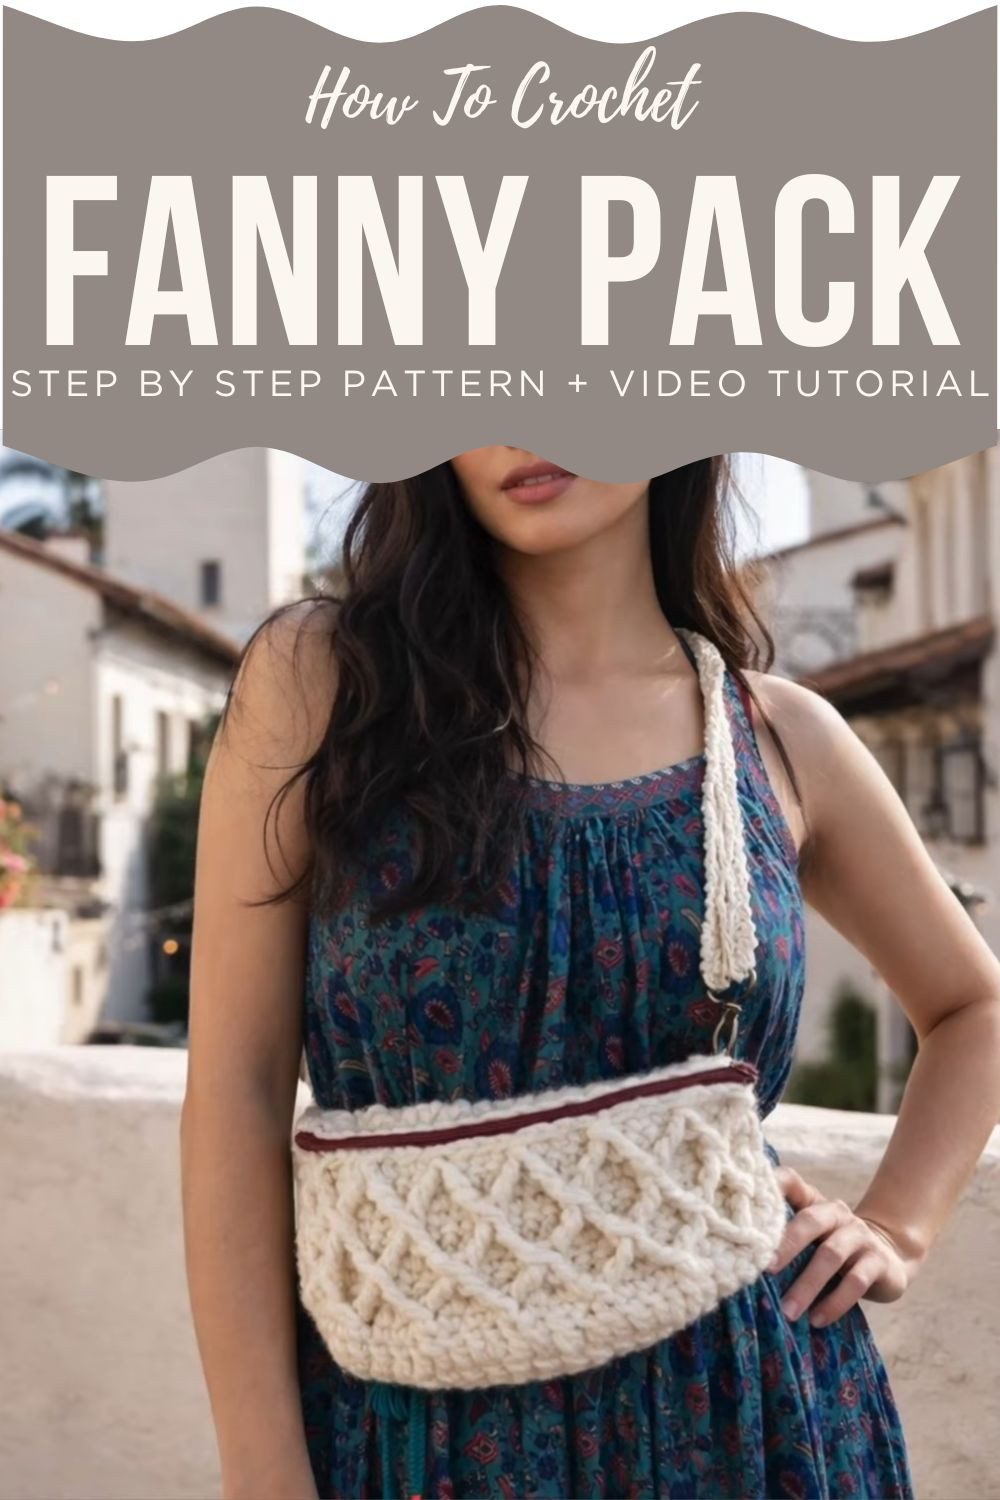
Take Your Cream Diamond Bag Out and About
Round base, diamond panel, and adjustable strap: each part is small and repeats, so the bag builds up steadily. Count as you go, and your finished crochet fanny pack will be ready to carry.