Crochet Capybara Keychain Pattern with Orange Bag
Soft milk cotton, a chubby khaki body, and a sleepy little face: that is the Crochet Capybara Keychain Pattern with Orange Bag in a nutshell. Smooth rounds, tiny brown bobbles, and a quick embroidered nose come together fast, so even a beginner can wrap up the whole project in under thirty minutes.
Because handmade charms double as thoughtful gifts, a crochet capybara keychain is an easy choice for birthdays and small thank-you moments. The milk cotton feels cuddly, and the no-sew construction keeps the work simple. When it is done, hook it onto a bag zipper, a ring of keys, or a gift tag, and the receiver gets a keepsake full of character.
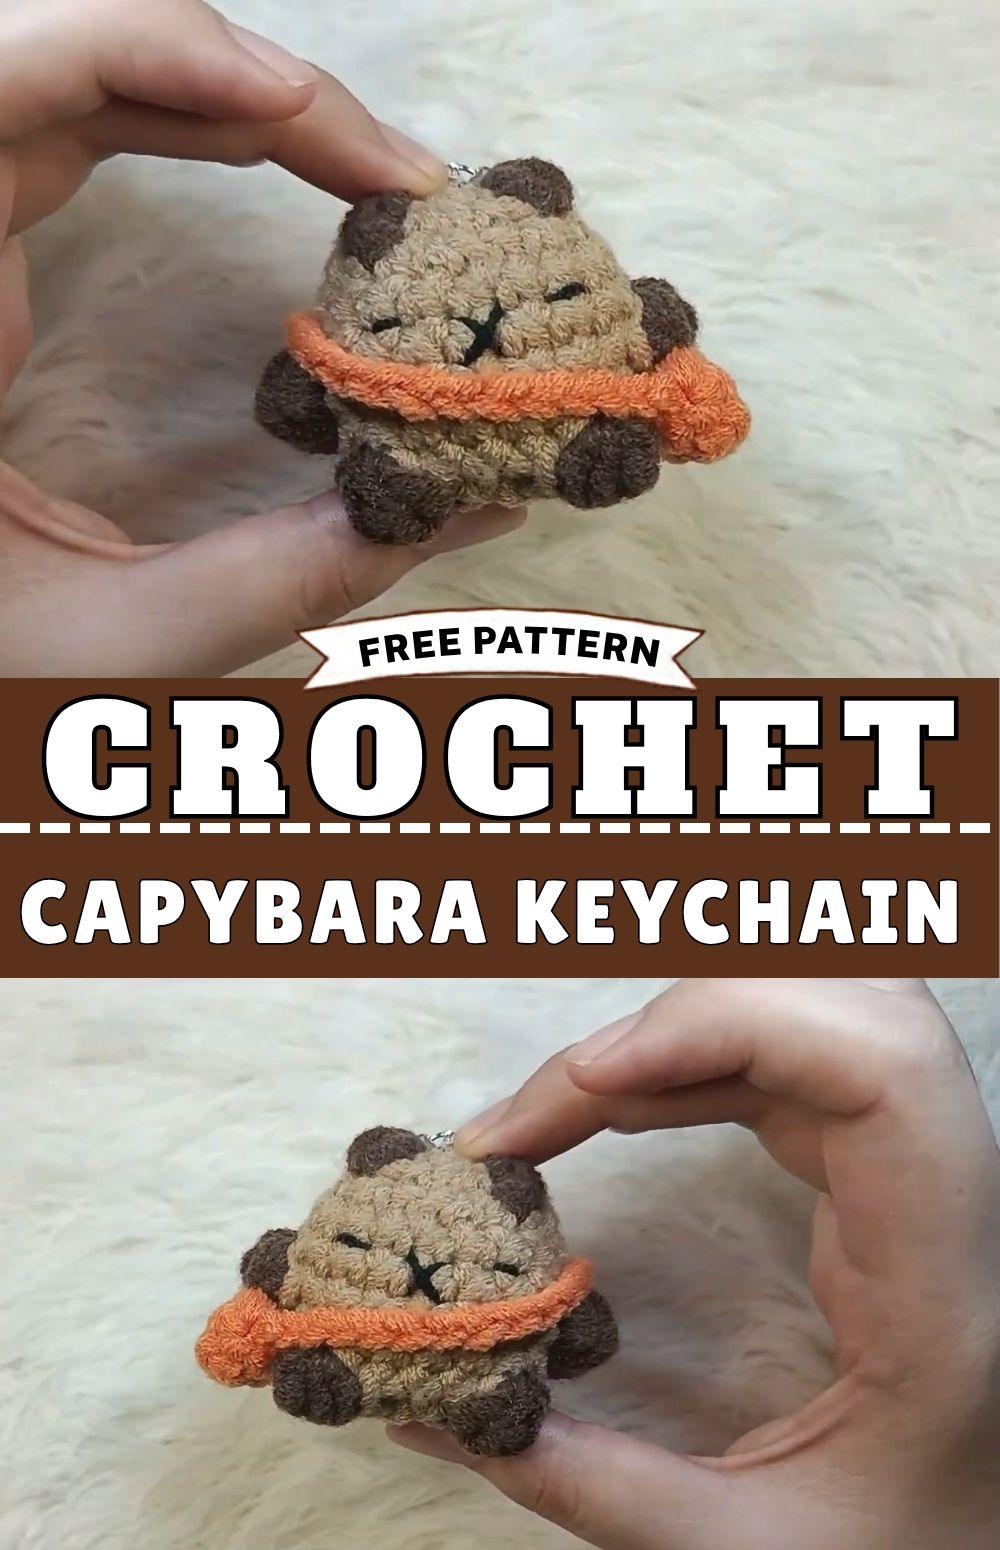
Supplies for the Crochet Capybara Keychain Pattern with Orange Bag
- Yarn: 4-ply milk cotton, with khaki for the body, brown for the ears and feet, and black for the face details
- Hook: 4.5 mm (a 4.0 mm hook makes a denser fabric)
- Tools: a locking stitch marker, a tapestry needle, and sharp scissors
- Filling: polyester fiberfill
Before You Start Your Crochet Capybara Keychain
Getting Ready
Start by rolling each color into its own small ball so the strand unwinds without tangling. Then crochet a few rounds of single crochet as a test swatch. Tight, dense fabric is the goal, since loose stitches let the fiberfill show. If you notice gaps, move to the smaller hook. Lastly, place a marker in the first stitch of each round. The body is worked in a spiral, so the marker protects your count.
How to Read This Pattern
Each round ends with a stitch total, so verify it before you continue. SC stands for single crochet, and an increase means two SC worked into one stitch. A bobble is a group of incomplete double crochets closed together at the top: the ears use 3, and the feet use 4. In addition, FLO means front loop only, while an invisible decrease merges two stitches into one.
How Long It Takes
Expect roughly thirty minutes of steady stitching. That said, newer crocheters may want a few extra minutes for the magic ring and the bobbles.
Step-by-Step Crochet Capybara Keychain Instructions
Step 1: Round 1, Magic Ring Foundation
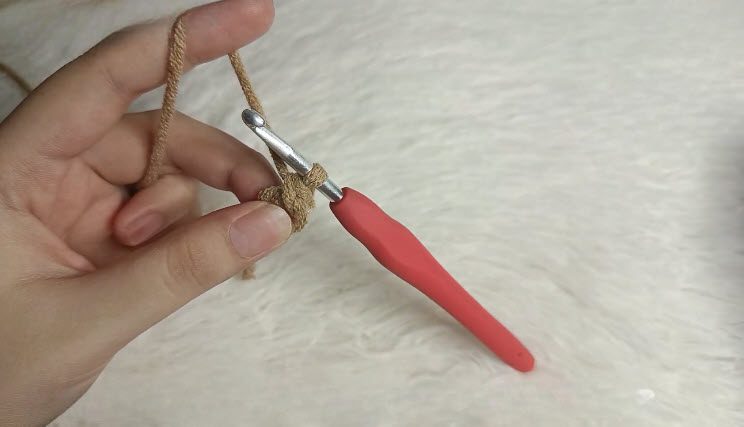
Make a magic ring with khaki yarn and crochet 6 single crochets inside it. Afterward, tug the tail to cinch the ring shut.
Stitch check: You should see six stitches forming a tight circle with no gap in the middle.
Step 2: Round 2, Shaping the Ears
Slip stitch to join, then chain 1. Next, continue with increases and single crochets in khaki, and place brown bobbles to create the ears. Each bobble is made from 3 incomplete double crochets closed together. The round should end at 12 stitches.
Why it matters: Working the ears into this early round attaches them to the body, which means no sewing afterward.
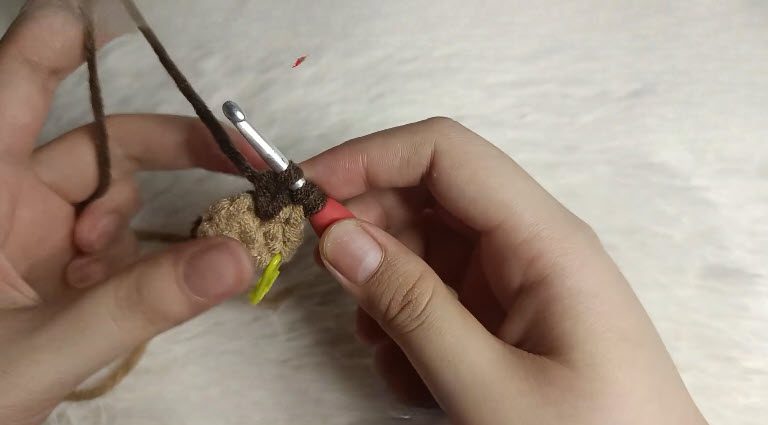
Step 3: Rounds 3 to 5, Building the Body
In Round 3, leave out the join, slip stitch, and chain 1. Instead, alternate 1 single crochet and 1 increase around, which brings you to 18 stitches. Rounds 4 and 5 are easier, because you simply crochet one single crochet in every stitch and stay at 18.
Count now: Rounds 3, 4, and 5 should each end with 18 stitches.
Why it matters: These even rounds add height and give the body a rounded, bean-like outline.
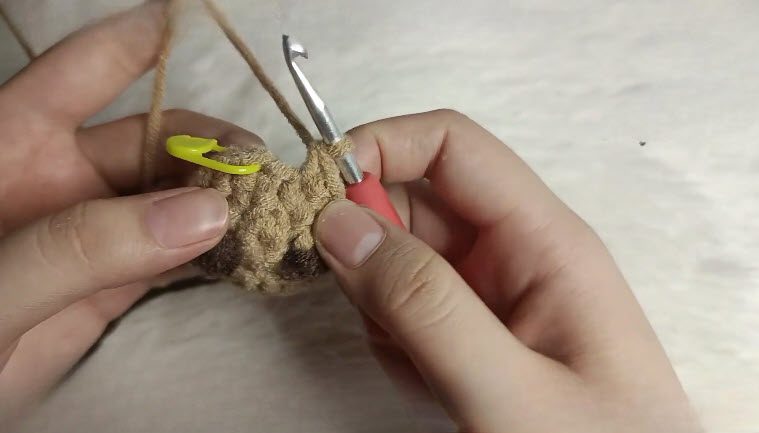
Step 4: Rounds 6 to 8, Feet Bobbles
During Round 6, crochet khaki single crochets and add brown bobbles of 4 incomplete double crochets for the front feet, keeping the total at 18. Round 7 then goes back to one single crochet per stitch. After that, Round 8 repeats single crochets and adds the back feet bobbles, again finishing with 18. Finally, trim the brown yarn.
Shape check: Four brown feet should be spaced evenly around the base.
Why it matters: Spreading the bobbles across two rounds helps the capybara sit steady on a flat surface.
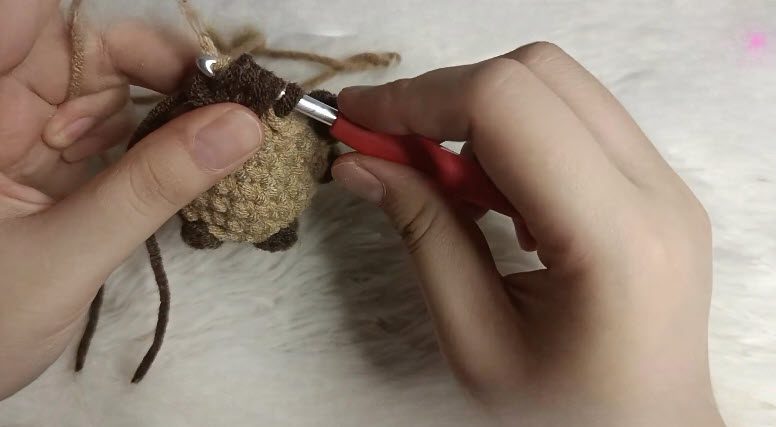
Step 5: Round 9, Decreasing, Stuffing, and Closing
Crochet invisible decreases through the front loops only until 9 stitches are left. Then fasten off with a long tail and pack the body firmly with fiberfill. To finish, thread the tail through the front loops of those last 9 stitches and pull tight.
Why it matters: A firm fill holds the plump shape and keeps the charm from drooping while it hangs from a keyring.
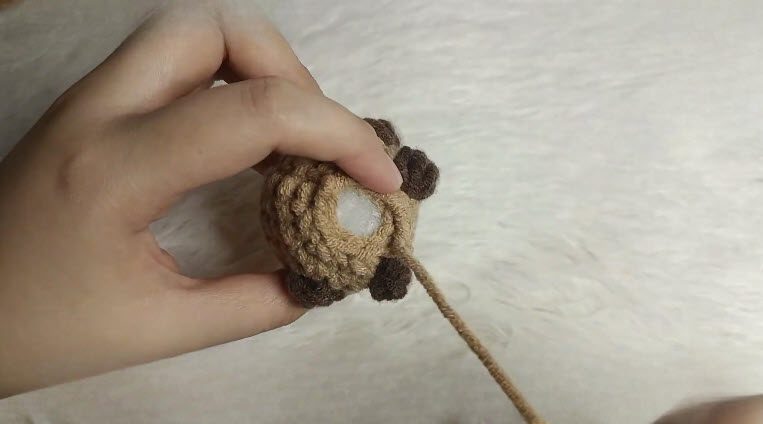
Step 6: Facial Embroidery
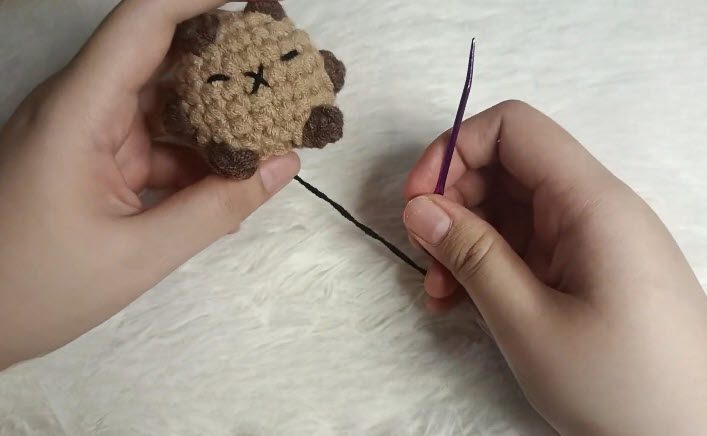
Split the black yarn into thinner strands. Then embroider the eyes between Rounds 4 and 5, leaving about 3 stitches between them. Next, sew a small X for the nose, centered between the eyes.
Shape check: Both eyes should line up on the same level, and the nose should sit in the middle just below them.
Signs Your Crochet Capybara Keychain Turned Out Right
- The body feels solid and evenly rounded.
- Every round closes on the stitch count given.
- The four brown feet and both ears are balanced on each side.
- The face looks centered and calm.
- No fiberfill peeks through the stitches.
Common Mistakes and Troubleshooting for the Capybara Keychain
Common Mistakes and Their Fixes
Problem: The magic ring slackens after Round 1.
Fix: Tighten the tail firmly, and weave it in before you go on.
Problem: The stitch count creeps up.
Fix: Count at the end of every round, and keep the marker in the first stitch.
Problem: The bobbles look flat.
Fix: Draw each loop up a little taller before you close the cluster.
Problem: The decrease round leaves holes.
Fix: Switch to the invisible decrease, and tug the working yarn snug.
Quick Troubleshooting Guide
Problem: The capybara keeps tipping over.
Fix: Push a little more filling into the base, then reshape the feet.
Problem: The face stitches look crooked.
Fix: Pull the embroidery out and redo it, following the rounds as guide lines.
Problem: The body feels lumpy.
Fix: Knead the stuffing gently from outside until it settles evenly.
Problem: The keychain droops on its clip.
Fix: Attach the clip through a strong base stitch instead of a thin one.
Washing and Cleaning Your Capybara Keychain
Surface marks usually respond to a lightly dampened cloth with a touch of gentle soap. If the charm needs more, soak it briefly by hand in cool water, then press out the water without wringing. After that, reshape the body and leave it to dry flat in the open air. Keep it away from the dryer, because heat can warp the stuffing.
Creative Ways to Use This Crochet Capybara Keychain
A single crochet capybara keychain is just the start. For example, try cream or gray yarn and build a small herd. Fans of mini animal charms can look through the related animal keychain posts on this site, and anyone ready for a step up might try the beginner amigurumi guides next. Finally, pairing the charm with a cozy accessory, like the orange bag from the title, gives it a playful finishing touch.
Bonus: Color Swap Ideas for Your Capybara Keychain
Chocolate brown paired with caramel feet gives a richer look. Alternatively, pastel milk cotton makes a softer version that suits a nursery.
Who Should Make This Crochet Capybara Keychain Pattern with Orange Bag
- Beginners looking for a quick first amigurumi
- Crafters who need a fast handmade gift
- Makers who want to use up leftover yarn
- Sellers filling a craft fair table
Why the Amigurumi Capybara Keychain Is So Popular
Capybaras have turned into a beloved calm-mood mascot online, so tiny charms ride that trend well. Three things add to the appeal:
- Only a small amount of yarn is needed.
- The no-sew build saves time.
- The relaxed expression suits almost any bag or key ring.
Crochet Capybara Keychain FAQs
Can a beginner make this crochet capybara keychain?
Yes. It relies on single crochets, increases, decreases, and one simple bobble, and nothing needs to be sewn on.
Which hook size works best?
A 4.5 mm hook pairs nicely with 4-ply milk cotton. By contrast, a 4.0 mm hook produces a firmer, tighter fabric.
How long does the project take?
Most makers finish in about thirty minutes, although a beginner may need a little longer.
A Tiny Charm That Travels Well
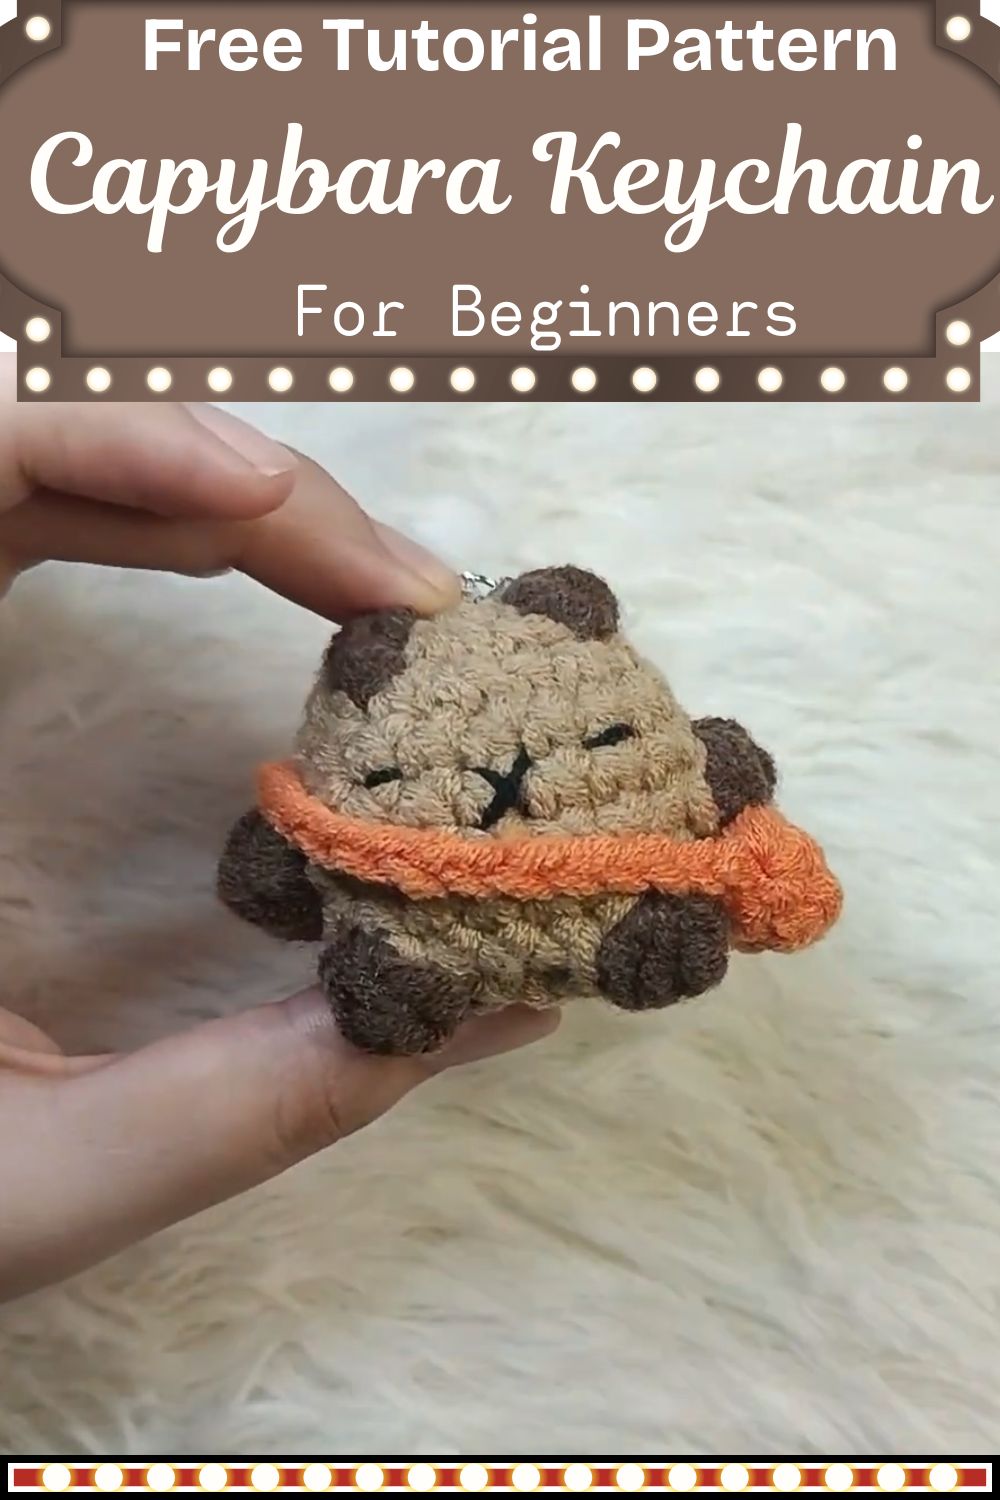
One little capybara shows how far simple stitches can go. Once the first is done, a second will probably follow. So choose a favorite color, pick up the hook, and let the rounds add up. Before long, this Crochet Capybara Keychain Pattern with Orange Bag will leave you with a charm that is ready to go anywhere.