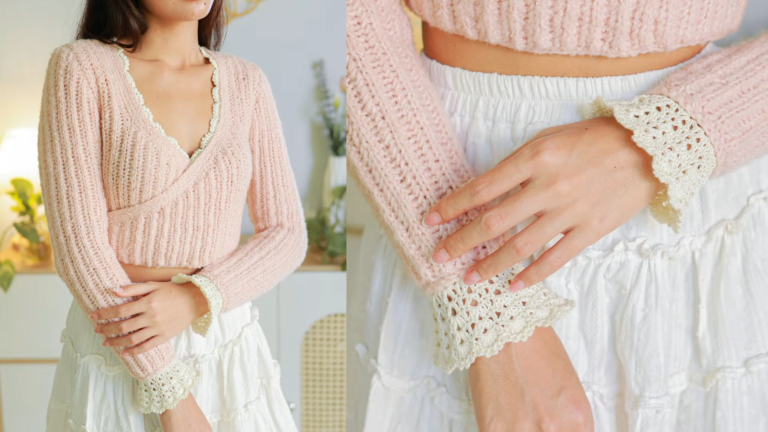
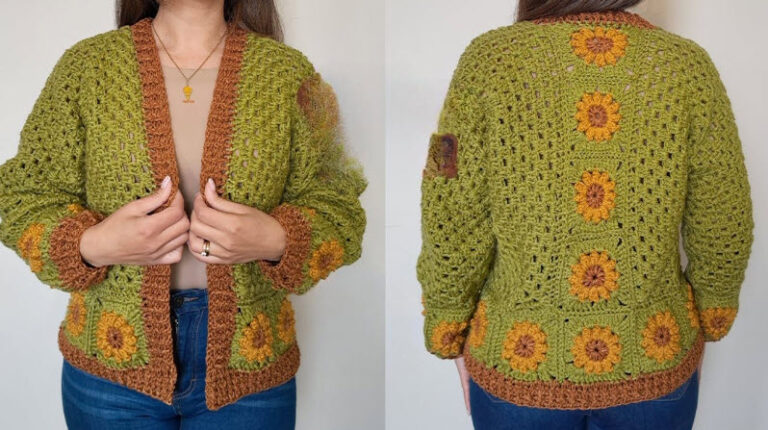
Crochet Ribbed Cardigan Pattern for Everyday Wear
A crochet ribbed cardigan pattern gives you a soft, springy fabric from the very first row. Each ridge feels cushioned under your fingertips, and the finished layer drapes with ease. Follow the steps below to build a durable, comfortable cardigan for everyday wear.
Few projects earn daily use like a textured crochet cardigan. The ribbing stretches, recovers, and hugs the body without adding bulk, so it suits school runs, office days, and weekend errands alike. Better yet, this easy ribbed cardigan relies on one repeated row, which keeps progress steady. Pick a soft yarn, and you’ll have a dependable layer that serves you for years.
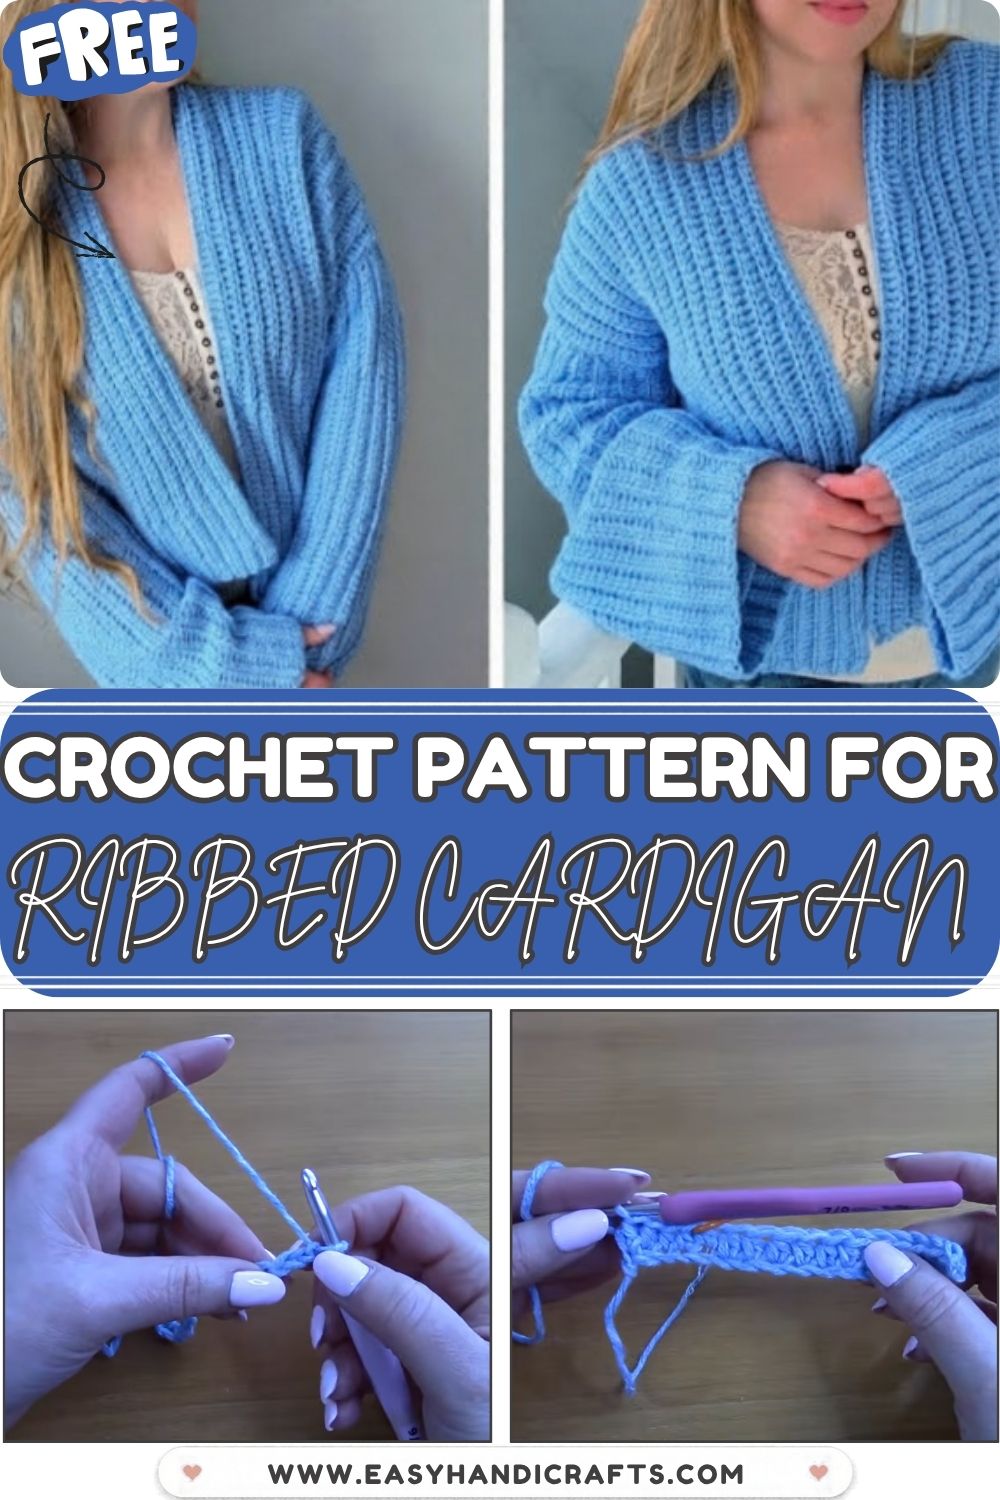
Who This Crochet Ribbed Cardigan Pattern Is Great For
This pattern suits makers who want a practical layer instead of a showpiece. Beginners with basic stitches will manage it well. Meanwhile, experienced crocheters can treat it as relaxing, rhythmic work between more complex projects. In short, anyone who wants a stretchy, warm cover-up for cool mornings will enjoy the result. If you’re new to the craft, this overview of crochet explains the basics, and our beginner crochet stitches guide covers the stitches used here.
How Long It Takes and the Skill Level Needed
Plan for a long project, because the panels are large. Most makers finish within two to four weeks of evening crochet. However, the skill level stays low, since you only need chains, simple rows, and basic seaming. Because the crochet ribbed cardigan pattern repeats one row, you can even watch a show while you work.
What You’ll Need
- Soft cotton-blend or acrylic yarn in a medium weight, in a color you enjoy wearing (the Craft Yarn Council’s yarn weight guide explains the weight categories)
- A comfortable ergonomic hook, sized to match your yarn label
- Several stitch markers for rows and seams
- A tapestry needle for weaving in tails
- Sharp scissors and a flexible measuring tape
Step-by-Step Crochet Ribbed Cardigan Pattern
Work through the pattern in the order below. Since the panel size depends on your own measurements, compare each band against your body width as you go.
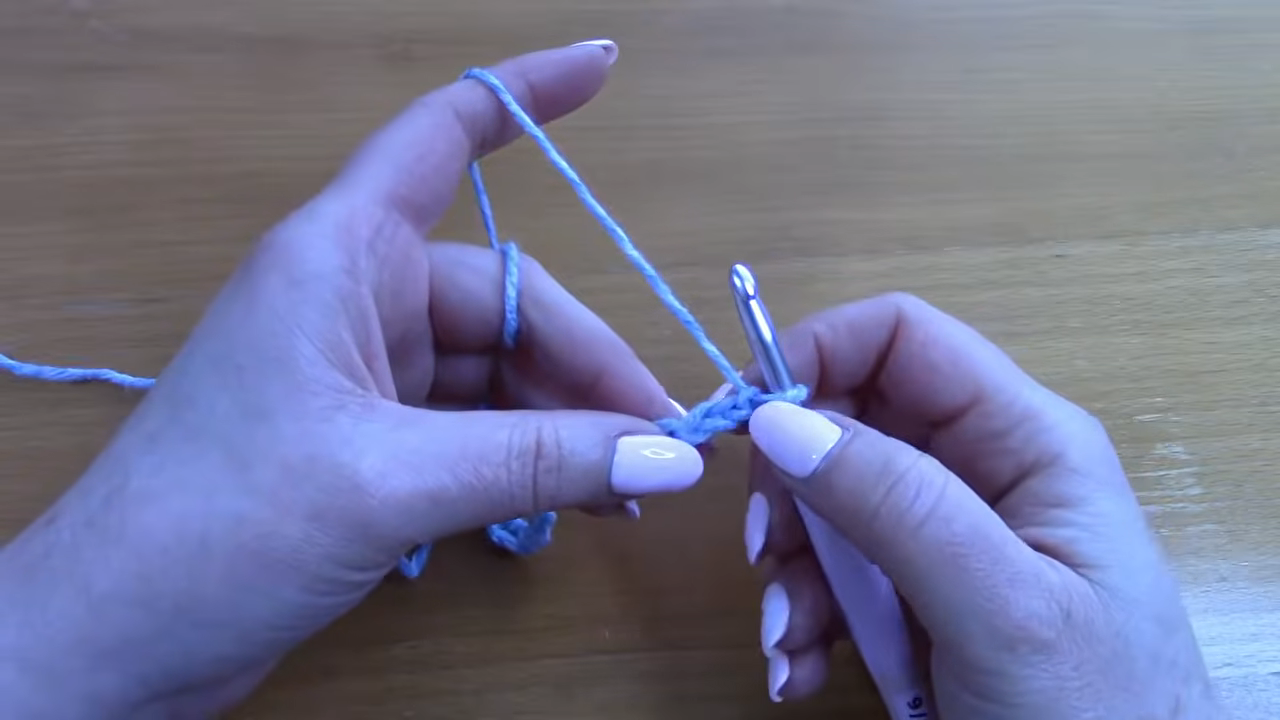
Step 1. To begin, create a foundation chain with the yarn draped over your index finger. Hold the base of the chain between your thumb and middle finger. Keep every chain loose enough for the hook to slide through later.
Step 2. Next, work the first ribbed rows into the chain with half double crochet to form a narrow band. Clip a stitch marker into the first stitch of the row, then check that the band lies flat and the ridges look even.
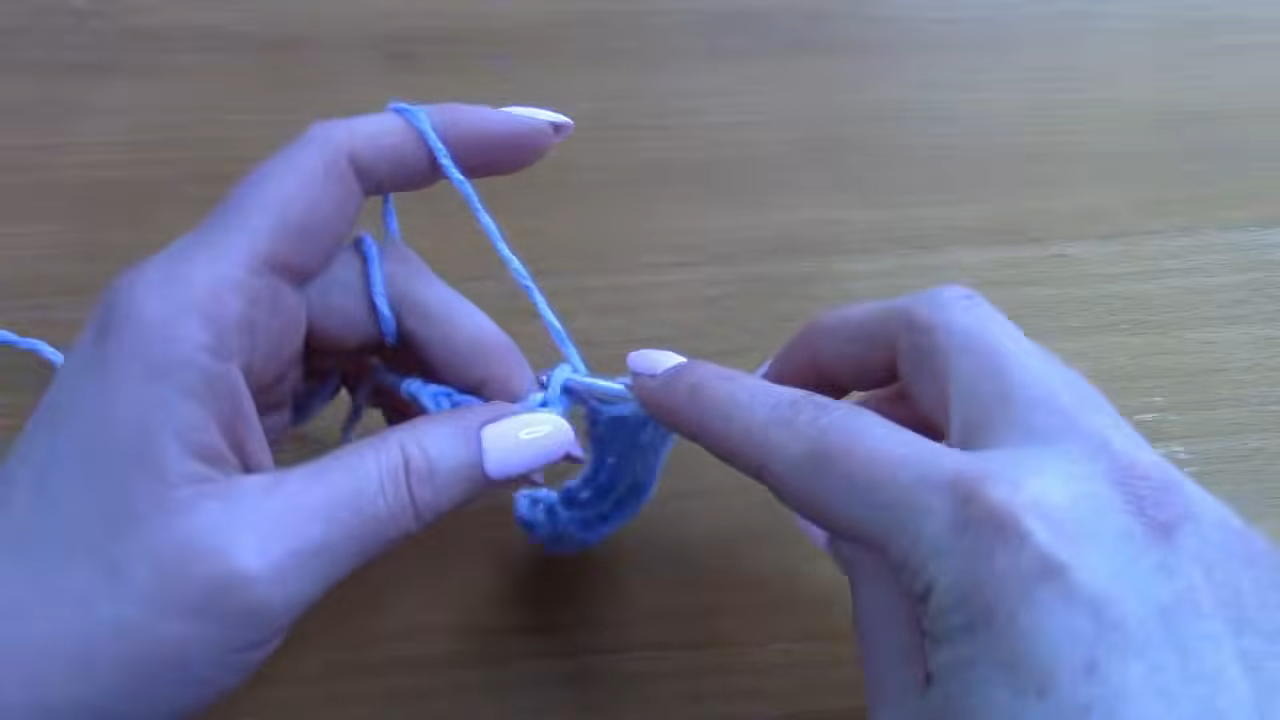
Step 3. After that, repeat the same ribbed row and move the marker up as the band grows. Keep the stitch count identical each time. Measure the band against your body width, and stop when it reaches the right length.
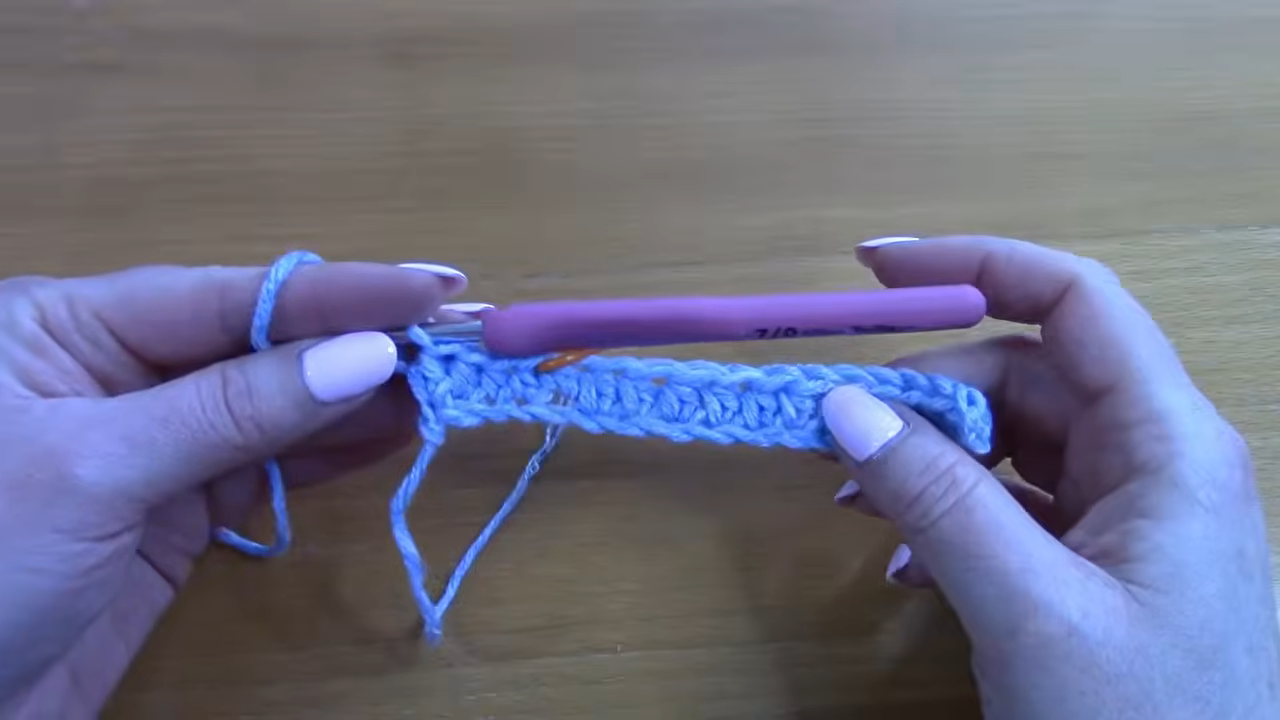
Step 4. Now turn the band sideways so the long edge faces you. Insert the hook into the edge and rib across it, working in the back loop only as shown below. Because the ridges now run in a new direction, this step shapes the panel.
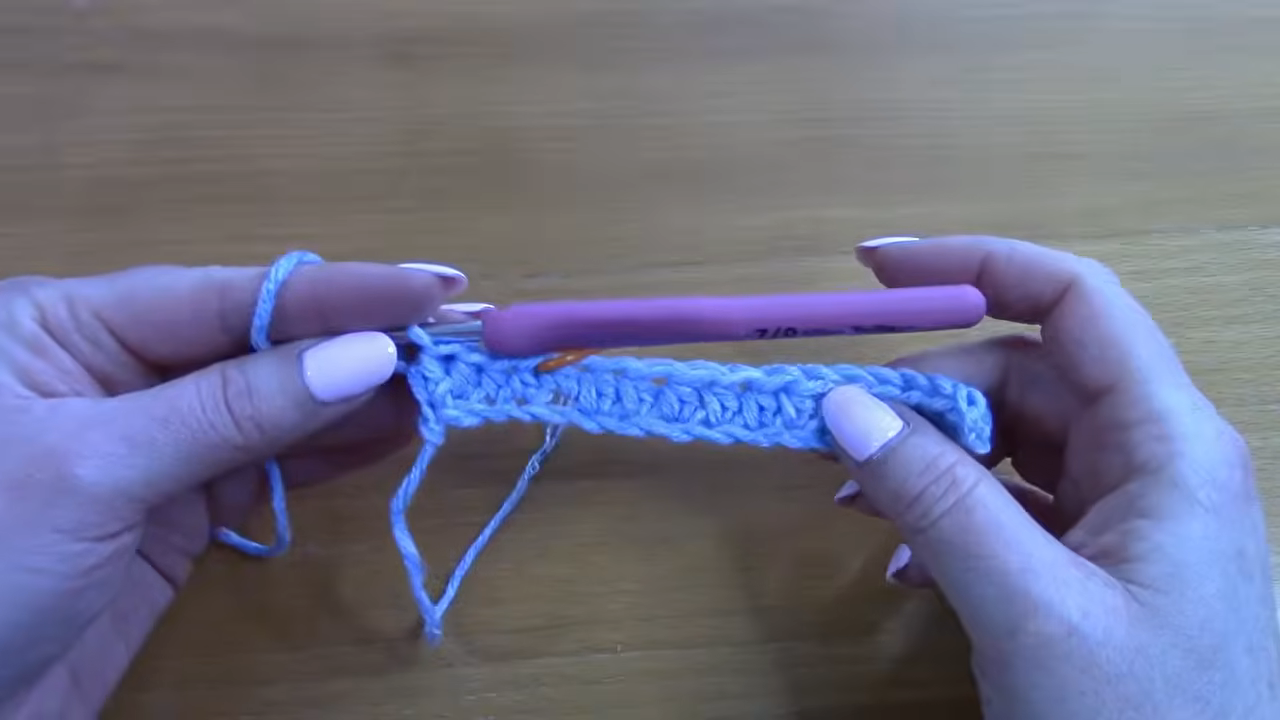
Step 5. Once each large panel is finished, lay it flat on a table. Smooth the ribbing, check for uneven tension, and weave in loose tails. Then lightly steam the panels so the ridges settle.
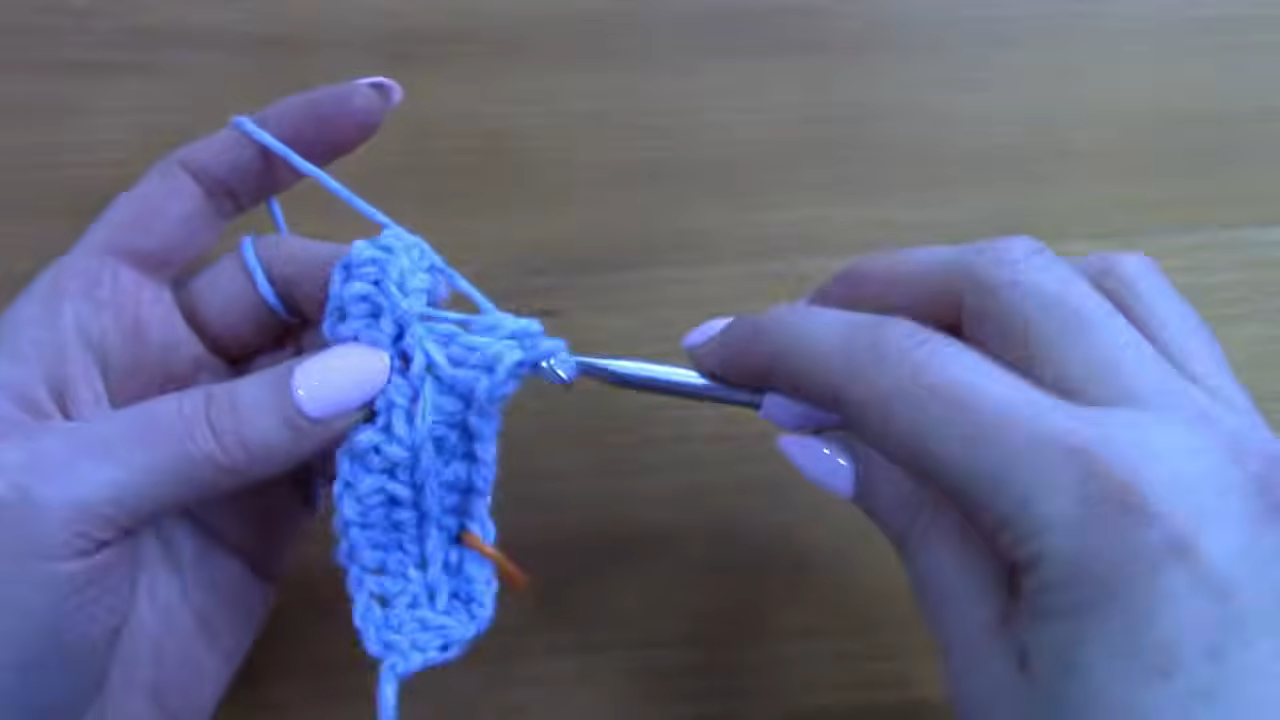
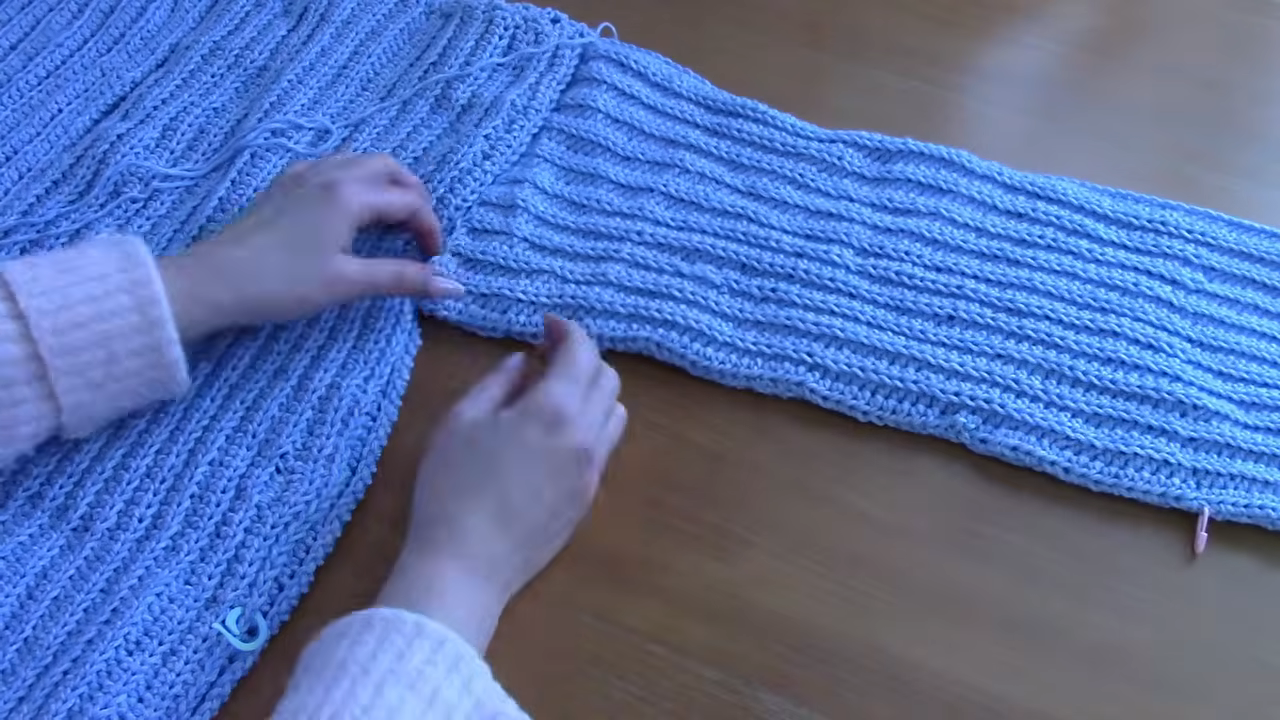
Step 6. Finally, lay the sleeve beside the body panel and match the edges. Secure the pieces with stitch markers every few inches. Then join the seam with your tapestry needle, keeping the stitches small and snug.
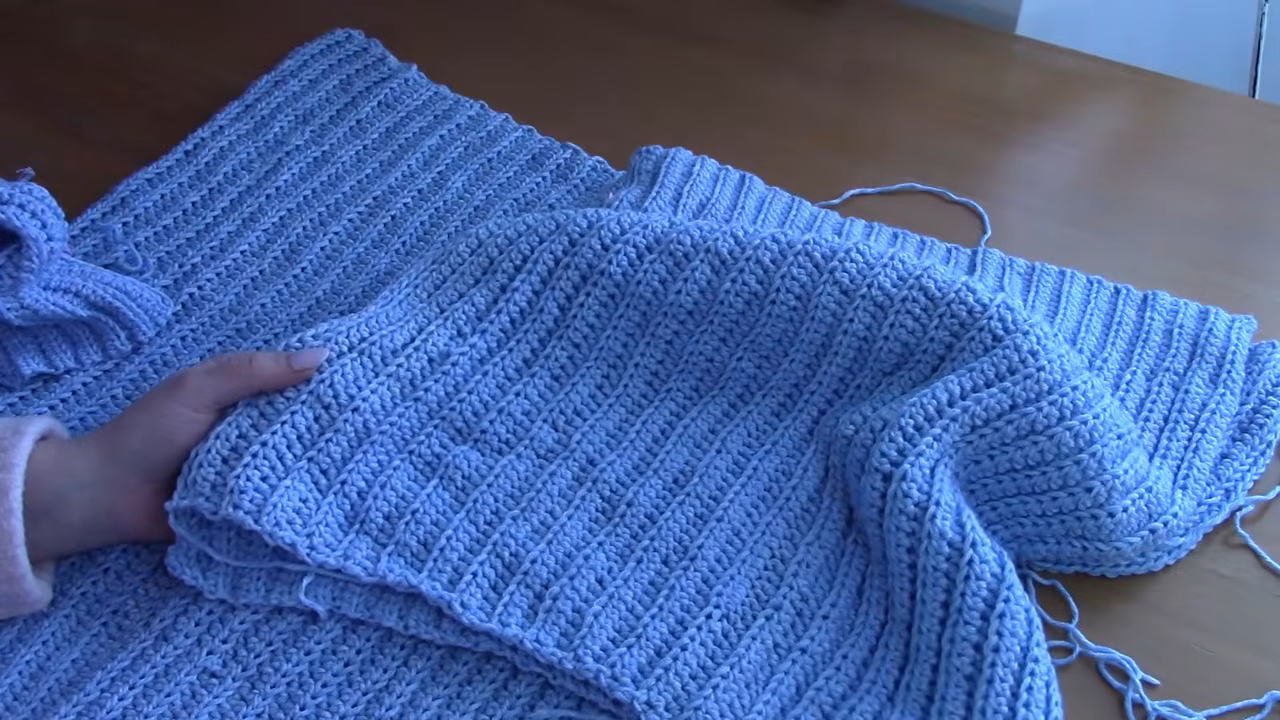
Step 7. Lay the sleeve flat beside the body panel so the long ribbed edges meet. Smooth the ridges with both hands and line them up row for row. Clip stitch markers along the edges to hold both pieces in place before seaming.
Where Beginners Usually Go Wrong With a Ribbed Crochet Cardigan
Mistake: A tight foundation chain makes the bottom edge pucker.
Fix: Use a hook one size larger for the chain only.
Mistake: Stitch counts drift from row to row.
Fix: Count the stitches at the end of every third row.
Mistake: Panels grow longer on one side.
Fix: Move a marker up each row and compare the lengths often.
Mistake: Seams look bulky.
Fix: Sew through the outer loops only, and pull gently.
Troubleshooting Your Ribbed Cardigan
The fabric feels stiff. Switch to a larger hook or a softer yarn. Also, wash the finished piece, since gentle laundering relaxes the fibers.
The cardigan hangs unevenly. Block the pieces to matching measurements before sewing, and pin each panel flat until it dries fully. Our guide to blocking crochet shows the process.
The sleeves feel tight. Rip back a few rows and add extra stitches near the upper arm. Afterward, check the fit against the armhole.
The ridges look wavy. Uneven tension usually causes the waves. Hold the yarn the same way for every row, and rest your hands often.
Signs You Followed the Crochet Ribbed Cardigan Pattern Correctly
- Ridges run in straight, even lines across the fabric
- Both panels measure the same width and length
- The edges lie flat without curling
- The fabric stretches, then springs back
- Seams stay hidden and comfortable against the skin
Bonus: Check the Fit Before You Seam
Before you sew anything together, lay a cardigan you already love flat and set your panels beside it. Compare the width and length, then adjust the foundation chain or the row count if needed. In addition, hold the sleeve piece against your arm to check its length. A quick check now is much easier than ripping out a finished seam.
Washing and Care Basics
Check your yarn label first. In most cases, a gentle cycle with cool water works well. Alternatively, hand wash the piece in a basin with mild soap. Press out extra water with a towel instead of wringing it. Then dry the cardigan flat, away from direct sun.
Storage Tips
Fold the cardigan loosely and keep it in a drawer or on a shelf, because hanging stretches the shoulders over time. Add a cedar block or lavender sachet to discourage moths. Also, store it only when it’s fully dry.
More Projects to Make With This Ribbing Technique
The same ribbing adapts to many matching accessories. For example, you could make a ribbed headband, a cozy neck warmer, or a simple fingerless glove set. A baby cardigan in a smaller size also makes a thoughtful gift, and a ribbed cushion cover or blanket border uses the same rhythm. For more ideas, browse our wearable crochet patterns.
Ways to Style or Display Your Ribbed Cardigan
Drape the cardigan over a plain tee and jeans for casual days. Alternatively, wear it open over a dress for a softer look. Neutral shades pair easily with any outfit. When you’re not wearing it, fold it over a wooden chair back or a basket for a warm, handmade touch.
Layering Ideas for Changing Weather
Light ribbing works well when the weather is unpredictable. On cool mornings, button up or wrap the front closed. Later in the day, push the sleeves up or take the cardigan off entirely. A thin scarf underneath adds warmth without crowding the neckline. As a result, one piece covers several temperature shifts.
Why a Ribbed Cardigan Is Worth Making
A handmade layer feels personal, and ribbed fabric suits simple, relaxed shapes. For these reasons, many makers return to this style again and again:
- The stitch pattern is calm and repeatable
- Neutral and soft colors match almost any outfit
- A well-made handmade layer can outlast many store-bought options
Crochet Ribbed Cardigan Pattern FAQs
What yarn works best for a ribbed cardigan?
Medium-weight cotton blends and soft acrylics both perform well. They give clear ridges, and they wash easily.
Can beginners make this crochet ribbed cardigan pattern?
Yes. The pattern repeats one row, so confidence builds quickly. Just take your time with the seams.
How much yarn does an adult cardigan need?
Most adult sizes use between 800 and 1,200 yards. To be safe, buy an extra skein from the same dye lot.
How do I stop the edges from curling?
Block the panels flat and add a ribbed border. Even tension also keeps the edges neat.
Can I change the size?
Yes. Adjust the foundation chain and row count until the panel matches your measurements.
Keep Going With Your Next Cozy Layer
A wearable crochet piece teaches patience, tension control, and shaping all at once. Once this cardigan is done, those skills will carry over to other shaped garments. A ribbed vest or a lightweight shrug makes a natural follow-up, so keep your yarn ready for the next one.