Crochet Checkered Top Pattern Wide Collar Design
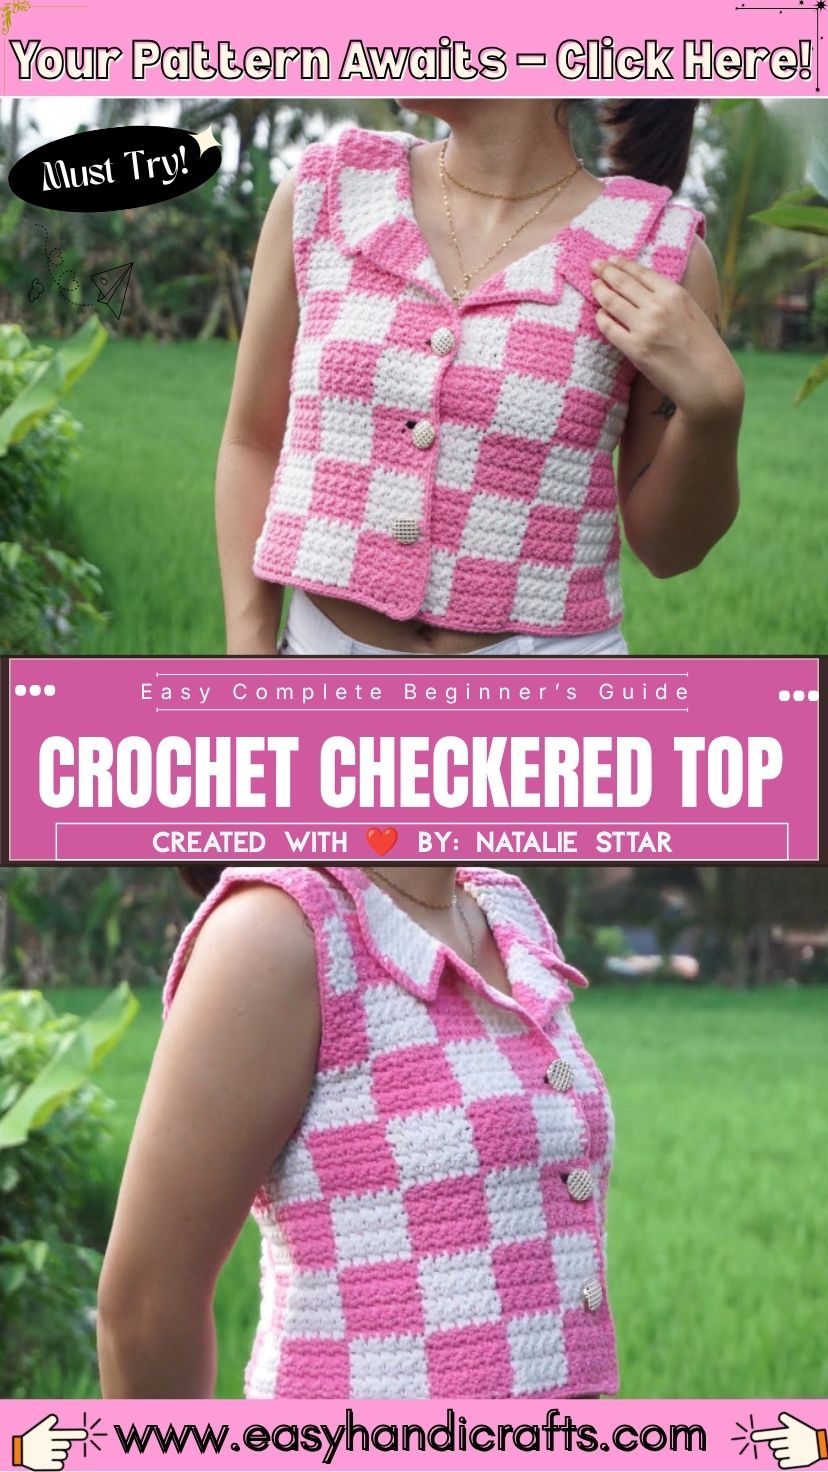
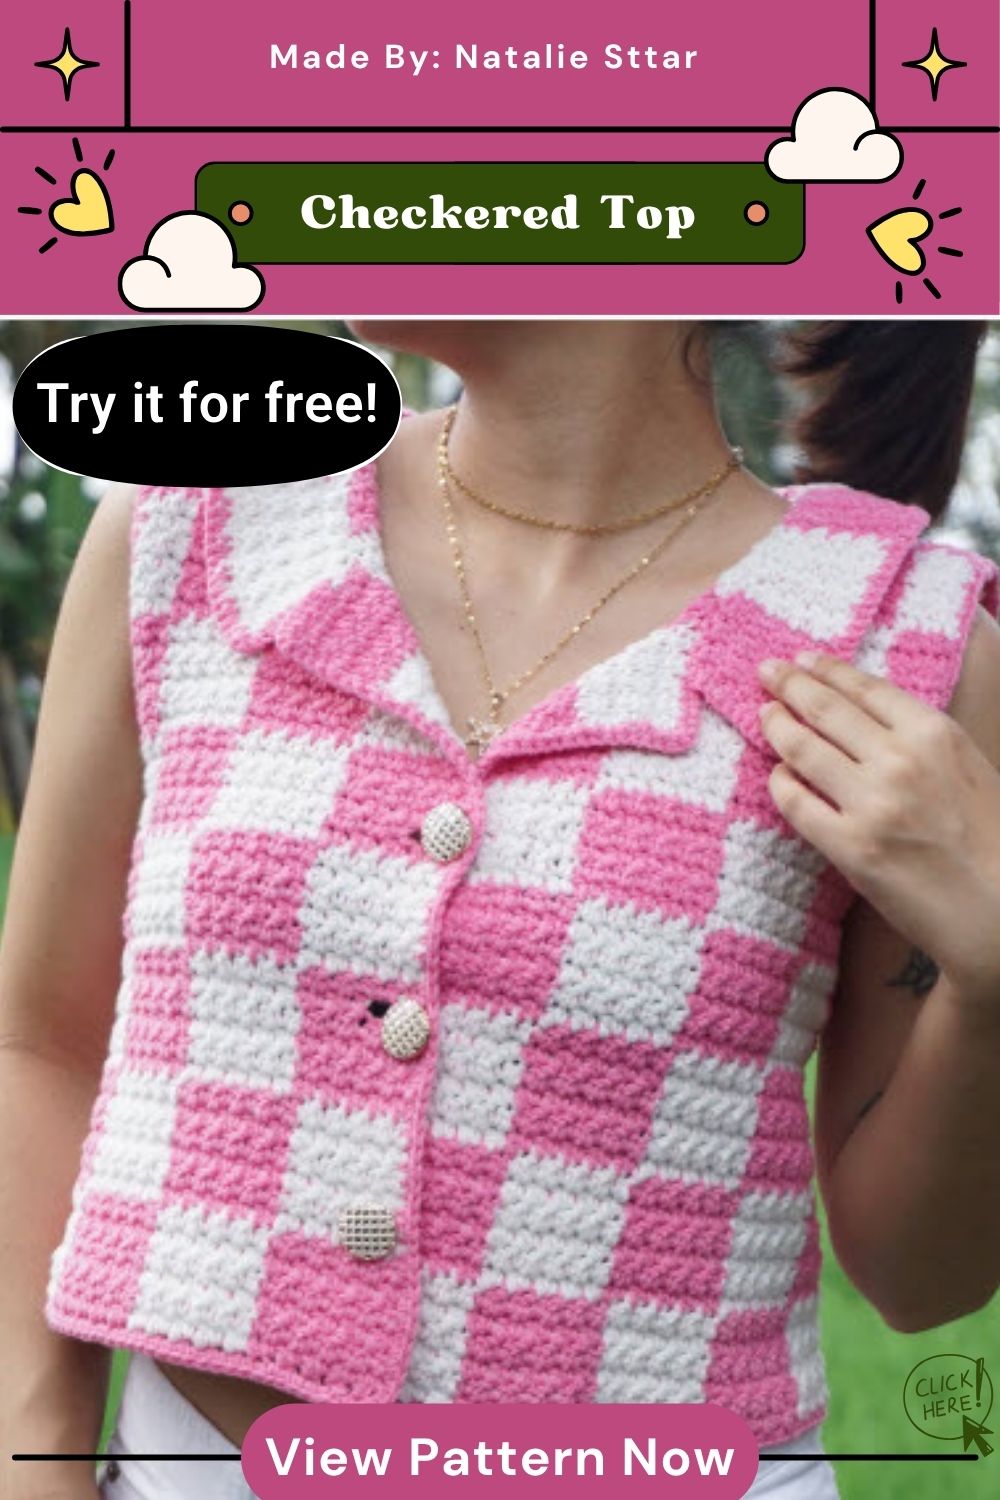
Pink and white squares build into a bold checkerboard grid in the Crochet Checkered Top Pattern Wide Collar Design, a top finished with a dramatic, oversized collar around the neckline.
Materials
Yarn: pick two contrasting solid colors. The reference video shows a soft, worsted-weight cotton-blend yarn in bubblegum pink and white. A cotton or cotton-acrylic blend holds a crisp checkerboard shape better than a fuzzy or elastic yarn. The squares need defined edges to seam cleanly.
Hook: use a 4.0mm hook (US G/6, UK 8). The video hook carries a clear 7/0 label a confirmed detail, not a guess.
Notions: grab a yarn or tapestry needle for seaming, stitch markers for tracking panel edges, and a measuring tape for checking panel size before you join anything.
A note on numbers: the source video doesn’t spell out exact stitch or row counts, panel dimensions, or total yardage on screen. Treat the guidance below as a working framework, and build your own gauge swatch around it rather than following it as a locked pattern chart.
Special Techniques
Panel construction: crochet each square or rectangle flat, back and forth, in a single color. Skip color changes within a panel that choice keeps tension even.
Wide collar shaping: skip the plain-rectangle approach. Add gradual increases along one edge so the collar flares away from the neck instead of hugging it. Work the collar flat first, then attach it that order lets you check the flare before you join it permanently.
Time Box
Prep: spend 15–20 minutes swatching gauge in both colors and planning your panel layout.
Stitching: budget the most time here. Individual panels crochet up fast, but plan for several sessions, since you work each color panel separately before assembly.
Finishing: set aside 45–60 minutes for seaming panels, attaching the collar, and weaving in the many ends the panel method produces.
Attach the collar with the same whip-stitch approach you used on the body panels. Work slowly around the curve of the neckline so the seam doesn’t pucker.
Construction: Panels, Seaming, and the Collar
Crochet all your panels in one color before you switch yarn. Working color by color, rather than jumping back and forth, keeps your tension consistent panel to panel. Stitch check: before you move to the next panel, lay your first two pieces side by side and confirm they match in width and row height. A panel that’s even slightly off will throw the whole grid out of alignment once you seam it.
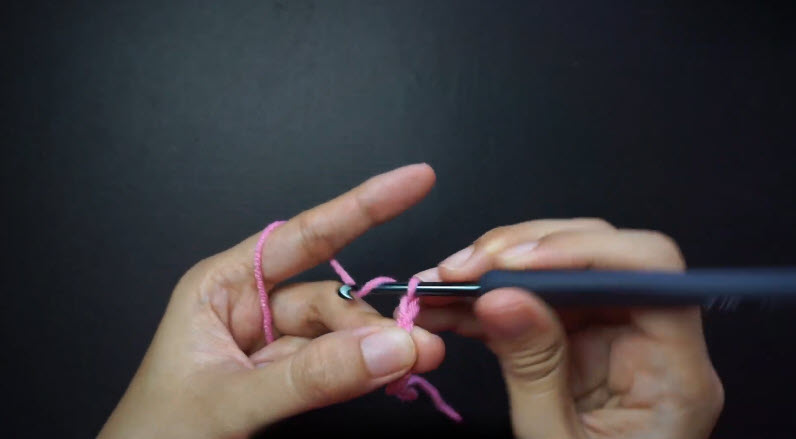
Lay every panel out on a flat surface in your intended checkerboard order before you thread a needle. That step catches a color placed in the wrong spot. Fixing loose pieces beats unpicking a seam you’ve already stitched.

Seam panels in a consistent order. Join panels into vertical or horizontal strips first, then join the strips to each other, rather than seaming randomly across the piece. Measure now: after you join your first two strips, hold the joined section up against your intended body width. Small tension differences compound fast across multiple seams. Catching the problem after two strips beats catching it after eight.

Work the collar as its own flat piece. Check that the increase rows actually make it flare, rather than just grow longer. Fit check: before you attach the collar permanently, pin or hold it against the neckline opening and let it fall naturally. A wide collar should drape outward, not sit flat like a turtleneck.

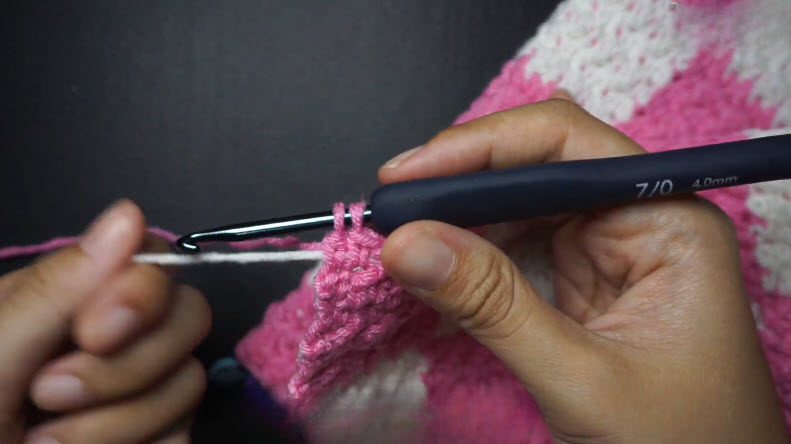
Whip-stitch (mattress-stitch) seaming: place two panels edge to edge, then join them with matching or near-matching yarn, working through corresponding stitches on each side. The seaming technique does most of the visual work in the checkerboard. Sloppy seams show immediately on a two-tone grid.

Common Mistakes
Inconsistent seam tension causes the most common problem with checkerboard panel tops. Pulling some seams tight and leaving others loose makes the grid lines look wavy. Mismatched panel sizes rank second; unconscious tension shifts between color changes usually cause them. A curling or cupping collar ranks third. Too few increases, or evenly spaced ones instead of gradual ones, along the flare edge usually cause it.
Beginner Tips
Mark the first and last stitch of every panel edge with a stitch marker. Doing so speeds up lining up whip-stitch seams and makes them more accurate. Keep your seaming tension slightly looser than you think you need over-tight seams pucker checkerboard grids more visibly than they would on a solid-color piece.
Crochet a small test square in each color first, then compare them side by side under good light. You’ll spot subtle tension differences between colors far more easily before you seam them into the final piece than after.
Uses & Benefits
The panel method earns its place for how forgiving it makes construction. Each piece works up flat and separately, so a mistake in one panel doesn’t unravel the whole project; just swap out that piece. The oversized collar adds structure to an otherwise simple silhouette. It dresses up the top enough to layer over a plain tank, or to wear alone. Color changes happen between panels rather than mid-row, so the technique suits anyone still building confidence with two-color work, without the float-tension challenges of true intarsia or tapestry crochet.
Personalization Ideas
Color Swap
Trade pink and white for a higher-contrast pairing navy and cream, or black and white to push the checkerboard effect further.
Collar Scale
Narrow the collar’s increase rows for a subtler flare. Add extra rows instead for an even more dramatic, cape-like spread.
Panel Size
Crochet smaller panels for a tighter, more intricate checker grid. Crochet larger panels instead for a bolder look with fewer seams.
Trim Detail
Add one round of contrast single crochet around the collar’s outer edge to define it further against the body of the top.
Fit and Size Adjustment
You build the top from individual panels rather than shaping it in the round. Sizing up or down means adjusting panel count and width, not recalculating a whole garment. Add an extra column of panels for more ease through the body. Narrow each panel slightly and add rows instead to keep proportions balanced. Seam two sample panels together first and swatch that joined piece it tells you far more about finished width than a single panel measured alone.
FAQs
Do I have to crochet every panel before I start seaming?
Not necessarily, but finishing every panel first lets you lay out the full checkerboard and confirm color placement before you make any seam permanent.
Why does my collar keep curling instead of lying flat?
That usually means too few increases along the flare edge. Add gradual increases every few rows instead of working straight rows and increasing only at the end.
Can I use a different yarn weight than shown in the video?
Yes, but panel dimensions and hook size will shift with it. Always swatch in your chosen yarn before you commit to a panel size.
Closing Thoughts
Panel-and-seam construction trades a bit of extra finishing time for a checkerboard that stays crisp and a collar that can be shaped and test-fit before it’s permanently attached a fair swap for anyone who’d rather avoid dragging yarn floats across a colorwork row. Watch the seam order, keep tension even across panels, and the grid takes care of itself.