Crochet Cowl Neck Halter Top Pattern for Fashion Lovers
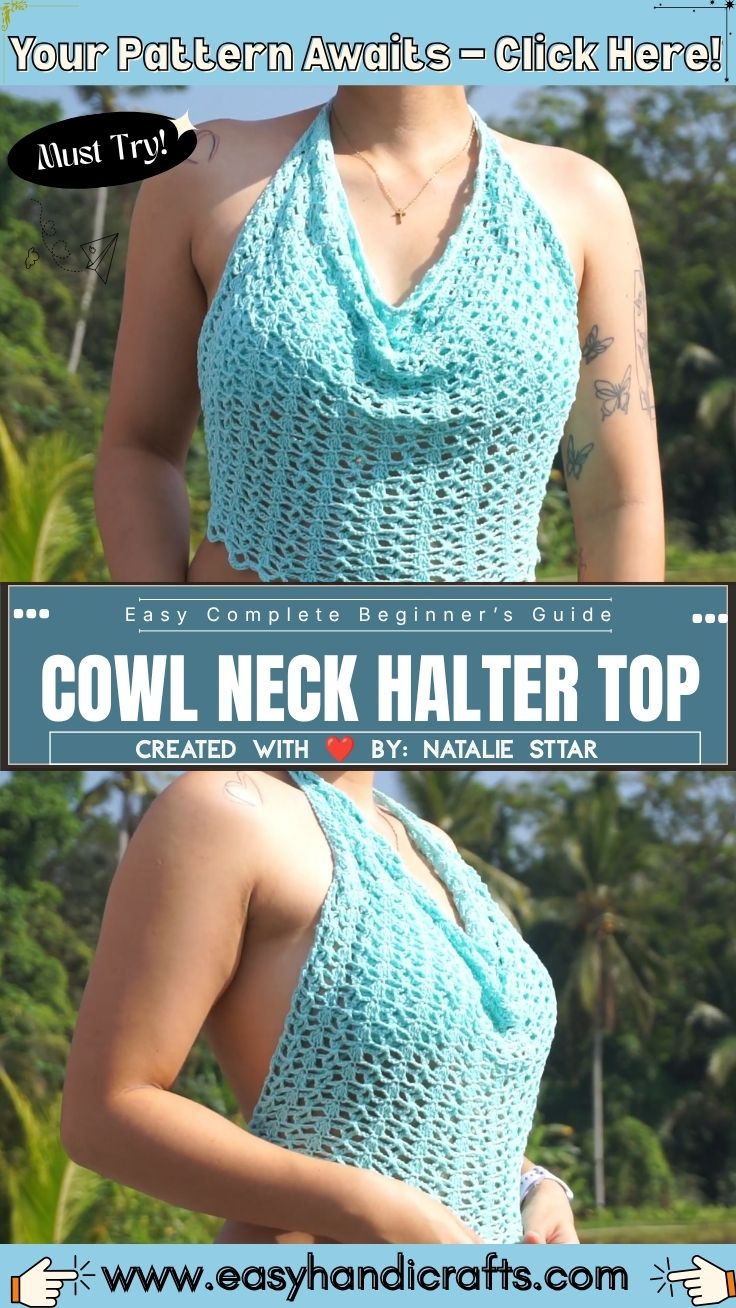
This step-by-step tutorial walks through a Crochet Cowl Neck Halter Top Pattern for Fashion Lovers, built around a lacy shell stitch trim and a fitted halter body for warm-weather wear.
The steps ahead cover the materials and tools needed, the core techniques behind the shell stitch mesh, and a full round-by-round breakdown supported by clear photos. Readers will also find common mistakes paired with practical fixes, finishing and assembly guidance, and styling ideas for wearing the finished top. Everything needed to complete this particular project appears in the sections below.
What You’ll Need
Assemble these materials before starting the cowl neck halter top, since swapping mid-project can shift gauge.
Materials
- Worsted weight (medium, #4) cotton-blend yarn, roughly 400–500 yards depending on size
- Coordinating sewing thread for reinforcing seams (optional)
- Locking stitch markers
Tools
- 5.0mm (H-8) crochet hook
- Yarn needle for weaving in ends
- Measuring tape
- Fabric scissors
Materials Substitution Ideas
A lighter DK-weight yarn works with a 4.0mm hook for a more delicate mesh. The finished piece runs smaller and drapes thinner. Bulkier chunky yarn with a 6.5mm hook speeds up stitching and adds warmth. The lace pattern loses some of its open, airy look with heavier yarn, though. Cotton-linen blends hold their shape well in humid climates. Bamboo or modal blends add extra drape for a softer fall around the shoulders.
Skills You’ll Use
Building this piece calls on a handful of core techniques. A foundation chain starts the ring, and a slip stitch closes it without twisting the loop. Shell stitches, worked as clusters of trebles into one space, create the lace effect. The clusters shape the cowl neck halter top‘s draped edge as rounds build up. Chain spaces link each shell, opening the diamond mesh that gives the trim its movement. Weaving in ends and blocking the piece flat finish the technique list.
What You’ll Learn
- How to join a foundation chain into a neat ring without twisting the stitches
- How to work shell stitch clusters that build an open, lacy mesh pattern
- How to join a finished trim onto a fitted halter body
Time Needed
- Prep: 10–15 minutes for yarn prep and a gauge swatch
- Stitching: 4–6 hours across sessions, depending on size
- Finishing: 30–45 minutes for blocking, seaming, and weaving in ends
Step-by-Step Process
Follow each round below to build the cowl neck halter top‘s signature trim from a simple ring.
- Make a slip knot and set it on the hook, holding the tail and working yarn between the thumb and index finger for steady tension.
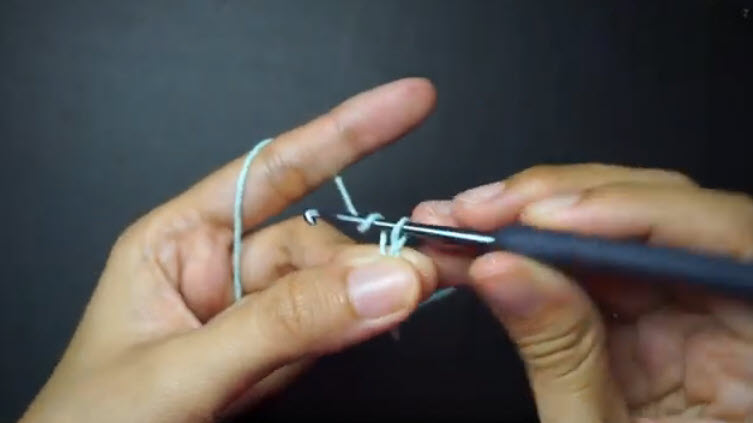
- Chain six stitches, drawing each loop to a relaxed, even size along the hook.
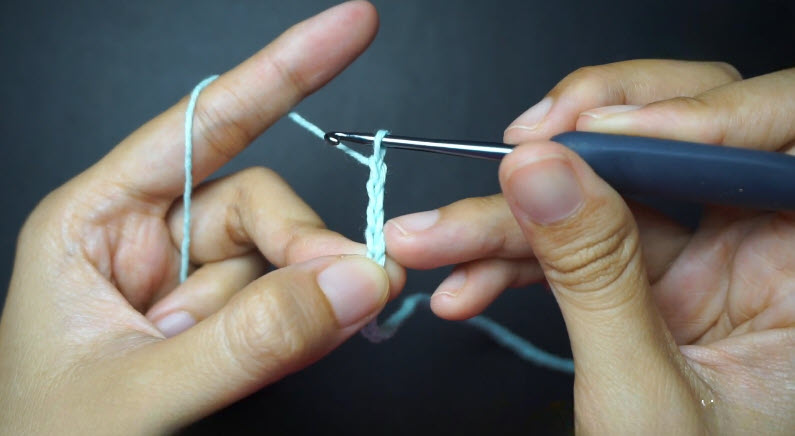
- Insert the hook into the first chain and slip stitch to close the chain into a ring, checking that the loop lies flat rather than twisted.
Stitch check: Count six loops in the ring with no twist before continuing.
Pro Tip: Hold the ring loosely while joining. A tight slip stitch here makes the first shell round hard to work into.
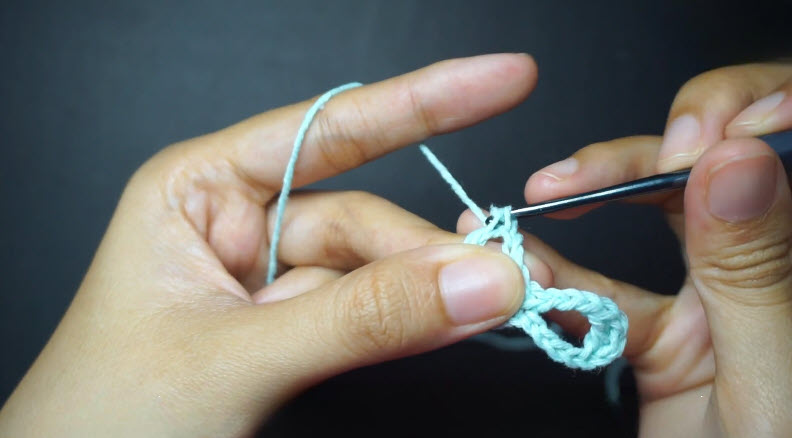
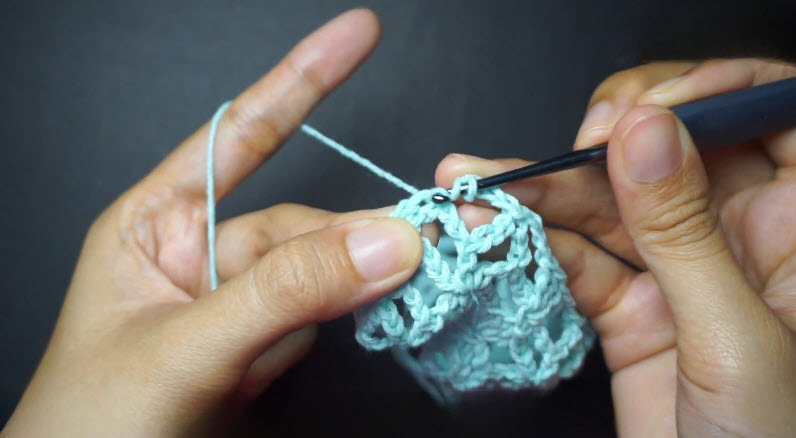
- Work the first shell round into the ring, alternating three-treble clusters with a chain-two space to open the mesh.
Working the shells directly into the ring anchors the trim’s fan shape from the very first round.
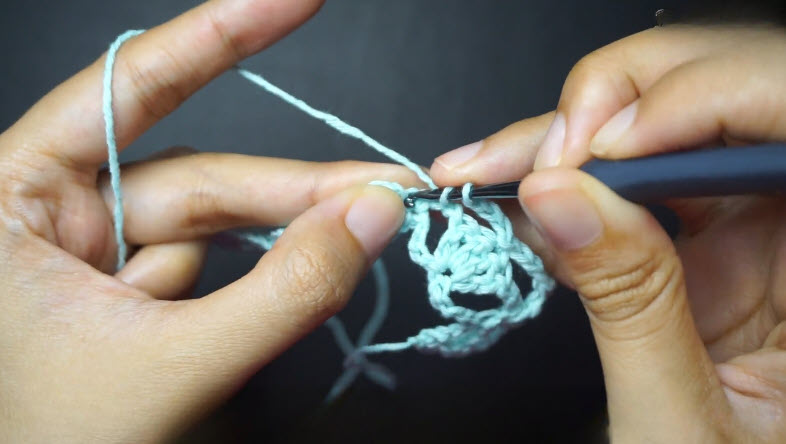
- Repeat the shell-and-chain sequence across additional rounds until the strip lies flat, forming an even diamond mesh from edge to edge.
Shape check: Confirm the diamond gaps line up evenly before measuring length.
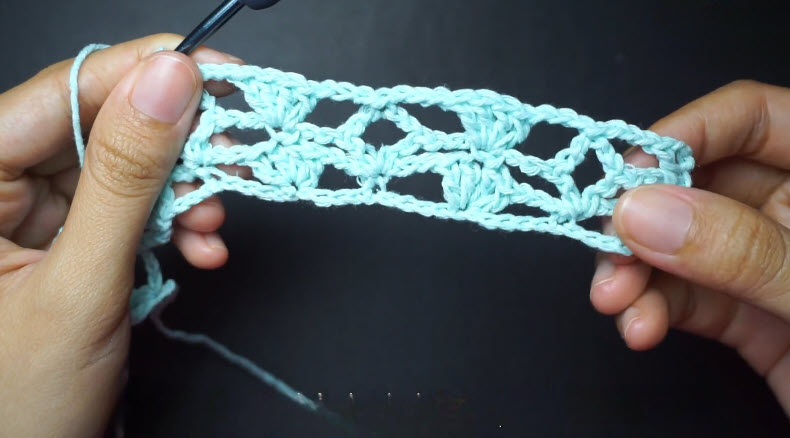
- Insert the hook into the next stitch along the finished edge to begin the following repeat, extending the trim toward the desired cowl length.
Signs You Did It Right
- The ring lies flat with no twist at the base of the mesh
- Each shell cluster shows three even trebles fanning from one chain space
- The diamond gaps stay consistent in size across the whole strip
- The trim drapes softly rather than curling at the edges
Common Mistakes and Their Fixes
The foundation ring twists before joining, leaving a spiral base instead of a flat circle.
Fix: Lay the chain flat on a table and smooth it before inserting the hook for the slip stitch join.
Shell clusters come out uneven, with some trebles taller than others.
Fix: Pull each loop to the same height before finishing the stitch, checking against the previous shell as a guide.
The mesh curls instead of lying flat once a few rounds are complete.
Fix: Block the piece with light steam or a damp-towel press to relax the fibers.
The cowl trim puckers where it meets the halter body.
Fix: Ease in extra stitches evenly along the seam rather than stretching the trim to match.
Finishing and Assembly Tips
Weave in every yarn tail along the wrong side before seaming. Loose ends tend to work free under the drape of the mesh otherwise. Attach the finished trim to the halter body with a whip stitch or slip stitch seam. Match the stitch count evenly to avoid puckering. Steam-blocking the whole piece afterward relaxes the fibers and lets the diamond mesh open fully. Fasten the shoulder ties last, once the bust fit has been confirmed.
Creative Projects You Can Make With This Pattern
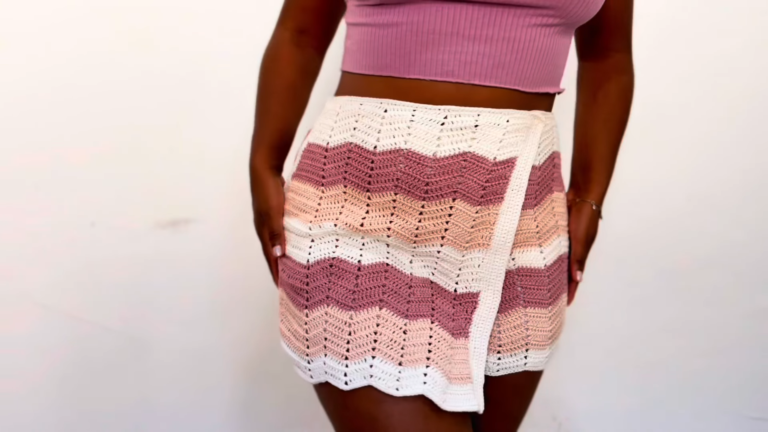
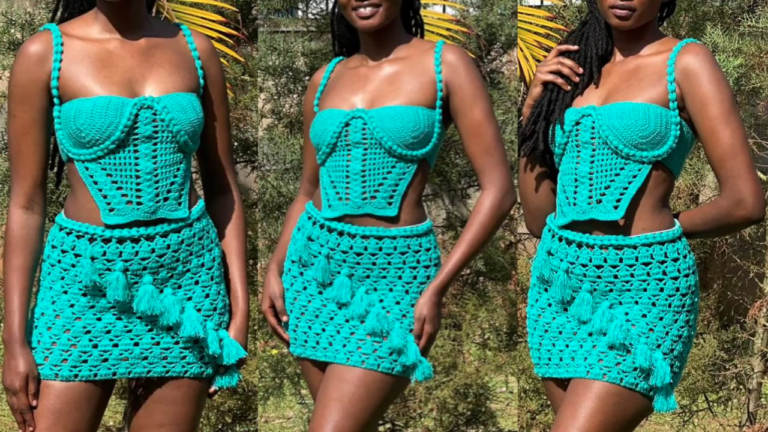
The same shell-and-mesh technique extends well beyond a single top. A shortened trim works as a lightweight scarf or a neckline accent for a plain tank top. Lengthening the repeat turns the mesh into an open shawl for cool evenings. A finer thread produces a delicate lace choker instead. Crafters expanding a matching set of summer pieces often pair this trim with a simple crochet skirt. Coordinating accessories work well too, since the stitch pattern repeats cleanly at any width.
Ways to Style or Display It
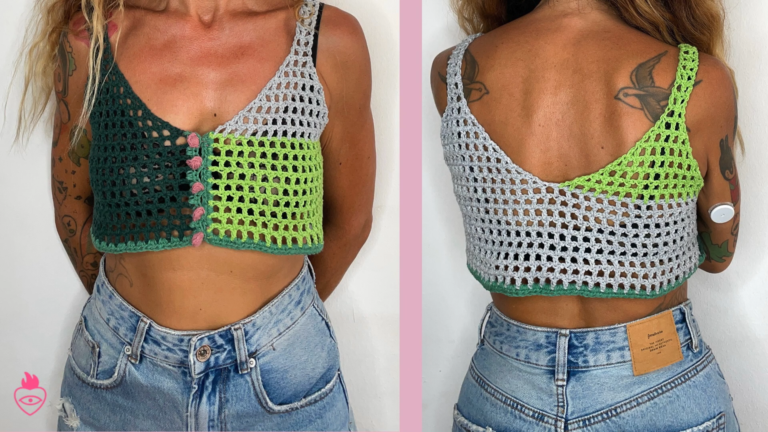
A cowl neck halter top pairs well with wide-leg trousers or a flowing maxi skirt for a finished silhouette. Denim shorts and sandals dress it down for daytime wear. Tuck a thin cardigan underneath on cooler evenings without hiding the cowl’s texture. Store the piece folded flat on a shelf. Hanging it can stretch the mesh over time.
Who This Pattern Is Great For
Intermediate crocheters comfortable with basic shells and ring joins will move through this project quickly. Beginners willing to practice a gauge swatch first can also succeed, since the stitch repeat stays consistent throughout. Anyone drawn to warm-weather garments with visible texture will find the finished top worth the stitching time.
Why It’s Popular Right Now
Lace-textured tops have seen renewed interest as crocheters move toward garments that show off stitch detail rather than hide it. Handmade halter styles also fit current demand for pieces that transition from beach to evening without changing outfits.
- Open mesh patterns photograph well for sharing online
- Halter necklines suit warm climates and layering alike
- Cotton yarns keep the finished piece breathable in summer heat
Care and Storage Tips
Hand-wash the finished top in cool water with a gentle detergent, then lay it flat on a towel to dry. Avoid hanging the piece on a hook or hanger, since the weight of wet cotton can stretch the mesh permanently. Store it folded in a drawer. Give the trim a light steam before wearing again if the diamonds have flattened.
FAQ
What weight yarn works best for this pattern?
A worsted or DK weight yarn gives the clearest stitch definition for the shell mesh.
Can beginners attempt this cowl neck halter top pattern?
Beginners comfortable with basic chains and trebles can manage it with a practice swatch first.
How long does the shell stitch trim take to finish?
Most crocheters finish the trim portion in four to six hours, depending on hook size and tension.
Does the mesh stretch out of shape over time?
A light block after finishing keeps the diamond gaps stable through regular wear.
What is the best way to secure the trim to the halter body?
A slip stitch seam along matching stitch counts keeps the join smooth and nearly invisible.
Bringing It All Together
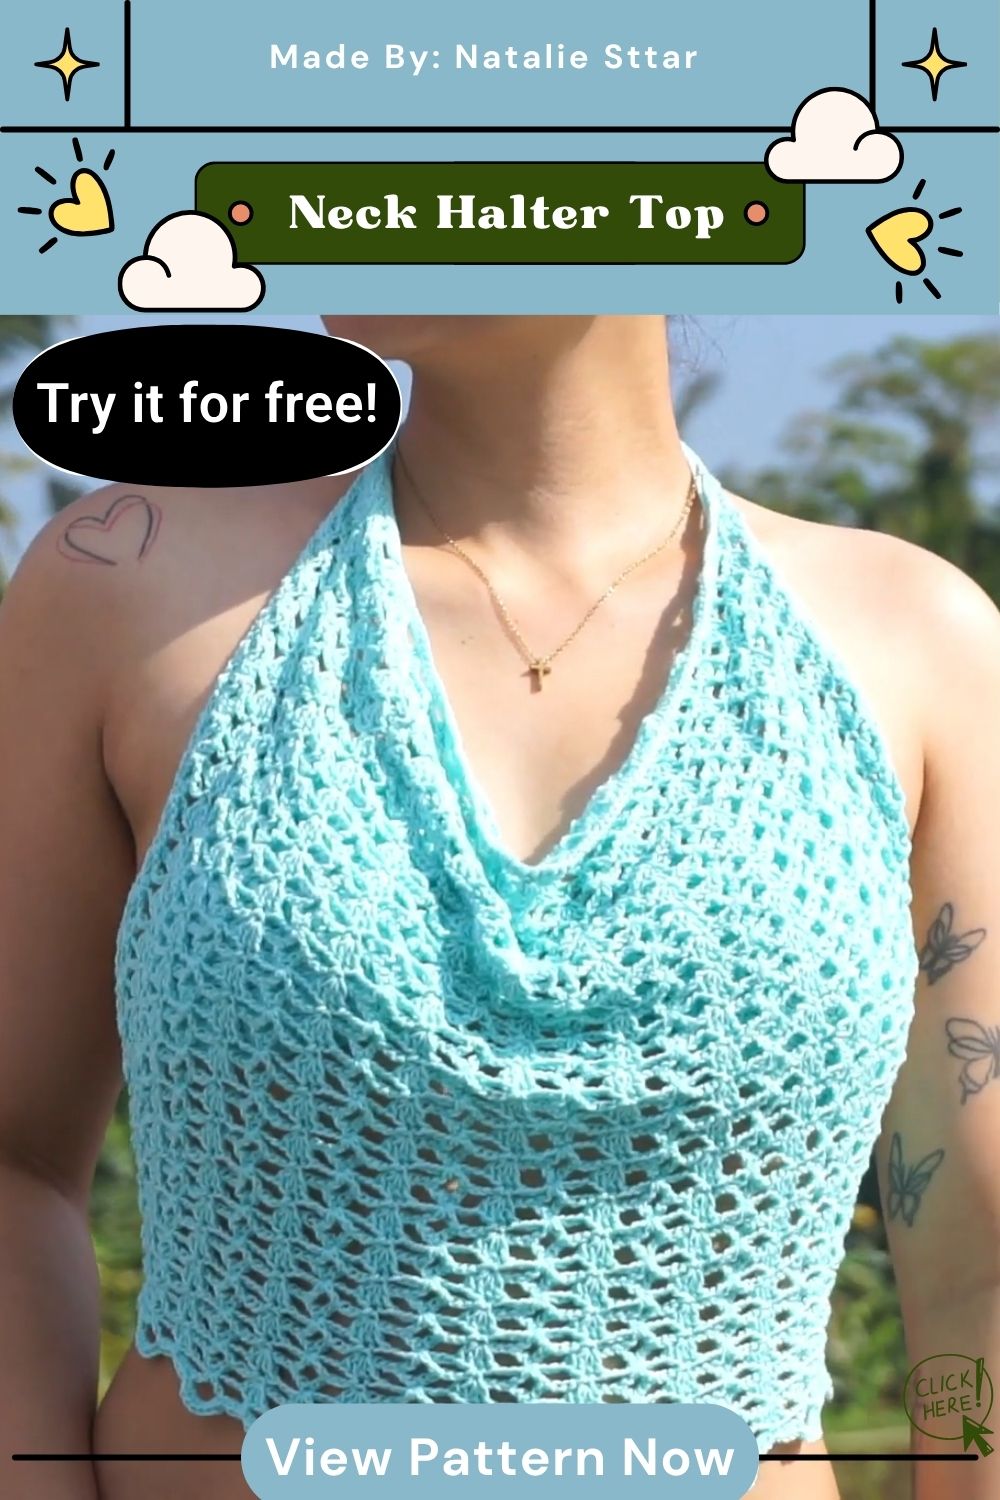
A finished cowl neck halter top rewards patience with a piece that moves and drapes unlike anything store-bought. Practicing the shell stitch on a swatch first builds confidence before committing to the full garment. Once the rhythm of the repeat sets in, the rounds move quickly toward a finished trim worth wearing all season.