Crochet Bunny ice cream cone Amigurumi Pattern
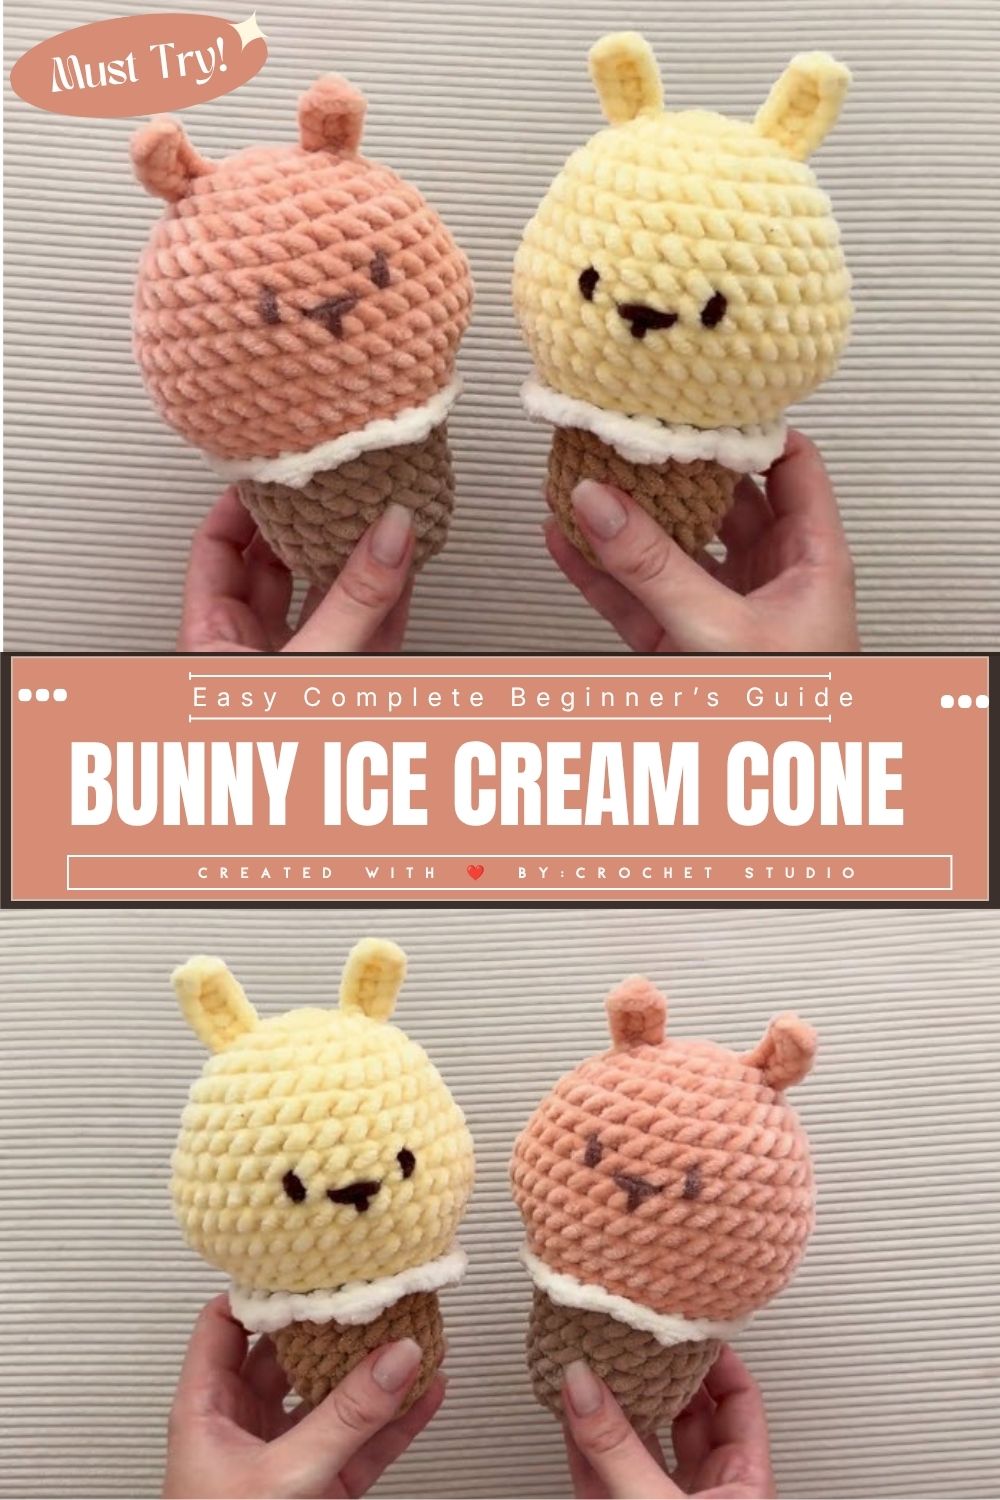
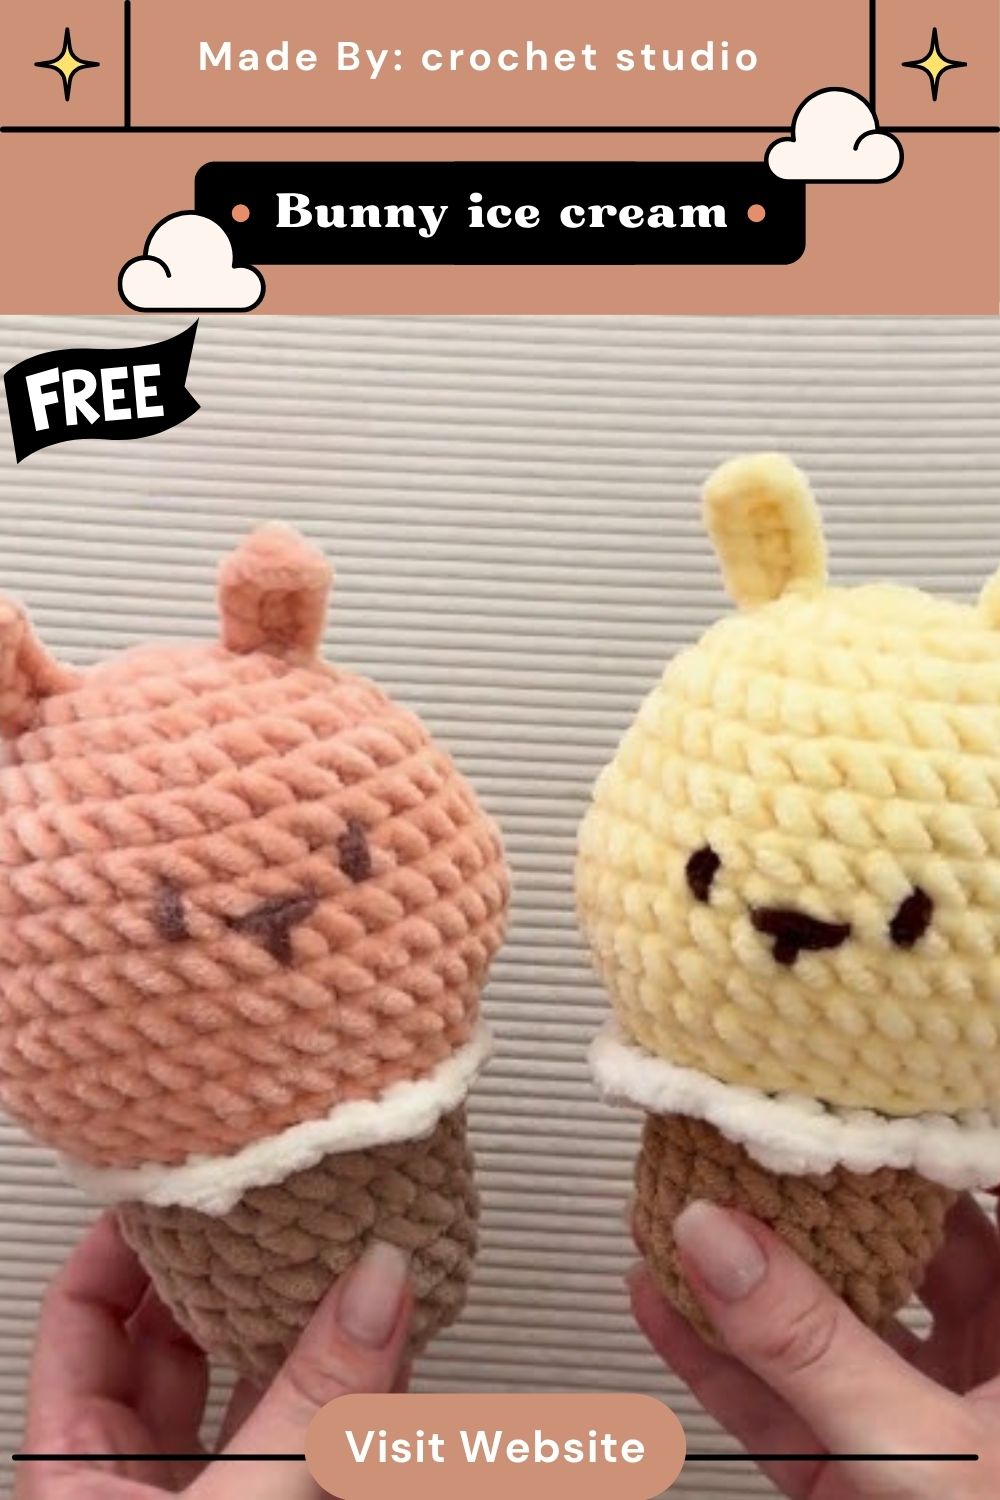
Velvety chenille gives the Crochet Bunny ice cream cone Amigurumi Pattern for Newcomers its squishy charm. A peach scoop with tiny ears sits on a tan cone. Together, they form a soft plush dessert toy that feels as good as it looks.
What sets the design apart is its clever two-part build. A round peach scoop, a textured tan cone, and a fluffy white band come together as a charming bunny cone amigurumi that suits display shelves. Because the shapes stay simple, it works as a friendly beginner chenille plush project. Perch it on a bookshelf, and the pastel palette instantly brightens the whole spot.
What You’ll Need
Gather the supplies below before starting the crochet bunny ice cream cone.
- Plush chenille yarn: peach for the scoop, tan for the cone, and a little white for the frill band.
- Aluminum hook, around 3.5 mm to 4 mm, which keeps the fabric dense.
- Polyester fiberfill for a firm, squishy fill.
- Large-eye tapestry needle for joining and finishing.
- Round marker or a scrap of contrasting yarn to track each round.
- Sharp scissors and a small extra strand for details.
Color Palette Suggestions
Peach with caramel tan suits a nursery shelf, because the warm tones stay gentle. For a spring party table, try a mint scoop, cream cone, and white band. Meanwhile, a lilac scoop over a cocoa cone fits a teen’s desk or an autumn mantel. Also, choose shades a few steps apart so the scoop and cone stay clearly separate. Finally, compare skeins in daylight, since chenille softens color contrast.
Time Needed
- Prep: about 15 minutes for sorting yarn and tools.
- Stitching: roughly two to three hours for the scoop and cone.
- Finishing: around 45 minutes for stuffing, joining, and details.
Altogether, plan for one relaxed afternoon.
Step-by-Step Process
Follow the nine photo steps in order for a smooth build.
Step 1: Start the Scoop With a Ring
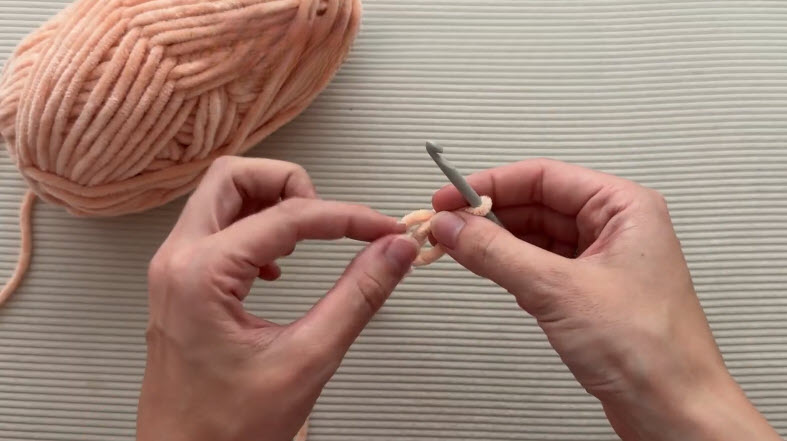
Begin with peach chenille. Wrap the yarn into a loose ring over two fingers, then slide the hook inside. Next, pull up a loop and work the first anchor stitches into the ring. Afterward, tug the tail to tighten the center.
Pro-Tip: Chenille slips easily, so pinch the ring firmly while the first stitches settle.
Step 2: Widen the Flat Circle
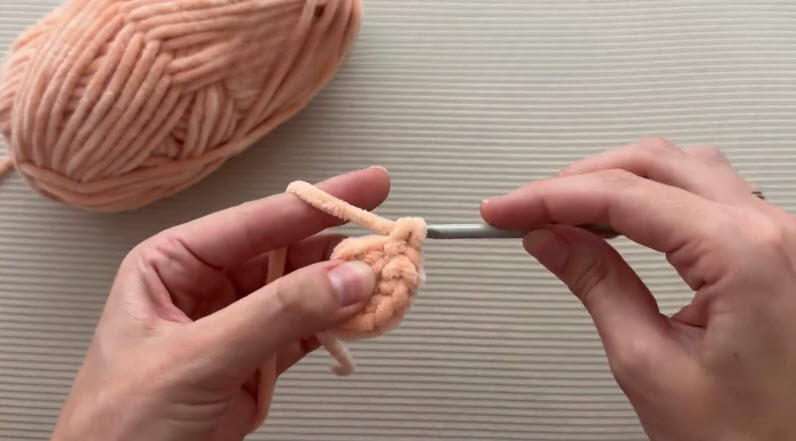
Now the ring has tightened into a small peach disc. Keep the hook in the newest loop, and hold the working yarn behind the fabric. Then add evenly spaced increases so the circle stays flat and round.
Step 3: Let the Sides Curve Upward
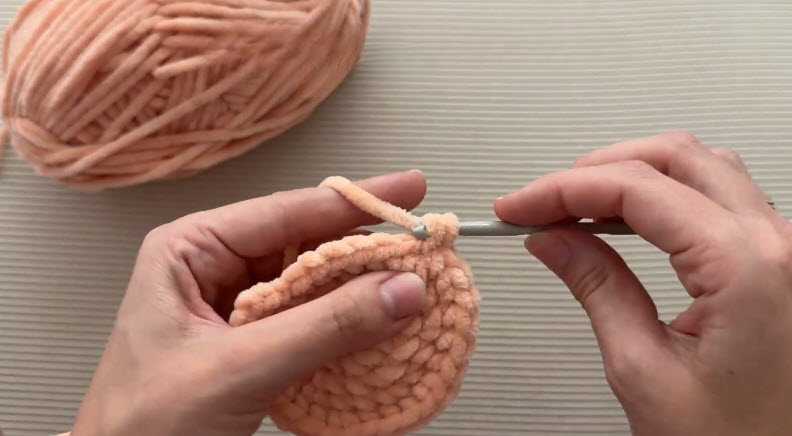
Once the disc reaches a comfortable width, stop widening. Instead, stitch even rounds so the edge starts rising. Soon, the fabric cups into a soft bowl shape.
Step 4: Keep Building the Scoop Walls
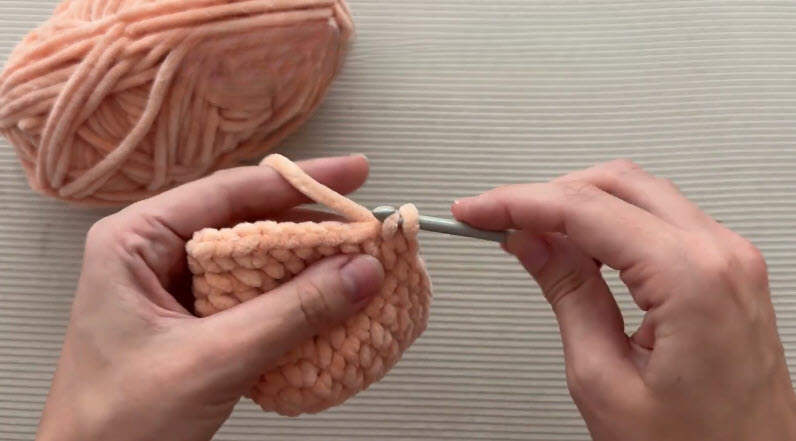
Repeat the same rhythm round after round. Keep the hook in the same working position for every stitch. Meanwhile, test the height against a palm until the scoop feels tall enough.
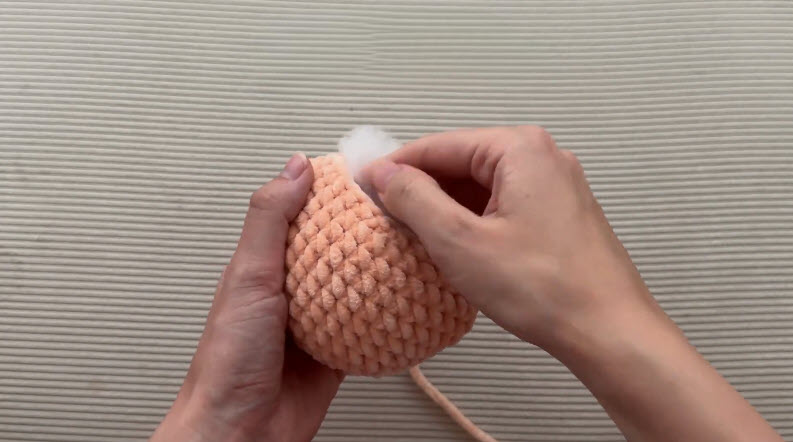
Step 5: Stuff the Peach Dome
Before closing the opening, add fiberfill in small tufts. Press each bit into the curve with fingertips. Then rotate the piece often, so the dome stays round and smooth.
Pro-Tip: Small tufts prevent lumps, and firm filling stops the scoop from flopping later.
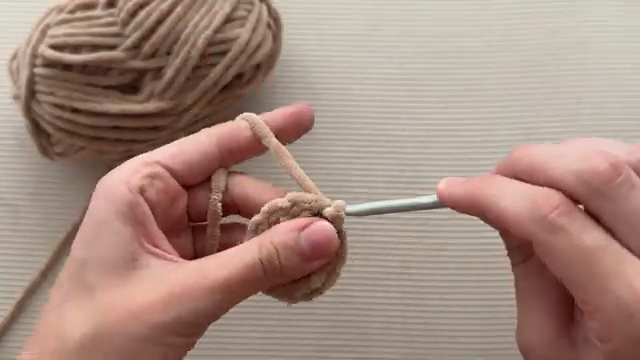
Step 6: Begin the Cone in Tan
Switch to tan chenille for the cone. Form another ring, then repeat the opening stitches from Step 1. Because the disc is tiny, keep the tension steady.
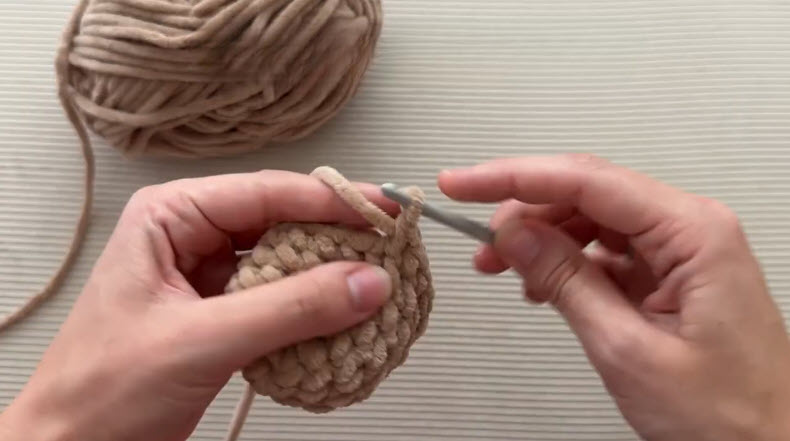
Step 7: Grow the Cone Body
Next, keep stitching rounds until the tan piece forms a cup with textured bumps. Work near the top edge so each stitch lands in the correct loop. Also, hold the cup gently so the shape stays open.
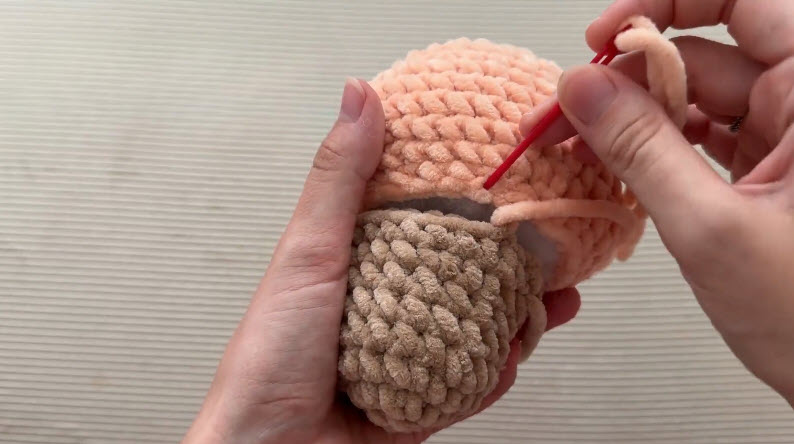
Step 8: Join the Scoop to the Cone
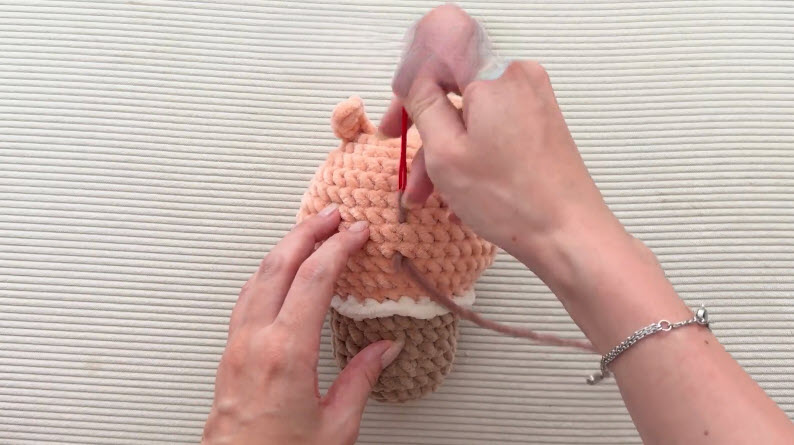
Thread the tapestry needle with peach yarn. Then nestle the scoop into the cone opening so the edges meet. Sew around the seam with small, even stitches, pulling gently until both pieces sit flush.
Pro-Tip: Pin the pieces with two stitch markers before sewing, since chenille slides.
Step 9: Finish the Details
Lastly, use the needle and a contrasting strand to add small finishing stitches on the scoop front. Keep the ears upright at the top, and check that the white frill band lies neatly over the seam. Finally, weave every loose tail inside and trim the ends.
Common Mistakes and Their Fixes
- Problem: Stitches vanish into the fluffy pile.
Fix: Mark the first stitch of every round, and count by touch rather than sight. - Problem: Stuffing peeks through the fabric.
Fix: Drop to a smaller hook, and pull each loop snug. - Problem: The scoop leans to one side.
Fix: Add fiberfill evenly, then reshape by rolling the dome between both palms. - Problem: The seam looks bumpy.
Fix: Match stitch to stitch, and sew a full circle before tightening.
Troubleshooting Guide
Color bleeding between sections: Dark tan fibers can tint the pale scoop during damp cleaning. Spot-test first, then rinse quickly in cool water and blot at once.
Shape sagging: Soft filling settles over time. Open a tiny seam gap, add fresh fiberfill, and close it again.
Uneven finish: Chenille can look patchy after handling. Brush lightly with a soft baby brush, then steam from a distance to relax the pile.
Washing and Cleaning Instructions
A finished crochet bunny ice cream cone cleans best by hand. Spot-clean first, because small marks often lift with a damp cloth and mild soap. For a full wash, swish the toy in cool water for a few minutes. Then press out moisture with a towel instead of twisting. Reshape the dome, and air-dry it flat away from heat. Avoid bleach, hot water, and tumble dryers, since heat flattens the pile.
Pairing Ideas
Pair the cone with other soft dessert makes, such as a mini cupcake or a strawberry. Likewise, a granny-square coaster set adds a cozy base for display. Matching pastel pillows or a knit basket also echo the palette. Meanwhile, a wooden shelf, a linen runner, or a ceramic tray gives the toy a calm backdrop. In addition, a tiny crocheted bow ties the whole grouping together.
Creative Projects to Try With the Same Pattern
Small tweaks turn one design into many gifts. Link each phrase below to a matching post.
- Bunny keychain crochet pattern: use thinner yarn and add a clip.
- Amigurumi bag charm: shrink the scale and attach a loop.
- Easter basket crochet ideas: make a set in mixed pastel flavors.
- Baby shower plush gift: wrap it with a soft ribbon.
- Pastel nursery decor crochet: build a small trio for a shelf.
Ways to Style or Display It
Set the crochet bunny ice cream cone on a bookshelf beside a small plant. Then prop it in a woven basket for a spring vignette. Also, rest it on a nursery dresser, or tuck it among throw pillows on a reading chair. For gifts, nestle it into tissue paper inside a pastel box. Meanwhile, a dessert-themed shelf gains extra charm from a matching mini scoop or two.
Bonus: Sprinkle and Cherry Toppers
Extra flair takes only minutes. Stitch tiny French knots in white, pink, and mint across the scoop for sprinkles. Alternatively, sew a small red pom-pom between the ears as a cherry. Then add a thin ribbon at the seam for gift-ready polish. Keep additions small, since chenille already brings plenty of texture.
Who the Pattern Is Great For
- Beginners ready to practice rounds and simple joining.
- Gift makers who need a quick, cute present.
- Nursery decorators who love soft pastel accents.
- Market sellers looking for a small, sweet best-seller.
- Crafters who enjoy chunky yarn and fast results.
Why It’s Popular Right Now
Dessert plushies and pastel decor keep trending because they feel cheerful, small, and gift-ready. Meanwhile, chunky chenille makes progress visible fast, which keeps new makers motivated.
- Soft texture: Velvety bumps invite touching and photograph beautifully.
- Quick results: Thick yarn builds each round in minutes.
- Flexible styling: Any flavor color turns the scoop into a new gift.
FAQ
Is the pattern suitable for beginners?
Yes. Working in rounds, simple shaping, and basic sewing are the only skills needed. Also, chunky yarn keeps progress quick.
Which yarn works best?
Plush chenille or velvet-style yarn gives the softest pile. However, smooth worsted yarn also works when a flatter surface is preferred.
Can the toy be made smaller?
Yes. Thinner yarn with a smaller hook shrinks every part evenly. Then match the fiberfill amount to the new size.
How can the shape stay firm?
Stuff in small tufts and keep stitches snug. Later, refresh the filling if the dome softens.
The Final Touch
As autumn settles in, warm peach and caramel shades feel right at home on a windowsill. Grab a skein, start the ring, and let the crochet bunny ice cream cone bring a sweet, cozy touch to the season.