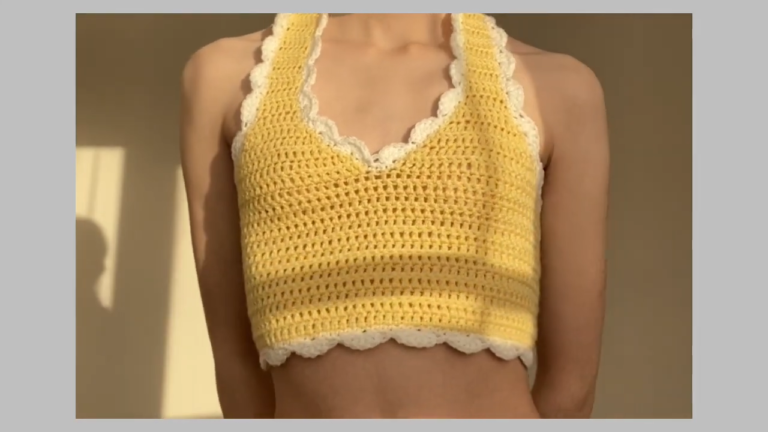
Granny Crochet Square Vest Pattern for Handmade Fashion
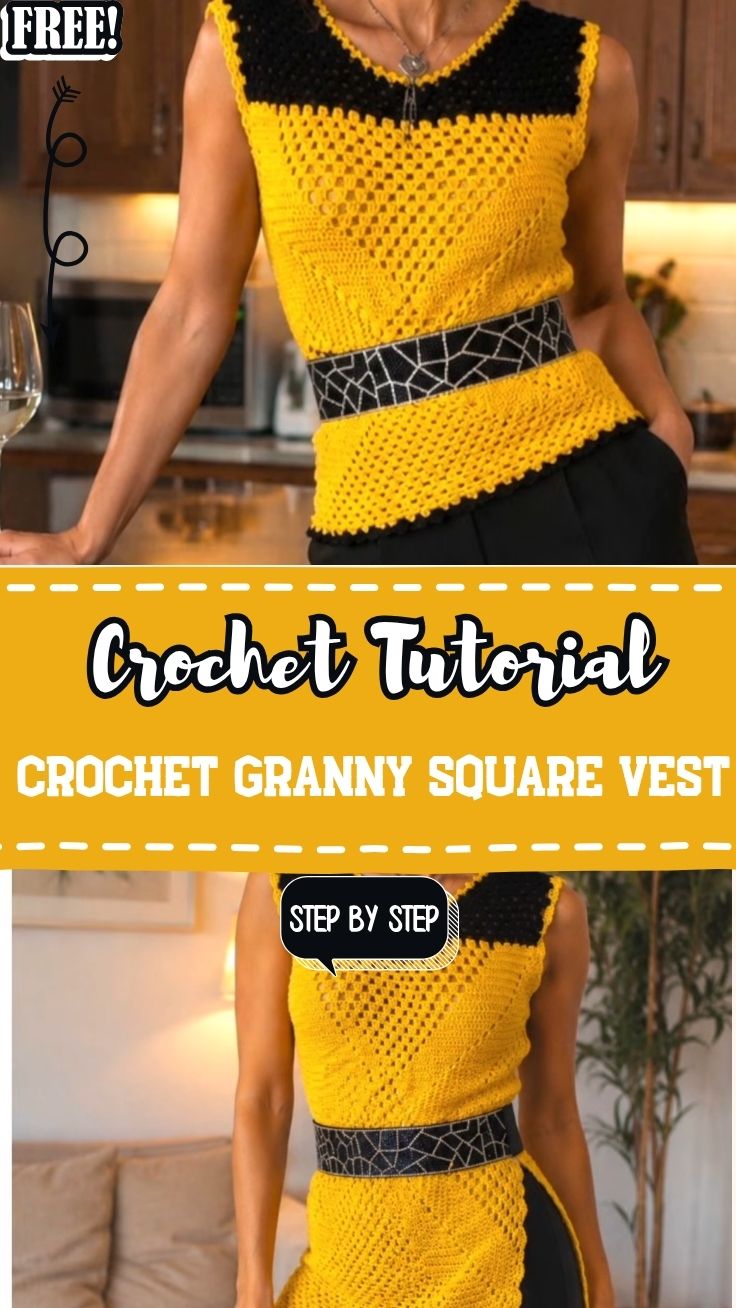
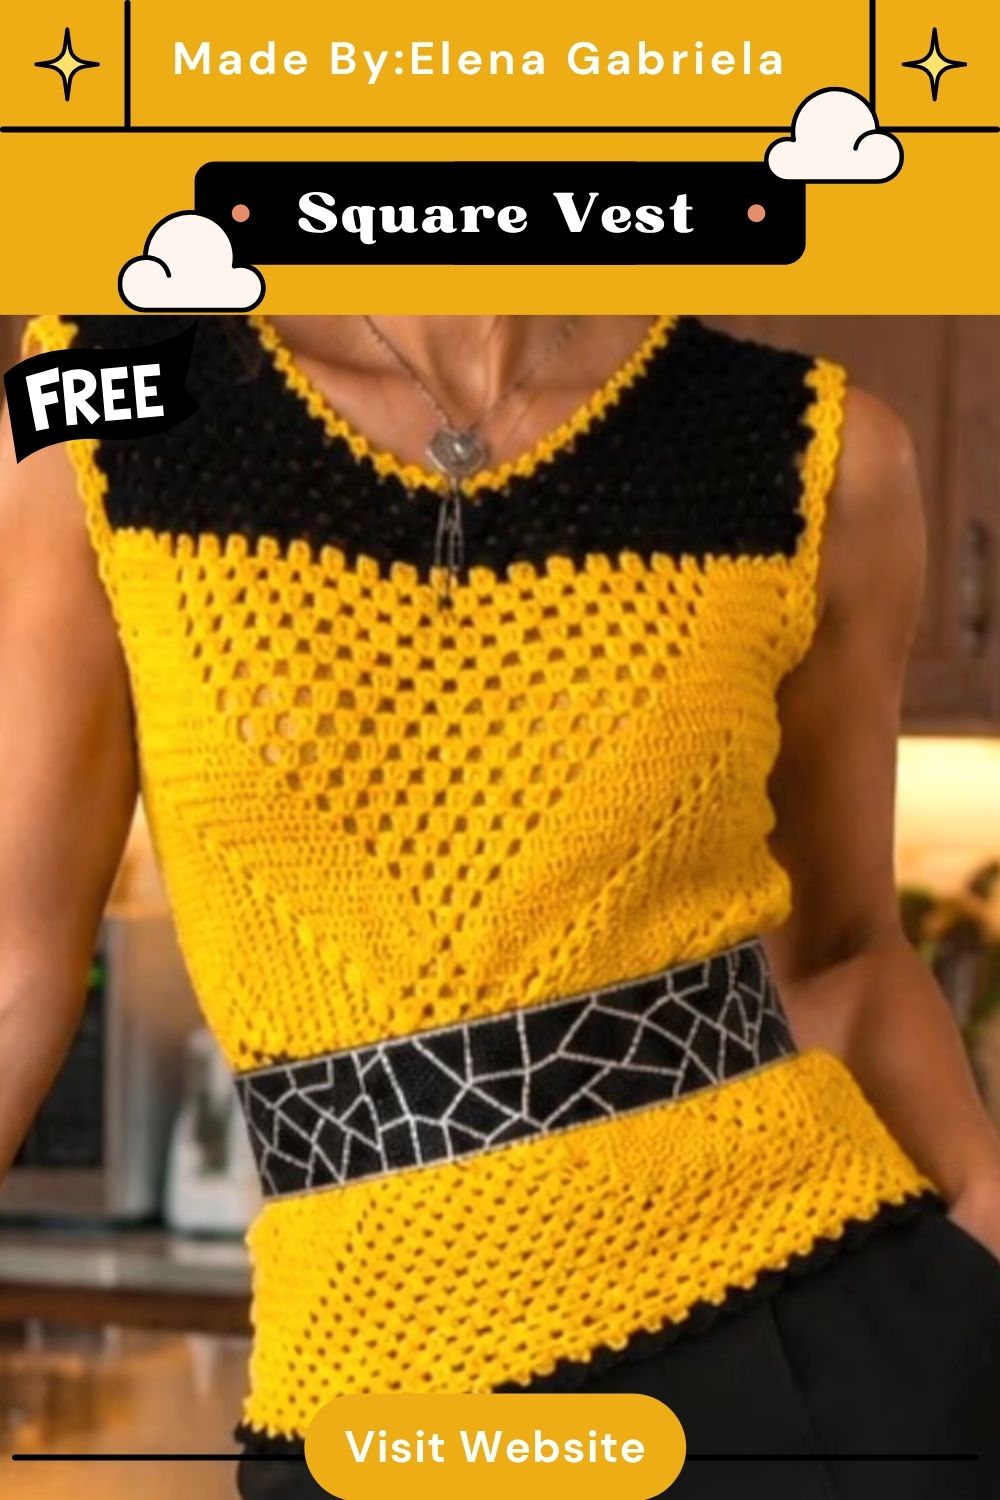
Mustard yellow brings instant warmth, and the Crochet Granny Square Vest Pattern for Handmade Fashion puts that shade front and center. Classic squares meet open mesh panels, then a bold black edge frames everything. As a result, the finished piece feels retro, light, and ready for layering.
Few projects balance tradition and modern style quite so neatly. Each granny square works up quickly, so progress stays visible from the first round. Meanwhile, the mesh panels add drape without extra bulk, which keeps the fabric breathable. Anyone hunting for a granny square sweater vest or a lightweight crochet summer vest will find both goals met here. Better still, the construction relies on basic stitches, so the learning curve stays gentle.
Who This Pattern Is Great For
A crochet granny square vest suits makers who want something wearable for everyday outings. It works well for crocheters ready to move past flat squares into shaped garments. Similarly, it suits anyone who enjoys color blocking, since the contrast border allows easy experimentation. Makers who prefer portable projects will also appreciate it, because the square and panels travel well in a small bag.
Time and Skill Reality Check
Plan for roughly 12 to 18 hours of hook time, depending on size and tension. Advanced beginners can manage it comfortably. However, total newcomers should first practice a few standalone granny squares. The panel increases need some attention, although they repeat in a steady rhythm. For that reason, many makers finish the square in one sitting and spread the panels across a week.
What You’ll Need
- Main fiber: fine or sport-weight yarn with a soft sheen, around 300–400 g in mustard (a silk-effect acrylic such as Alize Diva appears in the tutorial)
- Contrast fiber: about 50–80 g of black in the same weight
- Hook: 3.0 mm (US D)
- Notions: locking stitch markers, a blunt tapestry needle, and sharp scissors
- Measuring tape for checking panel width against the body
Stage 2: Making It Successfully
Step-by-Step Process
Step 1: Set up the yarn and hook.
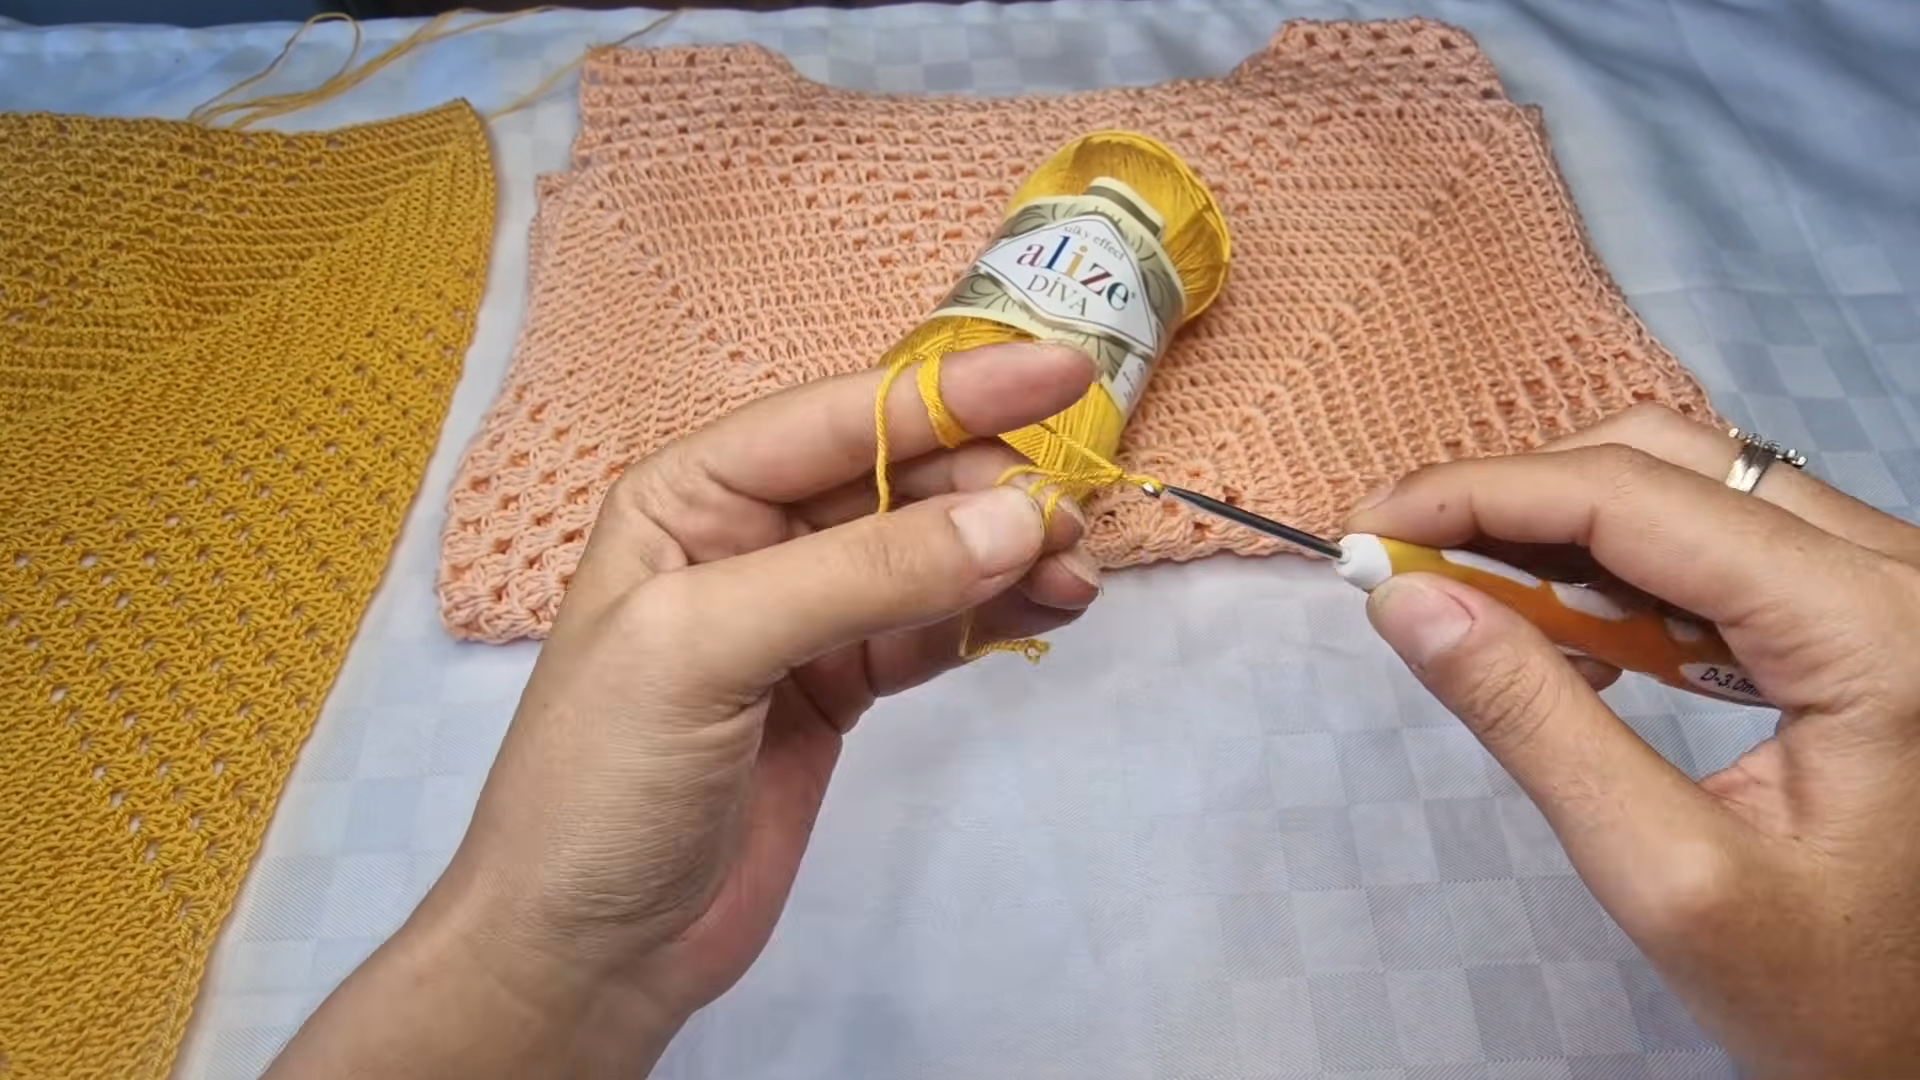
Begin by pulling a working strand from the mustard ball and forming a slip knot. Next, wrap the strand over the left index finger to control tension. Hold the 3.0 mm hook in the right hand, pencil-style or knife-style, whichever feels steadier.
Step 2: Start the square’s center.
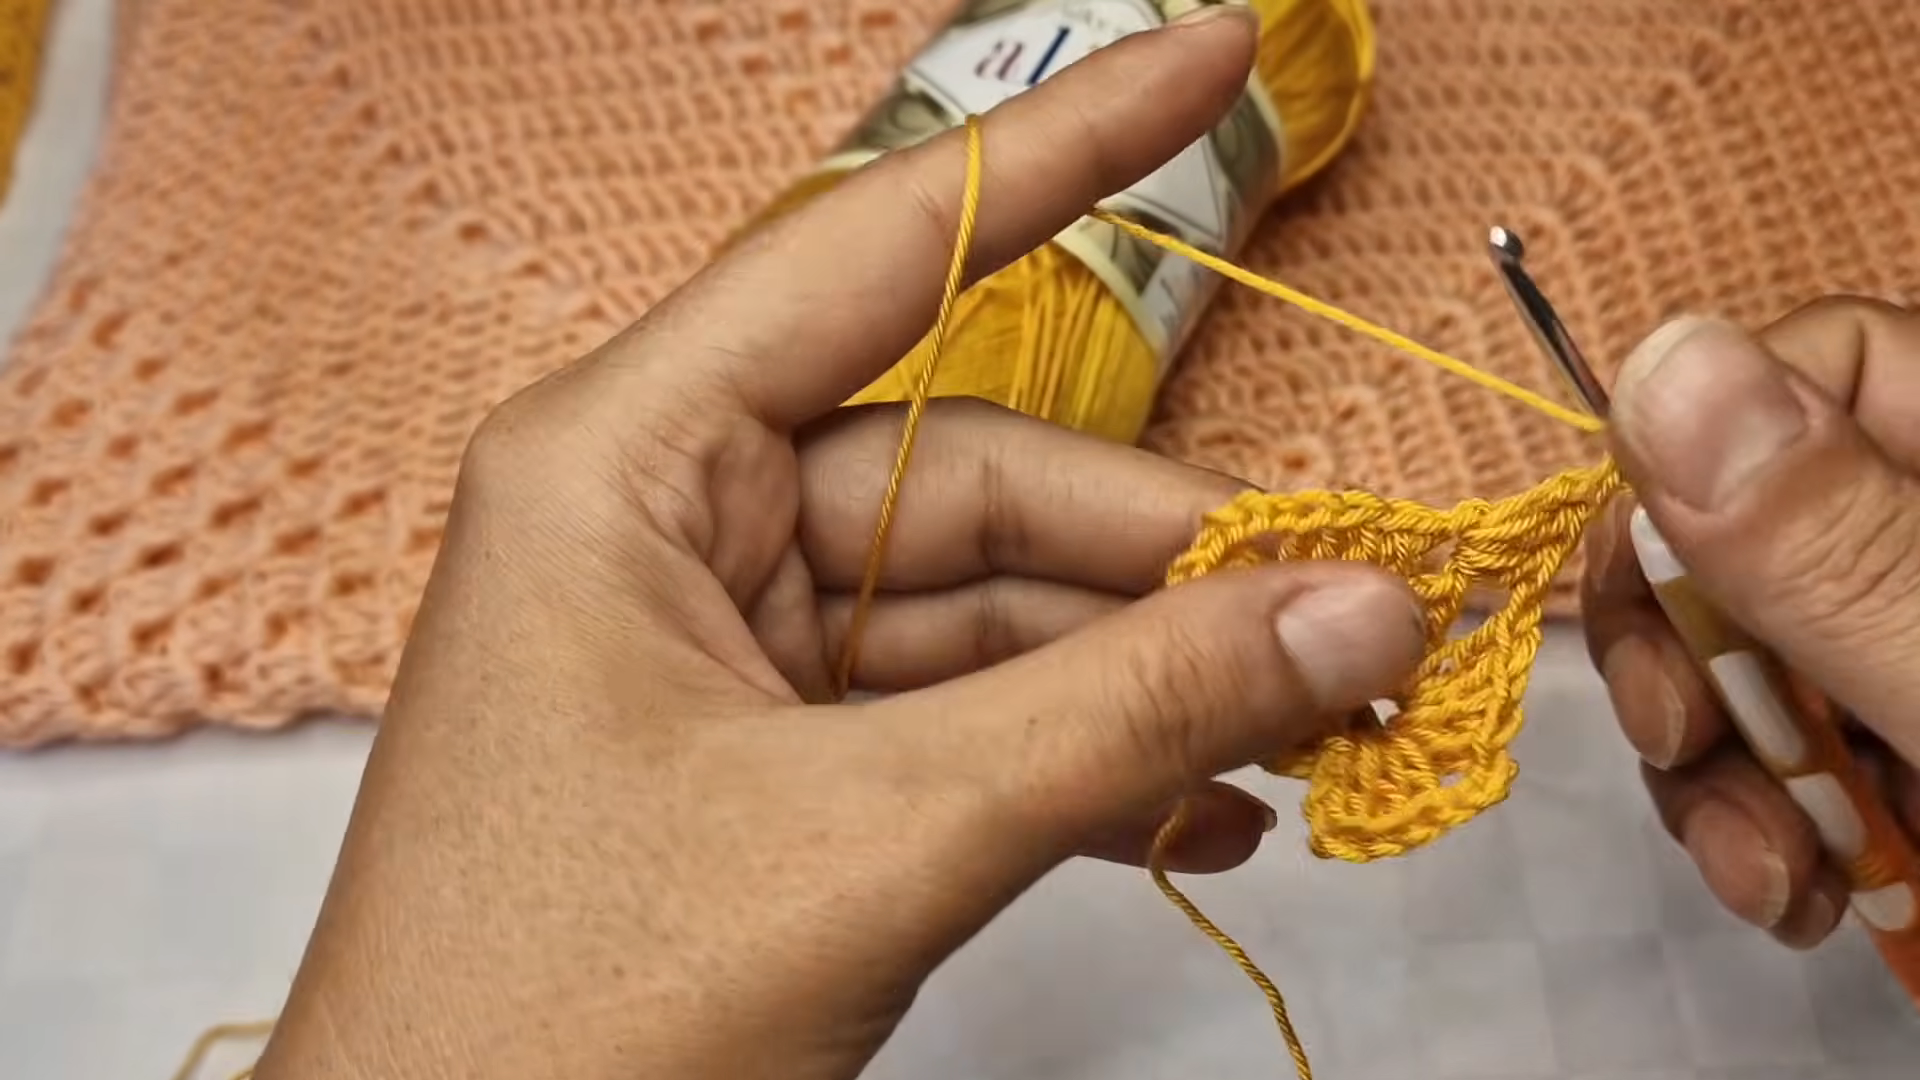
Chain a short length and join it into a ring, or use a magic ring instead. Then work clusters of three double crochets into the center, separating each group with chain spaces. Afterward, close the round with a slip stitch into the top of the starting chain.
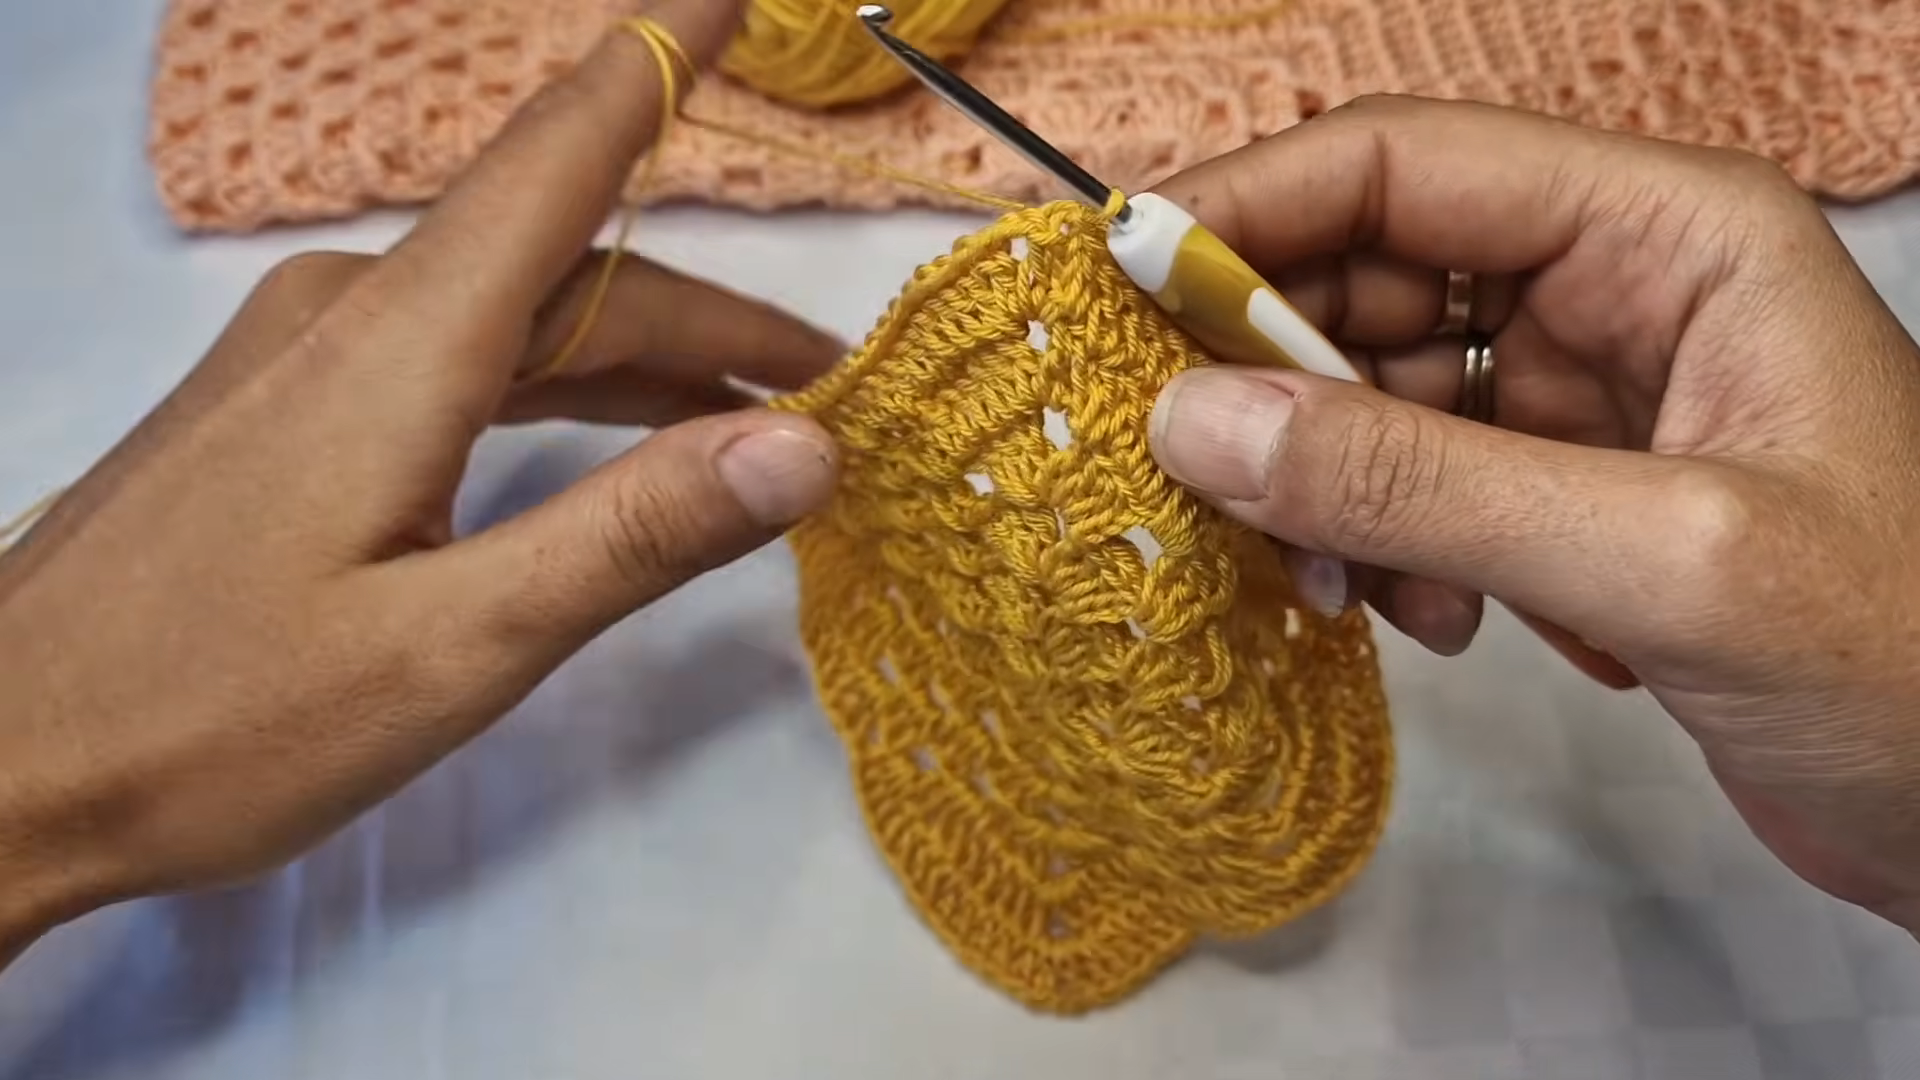
Step 4: Build the mesh panel.
Now work rows back and forth, alternating double crochets with small chain gaps. Add increases at the center point of each row so the panel fans outward evenly. Consequently, the piece grows into the shaped front and back sections shown in the tutorial.
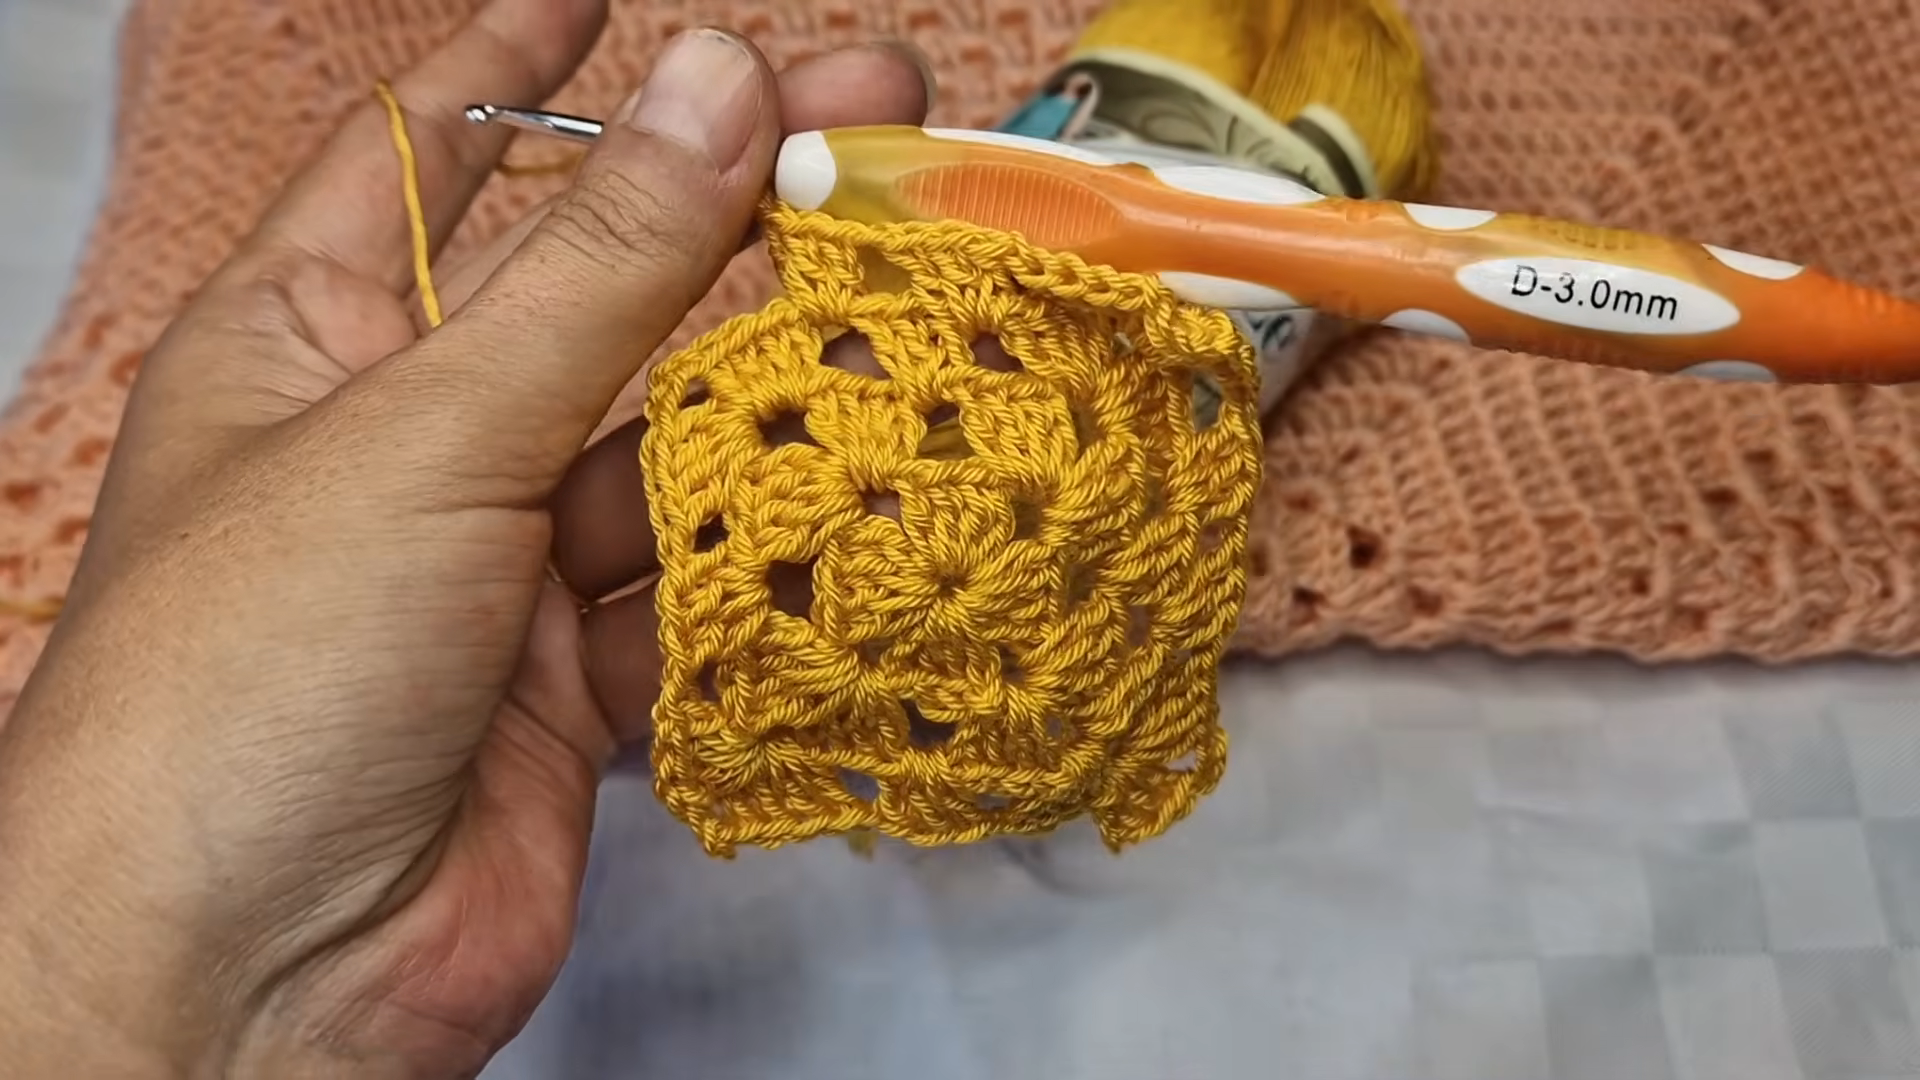
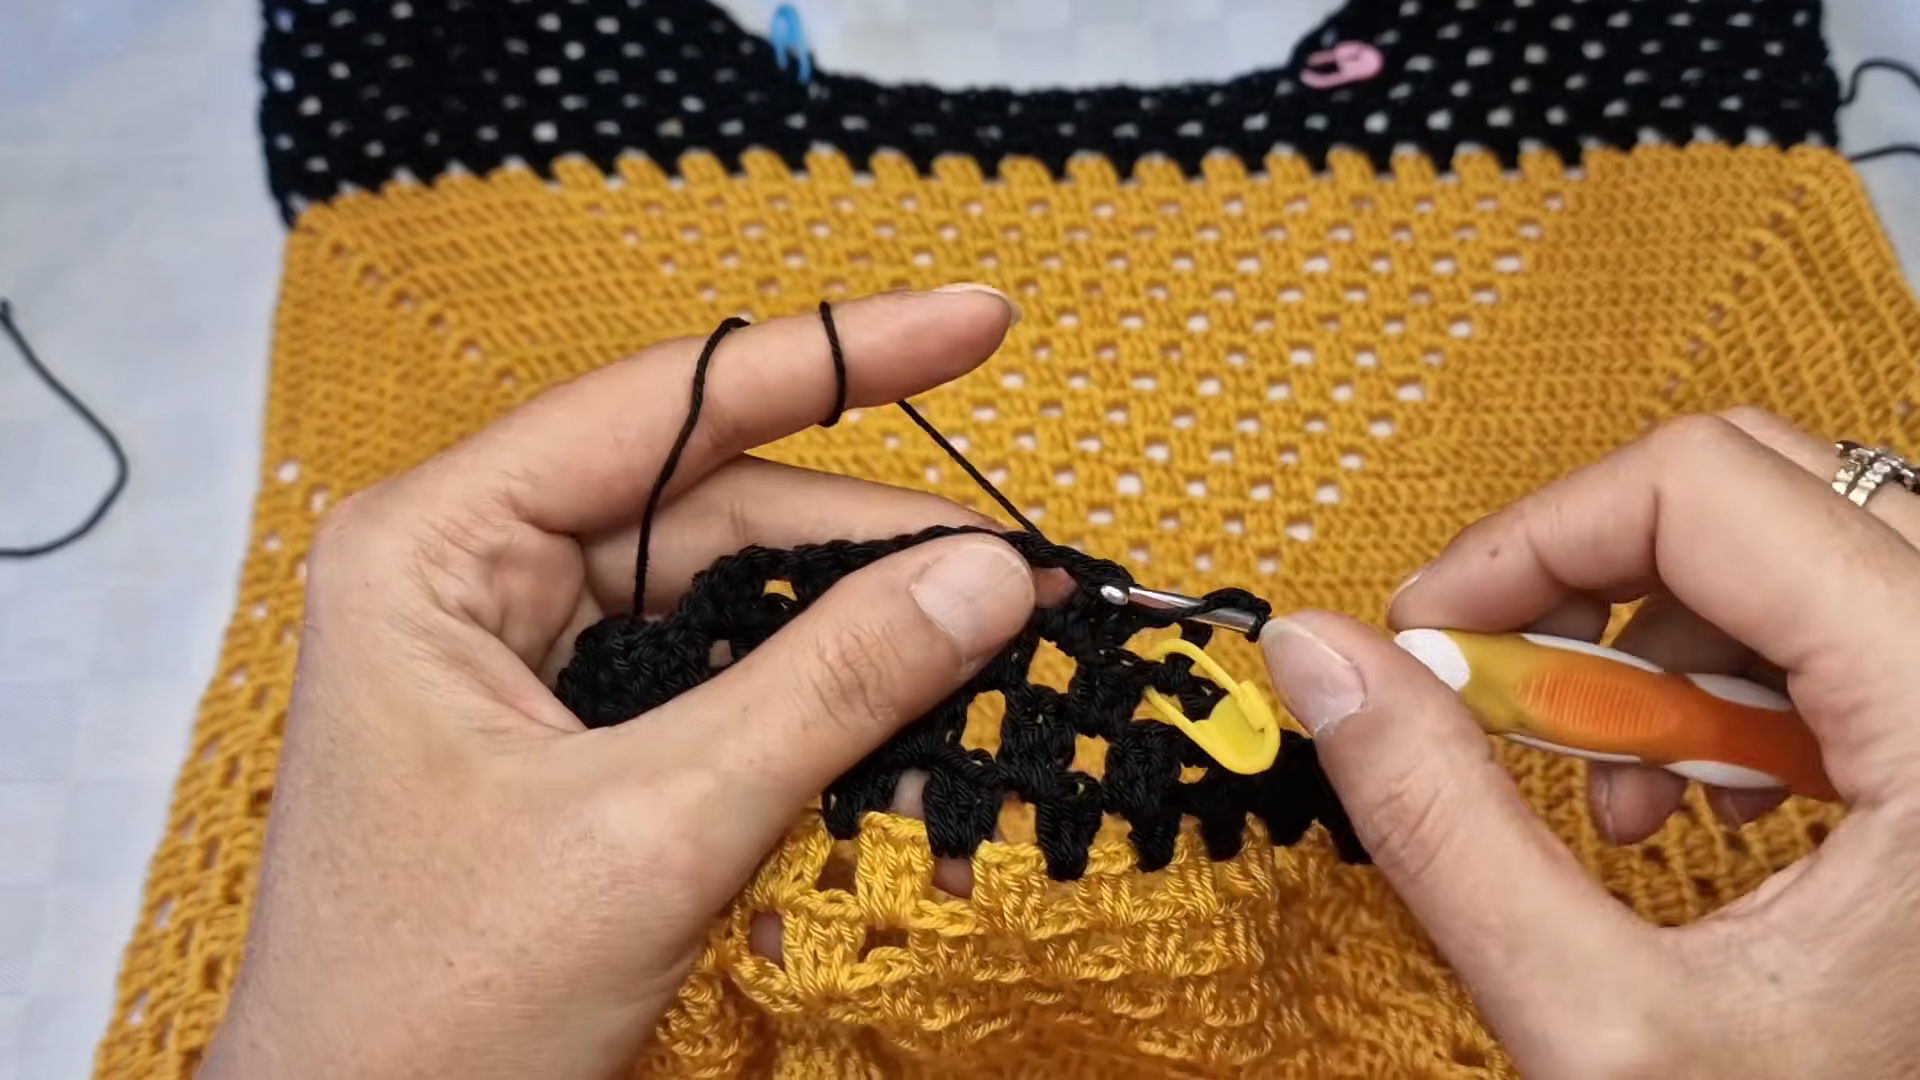
Step 5: Add the contrast border.
Finally, join the black yarn along the neckline or armhole edge. Work open mesh rounds with double crochets and chain spaces for a clean frame. Meanwhile, use stitch markers at corners and shoulder points to keep spacing balanced.
Where Beginners Usually Go Wrong
- Twisted starting ring. A twisted chain distorts the center of the square.
Fix: Lay the chain flat before joining, or switch to a magic ring. - Skipped corner chains. Missing corners make squares curl or pull inward.
Fix: Count corner spaces at the end of every round. - Uneven panel increases. Irregular increases cause ripples along the edge.
Fix: Mark the center stitch and move the marker up each row. - Tight contrast border. A tense border puckers the neckline.
Fix: Loosen tension or add one extra chain per mesh space.
Troubleshooting Extra
The vest flares at the hem. Too many increases usually cause flaring. As a fix, frog back to the last flat row and space increases further apart.
The panels feel stiff. Tight tension reduces drape in fine yarn. In that case, try a 3.5 mm hook for the panels only.
Seams look lumpy. Bulky joins often come from whipstitching through both loops. Instead, seam through back loops for a flatter finish.
Colors bleed after washing. Dark contrast yarn sometimes releases dye. Therefore, soak the black border in cold water with a color-catcher sheet first.
Signs You Did It Right
- The granny square lies flat without cupping or waving.
- Corners form sharp, even points on all four sides.
- Mesh gaps look uniform from row to row.
- The black border frames the edge without puckering.
- Your crochet granny square vest drapes softly when held by the shoulders.
Stage 3: Keeping It Looking Good
Washing and Care Basics
Hand washing protects the stitches best. Use cool water and a gentle wool wash or mild detergent. Afterward, press out moisture with a towel rather than wringing the fabric. Lay the piece flat to dry, reshaping the panels while damp. Avoid tumble drying, since heat can stretch or fuzz silky fibers.
Storage Tips
Fold the vest loosely instead of hanging it, because hangers stretch the shoulders over time. Additionally, tuck acid-free tissue between folds to prevent creasing. A breathable cotton bag keeps dust away while still allowing airflow. Keep it away from direct sunlight, which fades mustard tones quickly.
Color Pairing Ideas
Mustard and black create a strong vintage contrast, yet other pairings work just as well. For instance, sage green with cream feels calm and earthy. Likewise, terracotta paired with ivory offers a warm, sunset palette. Dusty rose with charcoal gives a softer, modern mood. Before committing, crochet a small swatch to preview the combination.
Creative Projects You Can Make With This Pattern
The same square and mesh techniques adapt easily to other designs. Try turning the motif into a granny square tote bag pattern for market days. Alternatively, repeat the squares for a lightweight granny square cardigan pattern. The mesh panel also converts neatly into a summer crochet top pattern. For home décor, several squares join into a colorful crochet cushion cover.
Ways to Style or Display It
Layer the vest over a crisp white shirt for a polished, retro look. In warmer months, pair it with a simple tank and high-waisted jeans. For display, lay it flat on a wooden table with a few yarn balls nearby. Such arrangements photograph beautifully for shop listings or social media.
Why It’s Popular Right Now
Handmade fashion keeps gaining ground as people seek pieces with character. The crochet granny square vest fits that shift perfectly, blending nostalgia with current trends.
- Retro revival: Seventies-inspired patterns continue trending across social platforms.
- Layering appeal: Vests work across seasons with minimal effort.
- Scrap-friendly design: Squares and borders use leftover yarn efficiently.
FAQ
Can thicker yarn replace the fine yarn shown?
Yes, though the vest will turn out larger and heavier. Adjust the hook size and reduce panel rows accordingly.
How can the size be adjusted?
Add or remove panel rows until the width matches the chest measurement. Additionally, extend the length with extra mesh rows at the hem.
Is cotton yarn a good choice?
Absolutely. Cotton gives crisp stitch definition and breathes well in summer, although it offers less stretch.
Does the vest need blocking?
Blocking helps a lot. Wet blocking evens out mesh gaps and sharpens square corners.
Can the border color change?
Certainly. Any contrasting shade works, so choose one that complements the main color.
Conclusion
Completing the vest builds real garment skills, from shaping panels to framing edges cleanly. Once those techniques feel natural, sleeved tops and full cardigans become the logical next challenge. With each finished piece, confidence grows, and so does the range of wearable designs within reach. Start with this crochet granny square vest, then keep stretching toward bigger projects.