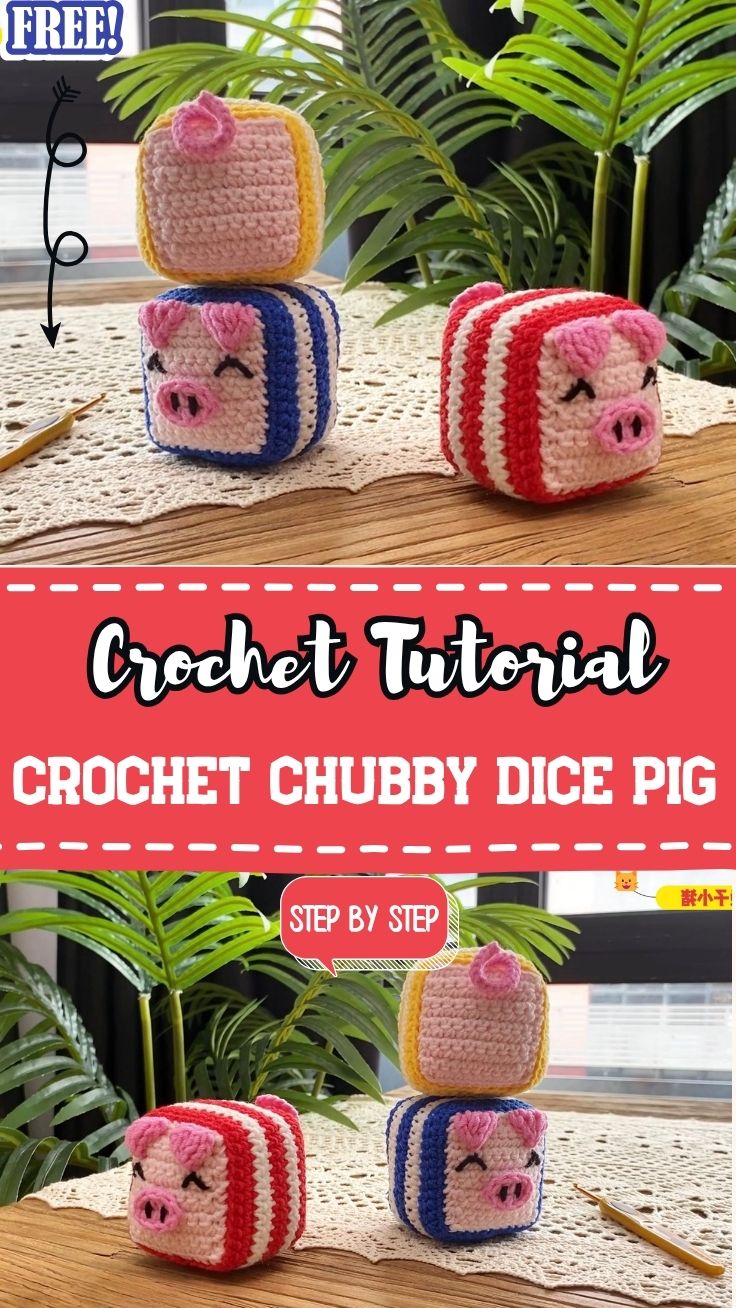
Chubby Crochet Dice Pig Amigurumi Pattern on wooden table
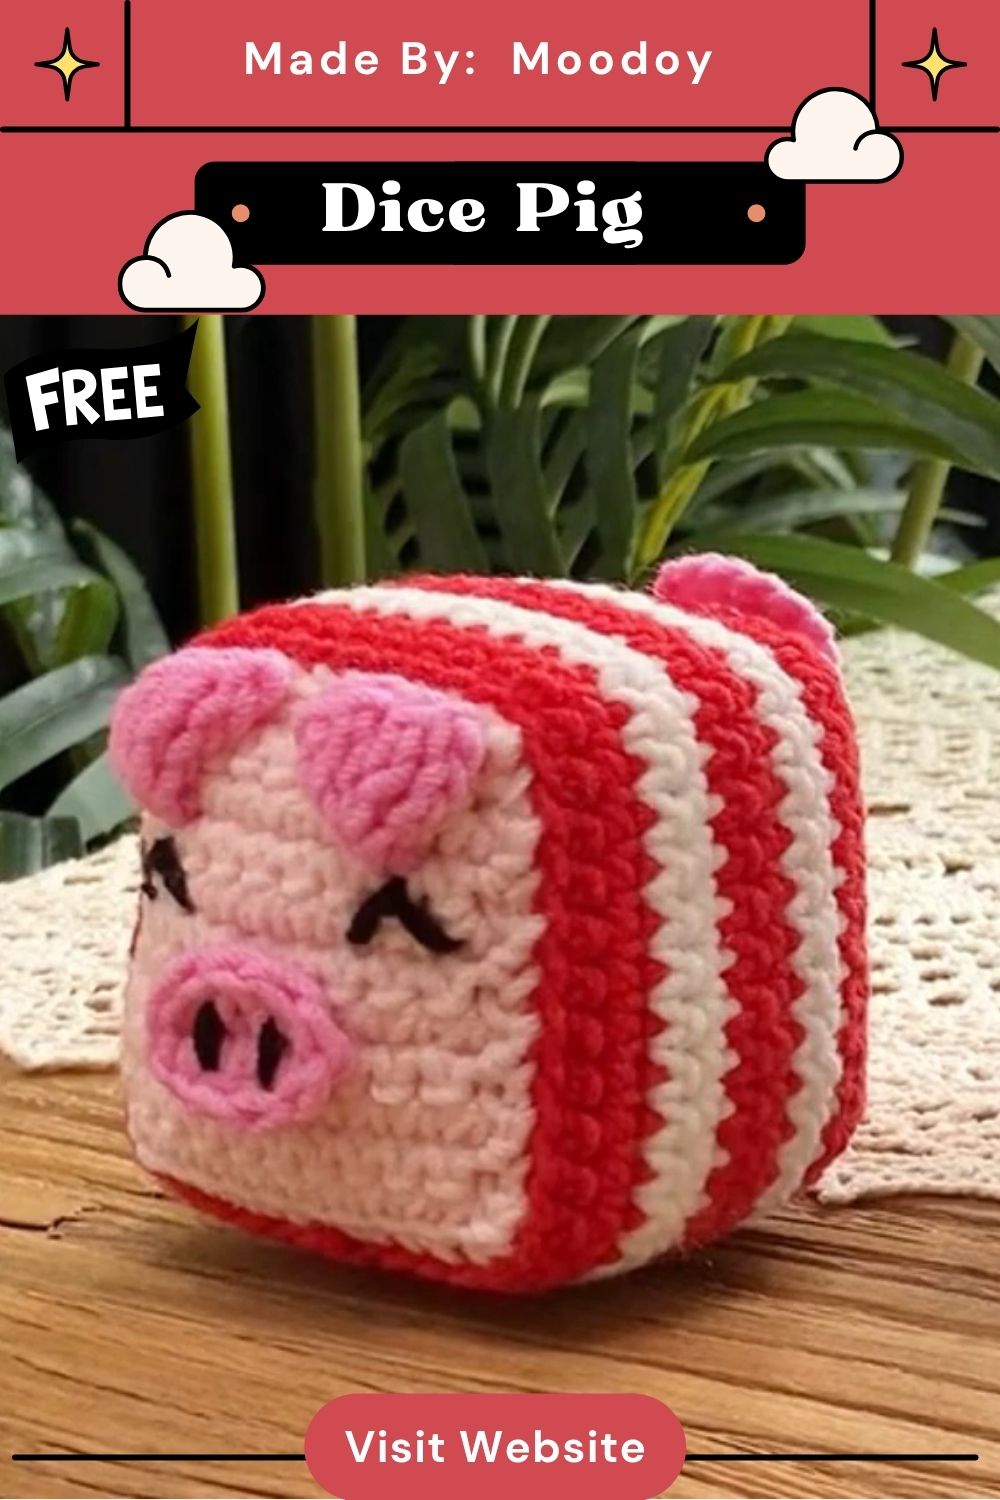
Soft pink yarn loops around a curious hook, and a rosy little snout starts taking shape welcome to the Crochet Chubby Dice Pig Amigurumi Pattern, a plump cube-shaped piggy with tucked ears and a sleepy smile that begs to sit on a shelf or ride along in a bag.
Building an amigurumi crochet piece around a dice shape flips the usual round-body approach into something boxy and playful, and pairing that cube with soft pink piggy features gives the finished toy a sweet, collectible feel. The crochet pattern below breaks the cube construction, the leg pieces, and the tiny face details into simple, repeatable rounds so the whole build stays approachable from start to finish.
Pattern Overview
The Chubby Dice Pig starts small, with four little pink limb stubs worked flat and folded before the main cube body grows around them in blue, white, and pink panels stacked to form six even faces. Facial details — snout, ears, and stitched eyes — get added last, turning a plain cube into a recognizable, huggable piglet.
Every panel uses the same basic stitch count, so once round one clicks, the rest of the cube follows the same rhythm.
Time Box
- Prep time: 10 minutes (yarn sorting, hook check, stuffing ready)
- Stitching time: 2.5–3 hours (legs, cube panels, ears, snout)
- Finishing time: 30–40 minutes (assembly, stuffing, face embroidery)
Materials and Supplies
- Yarn: worsted weight (4) yarn in pink, white, and royal blue
- Hook: 2.5mm (4/0) crochet hook
- Safety eyes: 2 small black safety eyes, or black embroidery thread for stitched eyes
- Stuffing: polyester fiberfill, firm-pack
- Needle and scissors: yarn needle for sewing and weaving ends, small sharp scissors
- Extras: black embroidery thread for the nostrils and mouth, stitch markers
Special Techniques Used
- Magic ring
- Single crochet worked in continuous rounds
- Increase and decrease for shaping the legs and cube panels
- Color changes for the blue-and-white cube base
- Sewing parts together (legs, ears, panels) with a whipstitch
Step-by-Step Crochet Pattern Instructions
Making the Piggy Legs
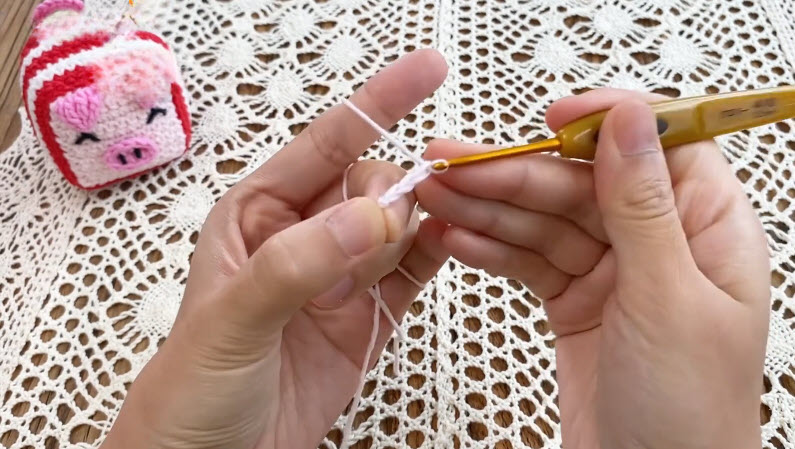
Step 1: Start with pink yarn and form a magic ring, then work 6 single crochet into the loop and pull tight to close.
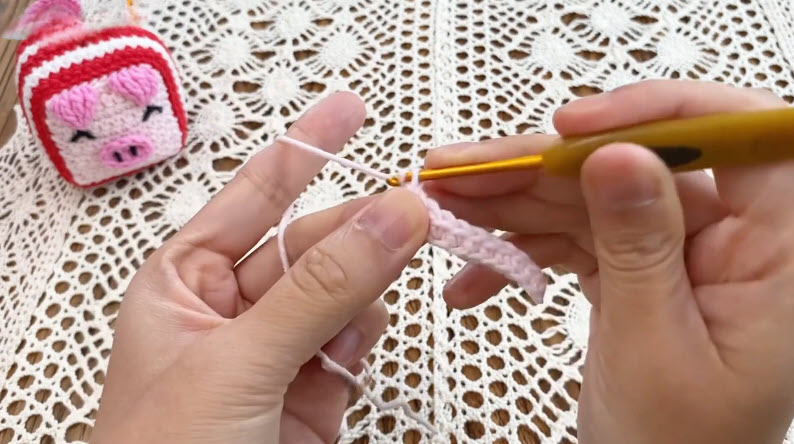
2: Work single crochet without increasing for two to three rounds, building a short pink tube, matching the little leg piece shown mid-stitch on the hook.
Pro Tip: Leave a long starting tail on each leg piece it makes sewing the legs onto the cube much faster later.
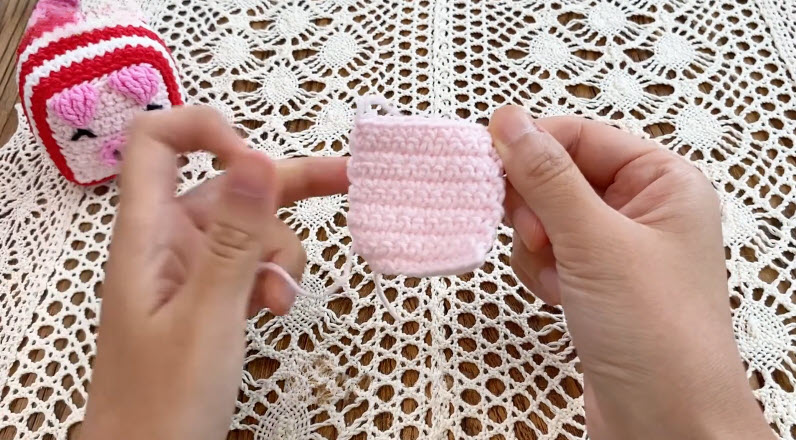
3: Fasten off with a short tail and set the leg aside. Repeat three more times for a total of four matching legs, keeping tension even so all four end up the same height.
Stitch check: line all four leg pieces up side by side before moving on they should match in height within a millimeter or two.
Building the Dice Body
4: Switch to blue yarn and single crochet into a magic ring to start the first cube panel, growing the round outward with evenly spaced increases until the panel forms a small flat square.
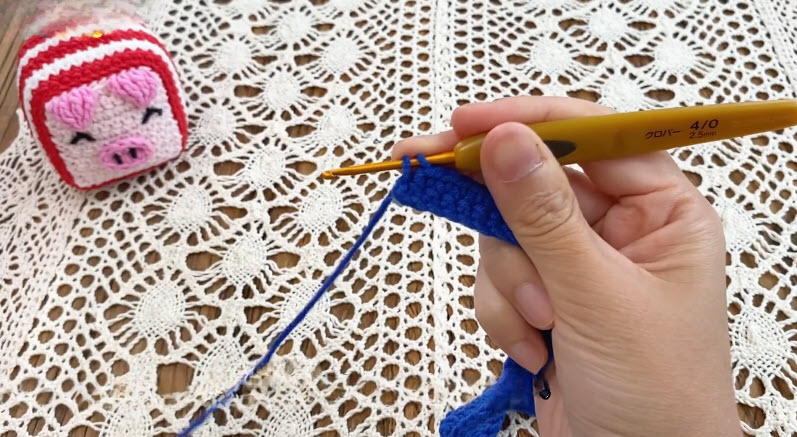
5: Work a second panel in white, and a third in soft pink for the face side, following the same increase pattern so each panel matches in size, echoing the blue-and-white block taking shape on the hook.
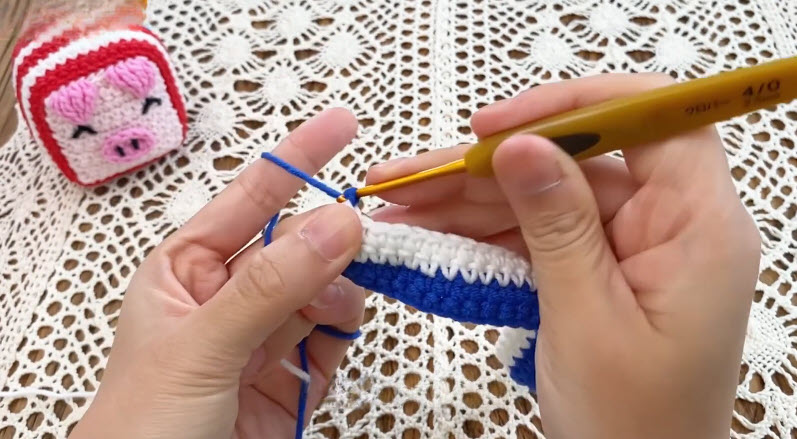
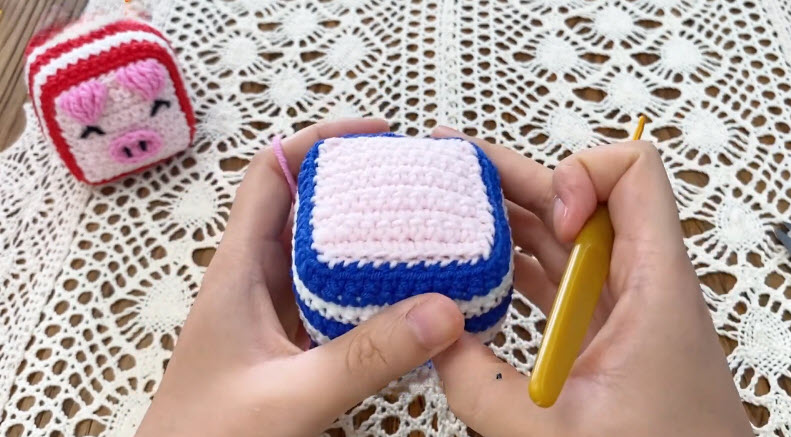
6: Join the panels along their edges using single crochet, alternating blue and white strips to build the cube’s sides, then close the final seam to form a solid box shape.
Measure now: hold two finished panels back to back before joining mismatched sizes will make the cube lean instead of sitting square.
Adding Ears and Snout
7: With pink yarn, make two tiny triangle-shaped ears using a handful of single crochet rows, then fold and pinch each one gently to give it a soft, curved shape.
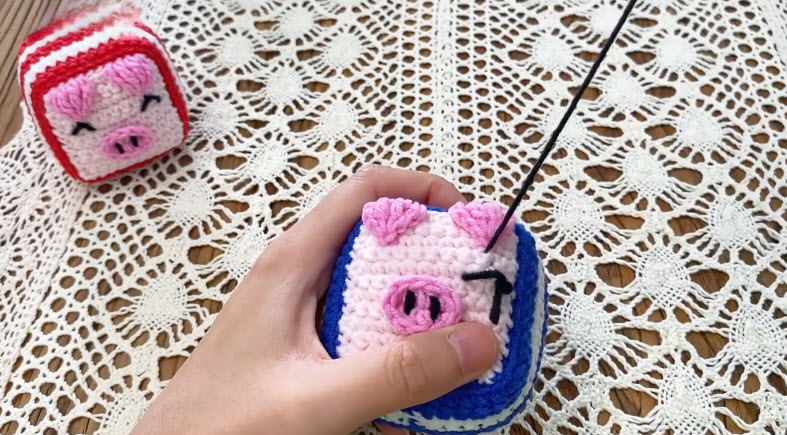
8: Crochet a small round snout piece using a magic ring and two short rounds of increases, stopping while it still fits comfortably in the center of the pink face panel.
Facial Details and Finishing
9: Attach safety eyes above the snout, then embroider two small nostril dots and a curved smile using black thread, matching the sleepy, contented expression on the finished piggy.
10: Stuff the cube firmly through the last open seam before closing it completely, pressing stuffing into every corner so the dice shape holds instead of sagging.
11: Sew the four legs onto the bottom panel, spacing them evenly so the finished pig sits flat and steady.
12: Attach the ears just above the face panel, angling them slightly outward for a curious, perked-up look.
Facial Details and Finishing
9: Attach safety eyes above the snout, then embroider two small nostril dots and a curved smile using black thread, matching the sleepy, contented expression on the finished piggy.
10: Stuff the cube firmly through the last open seam before closing it completely, pressing stuffing into every corner so the dice shape holds instead of sagging.
11: Sew the four legs onto the bottom panel, spacing them evenly so the finished pig sits flat and steady.
12: Attach the ears just above the face panel, angling them slightly outward for a curious, perked-up look.
Beginner Tips for a Neater Amigurumi
- Keep every single crochet stitch tight — loose amigurumi stitching lets stuffing peek through the fabric
- Use a stitch marker at the start of each round so panel edges stay lined up
- Stuff a little at a time rather than all at once, pushing fiberfill into corners with the blunt end of a pencil or chopstick for a firm, even shape
Uses and Benefits
A Chubby Dice Pig makes a cheerful shelf decoration, a soft travel companion tucked into a bag, or a handmade gift for anyone who collects quirky amigurumi. The boxy shape also doubles as a small paperweight or a nursery accent piece, since firm stuffing keeps its cube form steady on flat surfaces. Beyond decoration, the pattern works well as a practice project for makers wanting to move from round amigurumi shapes into structured, panel-based builds.
Common Mistakes to Avoid
- Skipping stitch counts between panels, which leaves the cube lopsided once joined
- Under-stuffing the corners, causing the dice shape to look rounded instead of boxy
- Sewing legs on before the cube is fully stuffed, making later adjustments difficult
Assembly Process
Join panels first, leaving one seam open for stuffing, then close the cube once firmly packed. Attach legs to the bottom panel, followed by ears and the snout on the face panel, finishing with embroidered details last so placement can be adjusted while the surface is still easy to see.
Design Personalization Ideas
Color Swap Options
Try a soft gray-and-white cube for a piglet-inspired panda mashup, or a full pastel palette for a nursery-friendly version.
Cute Accessories
Add a tiny bow between the ears or a small embroidered heart on one cube face for extra charm.
Mini Size Variations
Drop to a 2.0mm hook with fingering weight yarn for a keychain-sized dice pig, perfect as a bag charm.
Bonus Section: Troubleshooting a Lopsided Cube
If the finished cube leans to one side, check whether every panel received the same number of increase rounds — even one missed round throws off the whole shape. Re-blocking the piece gently by hand while lightly damp, then letting it air dry flat, often squares up minor unevenness without needing to unravel any seams.
Frequently Asked Questions
What is the best yarn for amigurumi?
Worsted weight cotton-acrylic blend yarn holds stitch definition well, keeping stuffing from showing through and giving the cube panels crisp, clean edges.
How do I make a crochet plush firm?
Pack stuffing tightly and evenly, pushing it into every corner with a blunt tool, and keep single crochet stitches tight throughout so the fabric itself resists stretching.
How long does this dice pig take to finish?
Most makers complete the legs, cube, and face details in a single focused afternoon, or spread across two or three shorter evening sessions.
Wrap Up and Give It a Try
From four little pink legs to a fully stuffed, snorting cube, the Chubby Dice Pig Amigurumi turns basic single crochet into a genuinely huggable shelf friend. Pick up a hook, sort out the pink, white, and blue yarn, and start with that very first magic ring share a photo once the piggy face comes together, because every stitched snout ends up with its own little personality.