Crochet Monkey Amigurumi Pattern Handmade Stuffed toy
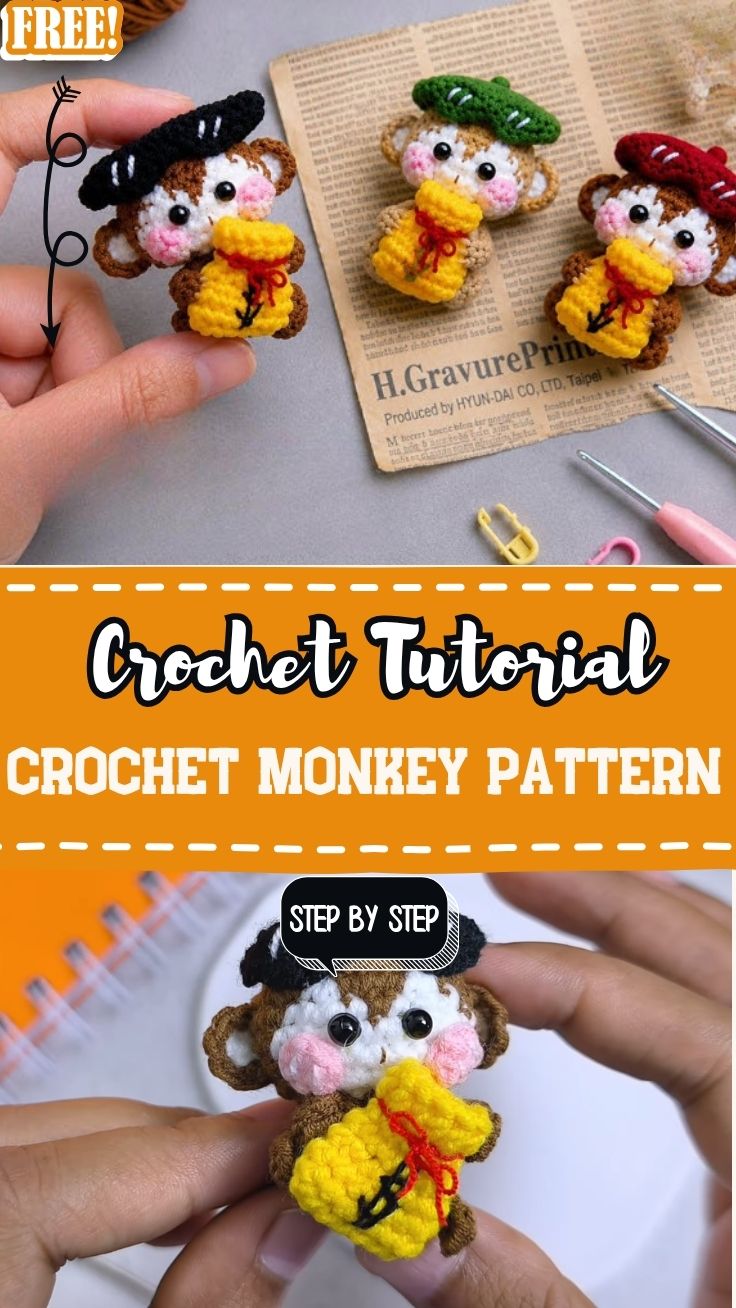
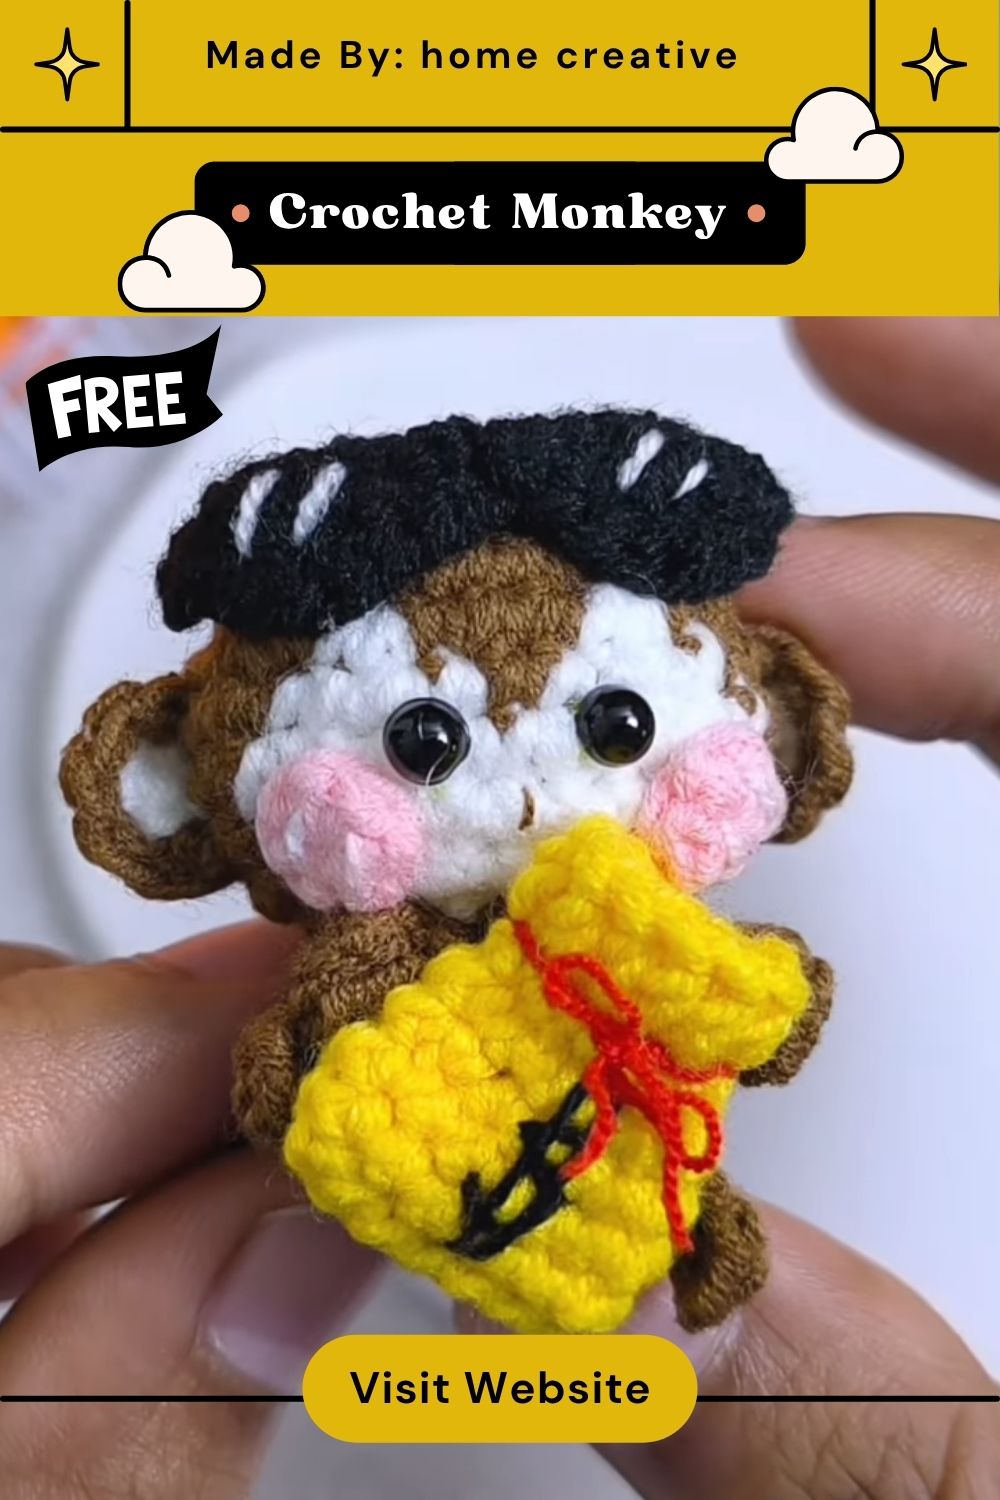
Soft chestnut yarn, rosy cheeks, and tiny black shades give the Crochet Monkey Amigurumi Pattern Handmade Stuffed Toy a cheeky personality. Inspired by jungle mischief, the easy crochet project wears a sunny yellow jacket and dangles proudly from bag straps.
Our little monkey stands about 7 cm tall, which makes him perfect for a keychain, a car mirror charm, or a desk buddy. You will crochet a round head with a white face patch, a small body, two ears, cheeks, a yellow jacket, and tiny sunglasses worked in black yarn.
Every piece is worked in continuous rounds and sewn together at the end. Small parts come together fast, so the whole beginner crochet toy fits nicely into one relaxed weekend.
Skill Level
Beginner to advanced beginner. If you can make a magic ring and work single crochet in the round, you are ready. The sunglasses use a few taller stitches (hdc and dc), but they’re short and simple, and the rest of the crochet pattern sticks to basic stitches.
Materials and Supplies
Gather everything before you start so you don’t have to hunt for a needle halfway through a round.
Yarn Colors
- Brown – head, ears, tail, and lower body
- White – face patch
- Yellow – jacket
- Pink – cheeks
- Black – sunglasses and small jacket details
- Red – drawstring cord at the neck
Lightweight milk cotton or fine acrylic works best for a toy of such a small size.
Tools and Extras
- Crochet hook: 2.0 mm (go up to 2.5 mm if your yarn is slightly thicker)
- Safety eyes: 6 mm, optional, since the sunglasses cover the eye area
- Stuffing: polyester fiberfill, a small handful
- Yarn needle for sewing parts together
- Small sharp scissors
- Stitch marker (a scrap of contrast yarn works too)
- Keychain ring or lobster clasp with a small jump ring
- Sewing pins to hold parts in place before stitching
Crochet Techniques Used
- Magic ring (MR): an adjustable starting loop that closes tightly with no hole in the center.
- Single crochet (sc): the main stitch for nearly every piece.
- Increase (inc): 2 sc in the same stitch.
- Decrease (dec): invisible decrease by working two front loops together.
- Half double crochet (hdc) and double crochet (dc): used only for the sunglasses shape.
- Sewing parts together: whip stitch and mattress stitch with a yarn needle.
Abbreviations: MR – magic ring, sc – single crochet, inc – increase, dec – decrease, ch – chain, sl st – slip stitch, hdc – half double crochet, dc – double crochet, R – round.
Step-by-Step Crochet Pattern Instructions
Work in continuous spirals unless noted. Move your stitch marker up at the start of every round.
1. Head Creation (Brown)
- R1: 6 sc in MR (6)
- R2: inc in each st (12)
- R3: (sc, inc) x6 (18)
- R4: (2 sc, inc) x6 (24)
- R5: (3 sc, inc) x6 (30)
- R6–R10: sc around (30)
- R11: (3 sc, dec) x6 (24)
- R12: (2 sc, dec) x6 (18)
Add safety eyes now if you want them, then stuff the head firmly.
- R13: (sc, dec) x6 (12)
- R14: dec x6 (6)
Fasten off, weave the tail through the front loops, and pull closed.
Pro-Tip: Stuff the head a little at a time as you close it. Pushing in one big clump leaves lumps you can see through the stitches.
2. Face Patch (White)
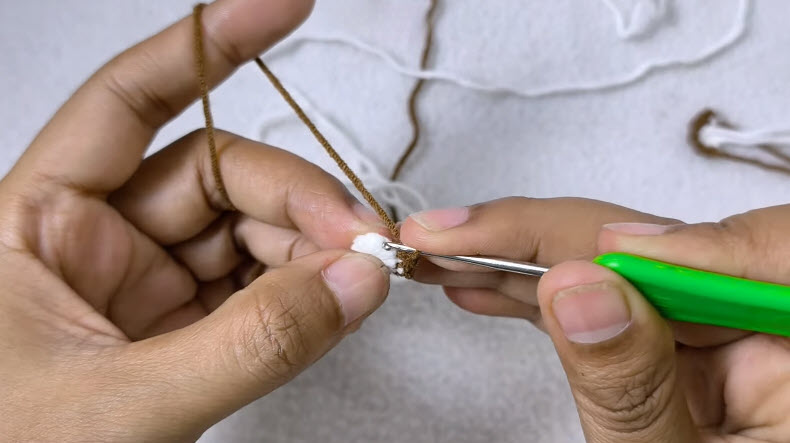
- Foundation: ch 5
- R1: starting in 2nd ch from hook: inc, 2 sc, 4 sc in last ch; continue along the other side: 2 sc, inc (12)
- R2: inc x2, 2 sc, inc x4, 2 sc, inc x2 (20)
- R3: sc around (20)
Sl st to finish and leave a long tail for sewing.
A small oval face gives the monkey his classic muzzle look, and keeping it flat helps the sunglasses sit evenly later.
3. Body Making (Brown and Yellow)
- R1: with brown, 6 sc in MR (6)
- R2: inc x6 (12)
- R3: (sc, inc) x6 (18)
- R4: sc around (18)
- R5: switch to yellow; sc in back loops only (18)
- R6–R8: sc around (18)
- R9: (sc, dec) x6 (12)
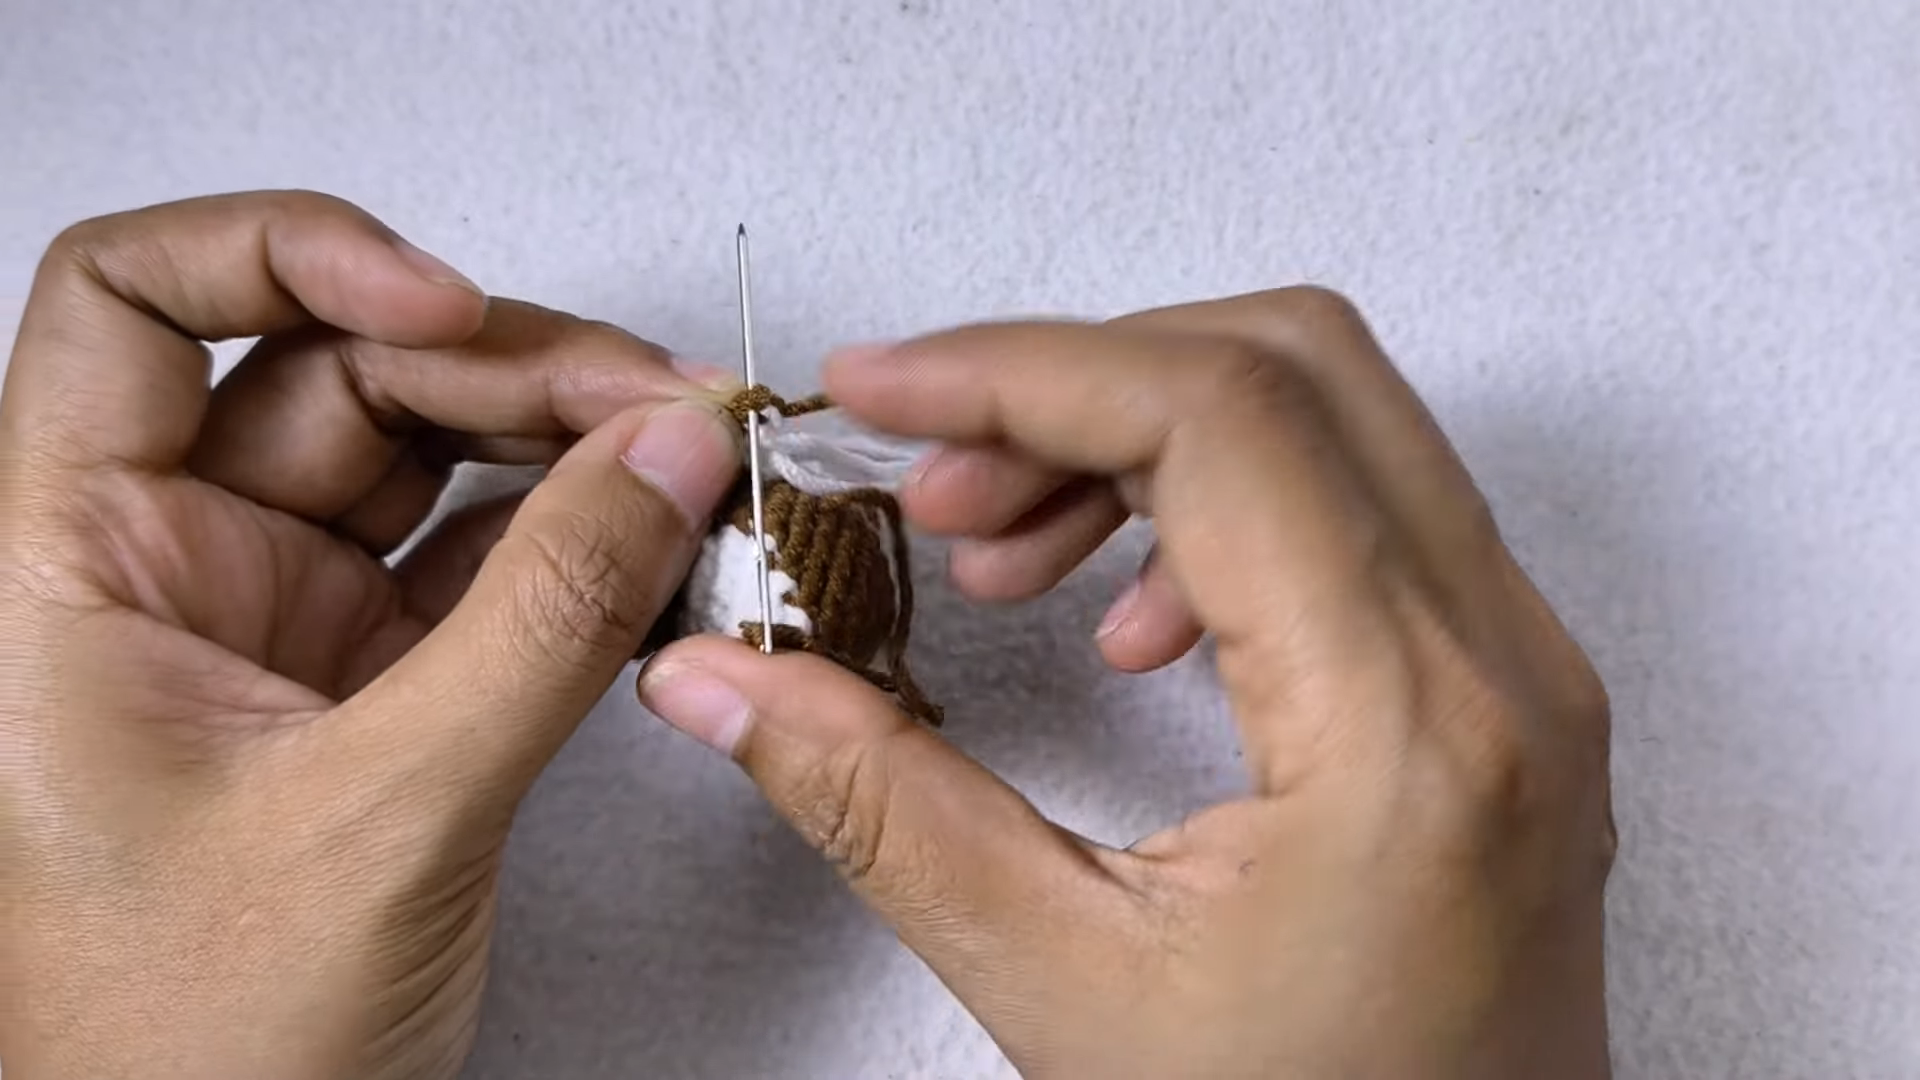
Stuff firmly, fasten off, and leave a long yellow tail to attach the body to the head. The brown base peeks out under the yellow like little legs, and the back-loop round creates a neat jacket hem.
4. Ears, Tail, and Accessories
Ears (make 2, brown):
- R1: 6 sc in MR (6)
- R2: (sc, inc) x3 (9)
- R3: sc around (9)
Flatten without stuffing, fasten off, and leave a tail.
Tail (brown): ch 12. Starting in 2nd ch from hook, sl st across (11). Fasten off with a tail.
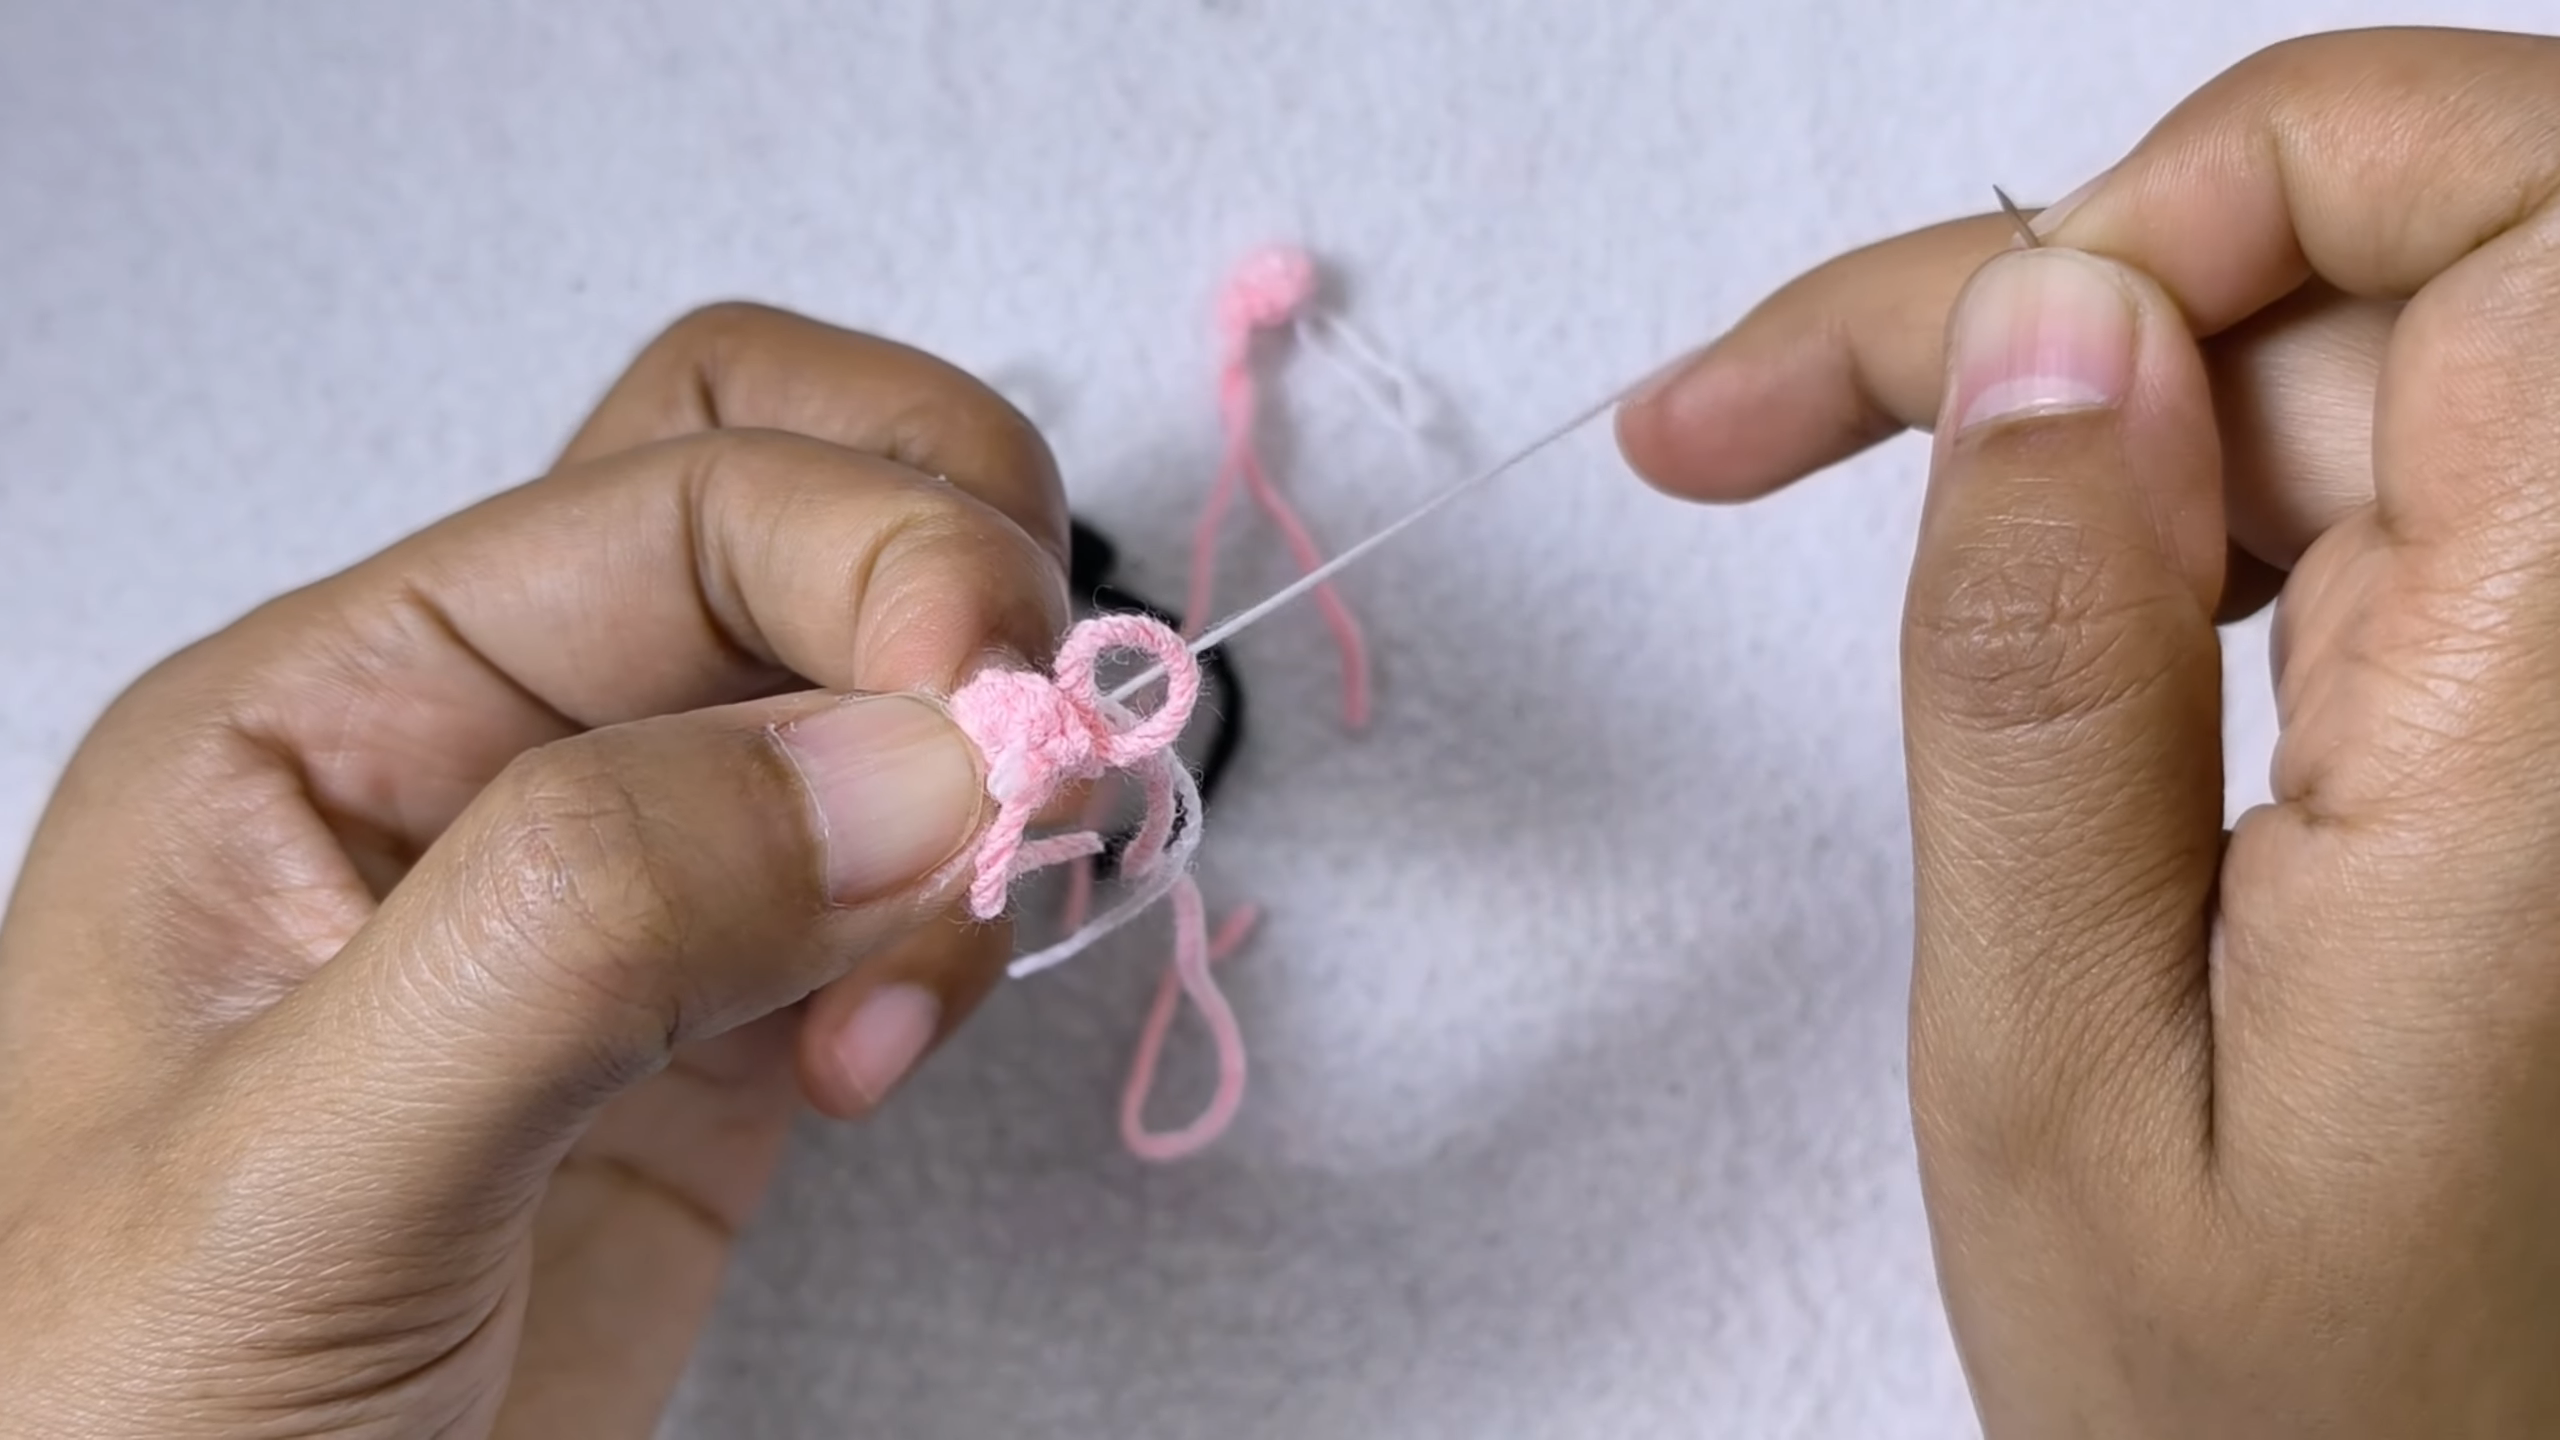
Cheeks (make 2, pink): 6 sc in MR, sl st to the first stitch, fasten off with a tail. Keep them tiny so they look like a blush rather than big dots.
Sunglasses (black):
- ch 17
- Starting in 2nd ch from hook, make the first lens: sl st, sc, hdc, dc in next 2 ch, hdc, sc, sl st
- Second lens across the remaining 8 ch: sl st, sc, hdc, dc in next 2 ch, hdc, sc, sl st
Fasten off with a long tail. The pointed ends give the shades a sassy cat-eye look.
Pro-Tip: Pin the sunglasses on before sewing. Tilt them a tiny bit and see how much cooler the monkey looks.
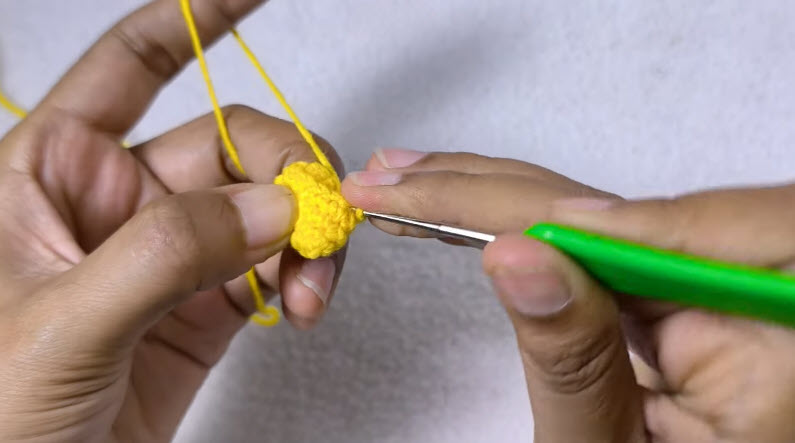
5. Facial Details
- Pin the white face patch on the lower front half of the head and whip stitch around the edge.
- Sew the pink cheeks on each side of the face, near the lower edge of the patch.
- Stitch the sunglasses across the top of the face patch, overlapping onto the brown.
- With white thread or yarn, add two tiny straight stitches on each lens for a shiny highlight.
- Embroider a small smile with brown or black thread, if you like.
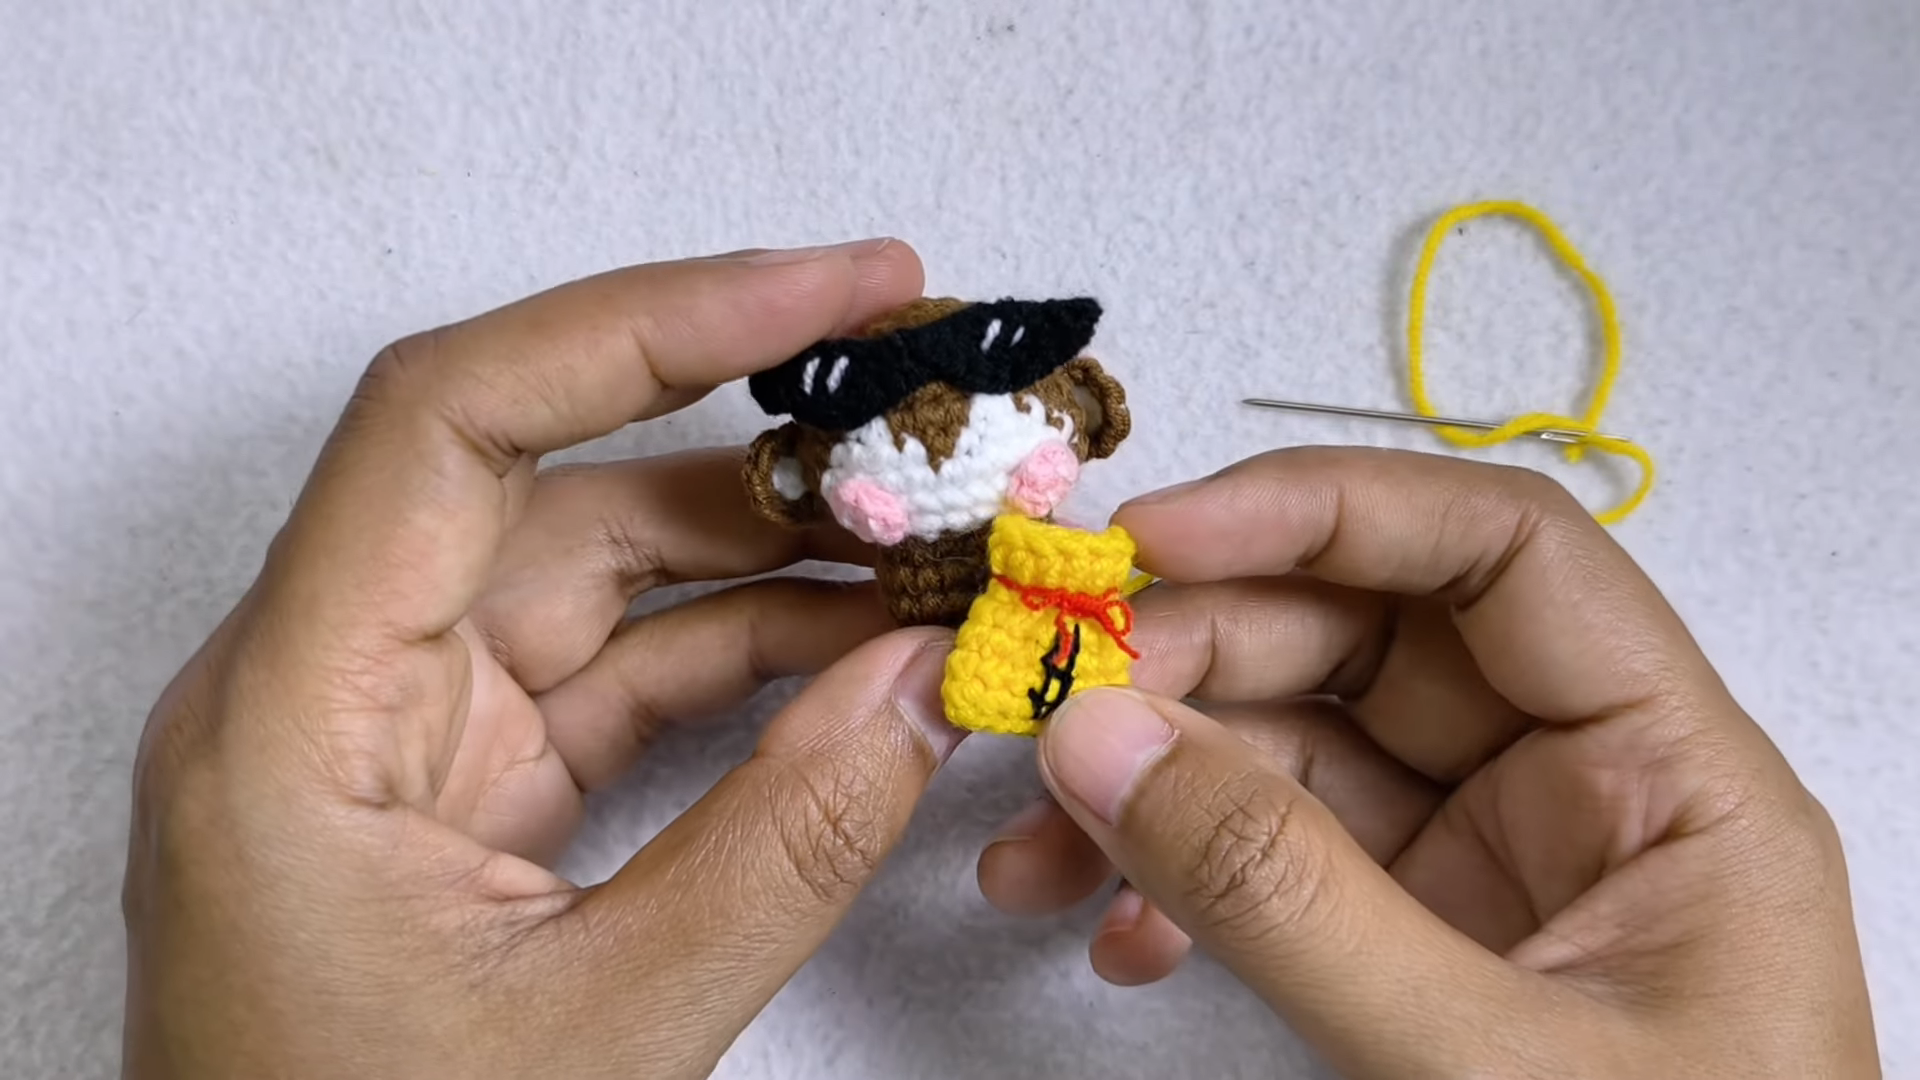
6. Assembly Process
- Sew the ears to both sides of the head, level with the sunglasses.
- Place the body under the head and stitch it on with the yellow tail, working all the way around the neck.
- Attach the tail to the back of the brown base so it curls a little.
- Thread a short piece of red yarn around the neck and tie it in a small bow at the front as the jacket drawstring.
- Use black thread to add a few straight stitches down the jacket front for a zipper look.
7. Finishing Touches
- Fix a jump ring through the top of the head and link it to your keychain ring or clasp.
- Hide every yarn tail by pushing the needle through the stuffing and trimming close.
- Gently squeeze and reshape the head so it sits round and even.
Helpful Beginner Tips
Keep Your Stitches Tight
Amigurumi needs a snug fabric so stuffing doesn’t peek through. Use a hook one or two sizes smaller than your yarn label suggests. If you see gaps, drop down a hook size.
Use a Stitch Marker Every Round
Continuous rounds have no visible start. A marker in the first stitch saves you from losing count, especially in the plain sc rounds where everything looks the same.
Stuff the Right Way
- Pull the fiberfill apart into small fluffy tufts before using it.
- Fill the outer edges first, then the middle.
- Stuff firm but not stretched; overstuffing opens the stitches.
- Top up the stuffing right before the last few decreases.
Design Customization Ideas
Different Colors
Swap brown for grey, gold, or even pastel purple for a fantasy monkey. A pink jacket with a white bow, or a green one with yellow details, changes the whole mood.
Cute Accessories
- A tiny beanie in place of sunglasses
- A little banana stitched to one hand side
- A mini scarf for winter gifting
- A felt star badge on the jacket
Mini Size Variations
Use thread-weight cotton and a 1.25 mm hook for a charm small enough for earrings or phone straps. For a bigger plush, try DK yarn with a 3 mm hook and the same stitch counts.
Bonus: Gift Packaging Ideas for Your Monkey
Handmade crochet ideas feel extra special when the presentation matches the effort. Tuck the monkey into a small kraft box lined with crinkle paper, or clip him onto a card that says “Hang in there, buddy!” A clear gift bag tied with the same red yarn from his drawstring keeps everything matching. For party favors, hang several monkeys on a small wooden rack so guests can pick their favorite.
Frequently Asked Questions
What is the best yarn for amigurumi?
Milk cotton and cotton blends are top picks because they hold shape, show stitch detail clearly, and don’t fuzz much. Fine acrylic works too and costs less. Skip very fluffy or loosely spun yarns for tiny keychains.
How do I make a crochet plush firm?
Crochet tightly with a smaller hook, stuff in small pieces, and add more fiberfill before closing each part. Firm stuffing plus a dense fabric keeps the toy from going floppy over time.
How long does the project take?
Most crocheters finish in about 3 to 4 hours. Plan roughly 15 minutes for prep, 2 to 2.5 hours for crocheting the parts, and about an hour for assembly and facial details. Beginners may need a bit longer, and that’s completely fine.
Can kids play with the finished monkey?
Yes, as long as you skip safety eyes and small add-ons for children under three. Embroidered details are the safest option for little ones.
Conclusion
Our cheerful monkey proves a tiny toy can carry loads of personality. With a few simple stitches and some scrap yarn, you get a handmade keepsake that’s fun to make and even more fun to give away.
Grab your hook, pick your favorite colors, and start your monkey today. Once he’s finished, share a photo, try a new color combo, and keep exploring more crochet tutorial ideas on our blog.