Crochet Bunny Pouch Bag Pattern with Long Ear Design
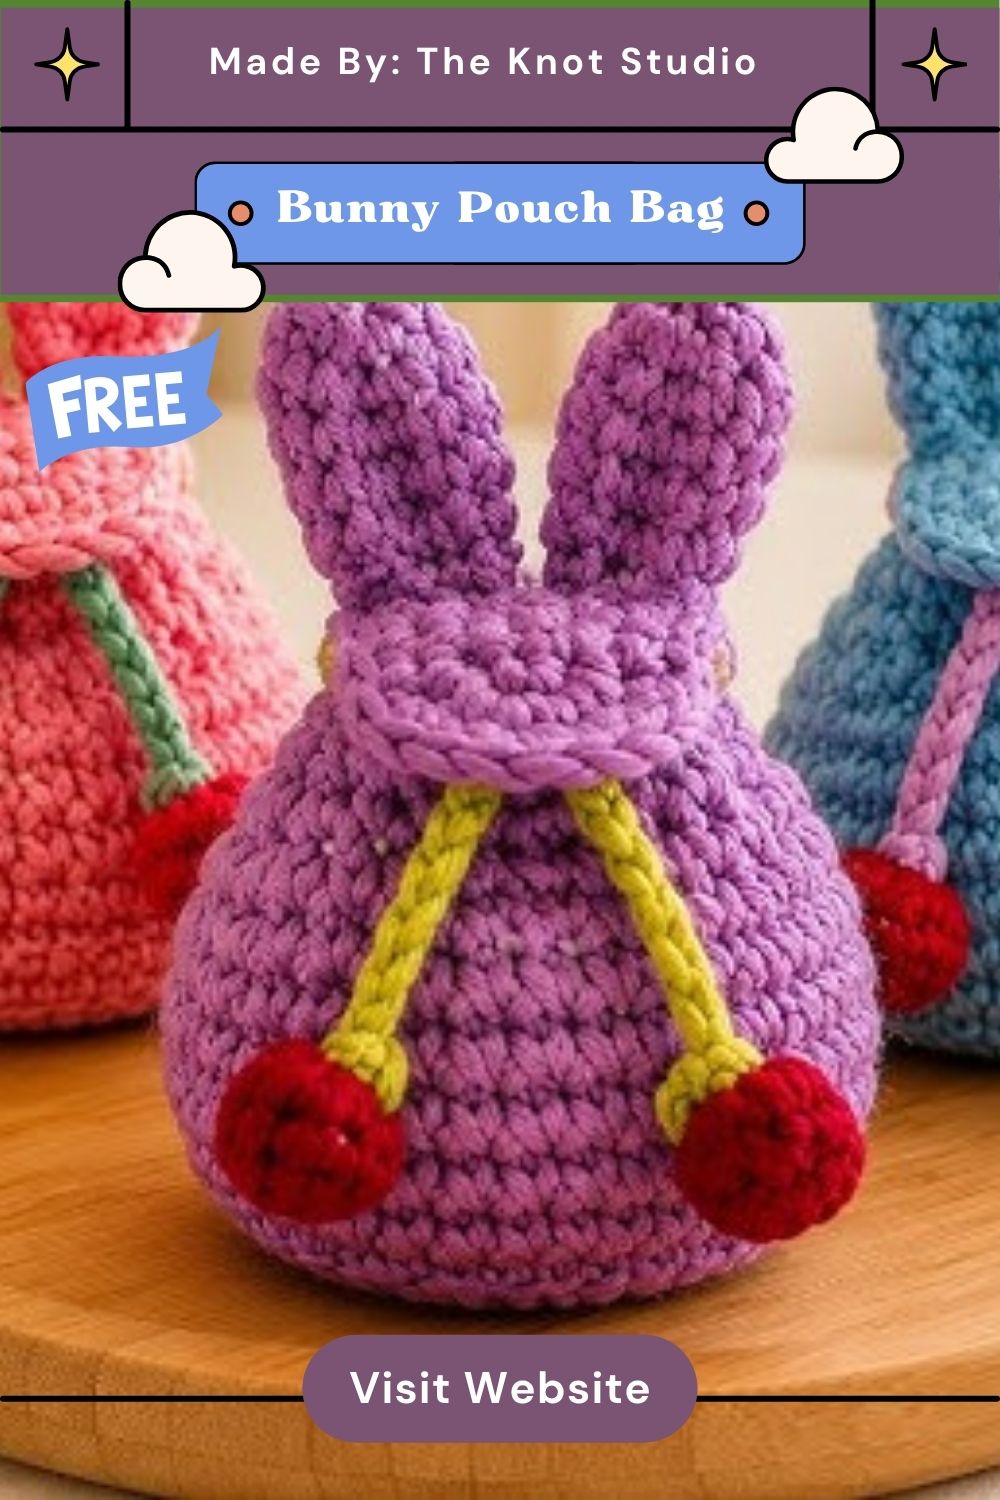
Working up from a simple rounded base, this pouch takes shape through steady single crochet rounds that curve naturally into a soft dome. A drawstring cord threads through the top opening, cinching the pouch closed while adding a decorative tied detail that doubles as a tiny handle. Long, upright ears finish the look, transforming a basic drawstring bag into an unmistakably bunny-shaped keepsake.
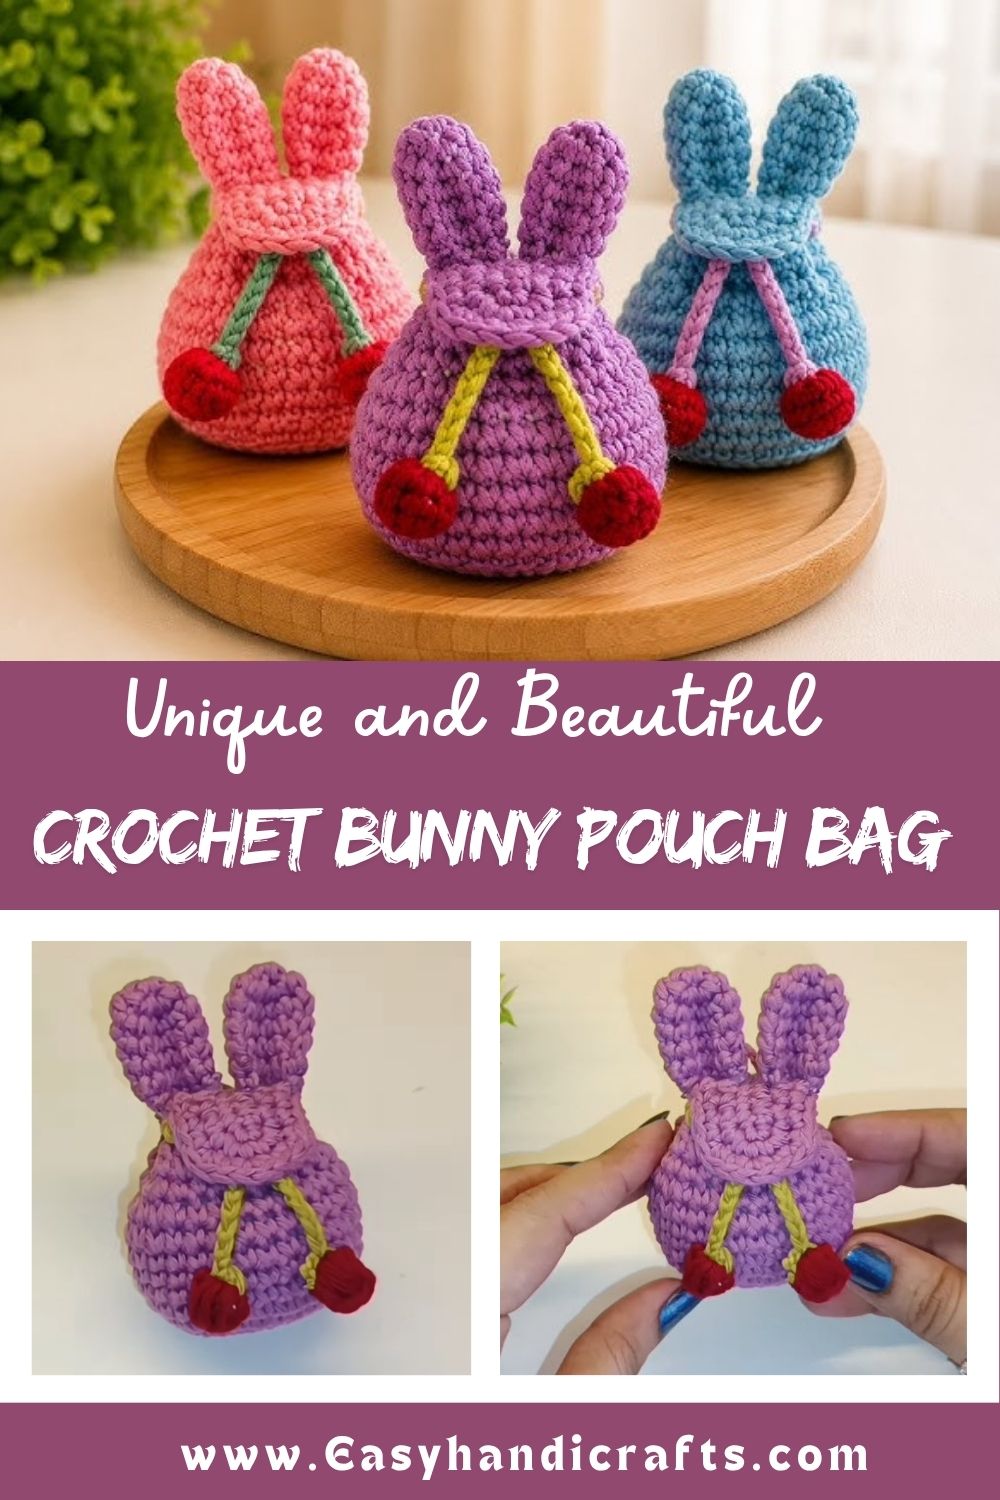
Nothing about this pattern demands advanced skill, since the entire body relies on consistent rounds of single crochet with a handful of increases near the base. Shaping the ears adds a small new technique to practice, but even first-time Crochet Bunny Pouch Bag crocheters should find the process manageable from start to finish.
Project Details
- Skill Level: Beginner to Easy-Intermediate
- Finished Size: Approximately 3–4 inches tall (excluding ears)
- Estimated Time Required: 2–2.5 hours
- Recommended Yarn Weight: Worsted weight (Medium, #4)
- Crochet Hook Size: 3.0mm–3.5mm
Materials Needed
- Worsted weight yarn in your main pouch color (lilac shown in this tutorial)
- Contrast yarn for the drawstring cord
- Small button or bead accent (optional)
- Crochet hook matching your yarn weight
- Tapestry needle
- Stitch marker
- Scissors
Crochet Stitches and Techniques
These techniques carry the project from the first loop to the finished bag:
- Magic Ring – forms the tight starting circle for the pouch base
- Single Crochet (sc) – builds the entire body and both ears
- Increase (inc) – widens the base rounds into a rounded pouch shape
- Slip Stitch (sl st) – joins rounds and finishes off edges cleanly
- Chain Stitch (ch) – creates the drawstring cord
- Fastening Off – secures each completed section
- Sewing Pieces Together – attaches the ears and any decorative accents
Pattern Instructions
Step 1: Starting the Base Loop
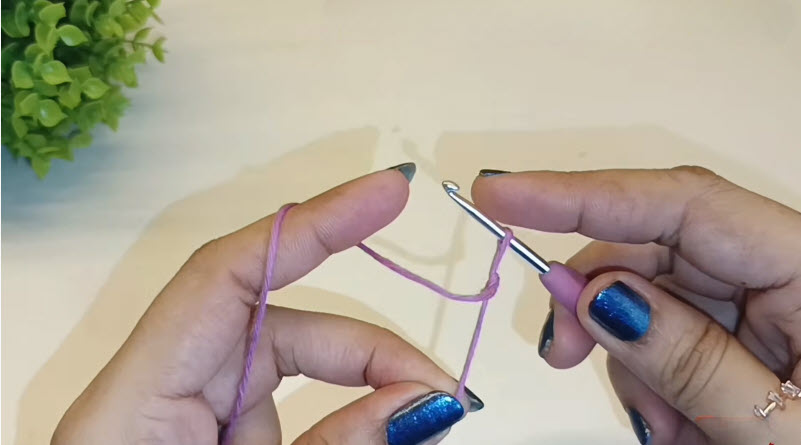
Every round begins with lilac yarn looped snugly around the fingers, setting the foundation for the pouch’s rounded bottom. Pulling this starting loop tight prevents any gap from forming once the base rounds are worked and closed.
Wrap the yarn around your fingers, insert the hook beneath the loops, and pull through to catch your first stitch before working the opening round.
Step 2: Growing the Pouch Body
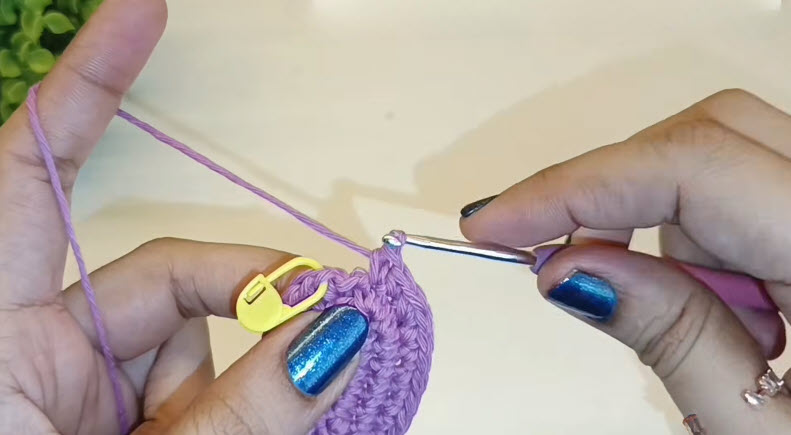
Single crochet stitches build upward from the base, with a stitch marker tracking the start of each new round as the rounds increase in width. The photo below shows the dome already taking a soft, rounded form, wider at the bottom and narrowing gradually toward the top opening.
Increase evenly across the early rounds, then switch to working even rounds without increases once the desired pouch width is reached.
Step 3: Shaping the Top Opening
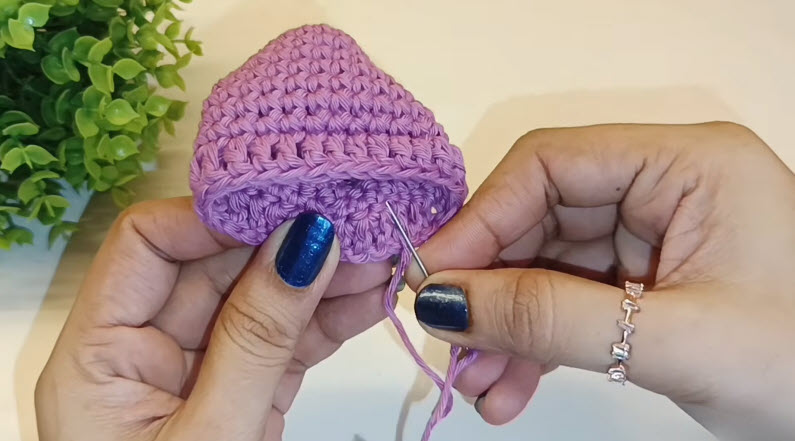
As the pouch nears completion, stitches taper slightly to create a neat, narrower opening at the top, giving the drawstring cord a clean edge to pass through later. Consistent tension through this stage keeps the rim looking tidy rather than uneven or stretched.
Work several rounds without increasing to build height, then finish with a slip stitch join before fastening off and leaving a tail for sewing.
Step 4: Adding the Drawstring Cord
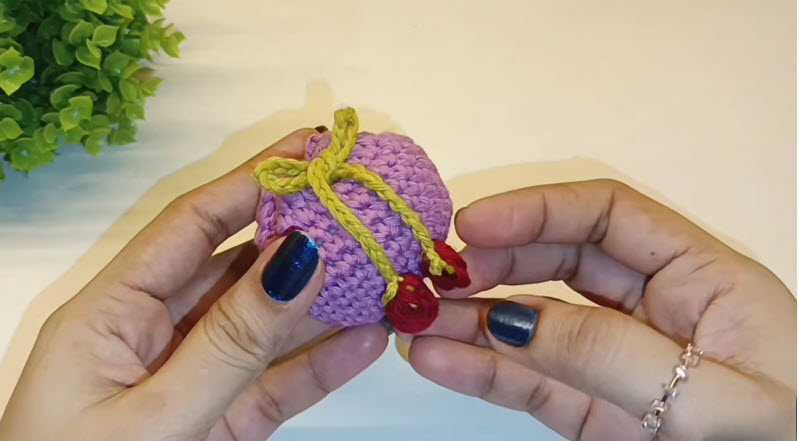
A contrast-colored cord threads through the top rim of the pouch, cinching the opening closed and forming a decorative tied bow. A small button or bead can rest right at the front of the tie for a charming extra detail, as pictured below.
Chain a long cord in your contrast color, weave it through evenly spaced stitches around the top opening, then pull both ends to close the pouch and tie a secure bow.
Step 5: Attaching the Long Ears
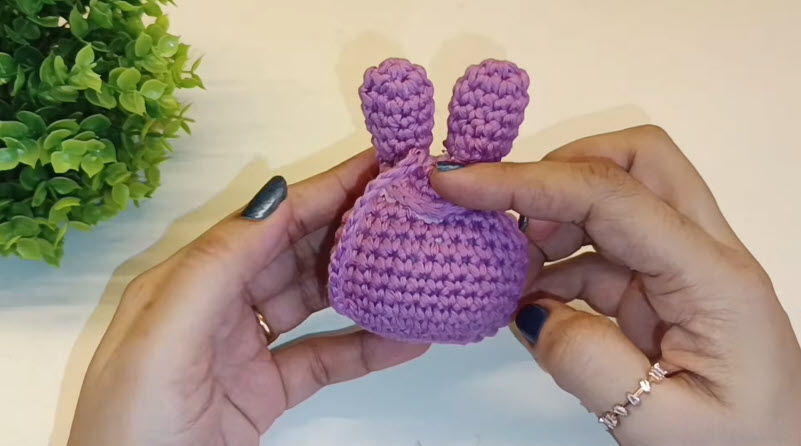
Two tall, upright ears complete the bunny transformation, giving the plain pouch its recognizable silhouette. The finished photo shows both ears standing proudly at the top, sewn securely so they hold their shape without flopping over.
Crochet two matching ear pieces in straight single crochet rounds, leave them unstuffed or lightly stuffed for structure, then sew each one firmly to the top back edge of the pouch.
Joining All Pieces
Weave every loose yarn tail from the base, cord, and ears through nearby stitches with a tapestry needle, keeping the inside and outside of the pouch neat and snag-free.
Final Assembly
Check that both ears stand evenly, adjust the drawstring tie for a balanced bow, and give the whole pouch a gentle shape check before it’s ready for use.
Tips for Success
- Keep every round’s stitch count consistent to avoid a lopsided pouch shape
- Use a stitch marker throughout, not only during the increase rounds
- Space drawstring holes evenly so the cord pulls closed without bunching
- Sew ears on with extra reinforcing stitches so they stay upright over time
- Weave in ends through several stitches in different directions for a secure finish
- Block the ears lightly if they need extra help standing straight
Personalization Ideas
- Swap the lilac shade for pastel pink, mint, or grey for different bunny personalities
- Add tiny embroidered whiskers or a nose for extra character
- Use a metallic or beaded cord for a dressier evening version
- Make a mini version for a delicate necklace charm
- Try a jumbo size using bulky yarn as a fun bedroom storage pouch
- Attach a wrist strap instead of a drawstring for a wearable mini purse
Common Mistakes to Avoid
Uneven increases during the base rounds often create a pouch that sits crooked rather than sitting flat, so counting stitches after every round helps catch the issue early. A drawstring threaded too loosely can leave the pouch gaping open, while threading it too tightly may pucker the rim, so testing the pull before final knotting saves frustration later. Ears sewn on without enough reinforcing stitches tend to droop with handling, so a few extra passes with the needle keeps them standing tall.
Frequently Asked Questions
How long does this bunny pouch typically take to finish?
Most crocheters complete the entire project, including both ears, within about two and a half hours.
Can I use a zipper instead of a drawstring closure?
Yes, a small zipper can replace the cord for a more secure closure if preferred.
Is stuffing necessary for the ears to stand upright?
Light stuffing helps, though tightly worked single crochet alone can also hold shape well.
What size items fit comfortably inside the pouch?
Small jewelry, coins, or trinkets around an inch or two in size fit best.
Can this Crochet Bunny Pouch Bag pattern work as a gift bag instead of a purse?
Absolutely, it makes a charming reusable alternative to traditional gift wrapping.
Do I need contrast yarn for the drawstring, or can it match the pouch?
Either works well; contrast yarn simply makes the tie detail stand out more.
How do I keep the ears from flopping to one side?
Sewing them on straight with firm, even stitches and light stuffing keeps them upright.