Free Crochet Octopus Amigurumi Pattern Anyone Can Try
A plump, rounded head sits atop eight curling tentacles, finished off with two button-like eyes and a stitched smile that’s exactly what this octopus delivers. The rounded body is worked up in continuous single-crochet rounds, giving it a smooth, bump-free surface that photographs beautifully once stuffed. Curled legs add movement and personality, making the finished toy look like it’s mid-swim even while sitting still on a shelf. Gift-givers love it too, since a finished octopus works beautifully as a nursery decoration, keychain, or shelf companion.
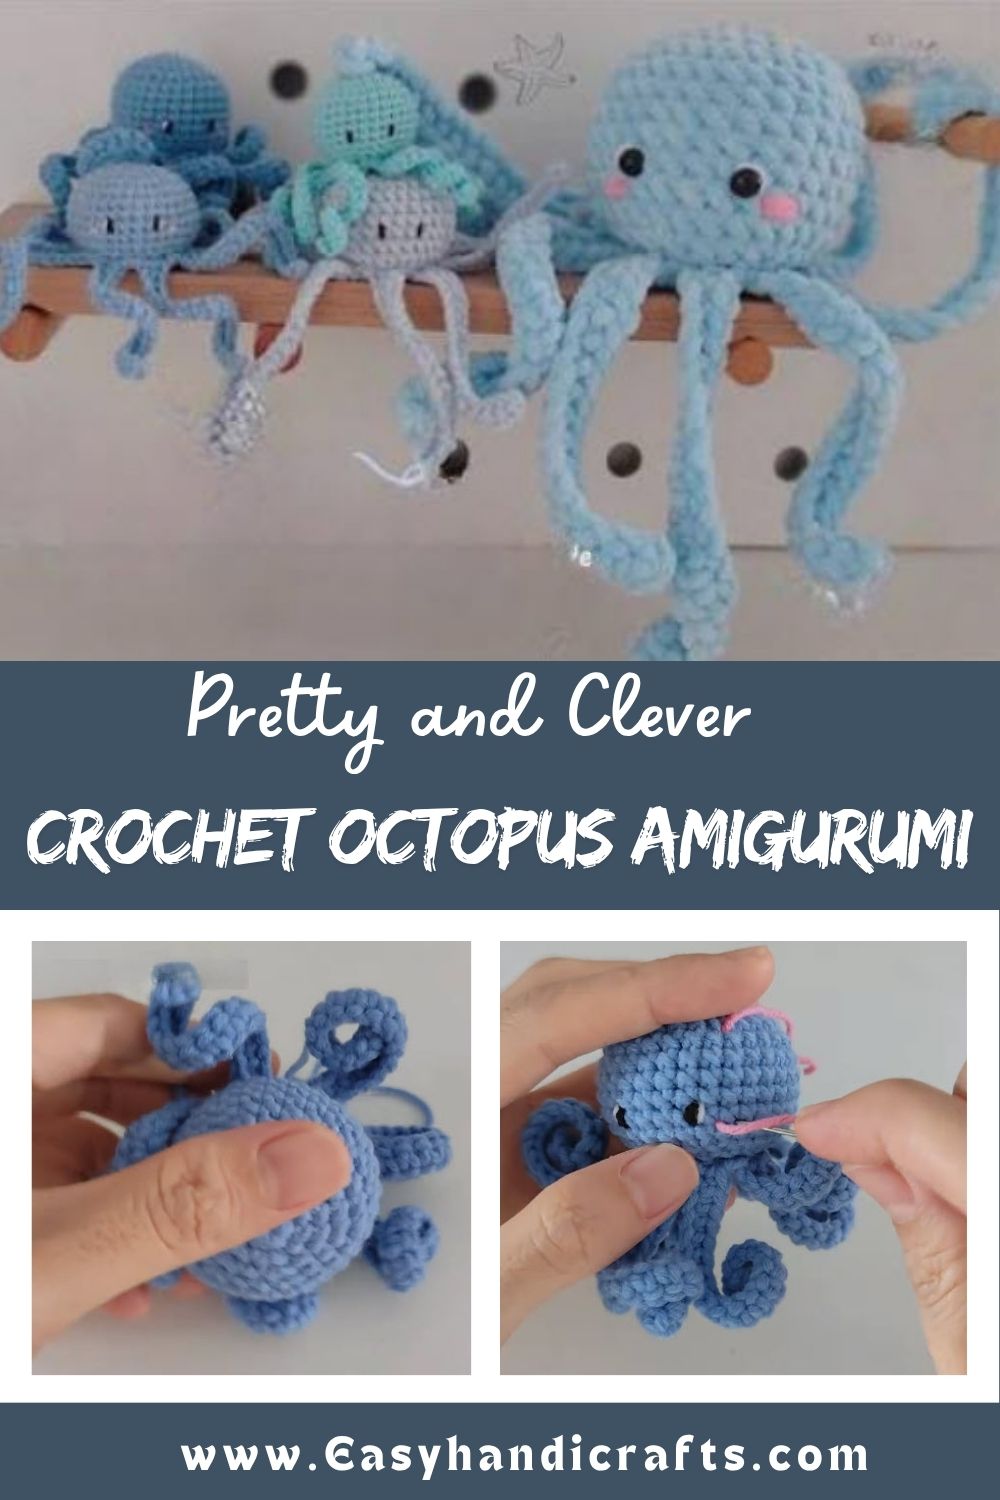
Difficulty-wise, the project sits comfortably in beginner territory. Nothing about the stitch count feels overwhelming, and the repetitive rounds actually help new crocheters build muscle memory. Once the head and legs are complete, assembly becomes the fun part, where a plain yarn ball transforms into a recognizable little octopus with real character.
Project Details
- Skill Level: Beginner
- Finished Size: Approximately 3–4 inches tall (excluding tentacles)
- Estimated Time Required: 2–3 hours
- Recommended Yarn Weight: Worsted weight (Medium, #4)
- Crochet Hook Size: 3.0mm–3.5mm
Materials Needed
- Worsted weight yarn in your chosen main color (blue shown in this tutorial)
- Small amount of contrast yarn for facial details (pink or your preferred shade)
- Black yarn or small safety eyes for the face
- Crochet hook sized to match your yarn weight
- Fiberfill stuffing
- Tapestry needle for weaving ends and embroidering the face
- Stitch marker
- Scissors
Crochet Stitches and Techniques
Familiarity with these basic techniques will carry you through the entire pattern:
- Magic Ring – forms a tight, adjustable starting loop with no visible hole
- Chain Stitch (ch) – used for foundation chains on the tentacles
- Single Crochet (sc) – the main stitch used for the head and body
- Slip Stitch (sl st) – joins rounds and closes off tentacle tips
- Increase (inc) – two single crochets worked into one stitch to widen the piece
- Invisible Decrease (inv dec) – narrows the head smoothly without visible gaps
- Fastening Off – secures the final loop before weaving in ends
- Sewing Pieces Together – attaches tentacles and facial features to the main body
Pattern Instructions
Step 1: Starting the Magic Ring
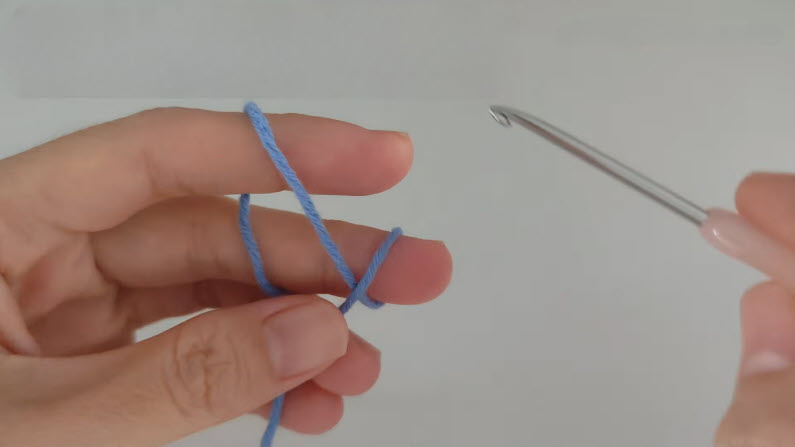
Everything begins with a simple magic ring, wrapped around your fingers as shown below. This loop gives your octopus a clean, closed center instead of a visible gap at the top of the head, and it lets you tighten the ring once your first stitches are worked into it.
Materials needed for this step: yarn, hook
Wrap the yarn around two fingers twice, then insert your hook under both loops to begin your first single crochet.
Step 2: Building the First Rounds
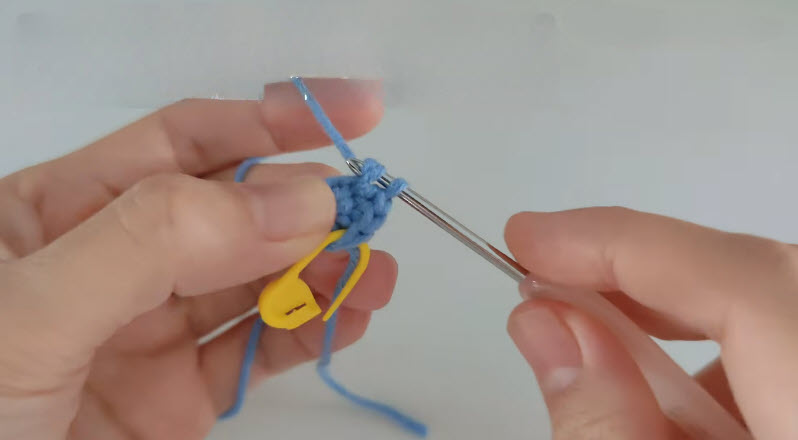
Once the magic ring is secured, single crochet stitches are worked directly into the loop, then the ring is pulled tight. A stitch marker gets placed in the first stitch of the round right away, which makes it far easier to track where each new round begins as the piece grows.
Work six single crochets into the ring, place your stitch marker, then pull the tail to close the circle completely.
Step 3: Shaping the Head
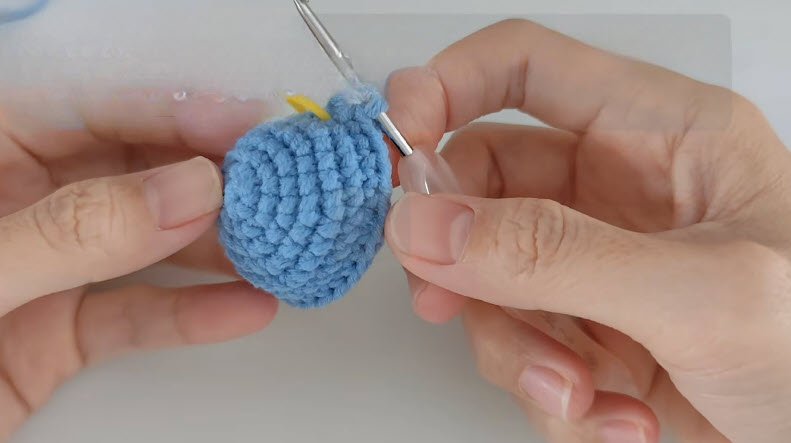
Continue working in a spiral, increasing evenly across each round to widen the sphere gradually. The photo below shows the head taking shape, with rows building upward in a smooth curve. Keeping stitches consistent in tension here makes a real difference in how even the finished sphere looks.
Increase every stitch on round two, then space out increases every second and third stitch on the following rounds until the head reaches your desired width, roughly 12–18 stitches around depending on yarn weight.
Step 4: Stuffing the Head
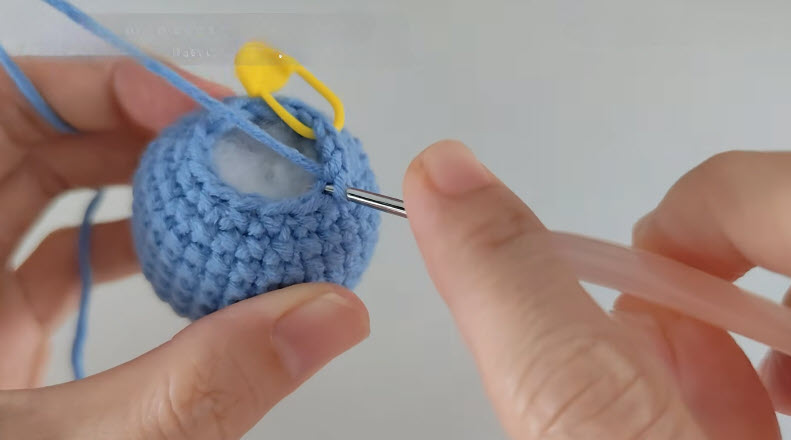
Before closing the top of the head, fiberfill gets tucked inside a little at a time, pushed gently into every curve so the sphere holds its shape without lumps or soft spots. Small amounts work better than one big handful, since overstuffing can distort the roundness of the piece.
Stuff firmly but evenly, checking the shape from all angles before continuing with the decrease rounds that close the head.
Step 5: Making and Attaching the Tentacles
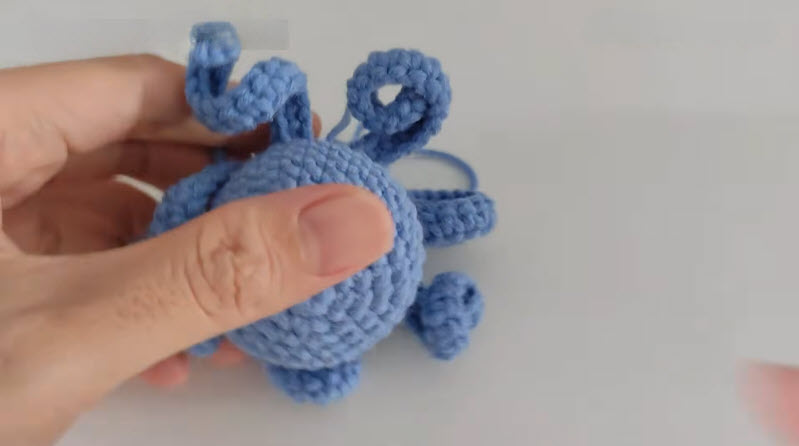
Eight tentacles give this octopus its signature look, and each one is worked as a simple chain that curls naturally once released from tension. The photo shows several curled legs already attached around the base of the head, giving the toy its playful, mid-swim appearance.
Chain 8–10 for each leg, slip stitch back down the chain to create a curled effect, then sew each tentacle securely around the bottom edge of the head, spacing them evenly.
Step 6: Adding the Facial Features
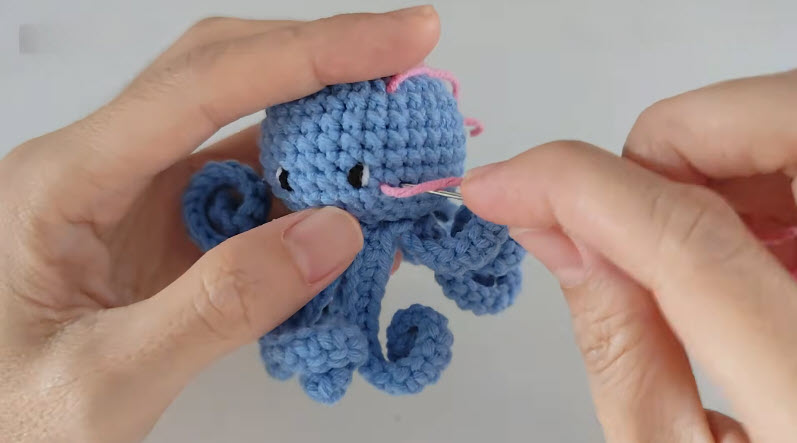
The final creative step brings personality to the whole project. Small black stitches or safety eyes form the eyes, while a curved line of contrast yarn, pink in this tutorial, creates a sweet little smile. Embroidering these details by hand, as shown in the photo, allows full control over expression and placement.
Position the eyes first, step back to check spacing, then stitch the mouth using a simple backstitch or straight stitch for a soft, friendly expression.
Joining All Pieces
Once tentacles and facial features are attached, weave in every loose yarn tail using your tapestry needle, running each one through several stitches on the inside of the piece before trimming.
Final Assembly
Give your octopus a gentle shape check, fluffing tentacles into a natural curl and adjusting stuffing through the base if needed before closing any remaining opening.
Tips for Success
- Count stitches at the end of every round to catch mistakes early
- Keep tension consistent so the sphere stays smooth and round
- Stuff gradually rather than all at once for even shaping
- Use a stitch marker throughout, not just for the first round
- Hide yarn ends by weaving them through several stitches in different directions
- Steam-block the tentacles lightly if you want a tighter curl
Personalization Ideas
- Swap the main color for purple, orange, or seasonal shades like red and green for holidays
- Give your octopus a sleepy expression using closed-eye embroidery instead of open eyes
- Add a small bow, hat, or scarf as an accessory
- Crochet a mini version using thread weight yarn and a smaller hook for a keychain
- Try a jumbo version with bulky yarn for a huggable throw pillow-style toy
- Attach a ribbon loop to turn it into a hanging ornament
Common Mistakes to Avoid
Uneven tension often shows up as a lumpy or lopsided head, so slowing down during the increase rounds helps keep everything smooth. Skipping the stitch marker leads to lost placement, especially once the piece grows past a dozen stitches per round. Overstuffing can stretch stitches and distort the sphere, while understuffing leaves the head looking soft and shapeless. Rushing the tentacle attachment sometimes results in uneven spacing, so pinning legs in place before sewing helps achieve a balanced, symmetrical look.
Frequently Asked Questions
Can beginners really finish this pattern in one sitting?
Yes, most crocheters comfortable with basic stitches finish the entire octopus within 2–3 hours.
What yarn works best for a soft, huggable texture?
Chenille or plush worsted weight yarn gives a particularly soft, cuddly finish.
Do I need safety eyes, or can I embroider them instead?
Either option works well; embroidered eyes are safer for very young children.
How many tentacles does a proper Crochet Octopus Amigurumi Pattern need?
Eight tentacles are traditional, though six or ten also look charming depending on your preference.
Can this Crochet Octopus Amigurumi Pattern be turned into a keychain?
Absolutely, simply attach a keyring loop to the top of the head before or after stuffing.
Why does my head look lumpy instead of smooth?
Inconsistent tension or uneven stuffing usually causes this, so check both as you work each round.
What is the easiest way to get curled tentacles?
Slip stitching back down each chain naturally creates a curl without any extra shaping needed.
Conclusion
Few amigurumi projects come together as quickly or as charmingly as this little octopus. Between the simple rounds, playful curled legs, and endless color possibilities, there is plenty of room to make this Crochet Octopus Amigurumi Pattern your own. Pick up your hook, work through each round at your own pace, and enjoy watching a plain ball of yarn turn into a sea creature full of personality. Once finished, share a photo of your octopus and inspire other crocheters to give this delightful pattern a try.