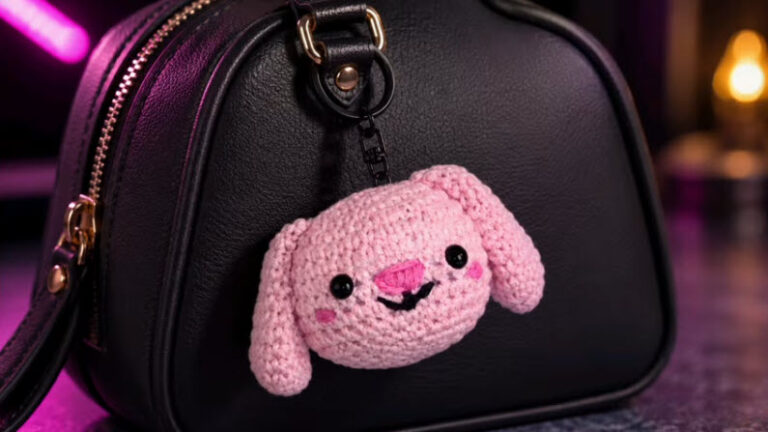
Crochet Chicken Keychain Amigurumi Pattern for Fabulous Looks
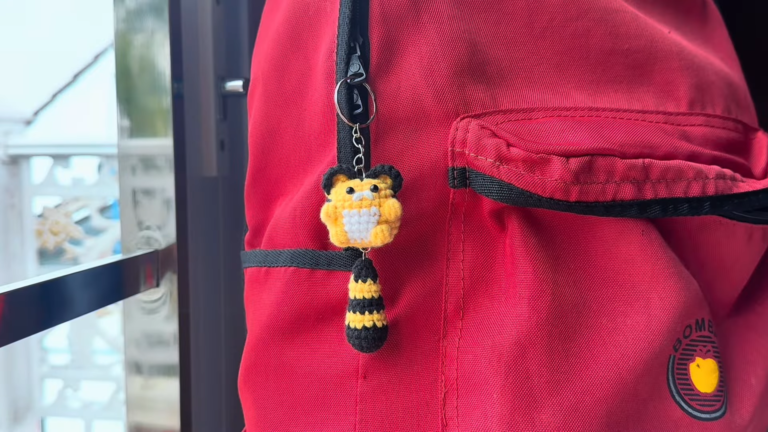
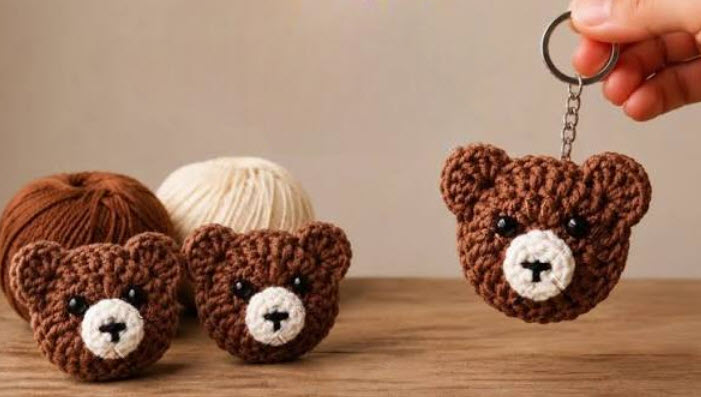
Small animal-inspired amigurumi never fail to charm, and the Crochet Chicken Keychain Amigurumi is one of those irresistible designs. A beautiful keychain project built with simple stitches, it also gives you a great chance to create a unique handmade accessory for everyday use.
A charming keychain does more than accessorize it brings personality and creative flair into everyday use, and that’s exactly what makes the Crochet Chicken Keychain special. This design works equally well for keys, bags, lanyards, or an amigurumi collection. Crocheters who know basic single crochet and simple shaping can complete it with confidence. The project calls for just a few basic materials: yarn, a crochet hook, fiberfill, safety eyes, and a keychain ring. Clear step-by-step instructions guide you through each part with ease, keeping the whole project organized and simple to follow from start to finish.
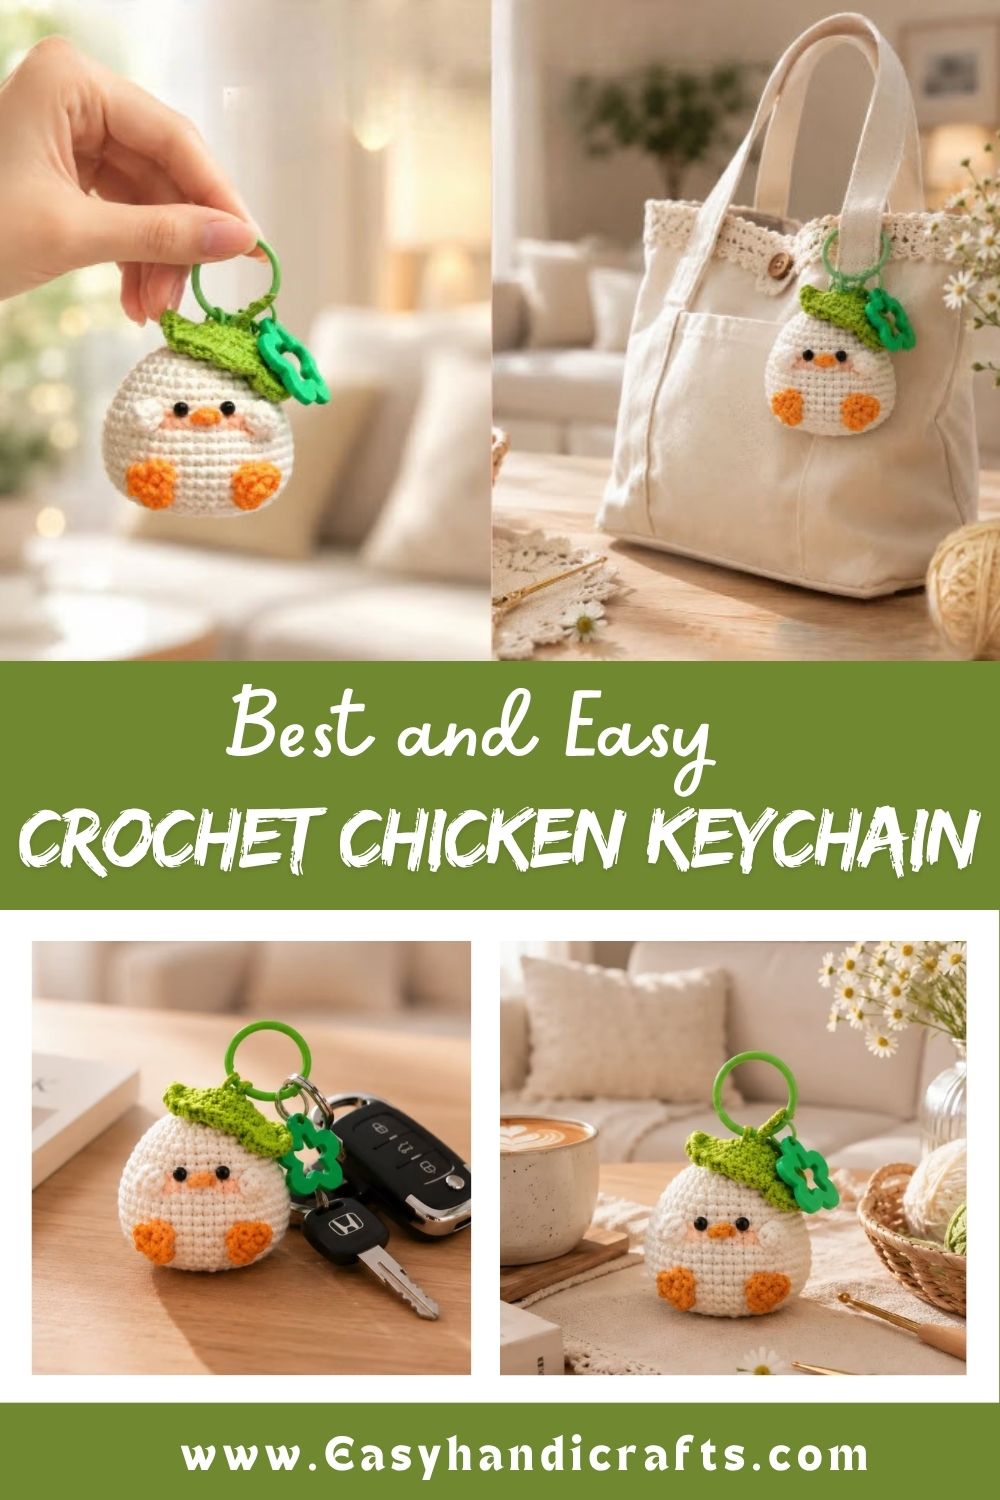
What Makes This Project Special
Every amigurumi pattern has its own personality, and this chicken keychain stands out for a few reasons. The finished size stays compact, so yarn usage is minimal and completion time is short. Beginners appreciate that the body relies on basic increases and decreases rather than complicated shaping. Experienced crocheters, meanwhile, enjoy experimenting with color combinations and tiny embellishments like combs, wattles, and wings. Because the piece is small, it also makes an excellent stash-buster for leftover yarn scraps sitting in your craft basket.
A Quick Look at the Pattern
- Compact amigurumi design, ideal for keychains, bag charms, or ornaments
- Simple round shaping using single crochet stitches throughout
- Customizable colors and facial features for endless variety
- Perfect handmade gift or small-batch shop item
Skill Level
Beginner-friendly overall, though basic amigurumi experience helps with tension control. Crocheters should already know single crochet, increases, decreases, and magic ring. Finishing touches like embroidery and safety eyes add slight intermediate elements, but nothing overwhelming for a motivated beginner to tackle confidently.
Materials and Supplies Needed
Every amigurumi project starts with the right supplies, and this chicken keychain keeps the list refreshingly short.
Yarn
- Worsted weight cotton or acrylic yarn in yellow (main body color)
- Small amounts of orange or red yarn for the beak, comb, and wattle
- Black yarn or embroidery thread for facial details (optional if using safety eyes)
Hook Size
- 2.5mm to 3mm crochet hook, depending on yarn weight and desired tightness
Extra Tools
- Stuffing (polyester fiberfill works best)
- Stitch markers for tracking rounds
- Yarn needle for sewing pieces together
- Small pair of scissors
- Safety eyes (6mm or 8mm) or black thread for embroidered eyes
- Keychain ring or clasp
Crochet Stitches and Abbreviations Used
Understanding the abbreviations ahead of time makes the pattern much easier to follow.
- MR – Magic Ring
- sc – Single Crochet
- inc – Increase (2 sc in one stitch)
- dec – Invisible Decrease
- st(s) – Stitch(es)
- rnd – Round
- BLO – Back Loop Only
- sl st – Slip Stitch
Step-by-Step Crochet Instructions
Body and Head (Worked as One Piece)
- Start with a magic ring, work 6 sc into it. (6 sts)
- Rnd 2: inc in each st around. (12 sts)
- Rnd 3: sc, inc repeat around. (18 sts)
- Rnd 4: 2 sc, inc repeat around. (24 sts)
- Rnd 5–8: sc in each st around, no shaping. (24 sts)
- Rnd 9: 2 sc, dec repeat around. (18 sts)
- Stuff the body firmly before closing the gap.
- Rnd 10: sc, dec repeat around. (12 sts)
- Rnd 11: dec around, close remaining sts with yarn needle. (6 sts)
Wings (Make 2)
- Magic ring, 5 sc into it. (5 sts)
- Rnd 2: sc in each st around. (5 sts)
- Fasten off, leaving a long tail for sewing onto the body.
Beak
- Using orange or red yarn, magic ring with 4 sc. (4 sts)
- Rnd 2: inc twice, sc twice. (6 sts)
- Fasten off and leave a tail for attaching.
Comb and Wattle
- Chain 3, work sc into second chain from hook, sc into next chain.
- Repeat two or three small chained loops to form a comb shape.
- Fasten off, leaving tails for sewing.
Assembly
- Attach safety eyes or embroider eyes before final stuffing, spacing them evenly on the head.
- Sew the beak centered below the eyes.
- Stitch the comb along the top of the head and the wattle just under the beak.
- Sew wings onto either side of the body.
- Attach a small loop of yarn or a metal jump ring to the top of the head, then clip on the keychain hardware.
Helpful Beginner Tips
- Keep stitches tight and even, since loose tension lets stuffing peek through.
- Count stitches after every round to avoid shape distortion later.
- Stuff firmly but avoid overstuffing, which can stretch the fabric too thin.
- Use stitch markers consistently, moving them up after completing each round.
- Practice the invisible decrease before starting, since it keeps shaping smooth and seamless.
Common Mistakes and How to Fix Them
Even simple amigurumi patterns come with a few common pitfalls.
- Uneven tension: Practice on a scrap swatch first to find a comfortable, consistent grip.
- Miscounted stitches: Use stitch markers religiously and recount after each shaping round.
- Visible stuffing: Switch to a smaller hook size or add an extra stuffing layer near thin spots.
- Wobbly head attachment: Reinforce the neck area with extra stitches through both layers before sewing.
- Lopsided facial features: Pin pieces in place with removable markers before sewing anything permanently.
Pattern Customization Ideas
Small tweaks turn this basic chicken into countless variations.
- Swap yellow for white, brown, or speckled yarn for different chicken breeds
- Add a tiny bandana or bow for extra personality
- Attach a small basket or egg accessory for a farmhouse theme
- Make a mini version for earrings or a slightly larger size for a bag charm
- Use ombre or self-striping yarn for a fun gradient effect
Size and Color Suggestions
Most finished keychains measure around 2 to 3 inches tall, making them ideal for bags, backpacks, or keys. Bright yellow remains the classic choice, though pastel shades work beautifully for spring-themed batches. Deeper rust, brown, and cream tones suit a more rustic farmhouse aesthetic, while multicolor speckled yarns create eye-catching, one-of-a-kind pieces perfect for craft fairs.
FAQ Section
How much yarn does one chicken keychain use?
Only a small amount, usually under 10 grams total across all colors.
Can this pattern be made without safety eyes?
Yes, embroidered eyes using black thread work just as well and stay child-safe.
What size hook gives the tightest stitches for amigurumi?
A hook one size smaller than the yarn label suggests usually produces tighter, stuffing-proof fabric.
Is this Crochet Chicken Keychain Amigurumi pattern suitable for craft fair selling?
Absolutely, its small size and quick turnaround make it ideal for batch production.
Can I turn this into a keychain without hardware?
Yes, a simple loop of yarn works fine if metal clasps aren’t available.
Conclusion
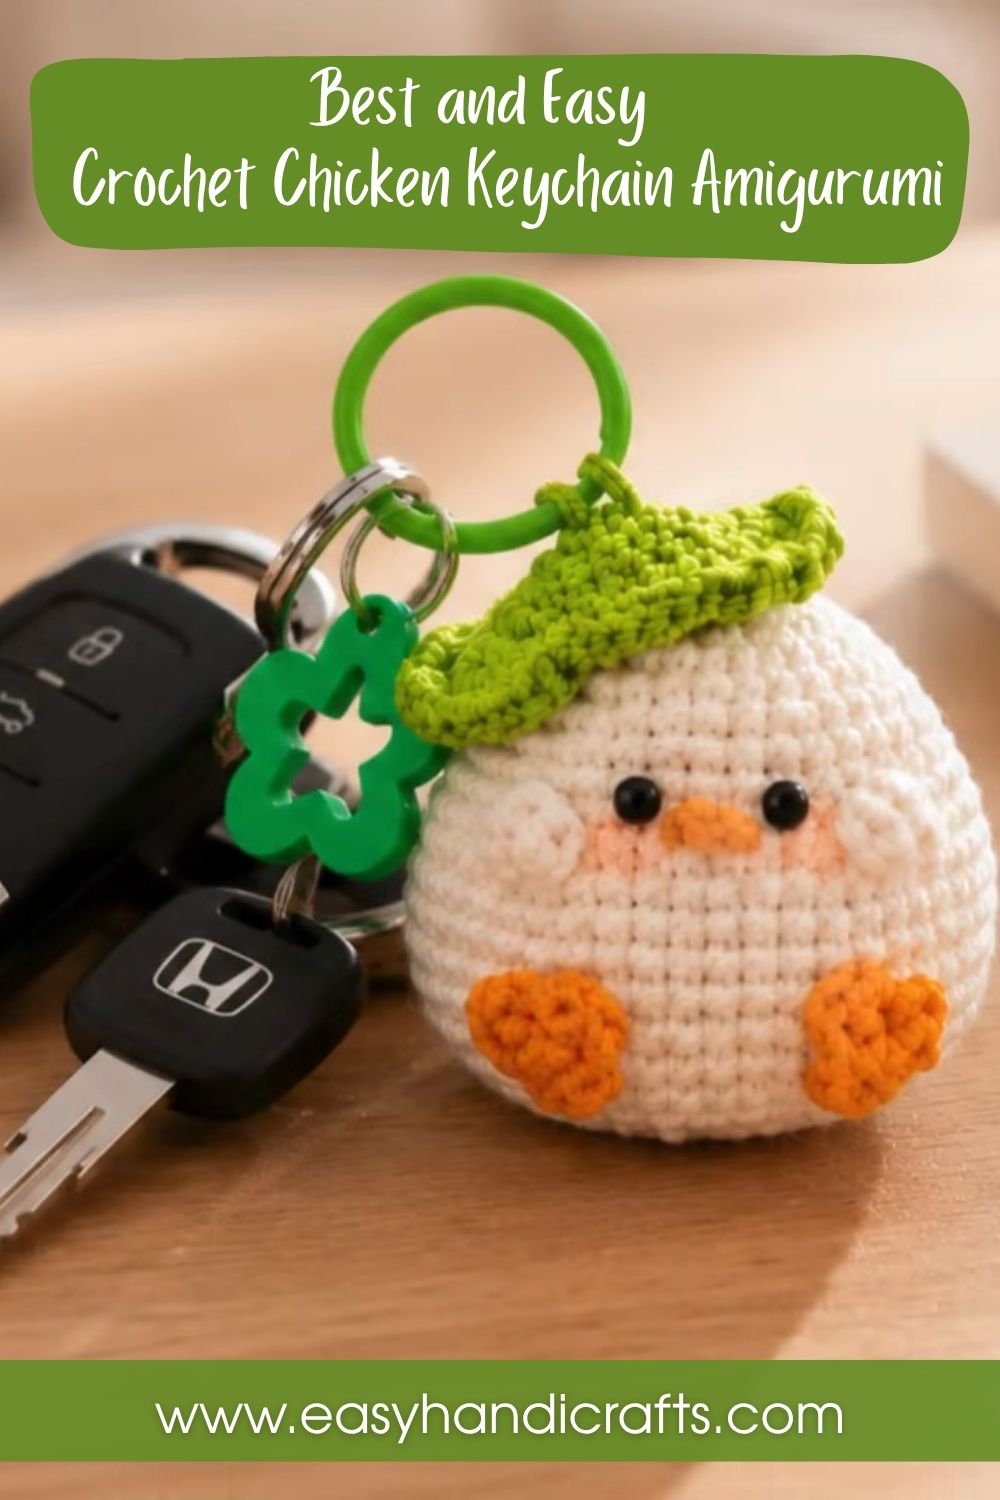
This crochet chicken keychain amigurumi proves that small projects can still pack plenty of charm. Quick to stitch, easy to customize, and endlessly giftable, it deserves a spot in every crocheter’s pattern collection. Grab some scrap yarn, follow the steps above, and enjoy watching this fabulous little chicken come to life on your hook.