Crochet Rainbow Wall Hanging Pattern for Boho Style Decor
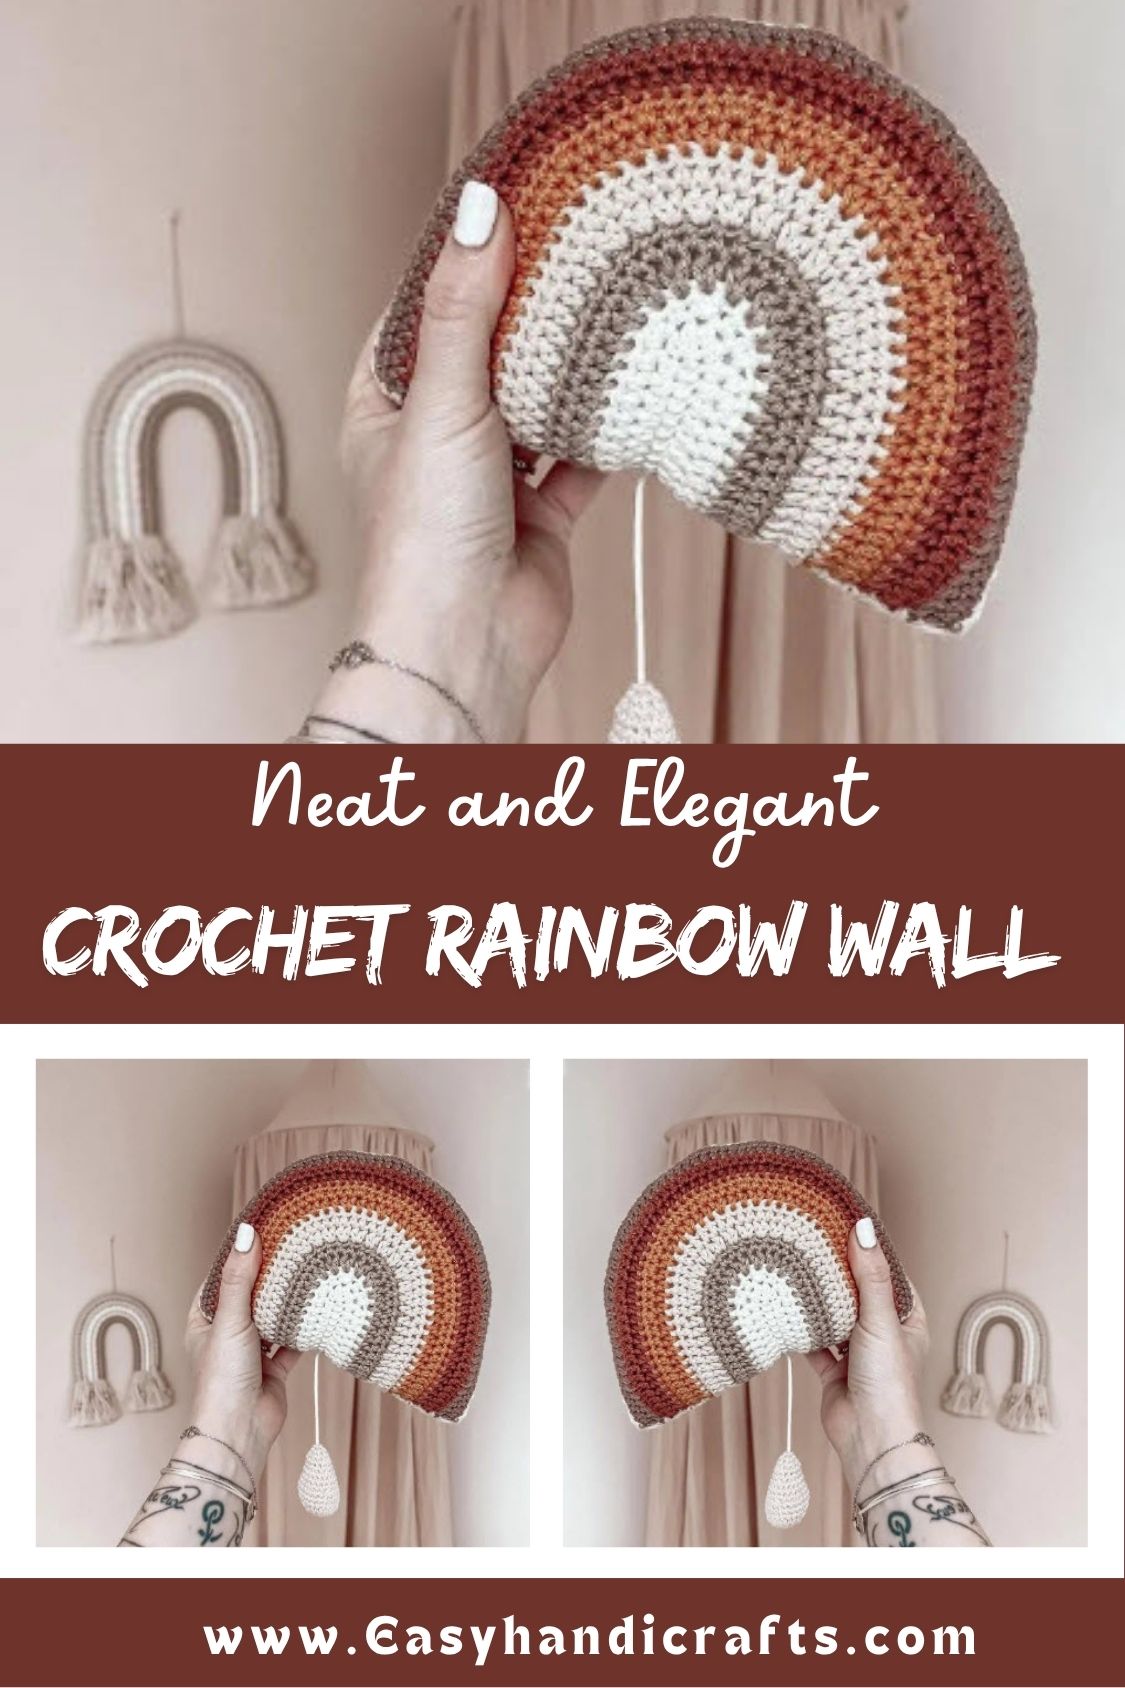
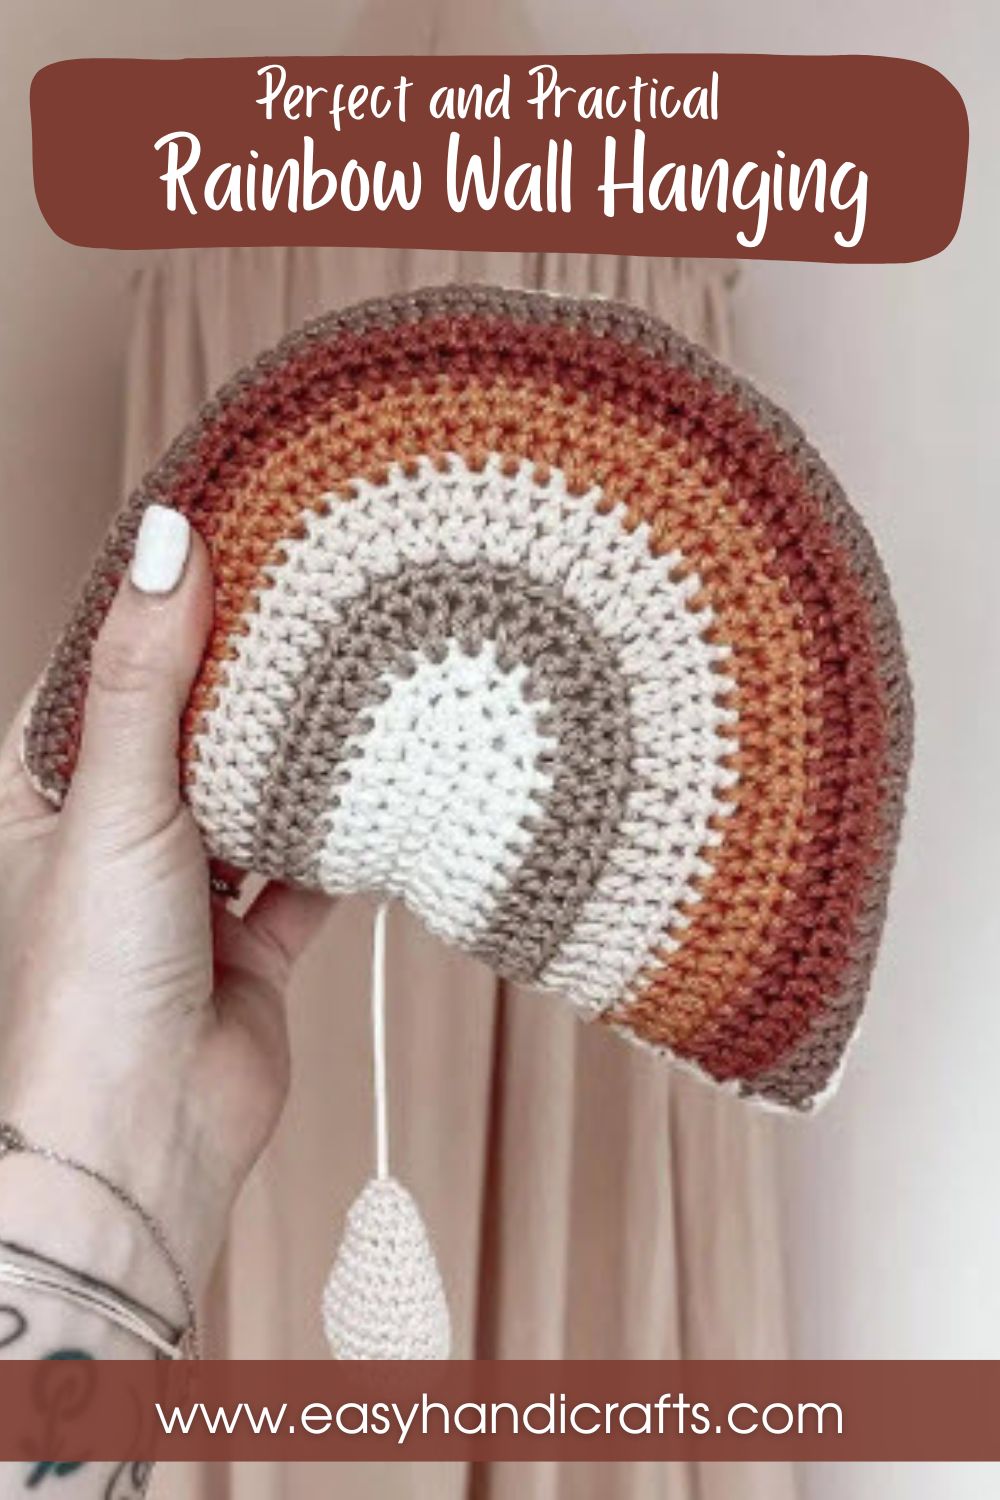
Rainbows bring timeless charm to nursery decor, and this Crochet Rainbow Wall Hanging Pattern turns that charm into a tactile, musical keepsake. Two crocheted panels stitch together, get lightly stuffed, and finish with a drop-shaped pendant that pulls a hidden music box string. The colorwork relies on simple half double crochet increases for easy shading. Trust me, once the panels close and the tail knots off, you’ll have a little piece worth gifting today.
Boho nurseries call for soft textures and gentle color stories, and this rainbow wall hanging delivers both in one project. Built from two matching panels crocheted in half double crochet, it hides a pull-string music box inside a plush drop-shaped pendant. Low-key, the shaping comes from evenly spaced increases across five color changes, so the arc grows smoothly without fuss. Once assembled and stuffed, it becomes a soothing lullaby piece perfect for a crib corner or a gentle baby shower gift.
Skill Level
Confident beginners and intermediate crocheters can easily manage this Crochet Rainbow Wall Hanging Pattern, using half double crochet increases, magic rings, and basic shaping techniques. Simple rows keep the assembly approachable and enjoyable.
Materials
- Phildar Coton 4, your choice of colors, 1 skein of each color
- Phildar Coton 3, your choice of colors, a few grams
- 1 music box movement (pull string type)
- 1 drop or triangular shaped bead
- 1 2.5 mm crochet hook
- 1 3.5 mm crochet hook
- 1 embroidery needle
- Fiberfill
Abbreviations
- Rd = round
- st = stitch
- ch = chain
- slst = slip stitch
- sc = single crochet
- hdc = half double crochet
- inc hdc = 2 half double crochet in the same st
- inc = increase
- … = repeat until the end of the round
Pattern Overview
- Two identical (or color-varied) rainbow panels are worked flat in rows using coton 4 and a 3.5 mm hook.
- Shaping happens through hdc increases spaced across the row, growing the arc from 24 stitches up to 67.
- Color changes land on rows 3, 5, 7, 9, and 11, giving five distinct color bands per panel.
- A rounded bottom border in single crochet closes off each rainbow shape before fastening off.
- A separate drop-shaped pendant is crocheted in the round using coton 3 and a 2.5 mm hook.
- The pendant houses a music box pull-string mechanism, finished with a bead instead of the original string tab.
- Both rainbow panels are sewn together with wrong sides facing, creating a padded double-layer hanging.
Special Techniques
- Increase placement (inc hdc): Working two half double crochets into the same stitch widens the row evenly, which is what curves the rainbow shape outward.
- Magic ring start: The pendant begins in a magic ring, letting you cinch the center closed tightly with no visible gap.
- Music box conversion: Removing the original pull tab and replacing it with a bead takes a little patience; slide the bead on securely before closing the last rounds so it can’t slip back inside.
- Color carrying at row ends: Since color changes fall on set rows, cutting and rejoining yarn neatly at the turning chain keeps the color blocks crisp.
Common Mistakes
- Skipping the row count check after each increase round, which throws off the final stitch total and distorts the arc shape.
- Forgetting to leave the turning chain (ch 2) loose enough, causing the edges to pucker instead of lying flat.
- Inserting the bead before fully testing the music box pull-string mechanism, which can jam the sound if attached too early.
- Overstuffing the drop pendant, making it too stiff to sew neatly onto the rainbow’s bottom edge.
- Mismatching the two rainbow panels’ row counts, which leaves uneven edges when it’s time to sew them together.
Rainbow Panel Pattern (x2)
To crochet using coton 4 and the 3.5 mm crochet hook. The colour changes are on the following rows: 3, 5, 7, 9 et 11.
Color 1 Rd 1: Chain 24 Rd 2: Ch 2 to adjust the height, insert your hook in the 3rd st from the hook and make 24 hdc, ch 2, turn – 24 Rd 3: 8 hdc, 1 hdc, 1 inc hdc (x4), 8 hdc, ch 2, turn – 28
2 Rd 4: 10 hdc, 8 inc hdc, 10 hdc, ch 2, turn – 36 Rd 5: 1 hdc in each hdc, ch 2, turn – 36
3 Rd 6: 13 hdc, 10 inc hdc, 13 hdc, ch 2, turn – 46 Rd 7: 1 hdc in each hdc, ch 2, turn – 46
4 Rd 8: 14 hdc, 2 hdc, 1 inc hdc (x6), 14 hdc, ch 2, turn – 52 Rd 9: 12 hdc, 3 hdc, 1 inc hdc (x7), 12 hdc, ch 2, turn – 59
5 Rd 10: 1 hdc in each hdc, ch 2, turn – 59 Rd 11: 15 hdc, 1 inc hdc, 3 hdc, 1 inc hdc (x7), 15 hdc, ch 1, turn – 67
6 Rd 12: 66 sc, 1 inc, create the bottom border of the rainbow with 36 sc. Finish with a slst then fasten off and work out the tail in the last row to hide it.
The Drop
Prepare your music box movement before starting. You will need to remove the part at the end of the pull string that enables to start the music box and replace it with your drop or triangle-shaped bead (with the tip facing upward).
To crochet using cotton 3 and the 2.5 mm crochet hook. Your choice of color:
1: 6 sc in a magic ring – 6 2: 1 inc in each st – 12 3: 1 sc, 1 inc – 18 4: 2 sc, 1 inc – 24 5 to 7 (3 rounds): 1 sc in each st – 24 8: 2 sc, 1 dec – 18 9 and 10 (2 rounds): 1 sc in each st – 18 Stuff. 11: 1 sc, 1 dec – 12 Insert the bead (tied to the magic box’s pull string) then continue to close the drop. Rd 12: 1 sc in each m – 12 Rd 13: 6 dec – 6
Finish with a slst then fasten off and close your work. Using your needle, insert your yarn tail in the stitches from the last round then pull firmly to close. Hide the remaining yarn tail inside your rainbow.
Assembly
- Lay both rainbow panels together with the wrong sides facing each other, matching row for row.
- Sew the edges of the top arcs from each rainbow together first, keeping the curve smooth.
- Thread your needle with about 1 m of yarn matching the color used on round 12.
- Sew around the remaining edges of the rainbow, leaving a small gap for stuffing if desired.
- Attach the finished drop pendant to the bottom point of the rainbow, hiding the music box mechanism inside.
- Weave in any remaining tails securely so nothing unravels with regular handling.
Important Remarks
- The finished musical cushion measures about 20 x 20 cm.
- The piece is worked in back-and-forth rows and consists of two sides, which can be crocheted identically or in contrasting colorways.
- This pattern and its translation are shared for personal use only; please do not resell or redistribute the written instructions.
Conclusion
A Crochet Rainbow Wall Hanging Pattern like this one turns simple hdc rows into a soft, musical piece that fits right into a boho nursery corner. Between the shaping, the color changes, and the hidden pull-string mechanism, there’s enough variety to keep the project interesting without overwhelming a confident beginner. Real talk, once both panels are stuffed and sewn, this hanging becomes a keepsake that pulls double duty as decor and a soothing bedtime tool for baby.