Shining Crochet Fish Toy Amigurumi Pattern for a Unique Look
Grab your yarn and hook, because this little crochet fish amigurumi is about to become your next favorite project. The color-block body and curved tail make it look far trickier than it actually is, and this is one pattern you won’t want to skip saving.
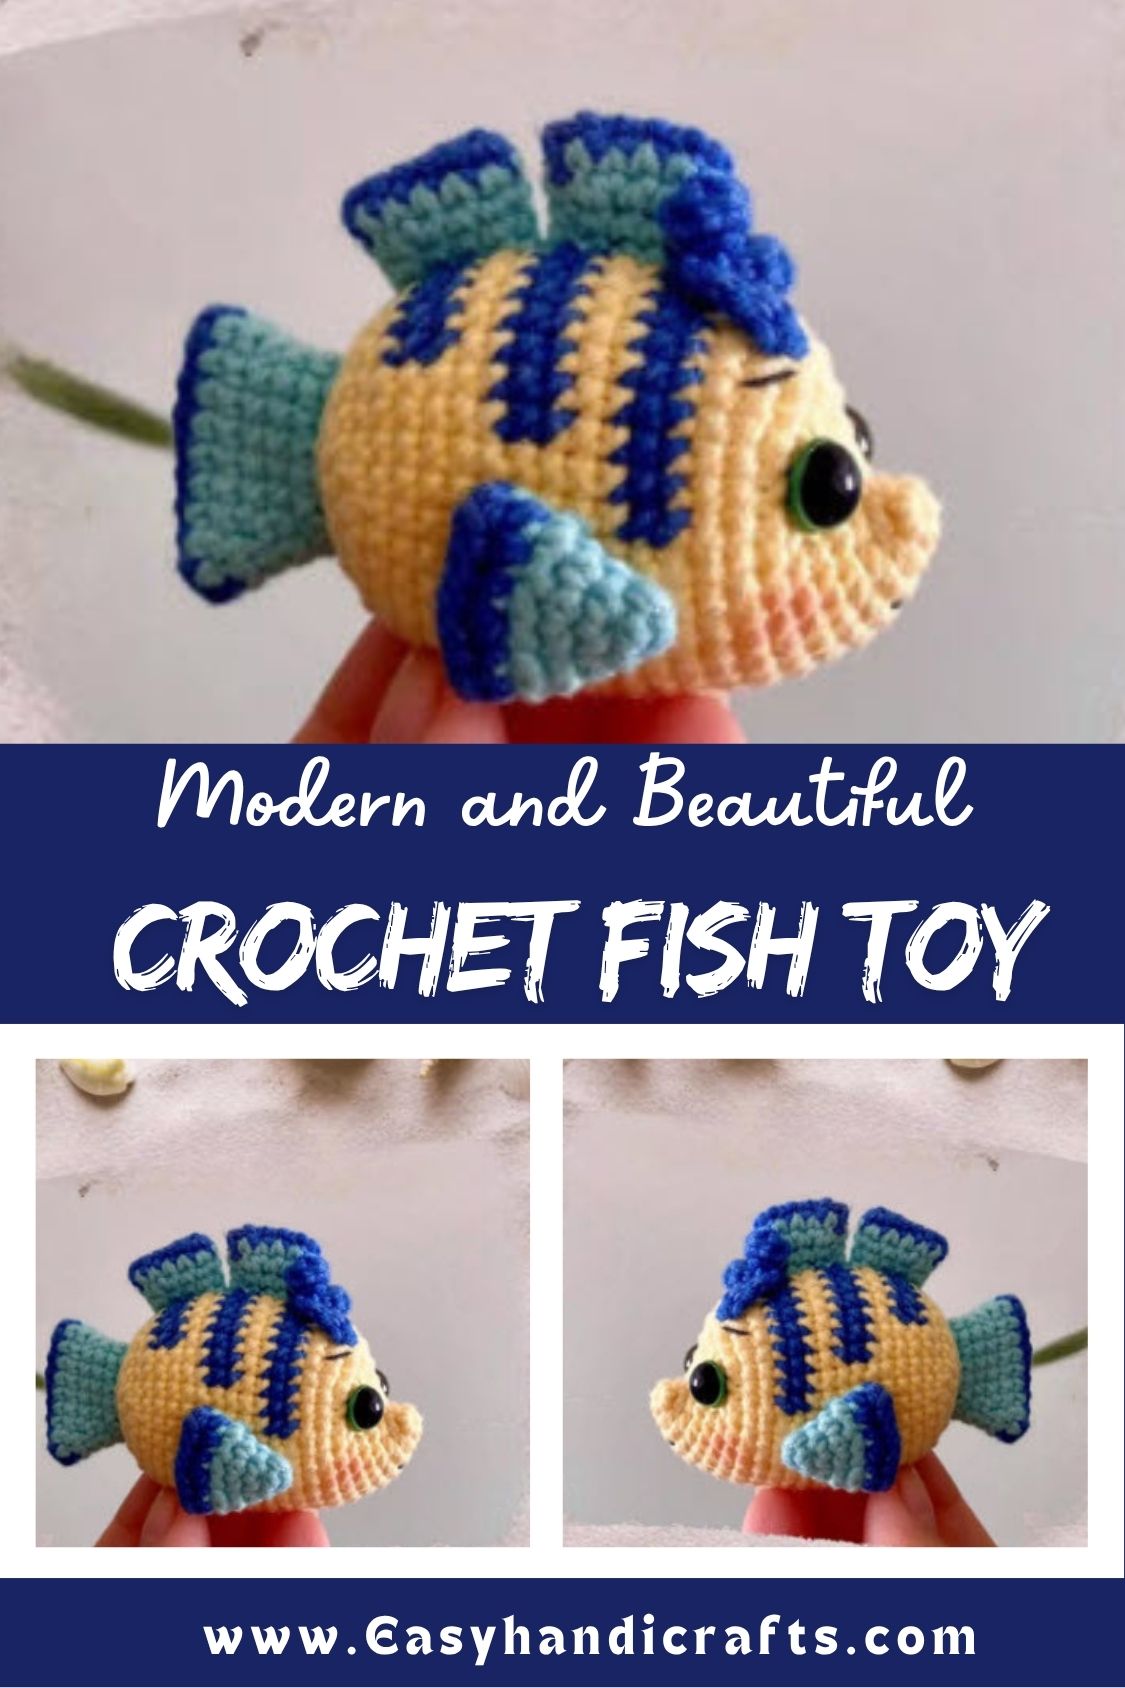
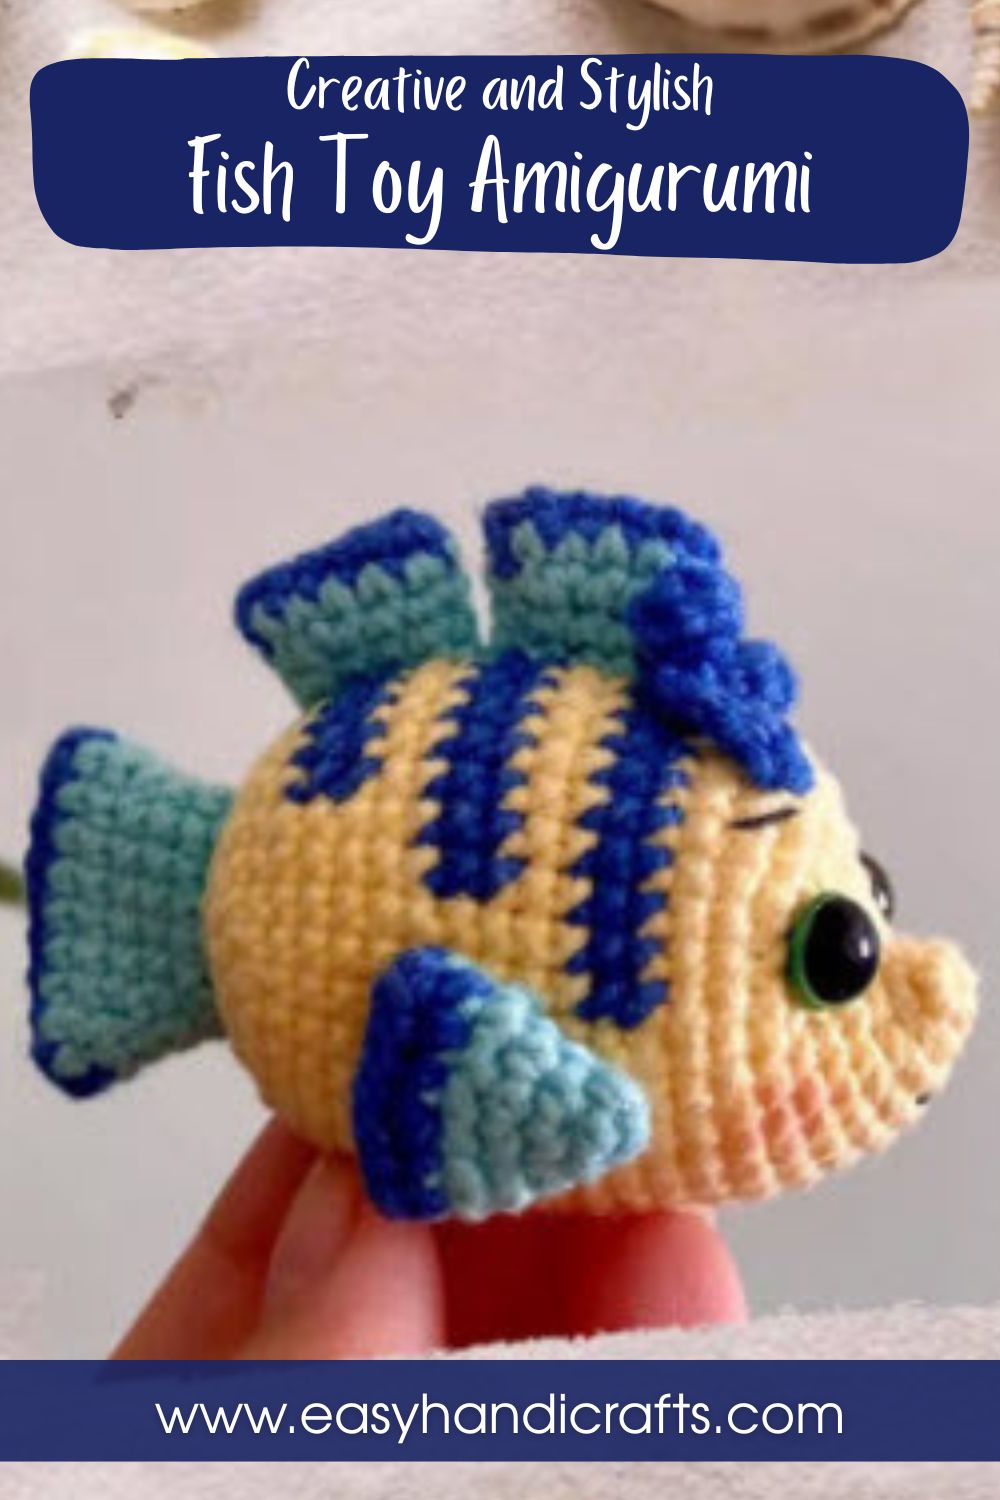
Yellow, dark blue, and light blue yarn come together here to form a striped, glossy finish that mimics real fish scales. A rounded body, curved tail, dorsal fins, pectoral fins, and a tiny tuft of hair on top give this piece a playful sea creature look, perfect as a nursery decoration, a shelf piece, or a handmade gift for someone who loves ocean-themed crochet toys.
Skill Level
This pattern suits confident beginners who already know single crochet, increases, and decreases. Color changes and basic magic ring starts are required, but no complex shaping techniques are involved anywhere in this project.
Pattern Overview
This Crochet Fish Toy Amigurumi is built from five separate pieces that come together during assembly: the main body, the curved tail, two dorsal fins, two pectoral fins, and a small hair tuft on the head. The body starts with a magic ring and grows in rounds, switching between yellow and dark blue yarn to form the signature stripe pattern across the face and midsection. Safety eyes are placed partway through the body rounds, right before the color changes narrow toward the face. The tail, fins, and hair are worked separately using chains and short crochet rows, then stitched onto the finished body. Stuffing happens once, right before the body starts closing at round 20, so the shape holds firmly from the inside out.
Special Techniques
- Magic Ring Start: Both the body and the pectoral fins begin with a magic ring, which keeps the very first round tight and avoids a visible hole at the center.
- Color Changing Mid-Round: Several rounds require switching yarn colors partway through, which is what creates the dark blue stripes on the face and body without any seams.
- Foundation Chain Shaping: The tail and dorsal fins start from a flat chain rather than a magic ring, giving them a tapered, fin-like shape once the increases are worked.
- Stitch Marker Placement: Since this pattern works in continuous rounds, a stitch marker is essential from round one onward to track where each round begins and ends.
Abbreviations
RND – Round | ST, STS – Stitch, Stitches | CH – Chain Stitch | SL ST – Slip Stitch | SC – Single Crochet Stitch | INC – Increase: 2 single crochet stitches in the same stitch | DEC – Decrease: 2 single crochet stitches together
Materials
Here’s everything you’ll need to complete this fish amigurumi from start to finish.
- YarnArt Jeans 88 (Yellow)
- YarnArt Jeans 17 (Dark Blue)
- YarnArt Jeans 81 (Light Blue)
- A pair of safety eyes, 8mm
- Crochet hook, 2.00mm
- Stitch marker
- Tapestry needle
- Polyester stuffing
Instructions
Body
- Start with yellow yarn (YarnArt Jeans 88).
- Rnd 1: 5 sc in magic ring = 5. Tug the tail to tighten the ring. Place your stitch marker here and move it up every round.
- Rnd 2: 2 sc, inc, 2 sc = 6
- Rnd 3: inc, sc, 2 inc, sc, inc = 10
- Rnd 4: sc, 7 inc, 2 sc = 17
- Rnd 5: 4 sc, [inc, sc] x5, 3 sc = 22
- Rnd 6: 5 sc, [inc, sc] x6, 5 sc = 28
- Rnd 7: 6 sc, [inc, sc] x8, 6 sc = 36
- Rnd 8-9: 36 sc (2 rounds) = 36
- Rnd 10-11: 8 sc, change to dark blue, 20 sc, change to yellow, 8 sc (2 rounds) = 36
- Rnd 12-13: 36 sc (2 rounds) = 36
- Place the safety eyes 8 stitches apart, about 3 rounds up from the dark blue section on the face. Marking the spots with pins first makes placement easier.
- Rnd 14-15: 10 sc, change to dark blue, 16 sc, change to yellow, 10 sc (2 rounds) = 36
- Rnd 16-17: 36 sc (2 rounds) = 36
- Rnd 18-19: 12 sc, change to dark blue, 12 sc, change to yellow, 12 sc (2 rounds) = 36
- Rnd 20: 36 sc = 36. Stuff the body tightly at this point.
- Rnd 21: [4 sc, dec] x6 = 30
- Rnd 22: [3 sc, dec] x6 = 24
- Rnd 23: [2 sc, dec] x6 = 18
- Rnd 24: [1 sc, dec] x6 = 12
- Rnd 25: 6 dec = 6. Close the opening.
Tail
- Start with dark blue yarn (YarnArt Jeans 17).
- Rnd 1: Ch 10, turn = 10
- Rnd 2: Starting from the second chain from the hook: 8 sc, 3 sc in the last chain, 7 sc, inc = 20
- Change to light blue yarn (YarnArt Jeans 81).
- Rnd 3: 20 sc = 20
- Rnd 4: [dec, 8 sc] x2 = 18
- Rnd 5: [dec, 7 sc] x2 = 16
- Rnd 6: 16 sc = 16
- Rnd 7: [dec, 6 sc] x2 = 14
- Cut the yarn, leaving a long tail to sew later.
Dorsal Fin (make 2)
- Start with dark blue yarn (YarnArt Jeans 17).
- Rnd 1: Ch 6, turn = 6
- Rnd 2: 4 sc, 3 sc in the last chain, 3 sc, inc = 12
- Change to light blue yarn (YarnArt Jeans 81).
- Rnd 3: 12 sc = 12
- Rnd 4: [dec, 4 sc] x2 = 10
- Rnd 5: 10 sc = 10
- Cut the yarn, leaving a long tail to sew later.
Pectoral Fin (make 2)
- Start with light blue yarn (YarnArt Jeans 81).
- Rnd 1: 4 sc in magic ring = 4
- Rnd 2: [sc, inc] x2 = 6
- Rnd 3: [sc, inc] x3 = 9
- Rnd 4: [2 sc, inc] x3 = 12
- Rnd 5: 12 sc = 12
- Change to dark blue yarn.
- Rnd 6: [3 sc, inc] x3 = 15
- Cut the yarn and sew the opening closed with a tapestry needle.
Hair
- Ch 7, turn, work 1 sc in each of the 6 chains.
- Ch 7, work 1 sc in each of the 6 chains.
- Ch 7, work 1 sc in each of the 6 chains.
- Fasten off and cut the yarn, leaving a long tail to sew later.
Common Mistakes
- Skipping the stitch marker in round 1, which makes it easy to lose track of where each round starts once the color changes begin.
- Stuffing too lightly at round 20, which leaves the body soft and floppy instead of holding its rounded shape.
- Placing the safety eyes without pinning first, which often results in uneven or crooked eye spacing on the face.
- Rushing the color changes mid-round, which can leave loose stitches or visible gaps where the yarn switches.
Helpful Beginner Tips
- Count your stitches at the end of every round, especially through the increase rounds, since one missed stitch throws off the whole shape.
- Keep your yarn tails long when finishing the tail, fins, and hair, since you’ll need that length for sewing everything onto the body later.
- Work with a consistent tension throughout, particularly on the color-changed rounds, so the stripes lie flat instead of puckering.
- Use stitch markers in a color that stands out against your yarn so you never lose track of round one.
Assembly
- Sew the tail onto the body first, centering it on the back side. Pinning the position beforehand keeps it straight.
- Sew the dorsal fins onto the back, spacing them evenly along the top of the body.
- Pin the hair tuft to the bottom edge of the head and sew it gently in place.
- Pin the pectoral fins to the right and left sides of the body, then sew them securely.
- Embroider the eyebrows and mouth using thin black yarn for the final facial details.
conclusion
This shining Crochet Fish Toy Amigurumi proves that a few color changes and simple shaping can turn basic stitches into something genuinely eye-catching. Once you’ve finished one, the striped body technique becomes second nature for future ocean-themed projects too.