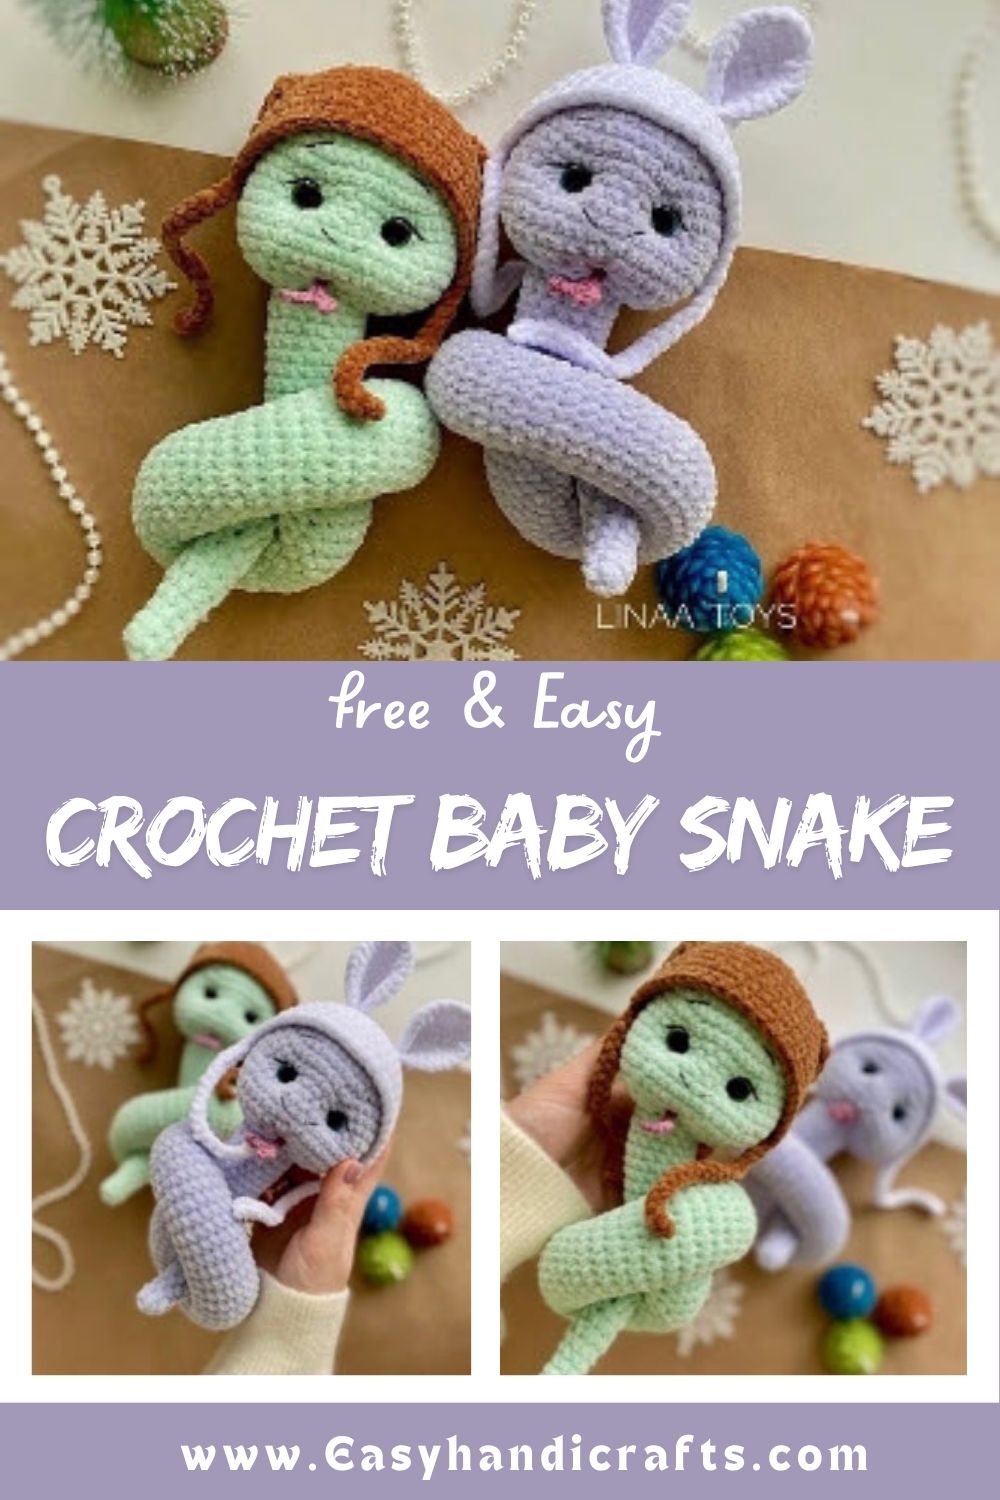
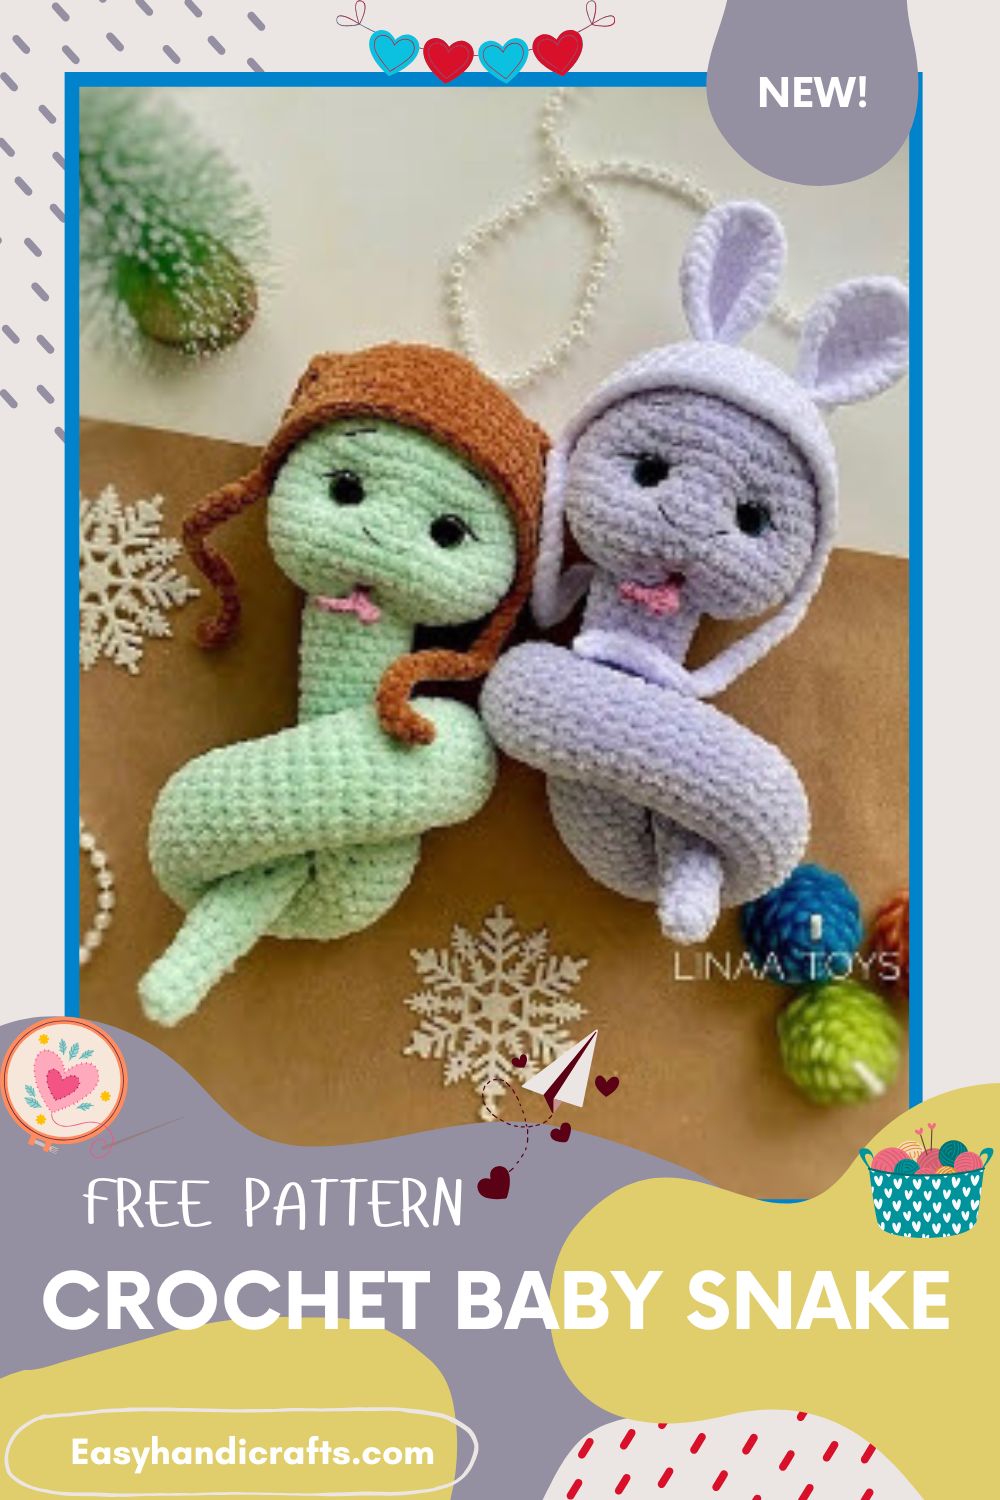
Charming Crochet Baby Snake Amigurmi Pattern for Handmade Gifts
Crochet a charming baby snake amigurumi that makes a heartfelt handmade gift. This soft, huggable toy blends simple stitches with sweet details like sparkly eyes and a cute tongue. Perfect for baby showers, nurseries, or cozy nap-time cuddles kids love.
This crochet baby snake amigurumi pattern walks you through every step needed to create a soft, colorful toy that feels both playful and comforting. Honestly, the design works great for beginners who already know basic single crochet stitches. You’ll shape a rounded head, add sparkling safety eyes, sew on a tiny tongue, then crochet a long, stretchy body that curls naturally. Trust me, this pattern turns leftover baby yarn gorgeously.
Skill Level
This Crochet Baby Snake Amigurumi pattern suits confident beginners comfortable with single crochet, increases, and decreases. No joke, shaping the tapering tail takes patience, but the repetitive rounds make tracking stitches fairly straightforward.
Tools and Materials Needed
- YarnArt Dolce baby yarn (useful amount per skein)
- Semi-cotton yarn for the tongue, drawstring, and face trim
- #3 crochet hook for the toy body, #3.5 hook for accessories
- 12 mm safety eyes with sparkle
- Long drawstring needle, sewing needle, scissors
Stitch Key
- sc – single crochet
- hdc – half double crochet
- inc – two sc in one loop
- dec – one sc from two loops
- sp – back half loop
- ss – slip stitch
- ch – chain stitch
Pattern Overview
- The head starts with a magic ring and gradually rounds before tapering back down.
- A small forked tongue gets chained separately, then sewn on once the head is finished.
- Safety eyes get inserted mid-head for a sweet, expressive face.
- The body-tail flows straight from the head’s remaining loops, gradually tapering to a point.
- Two optional hat accessories (hare and bear) plus a New Year’s hat add playful variety.
- Stuffing happens gradually as you crochet, keeping the shape firm without overfilling any single section.
Special Techniques
- Working into the back half loop only (sp) leaves a visible ridge, useful for defining the head-to-body transition.
- The tongue uses a chain-and-slip-stitch technique instead of single crochet, creating a delicate forked shape.
- Eyes get tightened in two stages with matching semi-cotton thread for a secure, wrinkle-free finish.
- Stretching the body slightly while stuffing keeps the tail from looking lumpy once finished.
Full Pattern Instructions
Head
- 6 sc in MC
- 6 inc (12)
- (1 sc, inc) x 6 (18)
- (2 sc, inc) x 6 (24)
- (3 sc, inc) x 6 (30)
- (4 sc, inc) x 6 (36)
- (5 sc, inc) x 6 (42) 8-12. 42 sc (5 rows)
- (6 sc, inc) x 6 (48) 14-15. 48 sc (2 rows)
- (6 sc, dec) x 6 (42)
- (5 sc, dec) x 6 (36)
Tongue
Leave a long tail and chain 12 times. From the second loop, 4 sl-stitches, 5 ch, 4 sl-stitches, sl-stitch into the loop where you started chaining the second time, 7 sl-stitches. Cut the thread, leaving a long tail to sew on the tongue.
Insert the eyes between rows 12 and 13. The distance between the legs is 8 sc. Start stuffing the head.
- (4 sc, dec) x 6 (30)
- (3 sc, dec) x 6 (24)
- (2 sc, dec) x 6 (18)
- Knit behind the back loop (1 sc, dec) x 6 (12)
Stuff the head.
- 6 dec (6)
Pull the opening, fasten the thread, and cut.
Tightening and Decoration
Tighten the eyes in two stages. For this, use a semi-cotton thread to match the color of the snake.
Decorate the whites of the eyes, eyelashes, eyebrows, and nostrils.
Sew on the tongue immediately. Sew it between rows 17 and 18, in the middle. Insert the needle at the back of the head, bring it out where the tongue is sewn on, pass the single crochet to the side, and bring the needle out where you inserted it. Pull tight, tie knots, hide the ends in the head, and straighten the stuffing to prevent any gaps.
Body-Tail
Attach the yarn to the remaining half loops of the head.
- Ch, single crochet in the same loop, 17 single crochet (18)
Next, knit in rows of 18 single crochet until the snake’s body is 30 cm long. While knitting, fill and slightly stretch the body.
- (7 single crochet, dec) x 2 (16) 3-5. 16 single crochet (3 rows)
- (6 single crochet, dec) x 2 (14) 7-9. 14 sc (3 rows)
- (5 sc, dec) x 2 (12) 11-13. 12 sc (3 rows)
- (4 sc, dec) x 2 (10) 15-17. 10 sc (3 rows)
- (3 sc, dec) x 2 (8) 19-21. 8 sc (3 rows)
- (2 sc, dec) x 2 (6)
Pull the opening, fasten off the thread, and cut.
Accessories: Hare and Bear Hats
The descriptions are the same, the difference is in the ears. Crochet with a #3.5 hook.
- 8 sc in MC
- 8 inc (16)
- (1 sc, inc) x 8 (24)
- (3 sc, inc) x 6 (30)
- (4 sc, inc) x 6 (36)
- (5 sc, inc) x 6 (42) 7-11. 42 sc (5 rows)
- 10 sc, 20 ch, 19 ss from the second loop, sc in the same loop where you started to pick up the ch, 24 sc, 20 ch, 19 ss, sc in the same loop where you started to pick up the ch, 8 sc, ss. Fasten off the yarn, cut it, hide the end.
Hare Ears:
- 6 sc in MC
- 6 inc (12)
- (1 sc, inc) x 6 (18)
- (2 sc, inc) x 6 (24)
- (3 sc, inc) x 3, hdc, dc, hdc, inc, (3 sc, inc) x 2 (30)
Fold in half, sew 3 loops together, sew on the crown.
Bear Ears:
- 6 sc in MC
- 6 inc (12)
- (1 sc, inc) x 6 (18)
Fold in half, 9 sc behind both sides. Sew the ears to the hat.
New Year’s Hat
Crochet with a #3.5 hook. Start with white for the pompom.
- 6 sc in MC
- 6 inc (12) 3-4. 12 sc (2 rows)
- 6 dec (6)
Fill the pompom a little. Change to the main color. Continue knitting.
- (1 hdc, inc) x 3 (9)
- (2 hdc, inc) x 3 (12) 8-9. 12 hdc (2 rows)
- (3 hdc, inc) x 3 (15) 11-12. 15 hdc (2 rows)
- (4 hdc, inc) x 3 (18) 14-15. 18 hdc (2 rows)
- (2 hdc, inc) x 6 (24) 17-18. 24 hdc (2 rows)
- (3 hdc, inc) x 6 (30) 20-21. 30 hdc (2 rows)
- (4 hdc, inc) x 6 (36) 23-24. 36 hdc (2 rows)
- (5 hdc, inc) x 6 (42) 26-27. 42 hdc (2 rows)
- (6 hdc, inc) x 6 (48)
- 42 hdc
Change color to white.
- 48 hdc, ss. Fasten off and cut.
Common Mistakes
- Skipping stitch markers between rounds often causes the head shaping to drift off count.
- Overstuffing the head before finishing makes closing the final rounds difficult.
- Placing the safety eyes too close together changes the snake’s expression noticeably.
- Rushing the tongue’s chain-and-slip-stitch section can leave it looking uneven or twisted.
- Forgetting to stretch the body while stuffing leads to a lumpy, uneven tail.
Assembly
- Insert and secure the safety eyes between rows 12 and 13 before finishing the head.
- Stuff the head firmly but gradually, checking shape after every few rounds.
- Sew the tongue between rows 17 and 18, centering it carefully before knotting.
- Attach the body directly to the head’s remaining half loops, then crochet continuously.
- Stuff the body-tail as you go, stretching gently so it curls naturally when finished.
- Add hat accessories last, sewing them securely to the crown of the head.
Important Remarks
- Always double-check that safety eyes are rated for children’s toys before attaching them.
- Use matching semi-cotton thread when tightening eyes for a cleaner, less visible finish.
- Swap yarn colors freely to create sibling snakes or seasonal variations for gifting.
- Keep stuffing evenly distributed throughout the tail to avoid weak or floppy sections.
Conclusion
This Crochet Baby Snake Amigurumi pattern delivers a soft, charming toy worth every stitch. Low-key, the tapering body and playful hat options make it endlessly customizable for gifting. Whether it’s a baby shower present or a nursery decoration, this pattern brings warmth and personality to any handmade collection.