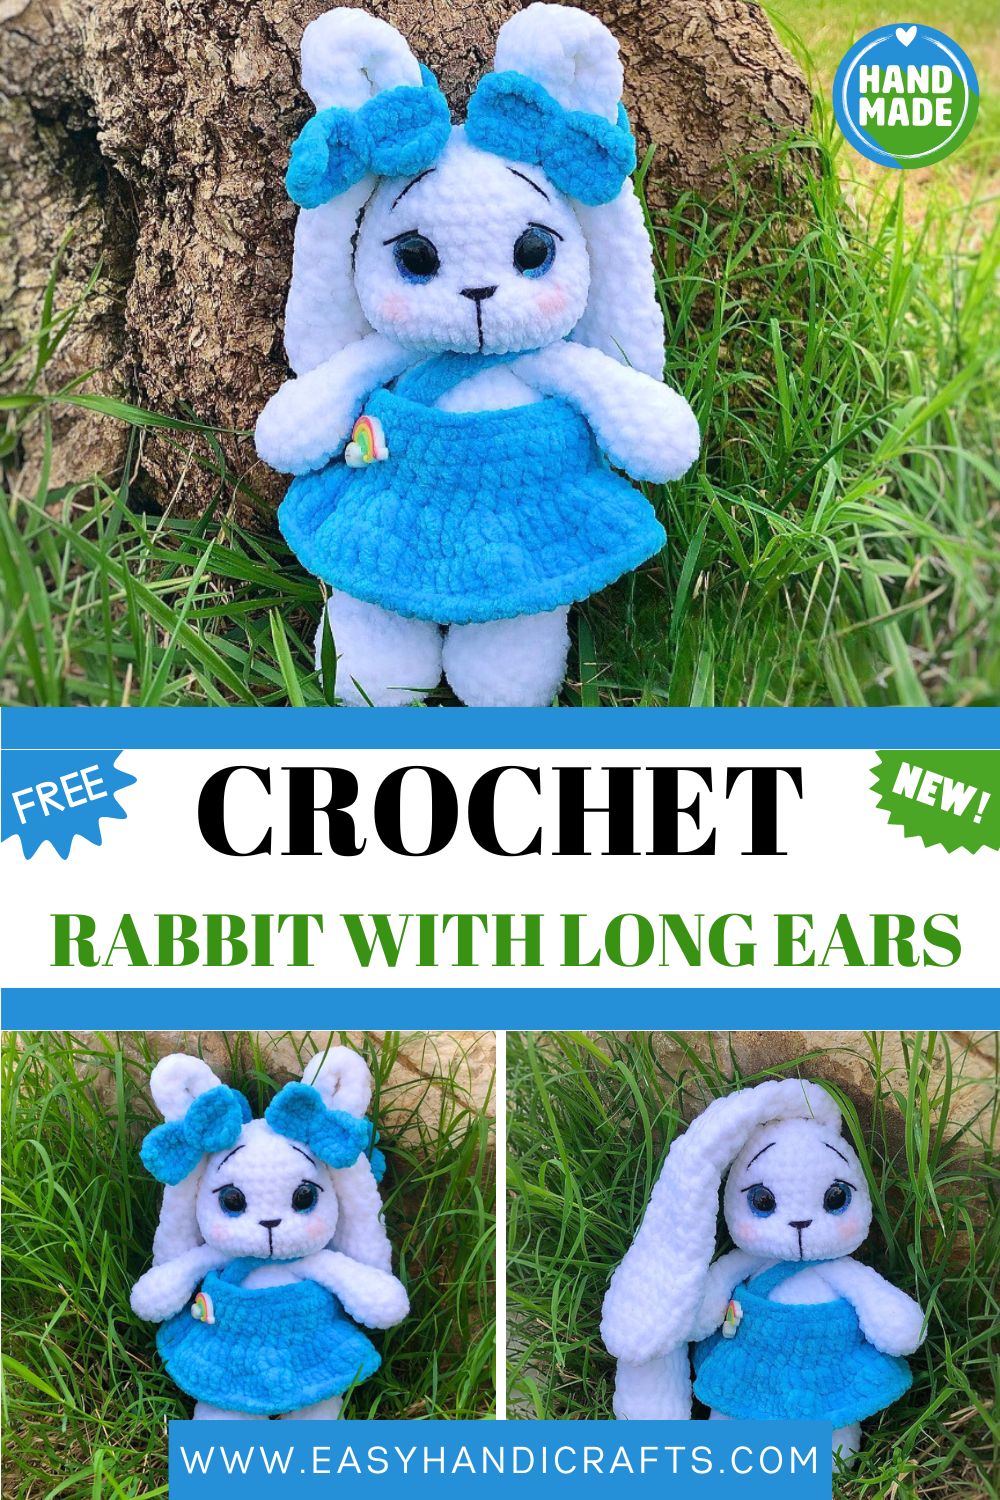
Free Crochet Bunny Girl With Long Ears Amigurumi Pattern
This sweet crochet bunny girl wins hearts with her long floppy ears, bright blue dress, and dainty matching bow. A cuddly handmade companion made to brighten every cozy little space.
This adorable long-eared bunny girl is a delightful project for crochet lovers who enjoy making soft, cuddly toys. Worked in plush chenille yarn, she features expressive eyes, rosy cheeks, and a flowing blue skirt. Whether for play or display, this gentle rabbit makes a heartwarming addition to any collection.
 Made By: Pattern
Why Make This Pattern
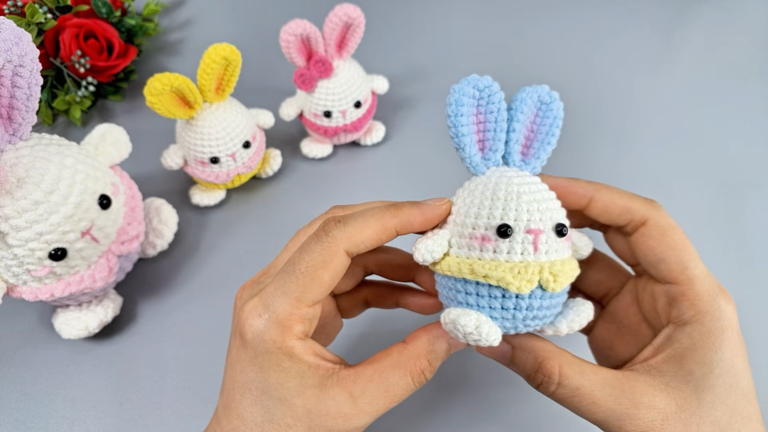
- The soft chenille yarn creates an irresistibly huggable texture that both children and adults love to hold.
- Her long, dangling ears give her a unique, lovable character that stands out from ordinary bunny patterns.
- The removable dress and bow allow for creative styling, making each finished bunny feel personal and special.
- It is a satisfying weekend project that produces a polished, gift-worthy result without requiring advanced techniques.
Materials Needed
To create your long-eared bunny girl, gather the following supplies before you start. Having everything ready makes the process smoother and more enjoyable.
- Plush chenille yarn (white): The main color for the body, head, ears, arms, and legs. This soft yarn gives the bunny her cuddly, velvety texture.
- Plush chenille yarn (blue): Used for the dress and the matching hair bow. Choose any shade of blue you prefer, or swap it for another favorite color.
- Crochet hook (appropriate size): Typically a 4 mm to 5 mm hook works well with chenille yarn. Use a size that keeps your stitches tight enough to hide the stuffing.
- Safety eyes: Black safety eyes give the bunny her sweet, expressive look. You may also embroider the eyes if making the toy for a very young child.
- Polyester fiberfill stuffing: A soft, washable filling to give the bunny her plump, huggable shape.
- Stitch marker: Essential for keeping track of rounds when working in a continuous spiral.
- Yarn needle (tapestry needle): For sewing the pieces together and weaving in loose ends.
- Black embroidery thread: To stitch the nose, mouth, and delicate eyebrow details.
- Pink yarn or blush: A small amount for the rosy cheeks that add charm to her face.
- Small scissors: For trimming yarn ends cleanly.
- Optional rainbow charm or applique: A cute decorative accent for the dress pocket, as seen in the original design.
Tip: Always buy a little extra yarn in the same dye lot to ensure consistent color throughout your project.
Abbreviations
This pattern uses standard US crochet terms. Familiarize yourself with these abbreviations before you begin so you can follow each step with confidence.
- MR – Magic Ring
- ch – Chain
- sc – Single Crochet
- inc – Increase (work two single crochets into the same stitch)
- dec – Decrease (crochet two stitches together)
- sl st – Slip Stitch
- st / sts – Stitch / Stitches
- rnd – Round
- FO – Fasten Off
- ( ) – Repeat the instructions within the brackets as directed
- [ ] – Total stitch count at the end of the round
Instructions
Before you begin, take a few minutes to gather all your materials and read through the entire pattern once. This helps you understand how each part connects and prevents confusion later. Work the body, head, ears, arms, and legs as separate pieces, then assemble them at the end.
- Work in continuous rounds: Use a stitch marker to track the beginning of each round, since this pattern is worked in a spiral rather than joined rounds.
- Maintain even tension: Keep your stitches firm and consistent throughout so the stuffing stays hidden and the shape looks neat.
- Stuff as you go: For larger pieces like the body and head, add filling gradually before the opening becomes too small to reach.
- Pin before sewing: Position the ears, arms, and legs with pins first to check balance and symmetry before stitching them permanently.
- Attach the face carefully: Place the safety eyes and embroider the nose while the head is lightly stuffed, so you can adjust the expression before closing it.
- Follow the sequence: Complete all individual parts first, then move on to assembly and finally dress your bunny in her skirt and bow.
Take your time with each step, and remember that handmade pieces gain their charm from the care you put into them.
Customization and Variations
- Color swap: Replace the blue dress with pink, lavender, or mint to match any nursery or personal preference.
- Boy version: Skip the bow and dress, then add tiny overalls or a bow tie to create a matching bunny boy.
- Seasonal touches: Add a small flower crown for spring or a knitted scarf for winter to suit the season.
- Ear styles: Stuff the ears lightly for a floppy look, or add wire inside for poseable, standing ears.
- Embroidered details: Change the expression by adjusting the eye placement or stitching a tiny smile for variety.
Skill Level
This Crochet Bunny Girl pattern suits confident beginners and intermediate crocheters. You should be comfortable with single crochet, increases, decreases, and working in continuous rounds. Basic assembly and simple embroidery skills are helpful too.
Common Mistakes to Avoid
- Loose tension: Working too loosely leaves gaps where stuffing peeks through, so keep your stitches snug and even.
- Skipping stitch markers: Losing track of rounds is easy with chenille yarn, so always mark the first stitch of each round.
- Overstuffing: Too much filling distorts the shape and stretches the fabric, so stuff firmly but gently.
- Uneven eye placement: Attaching the eyes before checking symmetry often leads to a lopsided face, so pin first and adjust.
- Rushing assembly: Sewing parts on quickly can cause crooked limbs, so take time to position each piece carefully.
Finishing Tips
- Use a yarn needle to weave in all loose ends securely so they stay hidden inside the body.
- Brush the chenille surface gently to blend seams and create a smoother, more uniform appearance.
- Steam or lightly block the dress so it drapes neatly instead of bunching at the waist.
- Double-check that all small parts, like safety eyes, are firmly fastened before gifting to a child.
- Give the bunny a gentle shaping squeeze after stuffing to settle the filling evenly throughout.
Gifting Ideas
- A thoughtful birthday present for toddlers, children, or anyone who appreciates handmade keepsakes.
- A comforting baby shower gift, especially in soft pastel colors for a new arrival.
- A sweet Easter surprise that lasts far longer than chocolate treats.
- A meaningful handmade token for a friend who loves cute, cuddly decorations.
- A charming addition to a nursery shelf or a child’s reading nook.
Conclusion
Creating this long-eared Crochet Bunny Girl is a rewarding experience from the first stitch to the final touch. Her soft texture, expressive face, and charming dress make her a favorite among handmade toys. With simple stitches and a little patience, you can craft a lovable companion that brings joy for years. Once you finish your first bunny, you may find yourself reaching for more yarn to make a whole family of these delightful friends.