Polished Crochet Simple Dragon Amigurumi Quick & Pattern
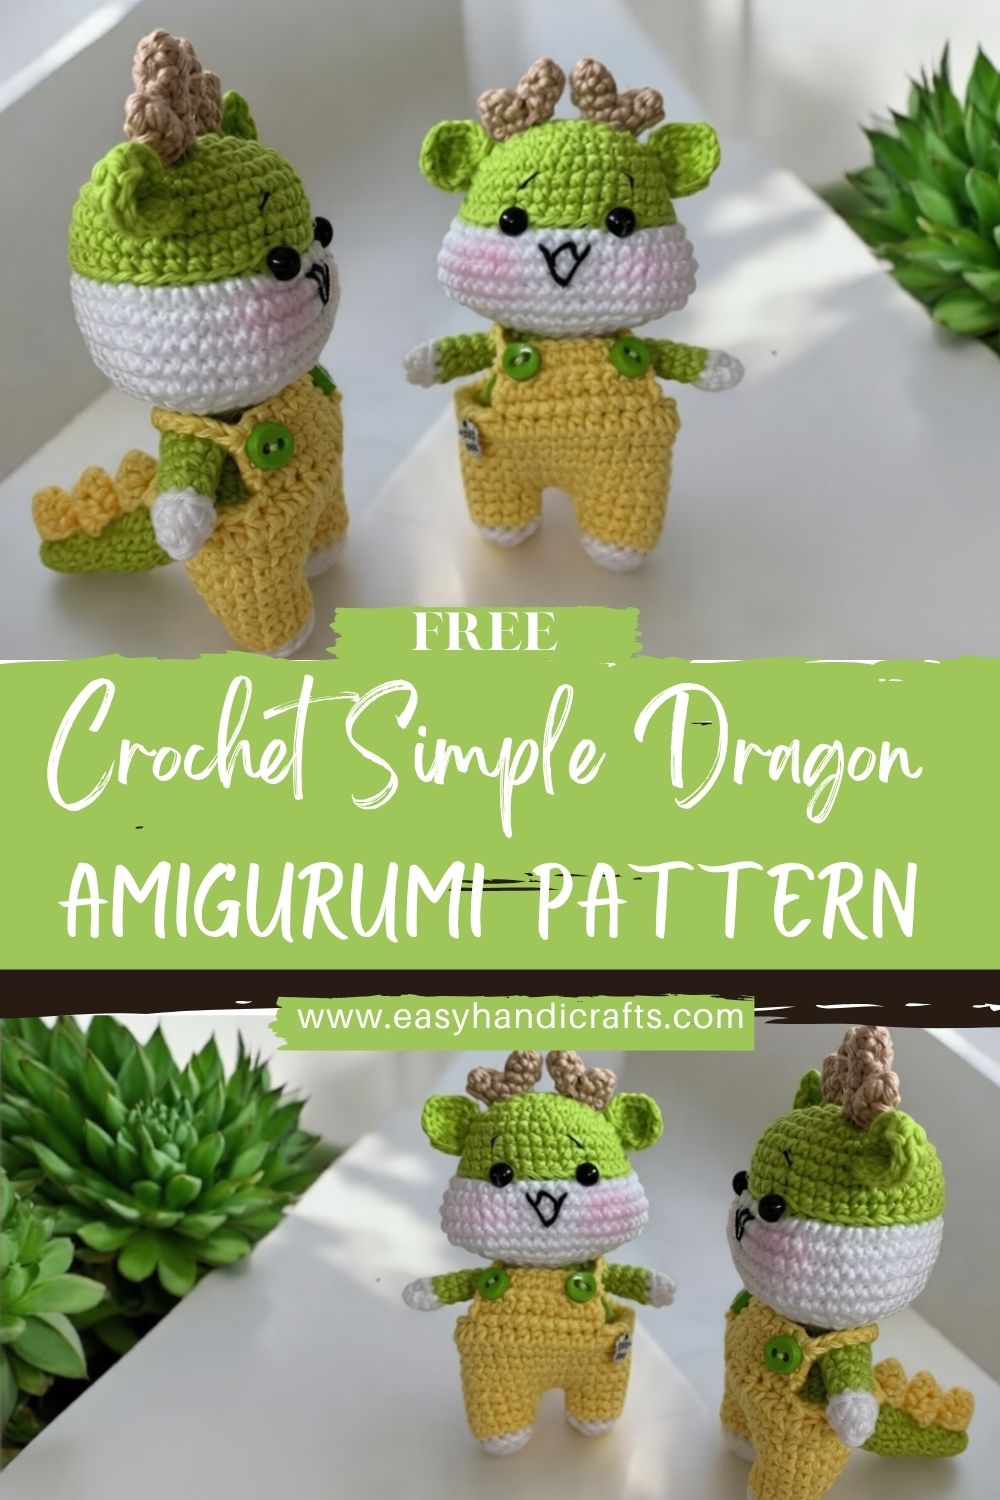
Create your own adorable, simple crochet dragon amigurumi with this easy and beginner-friendly pattern. This cute mini dragon, with its chubby body and tiny outfit, is perfect for anyone who loves handmade toys and creative crochet projects.
Whether you’re making a sweet gift or adding a magical touch to your collection, this crochet dragon pattern is simple, fun, and full of charm.
Dragon amigurumi stays popular for a reason. Fantasy creatures feel magical, yet the amigurumi style keeps everything gentle and huggable. A small dragon also looks adorable in simple shapes, which makes the project less stressful for beginners. Round head, chubby body, and short limbs help the design come together quickly, and the plush look hides tiny imperfections beautifully.
Cute proportions add instant charm, and the overalls bring personality without complicated shaping. A little outfit makes the dragon look like a tiny character instead of just a plush. Finished size works well as a toy for playtime, a handmade gift, nursery decor, a desk buddy, or a collectible for fantasy lovers.
Materials Needed
- Green yarn (main color): 50 g DK or worsted weight
- White yarn (face/body parts): 10 g
- Yellow yarn (outfit): 20 g
- Brown yarn (horns): 5 g
- Black yarn (facial details): 2 g (or embroidery floss)
- Crochet hook: 3.5 mm (use 3.0 mm for tighter stitches if needed)
- Safety eyes: 8 mm (or embroider eyes for baby-safe option)
- Stuffing: 25 to 35 g polyester fiberfill
- Tools: yarn needle, stitch marker, scissors
- Optional: 2 small buttons (8 to 10 mm) for overall straps
Finished size: about 12-15 cm tall, depending on yarn and tension.
Abbreviations
- MR: magic ring
- sc: single crochet
- inc: increase (2 sc in same stitch)
- dec: decrease (single crochet 2 together)
- sl st: slip stitch
- ch: chain
- BLO: back loop only
- FLO: front loop only
Skill Level
Beginner / Easy Beginner
Simple shapes, basic stitches, and minimal counting changes make the project approachable. Most parts are small tubes or rounds, and the overalls are made with easy rows and straps.
Estimated Time
- Total time: 3 to 5 hours
- Head: 45 to 70 minutes
- Body: 40 to 60 minutes
- Arms (2): 20 to 30 minutes
- Legs (2): 25 to 35 minutes
- Horns + ears + tail: 25 to 40 minutes
- Outfit (overalls): 40 to 60 minutes
- Assembly: 30 to 50 minutes
Important Notes Before Starting
- Work in continuous rounds unless stated otherwise.
- Use a stitch marker to track the first stitch of each round.
- Keep stitches tight to prevent stuffing from showing.
- Stuff gradually as you go, not only at the end.
- Maintain symmetry by counting carefully and pinning parts before sewing.
Step-by-Step Pattern
Stitch counts are given at the end of each round.
Head (Green with White muzzle patch option)
- Round 1: MR, 6 sc (6)
- Round 2: inc x6 (12)
- Round 3: (sc, inc) x6 (18)
- Round 4: (2 sc, inc) x6 (24)
- Round 5: (3 sc, inc) x6 (30)
- Round 6: (4 sc, inc) x6 (36)
- Rounds 7 to 9: sc around (36)
Place eyes properly
8. Insert 8 mm safety eyes between Rounds 8 and 9, about 7 to 8 stitches apart. Adjust spacing for a cuter look.
Optional white face patch (sweet beginner-friendly detail)
9. With white yarn, embroider an oval patch, or crochet a small oval and stitch it on:
- ch 4, sc in 2nd ch and next (2), 3 sc in last ch, rotate, sc 2, 2 sc in last (9)
- Fasten off, stitch centered under eyes.
Start decreasing
10. Round 10: (4 sc, dec) x6 (30)
- Round 11: (3 sc, dec) x6 (24)
- Round 12: (2 sc, dec) x6 (18)
Stuff before closing
13. Stuff firmly, shaping a round head.
- Round 13: (sc, dec) x6 (12)
- Round 14: dec x6 (6)
- Fasten off, close the opening, and weave in the end.
Body (Chubby and simple)
- Round 1: MR, 6 sc (6)
- Round 2: inc x6 (12)
- Round 3: (sc, inc) x6 (18)
- Round 4: (2 sc, inc) x6 (24)
- Round 5: (3 sc, inc) x6 (30)
- Rounds 6 to 8: sc around (30)
- Round 9: (3 sc, dec) x6 (24)
- Round 10: sc around (24)
- Round 11: (2 sc, dec) x6 (18)
- Stuff the body, keeping it slightly pear-shaped.
- Round 12: (sc, dec) x6 (12)
- Round 13: dec x6 (6)
- Fasten off, leave a long tail for sewing to the head.
Attach head
- Sew the head to the body using a whip stitch. Pin first, then stitch around tightly.
Arms (Make 2)
- Round 1: MR, 6 sc (6)
- Round 2: (sc, inc) x3 (9)
- Rounds 3 to 6: sc around (9)
- Lightly stuff the hand area only.
- Flatten top and sc through both layers to close (4 to 5 sc).
- Fasten off, leave a sewing tail.
Attach at the sides
- Sew arms to the upper sides of the body, slightly forward for a cuddly pose.
Legs (Make 2, short and sturdy)
- Round 1: MR, 6 sc (6)
- Round 2: inc x6 (12)
- Round 3: sc around (12)
- Round 4: (2 sc, dec) x3 (9)
- Rounds 5 to 7: sc around (9)
- Stuff firmly. Flatten the top and close with 4-5 sc through both layers.
- Fasten off, leave a sewing tail.
Ensure balance
- Pin legs first. Place them evenly so the dragon sits neatly without tipping.
Horns (Make 2, Brown)
- Round 1: MR, 4 sc (4)
- Round 2: (sc, inc) x2 (6)
- Round 3: sc around (6)
- Round 4: (2 sc, inc) x2 (8)
- Fasten off, lightly stuff, or leave unstuffed for softness.
Attach to the top of the head
- Sew horns on top, slightly angled outward for a cute look.
Ears (Make 2, Green)
- Round 1: MR, 5 sc (5)
- Round 2: inc x5 (10)
- Round 3: sc around (10)
- Flatten and stitch the bottom closed. Fasten off.
Attach near the horns
- Sew ears beside and a little below the horns.
Tail (Green, simple shaping)
- Round 1: MR, 5 sc (5)
- Round 2: sc around (5)
- Round 3: (sc, inc) repeat around (7)
- Rounds 4 to 6: sc around (7)
- Lightly stuff from the base only.
- Fasten off, leave a tail for sewing.
Attach at back
- Stitch the tail low on the back of the body so it peeks out under the overalls.
Outfit (Overalls Style, Yellow)
Overall shorts (worked in rows, then seamed)
- Chain 18.
- Row 1: sc in 2nd ch from hook and across (17)
- Row 2: ch 1, turn, sc across (17)
- Row 3: ch 1, turn, sc across (17)
- Fold into a wrap that fits around the belly. Seam the short sides together to form a tube.
Leg openings
6. To create two leg holes, stitch a small seam at the bottom center for about 3 to 4 stitches. Try on the body and adjust.
Bib (front panel)
7. Attach yarn at the top front center.
- sc 6 across, ch 1, turn
- Work 3 rows of 6 sc to make a small bib panel. Fasten off.
Straps
10. Attach yarn to the top corner of the bib. ch 10 to 14 (length depends on body). sl st to back top edge.
- Repeat for the second strap.
Optional buttons
12. Sew small buttons to the bib and stitch straps onto them, or simply sew straps down.
Fit nicely on the body.
- Slide the overalls on after sewing the legs in place. Adjust the strap length before final stitching.
Facial Details
- With black yarn or floss, embroider a small nose centered on the white patch (or directly on the green face).
- Add a gentle smile with a short curved stitch.
- Optional blush: dab a little pink pastel or lightly embroider tiny rosy stitches under the eyes.
Assembly
- Sew the head to the body securely.
- Pin and sew legs, checking balance.
- Sew arms at the sides.
- Add a tail at the back.
- Sew horns and ears on the head.
- Dress the dragon in overalls and tack straps in place.
Tip: Pin everything first and look from the front, side, and top before sewing.
Finishing Touches
- Shape the head and body with hands, smoothing the stuffing into rounded curves.
- Add a tiny bit more stuffing where the body looks flat.
- Hide yarn ends inside the body and trim neatly.
Tips for Beginners
- Keep tension even for a smooth, plush finish.
- Move the stitch marker every round to avoid losing count.
- Take time with assembly, since placement creates most of the personality.
Common Mistakes
- Loose stitches that show stuffing through gaps
- Uneven parts from missed increases or decreases
- Wrong placement of eyes, legs, or arms, causing an odd posture
- Overstuffing that stretches stitches and makes seams harder
Customization Ideas
- Try different dragon colors like mint, teal, lavender, or charcoal.
- Add small wings, back spikes, or a heart-shaped tail tip.
- Change the outfit style to a striped shirt, a tiny hoodie, or a dress for a whimsical twist.
- Make a mini keychain version using thinner yarn and a smaller hook.
- Create a fantasy creature set with a baby unicorn, tiny griffin, and pocket-sized dragon.
Conclusion for ( Crochet Simple Dragon Amigurumi )
Warm colors, soft yarn, and a simple shape can turn into the sweetest Crochet Simple Dragon Amigurumi. Small horns, chubby body, and bright overalls give the mini crochet dragon a friendly, storybook feel.
Experiment with colors, add tiny details, and enjoy the calm rhythm of stitches. A beginner amigurumi toy like this is meant to feel fun, relaxed, and full of personality.