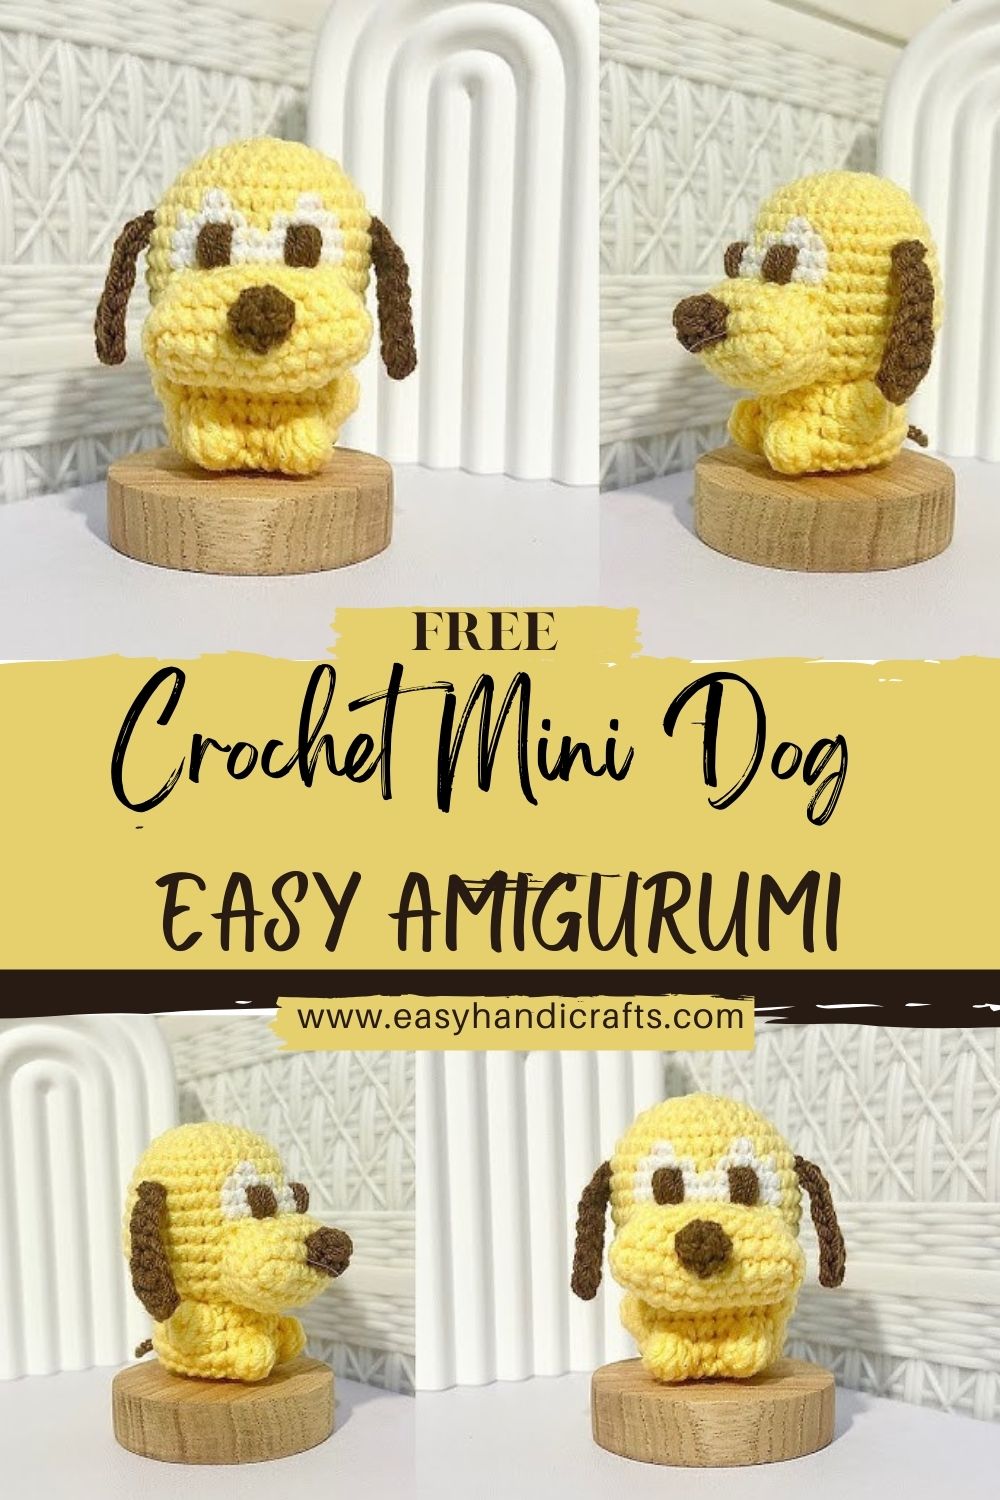
Cute Crochet Mini Dog Easy Amigurumi Pattern
Looking for a crochet dog pattern that’s small, sweet, and fast to make? This amigurumi dog tutorial creates a crochet puppy plush with floppy ears and a cute face, perfect as a beginner crochet toy.
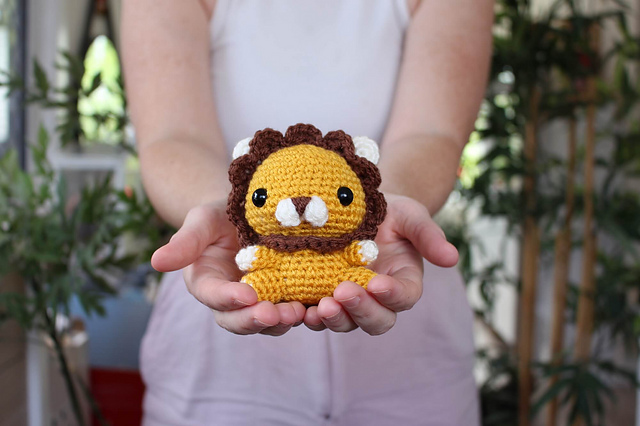
This cute crochet dog pattern is designed to help beginners make an adorable mini puppy plush without complicated shaping. A small yellow puppy inspires the finished amigurumi dog with a round head, a short, chubby body, floppy brown ears, and a tiny snout, topped off with simple embroidered details or safety eyes for an expressive, lovable look.
You’ll work the head and body as separate pieces (easy to stuff and shape), then add the snout, ears, legs, and an optional little tail. If you’re new to amigurumi, don’t worry: this easy amigurumi pattern uses the core building blocks, single crochet, and increase. It decreases—plus straightforward assembly tips so your crochet puppy comes out neat and symmetrical.
Materials Needed
- Yarn: yellow + brown + white/cream (cream is great for the snout or tummy accent)
- Crochet hook: 2.5mm–4mm (use a smaller hook for tighter stitches)
- Fiberfill stuffing
- Safety eyes or embroidery thread (embroidered is child-friendly)
- Yarn needle
- Stitch marker
- Scissors
Visual Description of the Dog
This mini puppy is designed to be:
- Small, compact, and round, with a friendly “chibi” silhouette
- Made with a soft yarn texture that looks plush and cosy
- A chubby body that sits nicely in the hand
- Short legs for a stable, cute stance
- Floppy brown ears that frame the face
- A small snout that gently protrudes for dimension
- Cute embroidered or safety eyes placed wide for a sweet expression
- An adorable handmade look that’s giftable and highly customizable
About Amigurumi
Amigurumi is the Japanese art of crocheting small stuffed toys, usually made in continuous rounds with tight stitches. It’s popular worldwide because it’s:
- Easy to customize (colours, faces, accessories)
- Quick to finish (small projects = fast results)
- Very approachable for beginners once you learn the simple shaping rhythm of inc and dec
Skill Level
Beginner to Intermediate
You should know (or be ready to practice):
- single crochet (sc)
- increases (inc)
- decreases (dec) (invisible decrease recommended for smooth shaping) Basic sewing for assembly
Abbreviations
- MR = magic ring
- sc = single crochet
- inc = increase (2 sc in the same stitch)
- dec = decrease (sc2tog; invisible decrease preferred)
- sl st = slip stitch
- ch = chain
- rep = repeat
Step-by-Step Crochet Pattern (Very Important)
Finished Size (Approx.)
With DK yarn and a 3.0mm hook: about 9–11 cm (3.5–4.5 in) tall when sitting.
(Your size may vary based on yarn, hook size, and tension.)
Pattern Notes
- Work in continuous rounds unless stated.
- Use a stitch marker in the first stitch of each round.
- Stuff firmly,y but don’t overstuff (overstuffing can stretch stitches).
A. Head (Round Shape Using Increases and Decreases)
Colour: yellow
R1: 6 sc in MR (6)
R2: inc around (12)
R3: (sc, inc) rep 6 (18)
R4: (2 sc, inc) rep 6 (24)
R5: (3 sc, inc) rep 6 (30)
R6–R9: sc around (30) for 4 rounds
Eye Placement
If using safety eyes:
- Place between R7 and R8, about 7–8 stitches apart.
- Keep them centred on the “front” of the head (where the snout will go).
Now shape down:
R10: (3 sc, dec) rep 6 (24)
R11: (2 sc, dec) rep 6 (18)
Start stuffing the head—focus on rounding the cheeks.
R12: (sc, dec) rep 6 (12)
Add a bit more stuffing, smoothing as you go.
R13: dec around (6)
Fasten off, leave a long tail. Close the opening by weaving through the front loops of the last 6 stitches, then pull tight. Hide the end inside.
Shaping tip: After stuffing, gently roll the head between your palms to smooth out lumps.
B. Body (Small Rounded Base)
Colour: yellow
R1: 6 sc in MR (6)
R2: inc around (12)
R3: (sc, inc) rep 6 (18)
R4: (2 sc, inc) rep 6 (24)
R5–R7: sc around (24) for 3 rounds
R8: (2 sc, dec) rep 6 (18)
Stuff the body firmly, especially around the side,s for a chubby look.
R9: (sc, dec) rep 6 (12)
Add a final bit of stuffing.
R10: dec around (6)
Fasten off, leave a long tail for sewing to the head.
C. Snout (Small Protruding Shape Colour or: cream/white (or yellow if you prefer a monochrome puppy)
R1: 6 sc in MR (6)
R2: (sc, inc) rep 3 (9)
R3: sc around (9)
R4: (sc, dec) rep 3 (6)
Lightly stuff the snout so it puffs out (don’t overstuff).
Fasten off, leave a long tail for sewing.
Placement: Center the snout on the face, typically spanning R7–R10 area of the head.
D. Ears (Floppy, Make 2)
Colour: brown
R1: 6 sc in MR (6)
R2: (sc, inc) rep 3 (9)
R3: (2 sc, inc) rep 3 (12)
R4–R7: sc around (12) for 4 rounds
Do not stuff for a floppy look.
Flatten the top edge and close with:
- sl st across 6 stitches (or sc across) to seal and create a neat ear edge.
Fasten off, leave a long tail for sewing.
Ear shaping tip: If you want extra flop, stitch the ear slightly folded at the base.
E. Legs (Short and Simple, Make 4) Colour: yellow
R1: 6 sc in MR (6)
R2: sc around (6)
R3: sc around (6)
Lightly stuff the leg (optional; many mini legs look neat unstuffed).
Flatten and close with sc 3 through both layers (3).
Fasten off, leave a tail for sewing.
Placement: Two legs at the front underside, two at the back underside of the body.
F. Tail (Small and Optional Colour or: yellow (or brown for contrast)
R1: 4 sc in MR (4)
R2: sc around (4)
Fasten off, leave a tail for sewing.
Tip: You can also make a tiny waggy tail by chaining 4, then sl st back down the chain.
G. Assembly (Neat, Beginner-Friendly Order)
- Sew head to body:
- Alithe gn hecentredred on top of the body.
- Use the long tail from the body or head and stitch all around securely.
- Attach snout:
- Centre it on the face beneath the eyes.
- Sew around the edge using small stitches.
- Add a touch more stuffing before the final stitches if needed.
- Attach ears:
- Place ears on the sides of the head, slightly above the snout line.
- A good position is around R6–R9.
- Sew firmly across the top edge of the ear.
- Attach legs:
- Sew two front legs slightly forward on the underside.
- Sew two back legs slightly behind, so the puppy sits balanced.
- Check that it can stand/sit before tightening all stitches.
- Attach tail (optional):
- Sew to the back of the body, centred.
Pro tip: Pin everything first and view from the front before sewing. Symmetry is what makes mini amigurumi look “professional.”
H. Face Details (Eyes, Nose, Embroidery)
Eyes
- Safety eyes: already placed between R7–R8, 7–8 stitches apart.
- Embroidered eyes: Use black thread to stitch small dots or tiny “U” shapes for a sleepy-cute look.
Nose
- Using black or dark brown embroidery thread, stitch a small triangle or oval nose on the snout.
- Place it centred near the top of the snout.
Mouth (Simple + Cute)
- Stitch a short vertical line down from the nose.
- Add a small curved smile to one or both sides.
Optional detail: Add tiny white highlights to the eyes with a stitch of white thread for extra cuteness.
NOTE
This is an inspired instructional pattern based on the design, not a replica of the original pattern.
DISCLAIMER
Stitch counts and shaping may vary depending on yarn, hook size, and tension.
Customization Ideas
- Try different dog colours: brown, black, white, tan, or even pastel for a whimsical puppy.
- Add spots or patches (surface crochet or sew on felt/embroidered patches)
- Make it a keychain: crochet with thinner yarn, add a small loop (ch 8, sl st to form a loop) on top of the head
- Change ear styles: make short perked ears (smaller triangles) or longer droopy ears (add rounds to the ear length)
Tips for Beginners
- Maintain even tension: tight, consistent stitches prevent stuffing from showing.
- Use stitch markers: always mark the first stitch of the round to keep counts accurate.
- Stuffing technique: add small pieces gradually; shape as you stuff to avoid lumps.
- Sew parts neatly: pin first, use small whip stitches, and keep sewing yarn snug (but not puckering).
Why You’ll Love This Pattern
- Quick and easy: small pieces and simple shaping
- Beginner-friendly: uses the core amigurumi stitches
- Cute handmade gift: perfect for dog lovers, party favours, and nursery decor
- Customizable: colours, expressions, ear styles, and accessories
Conclusion
This mini amigurumi puppy is proof that a few simple shapes can create a ton of personality. Take it round by round, keep the face minimal and sweet, and you’ll have a lovable little crochet dog that’s ready to gift or keep as your own tiny companion.