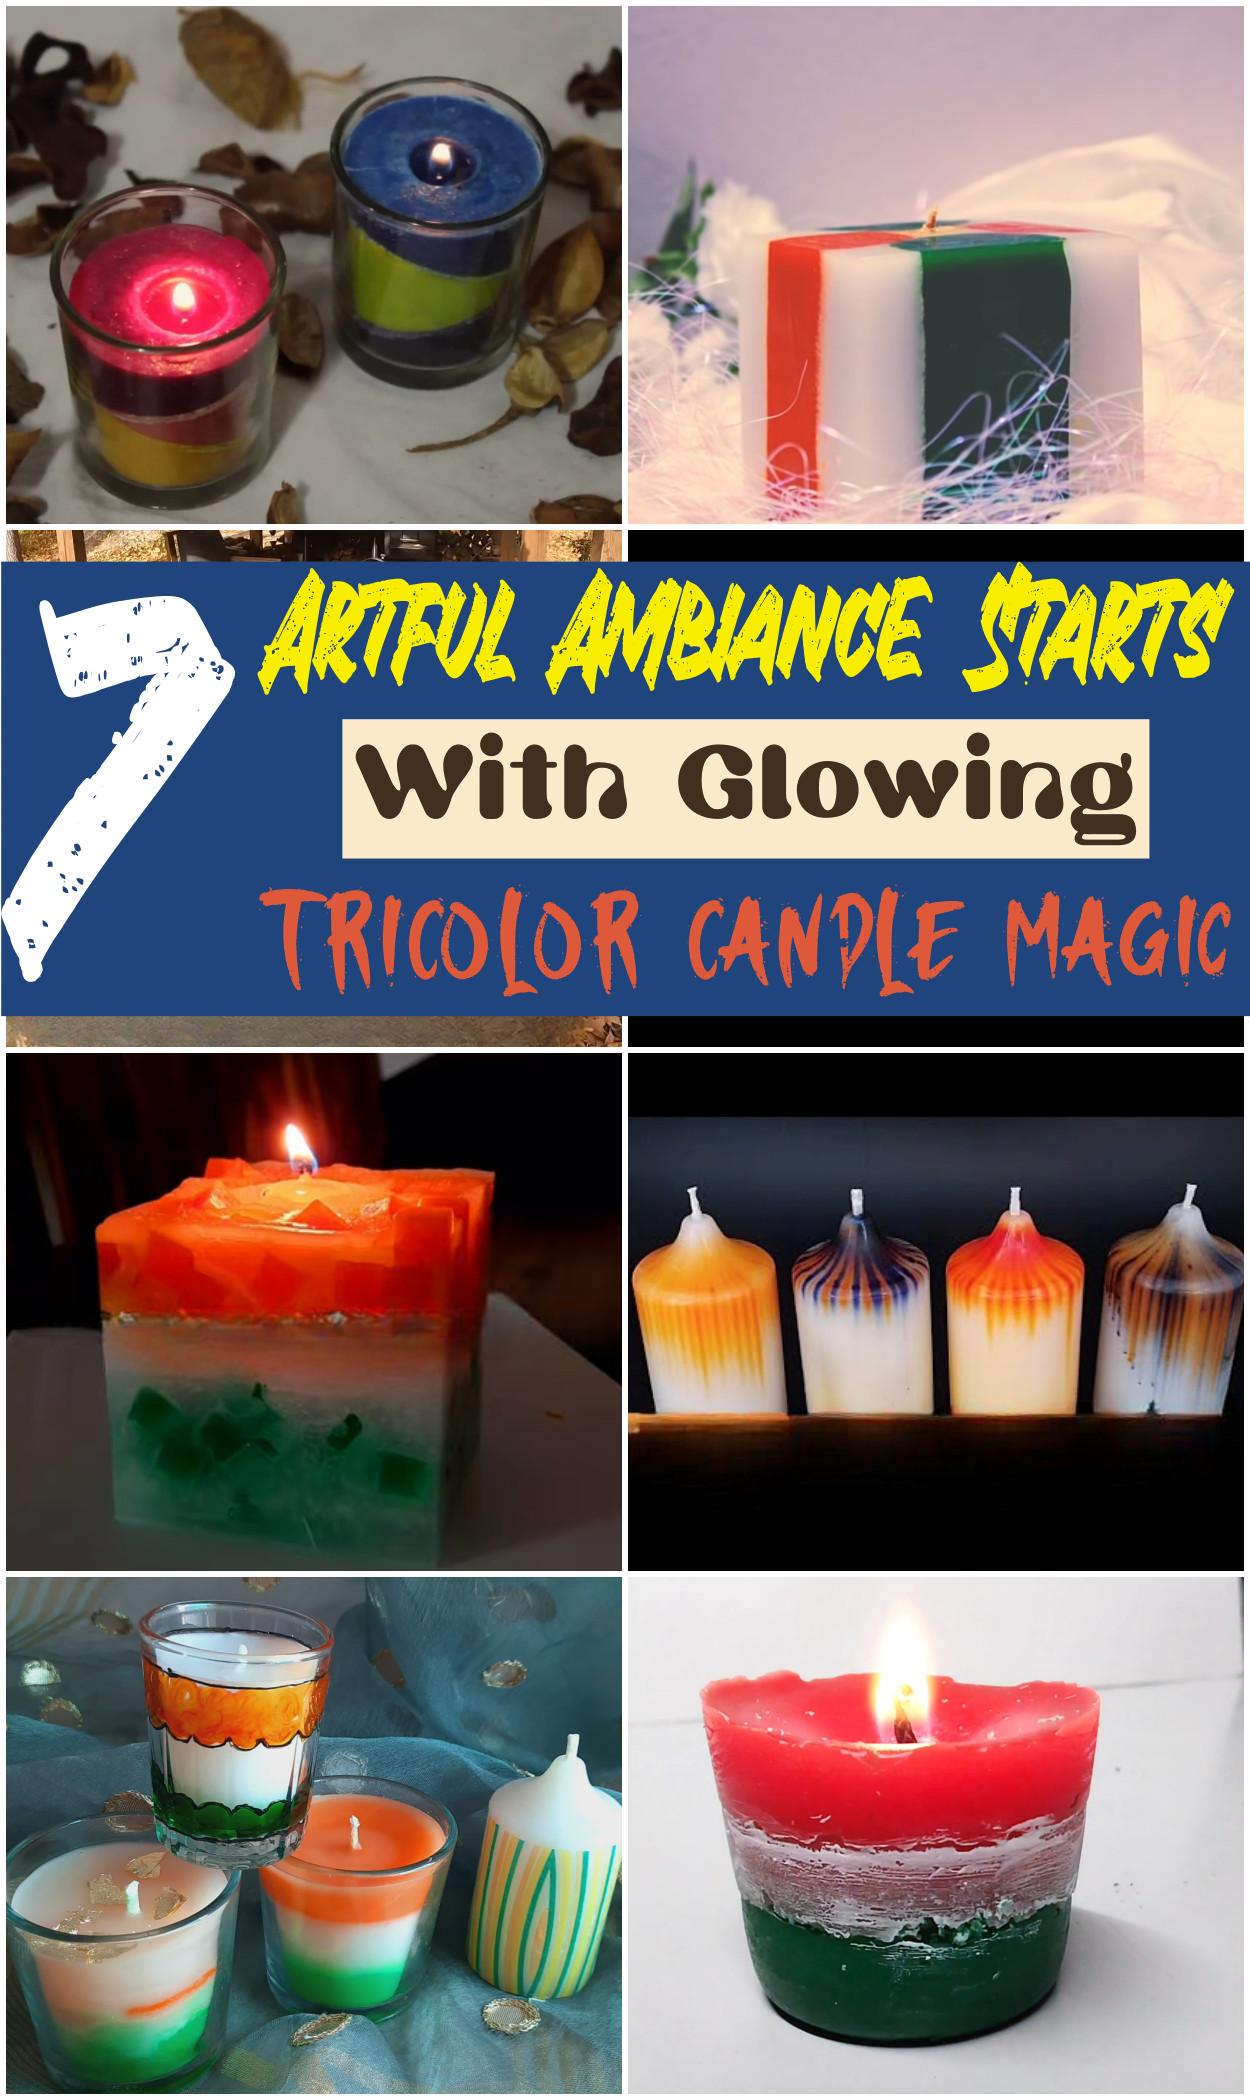
Artful Ambiance Starts With Glowing TriColor Candle Magic
Artful Ambiance starts with the glowing TriColor Candle Magic, a beautiful and versatile addition to any space. This candle combines three vibrant colors layered carefully to create a soothing and visually captivating effect when lit. It can be used to enhance relaxation, meditation, or simply to bring a warm, inviting atmosphere to a room. Making this candle involves melting wax, selecting three different colored waxes or dyes, and pouring them in layers inside a sturdy glass container. Essential materials include soy or beeswax, wicks, color dyes, and a heat-safe container. The process usually takes about one to two hours, including cooling time between layers to keep the colors distinct and vivid.
Variations in the design allow for creative freedom, such as choosing different color combinations to match moods or décor styles. Some versions add scents like lavender or vanilla for a calming aroma, while others experiment with unique shapes or embed small decorative items inside the wax for extra charm. This candle is not just a light source but a way to set a peaceful and artistic ambiance, making any room feel special and comforting with its warm glow and elegant layers.
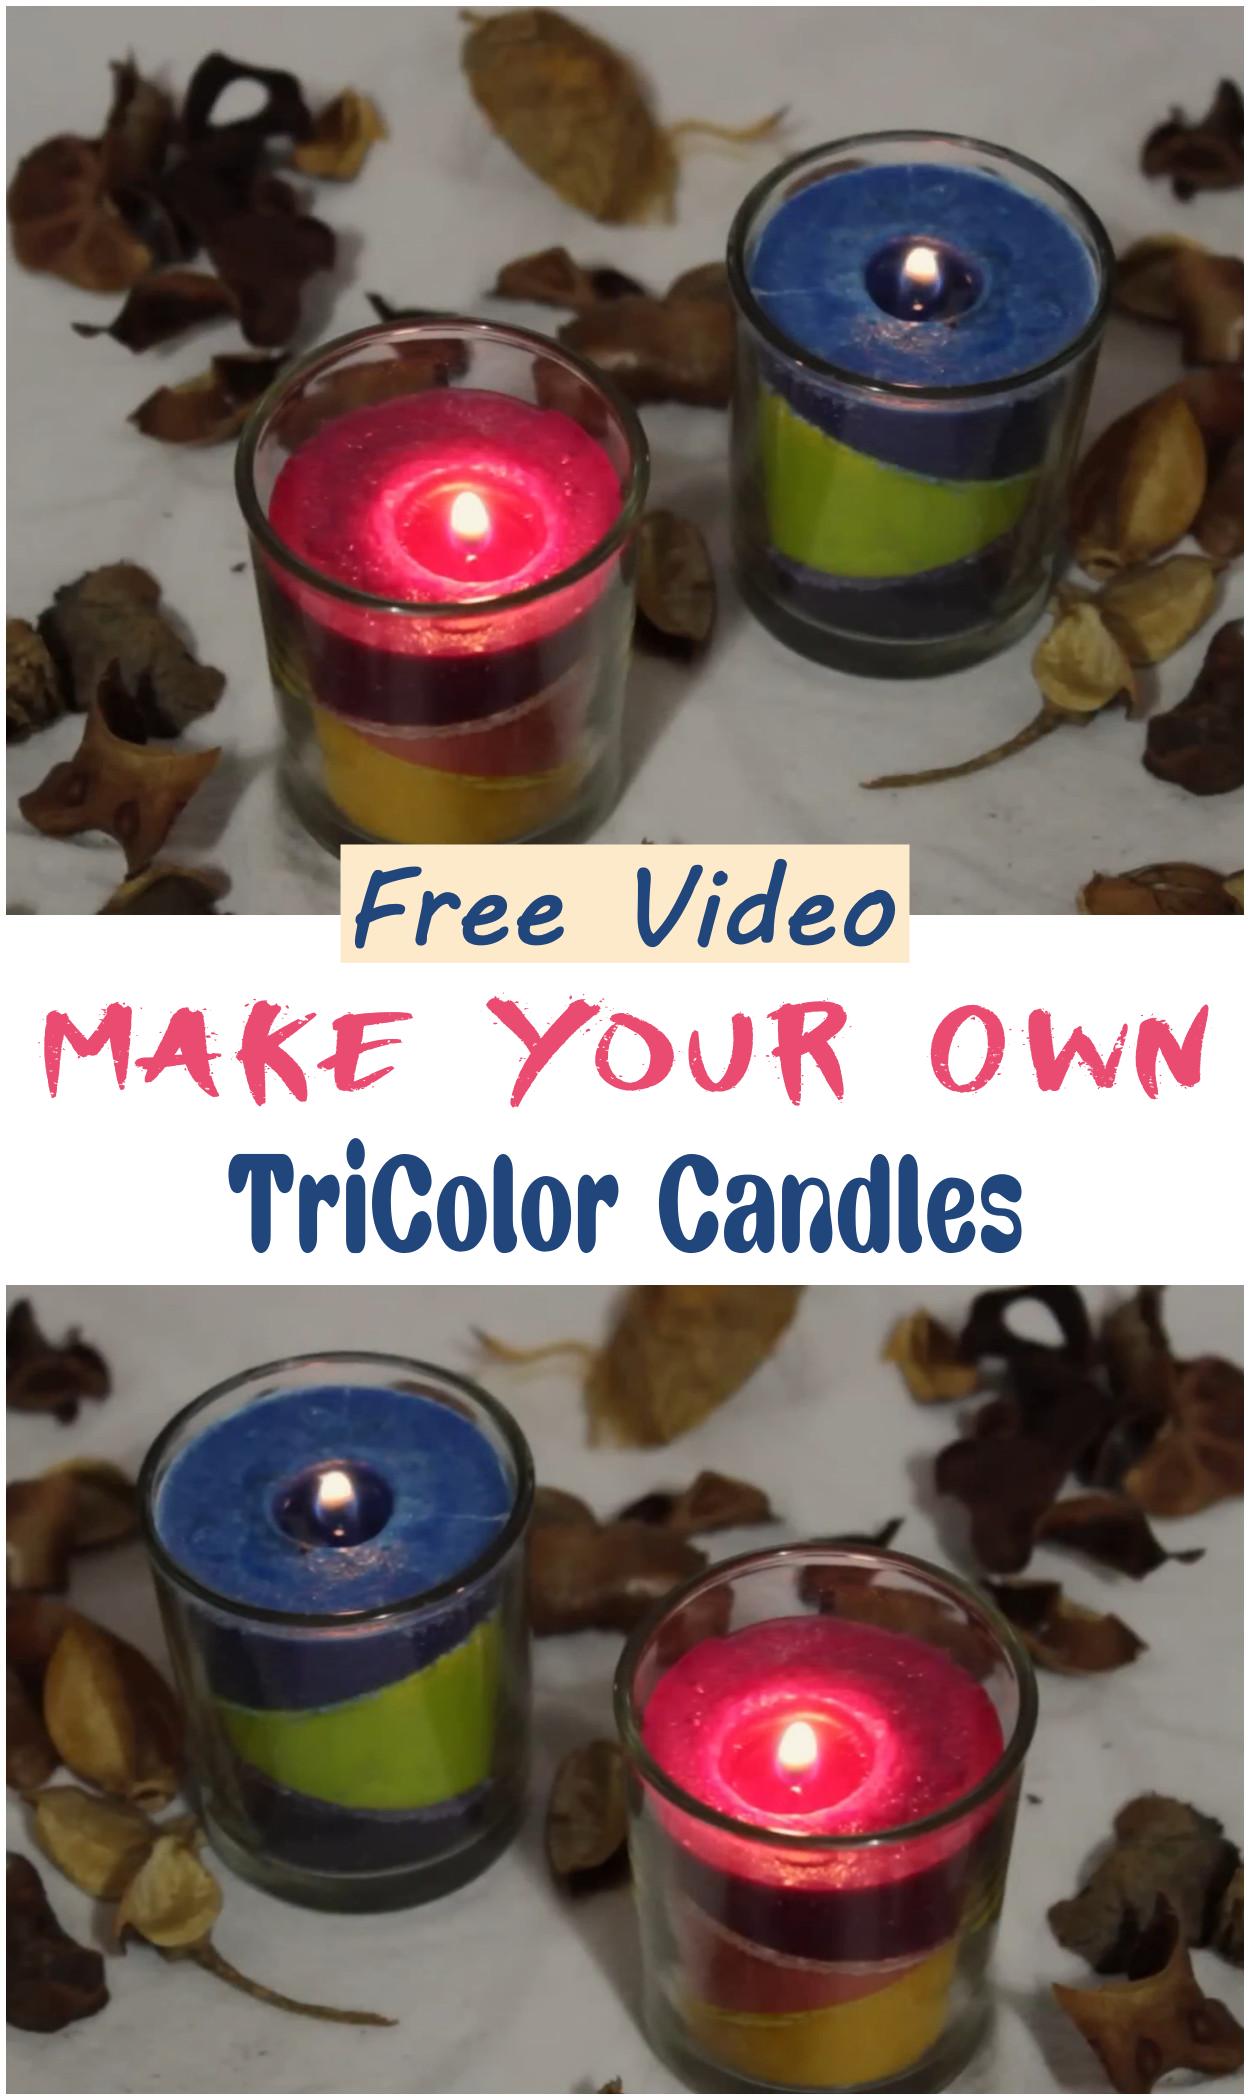
Make Your Own TriColor Candles
Making your own tri-color candles is a fun and easy way to add a personal touch to your home decor or gifts. Materials needed include wax, three different colored dyes, wicks, a heat-safe container or mold, and a double boiler or melting pot. Procedure of Making involves melting the wax, adding dye one color at a time, and pouring each layer carefully to create distinct color bands, allowing each layer to set before adding the next. For Different Design Ideas, try mixing pastel shades for a soft look, bold colors for a vibrant effect, or even use scented oils to add fragrance. Precautions are important: always melt wax slowly to avoid overheating, keep the workspace ventilated, and handle hot wax with care to prevent burns. This simple process makes tri-color candles accessible and enjoyable for beginners looking to brighten their space creatively.
Tricolor Candles In 4 different Styles
Tricolor candles in four different styles offer a vibrant and creative way to brighten any space. Procedure of Making: Start by melting wax in three separate batches, each dyed with a different color. Pour the first layer into a mold and let it set slightly before adding the next colors carefully on top to keep clear layers. Materials: Essential items include wax, candle dye, wicks, molds, and a heat-safe container for melting. Different Design Ideas: Try simple stripes, diagonal layers, swirling patterns, or block sections for a unique look with each candle. Precautions: Always melt wax slowly on low heat to avoid burning, secure the wick properly, and work in a well-ventilated area to ensure safety. This approach helps beginners create beautiful, colorful candles with ease and style.
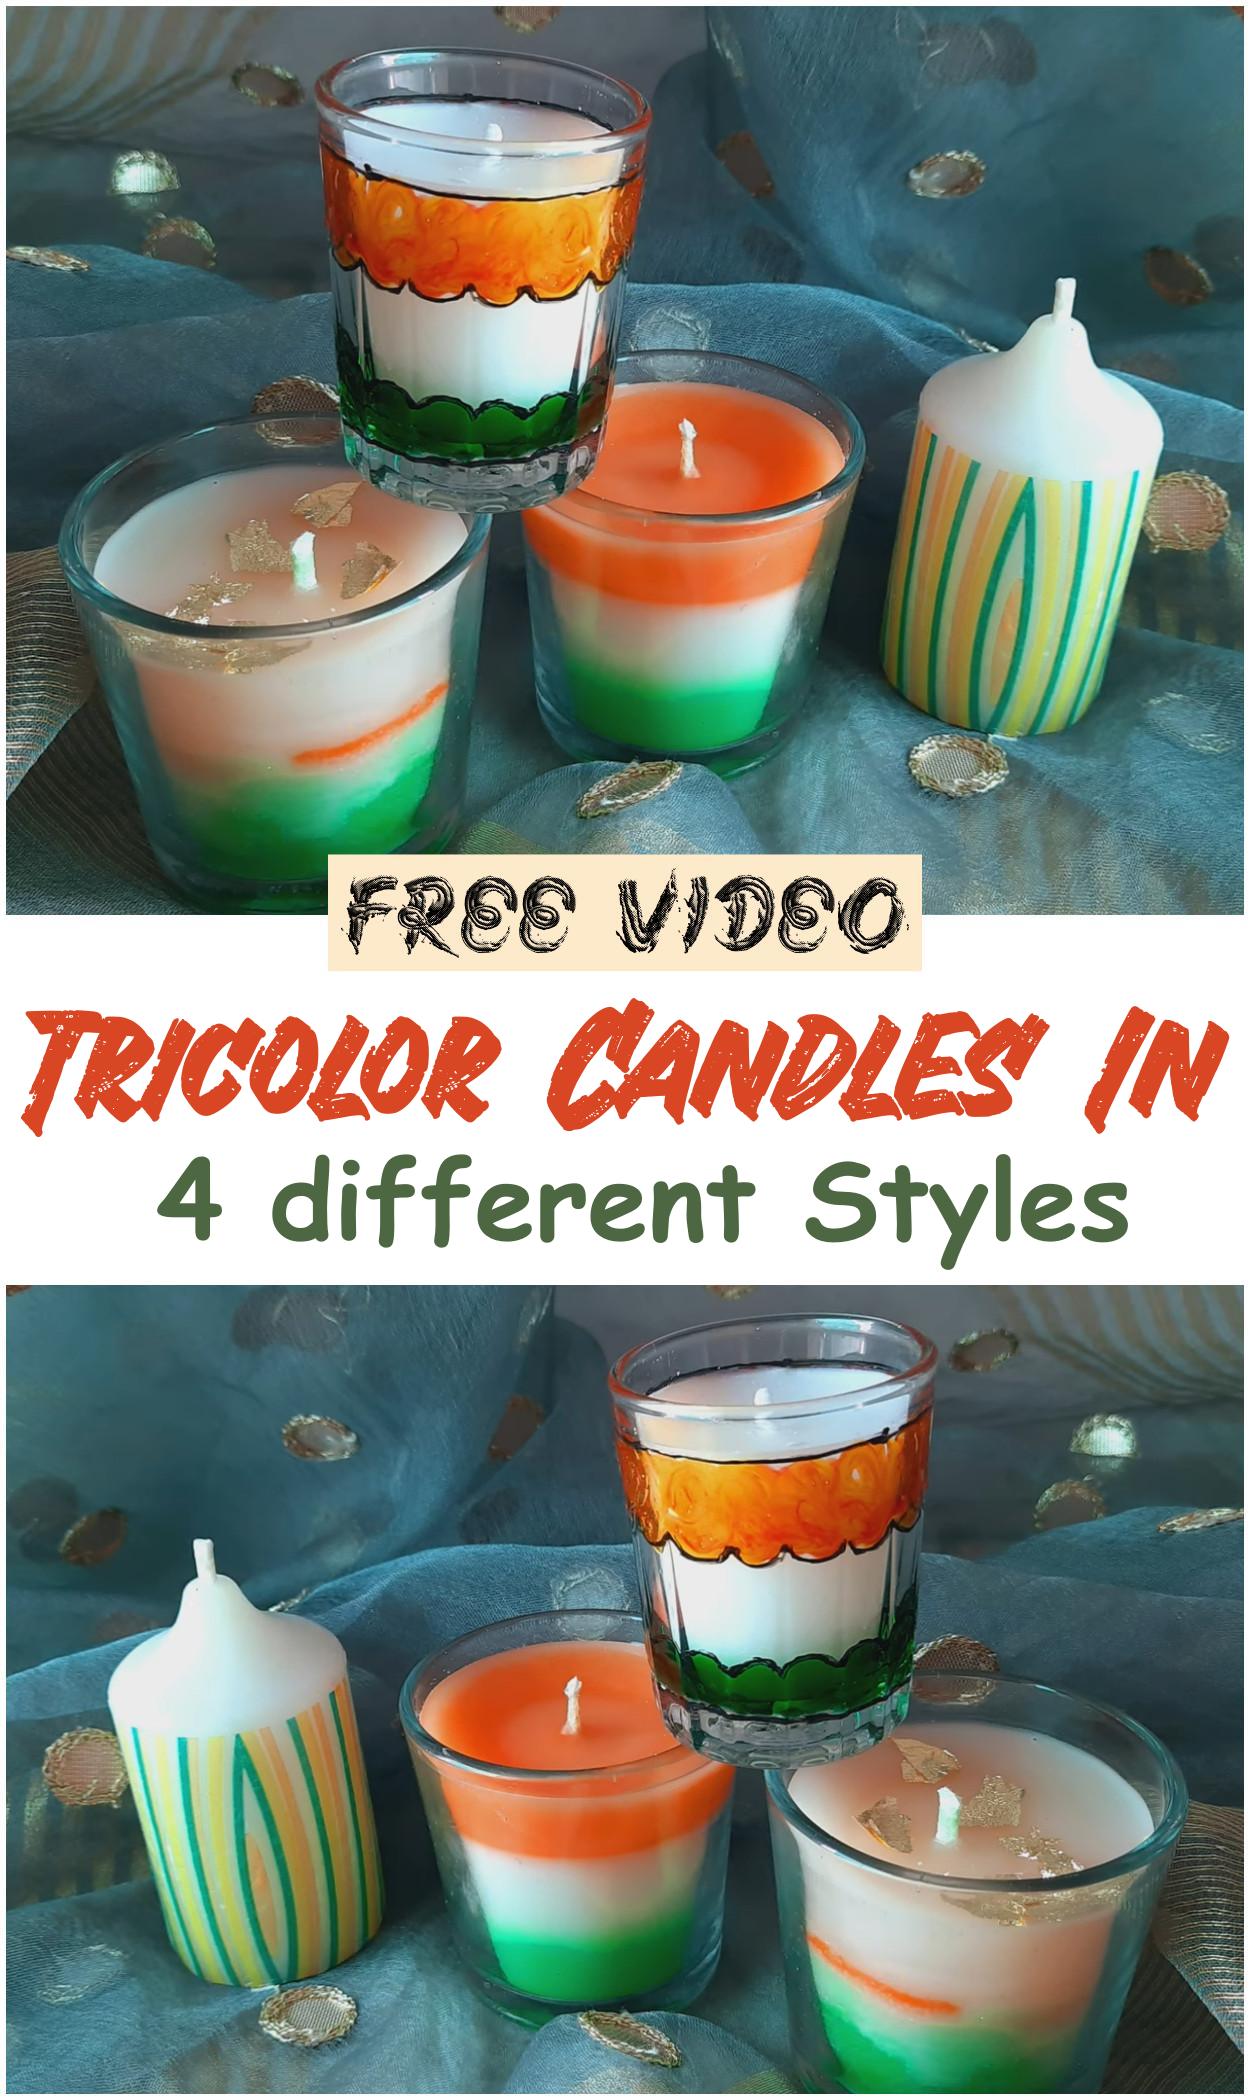
Independence Day Theme Candle DIY
Creating Independence Day Theme Candles is a fun and easy DIY project perfect for beginners.
Materials: Gather plain white candles, red, white, and blue wax sheets or paint, glue, small star-shaped stickers or cutouts, and a heat source like a hairdryer or candle warmer.
Procedure of Making: Start by warming the wax sheets gently to make them flexible. Wrap the red and blue sheets around the candle in stripes or patterns, securing edges with a little heat or glue. Add white stars or stickers to represent the flag’s stars. Allow the candle to cool and set before use.
Different Design Ideas: Try layering colors in stripes, creating star patterns with stickers, or using paint to add dots and stripes for a creative touch. Small jars can also be filled with colored wax for unique Independence Day décor.
Precautions: Always work in a well-ventilated area and avoid direct contact with hot wax. Keep flames and heat sources away from children and flammable materials during the process. Ensure candles are extinguished safely after use.
This simple guide helps create festive, patriotic candles that brighten Independence Day celebrations with personal style and charm.
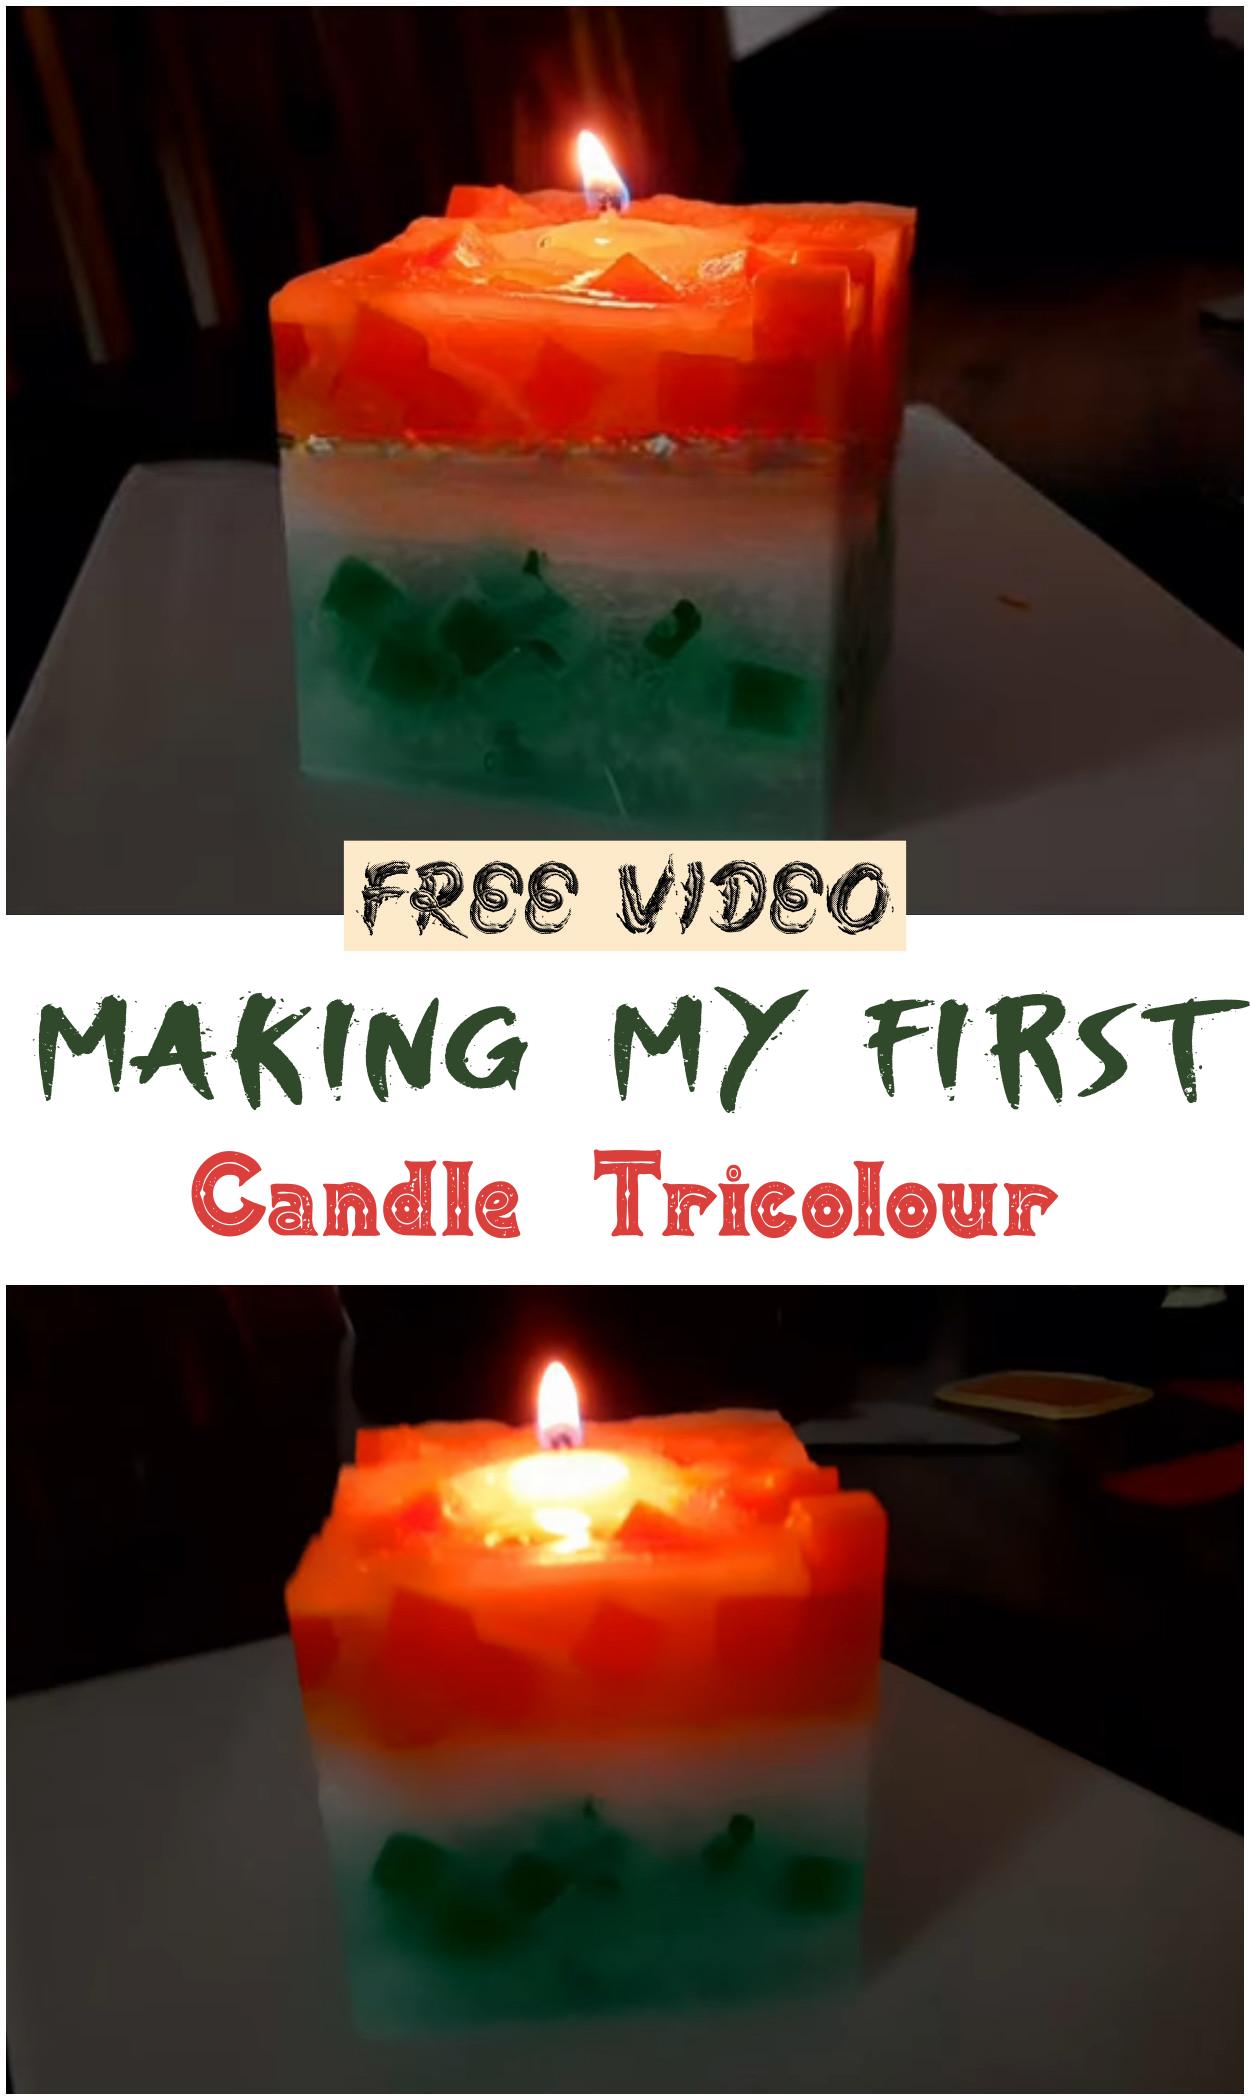
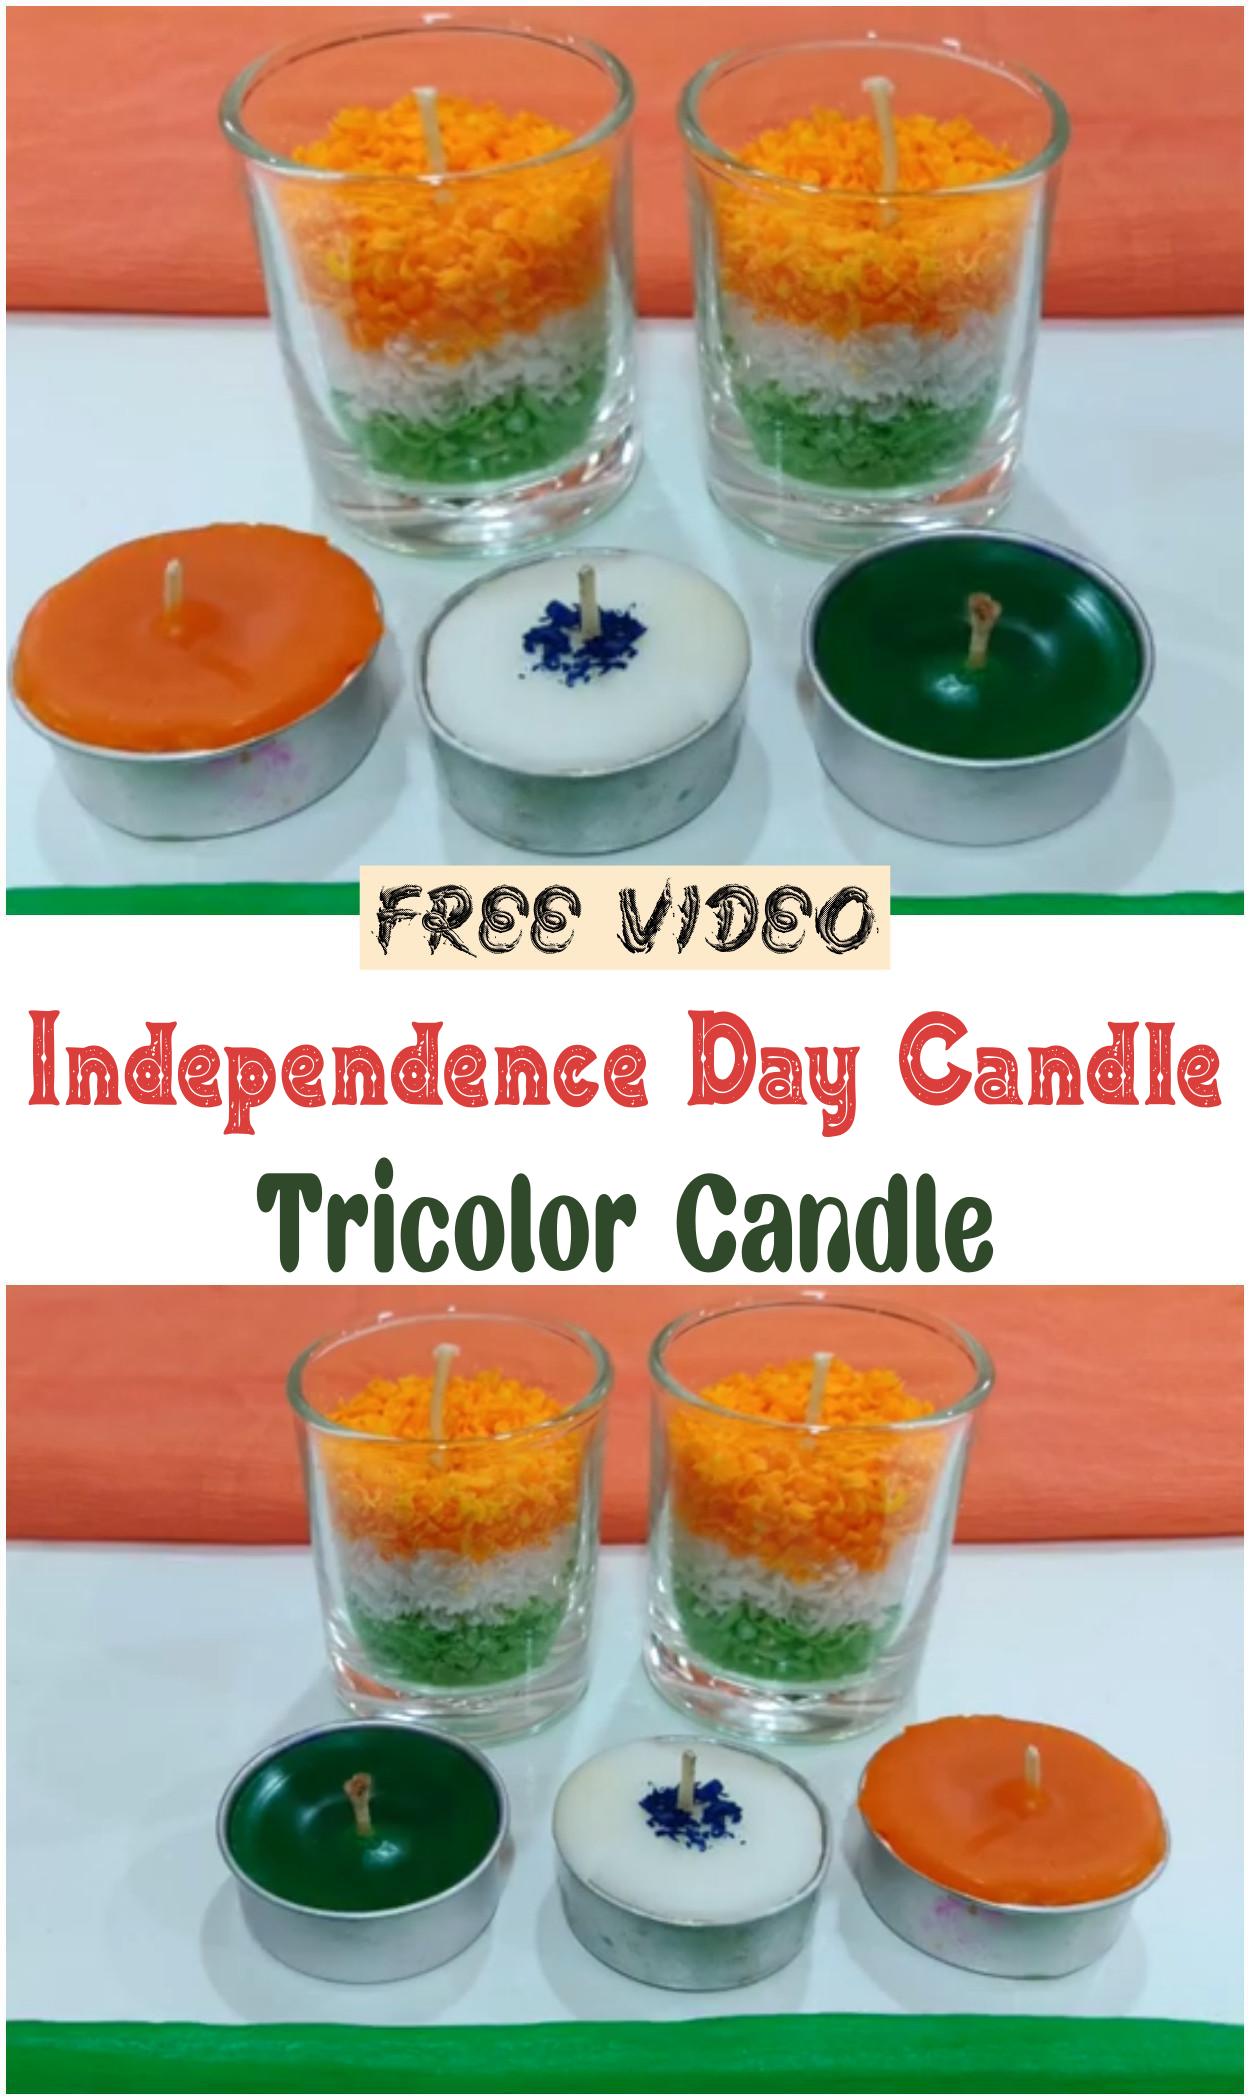
Tricolor Candle Independence Day Theme
Begin by selecting a suitable container, such as a glass jar or metal tin. Melt wax in three separate batches, coloring each with saffron, white, and green hues using candle dye or crayon shavings. Pour the saffron-colored wax into the container first, allowing it to set slightly before adding the white layer. Repeat the process with the green wax, ensuring each layer is slightly firm before adding the next to maintain distinct color bands. Insert a wick into the center, securing it at the bottom with a small amount of melted wax.
Materials:
- Wax (paraffin, soy, or beeswax)
- Candle dye or crayon shavings (saffron, white, and green)
- Wick
- Heat-resistant container (glass jar or metal tin)
- Double boiler or microwave-safe container for melting wax
- Stirring utensil
Different Design Ideas:
Enhance the tricolor theme by adding decorative elements. Wrap the base of the container with tricolor ribbons or glitter tape for a festive touch. For a rustic look, consider using burlap or twine. Incorporate small embellishments like miniature flags or symbols representing the nation to personalize your candles further.
Precautions:
Exercise caution when melting wax to prevent burns. Always use a double boiler or microwave-safe container, and never heat wax directly over an open flame. Ensure the wick is centered and upright during the setting process to promote even burning. Keep candles away from flammable materials and never leave them unattended while lit.
This simple yet impactful decoration brings a patriotic flair to your Independence Day celebrations, whether displayed on a dining table, mantelpiece, or as part of an outdoor setting.
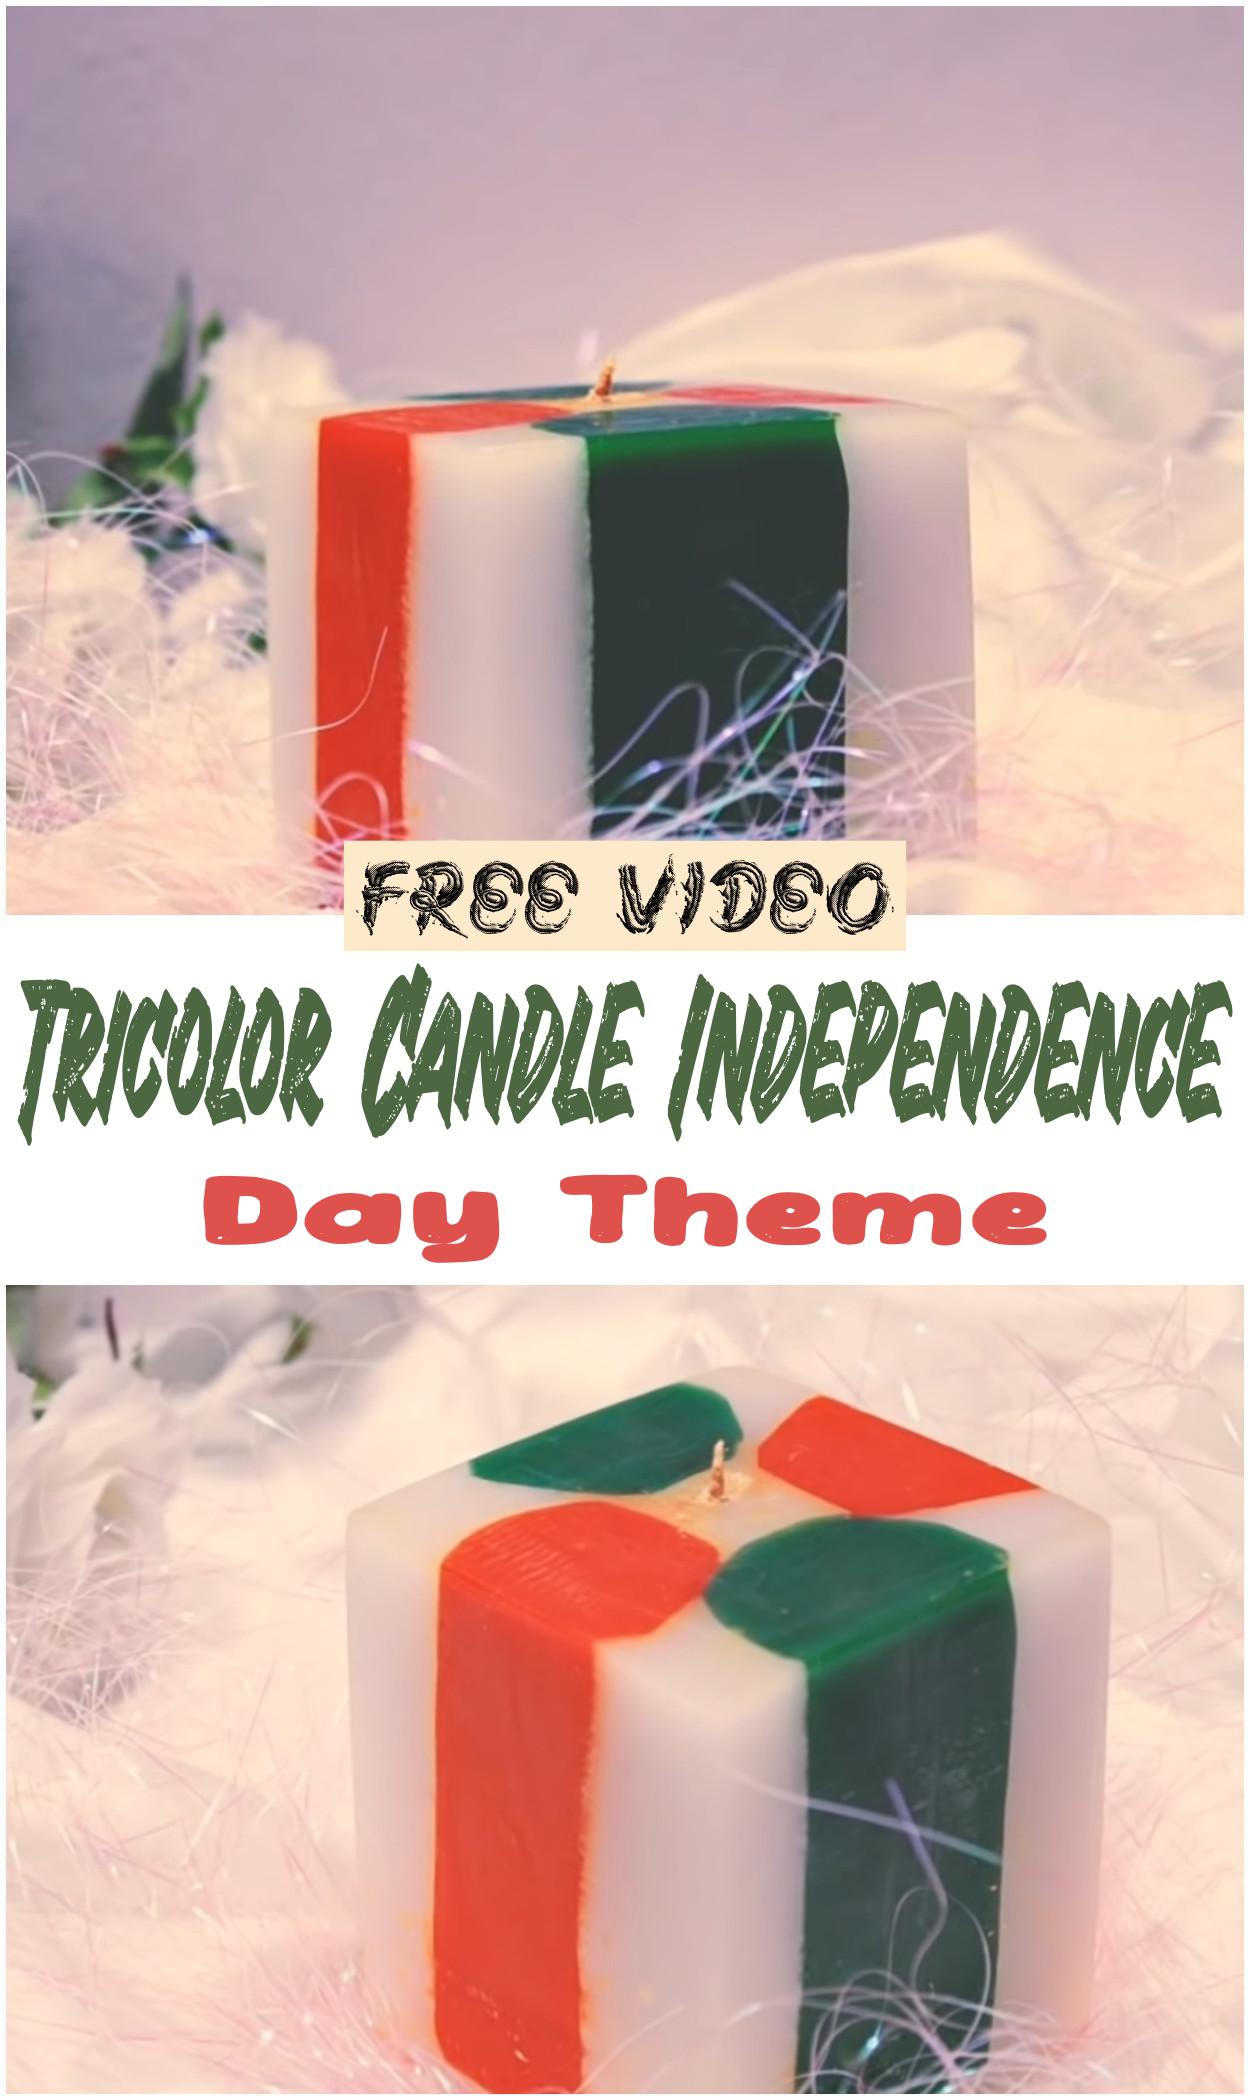
Making My First Candle Tricolor
Making a tricolor candle is a delightful and beginner-friendly project that adds a vibrant touch to any space. Here’s a simple guide to get started:
Materials:
- Soy or beeswax
- Candle wick with a holder
- 3 different colored crayons or candle dyes
- Microwave-safe glass cups (3)
- A heatproof container for the final candle
- Double boiler or microwave-safe bowl
Procedure:
- Place equal amounts of wax into each of the three glass cups.
- Add a piece of crayon or a few drops of dye to each cup to achieve your desired colors.
- Melt the wax and dye mixture in the microwave, heating in short intervals and stirring until fully melted.
- Secure the wick at the center of your heatproof container using a dab of melted wax or a wick holder.
- Carefully pour the first colored wax into the container, allowing it to set slightly before adding the next layer.
- Repeat the pouring process with the remaining colors, ensuring each layer is firm before adding the next.
- Allow the candle to cool completely before trimming the wick to about 1/4 inch above the surface.
Design Ideas:
- Create a striped effect by pouring each color in equal layers.
- For a marbled look, pour the colors simultaneously and swirl them gently with a skewer.
- Use seasonal colors like red, white, and green for festive occasions.
Precautions:
- Always melt wax in a well-ventilated area to avoid inhaling fumes.
- Never leave melting wax unattended.
- Use appropriate heat-resistant containers to prevent accidents.
- Ensure the wick is centered and upright to promote even burning.
This simple project not only enhances your space but also makes for a thoughtful handmade gift. Enjoy the process and the warm ambiance your tricolor candle brings!
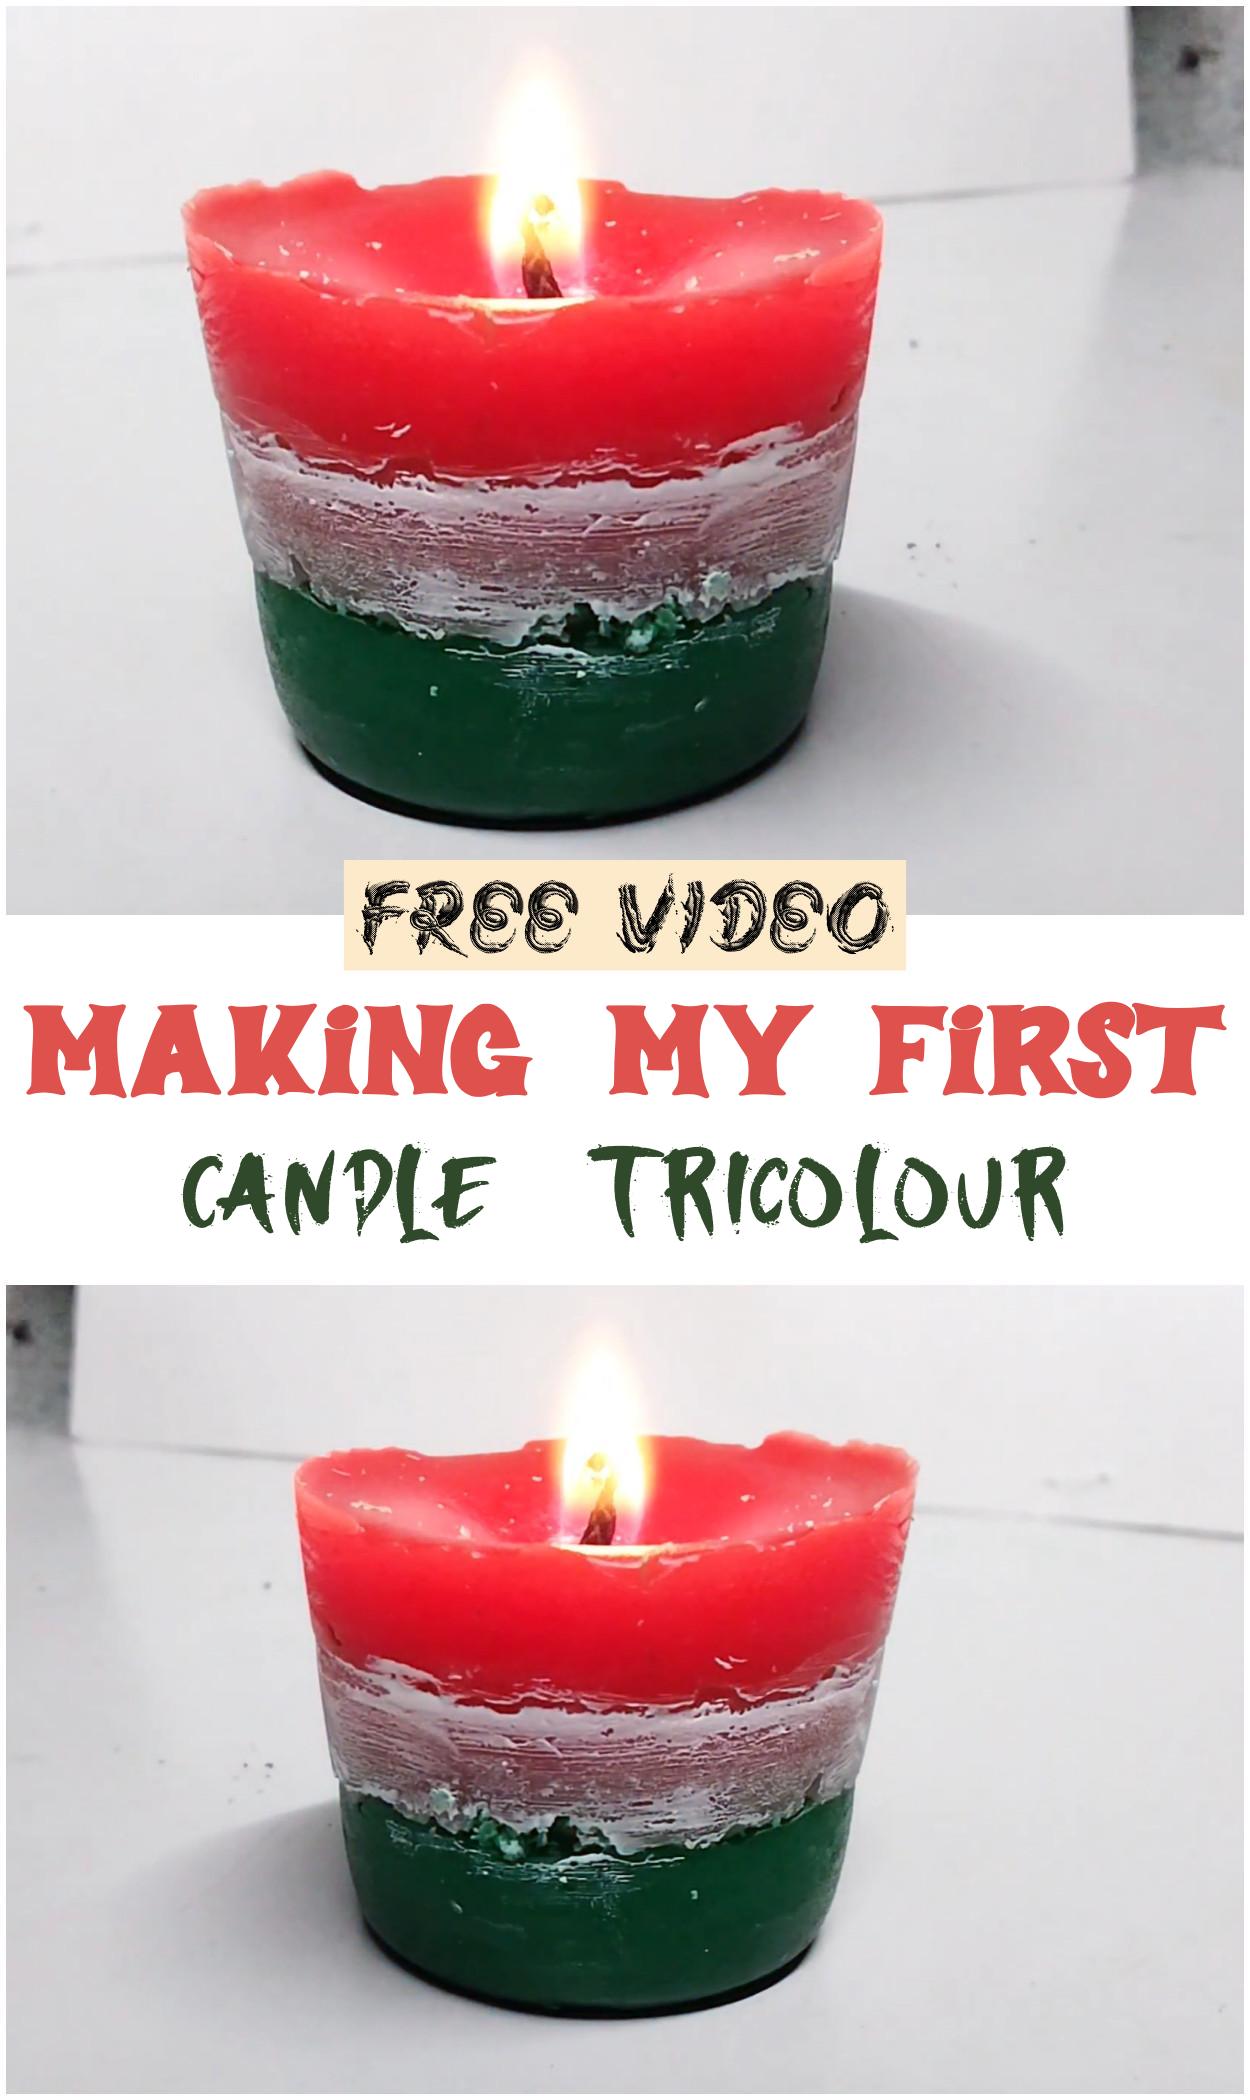
Independence Day Candle Tricolor Candle
Creating a tricolor candle for Independence Day is a simple and meaningful way to celebrate national pride. Here’s a beginner-friendly guide to making your own:
Materials:
- Soy or beeswax
- Candle wick with a holder
- Orange, white, and green candle dye or crayons
- Microwave-safe glass cups (3)
- Heatproof container for the final candle
- Double boiler or microwave-safe bowl
Procedure:
- Divide the wax into three equal portions, placing each in a separate glass cup.
- Add a small amount of orange dye or crayon to one cup, green to another, and leave the third as is for the white layer.
- Melt each mixture using a double boiler or microwave, stirring until fully melted.
- Secure the wick at the center of your heatproof container.
- Pour the first colored wax into the container, allowing it to set slightly before adding the next layer.
- Repeat the pouring process with the remaining colors, ensuring each layer is firm before adding the next.
- Allow the candle to cool completely before trimming the wick to about 1/4 inch above the surface.
Design Ideas:
- Create horizontal stripes by pouring each color in equal layers.
- For a marbled effect, pour the colors simultaneously and swirl them gently with a skewer.
- Use festive colors like saffron, white, and green to align with Independence Day themes.
Precautions:
- Always melt wax in a well-ventilated area to avoid inhaling fumes.
- Never leave melting wax unattended.
- Use appropriate heat-resistant containers to prevent accidents.
- Ensure the wick is centered and upright to promote even burning.
This simple project not only enhances your space but also makes for a thoughtful handmade gift. Enjoy the process and the warm ambiance your tricolor candle brings!
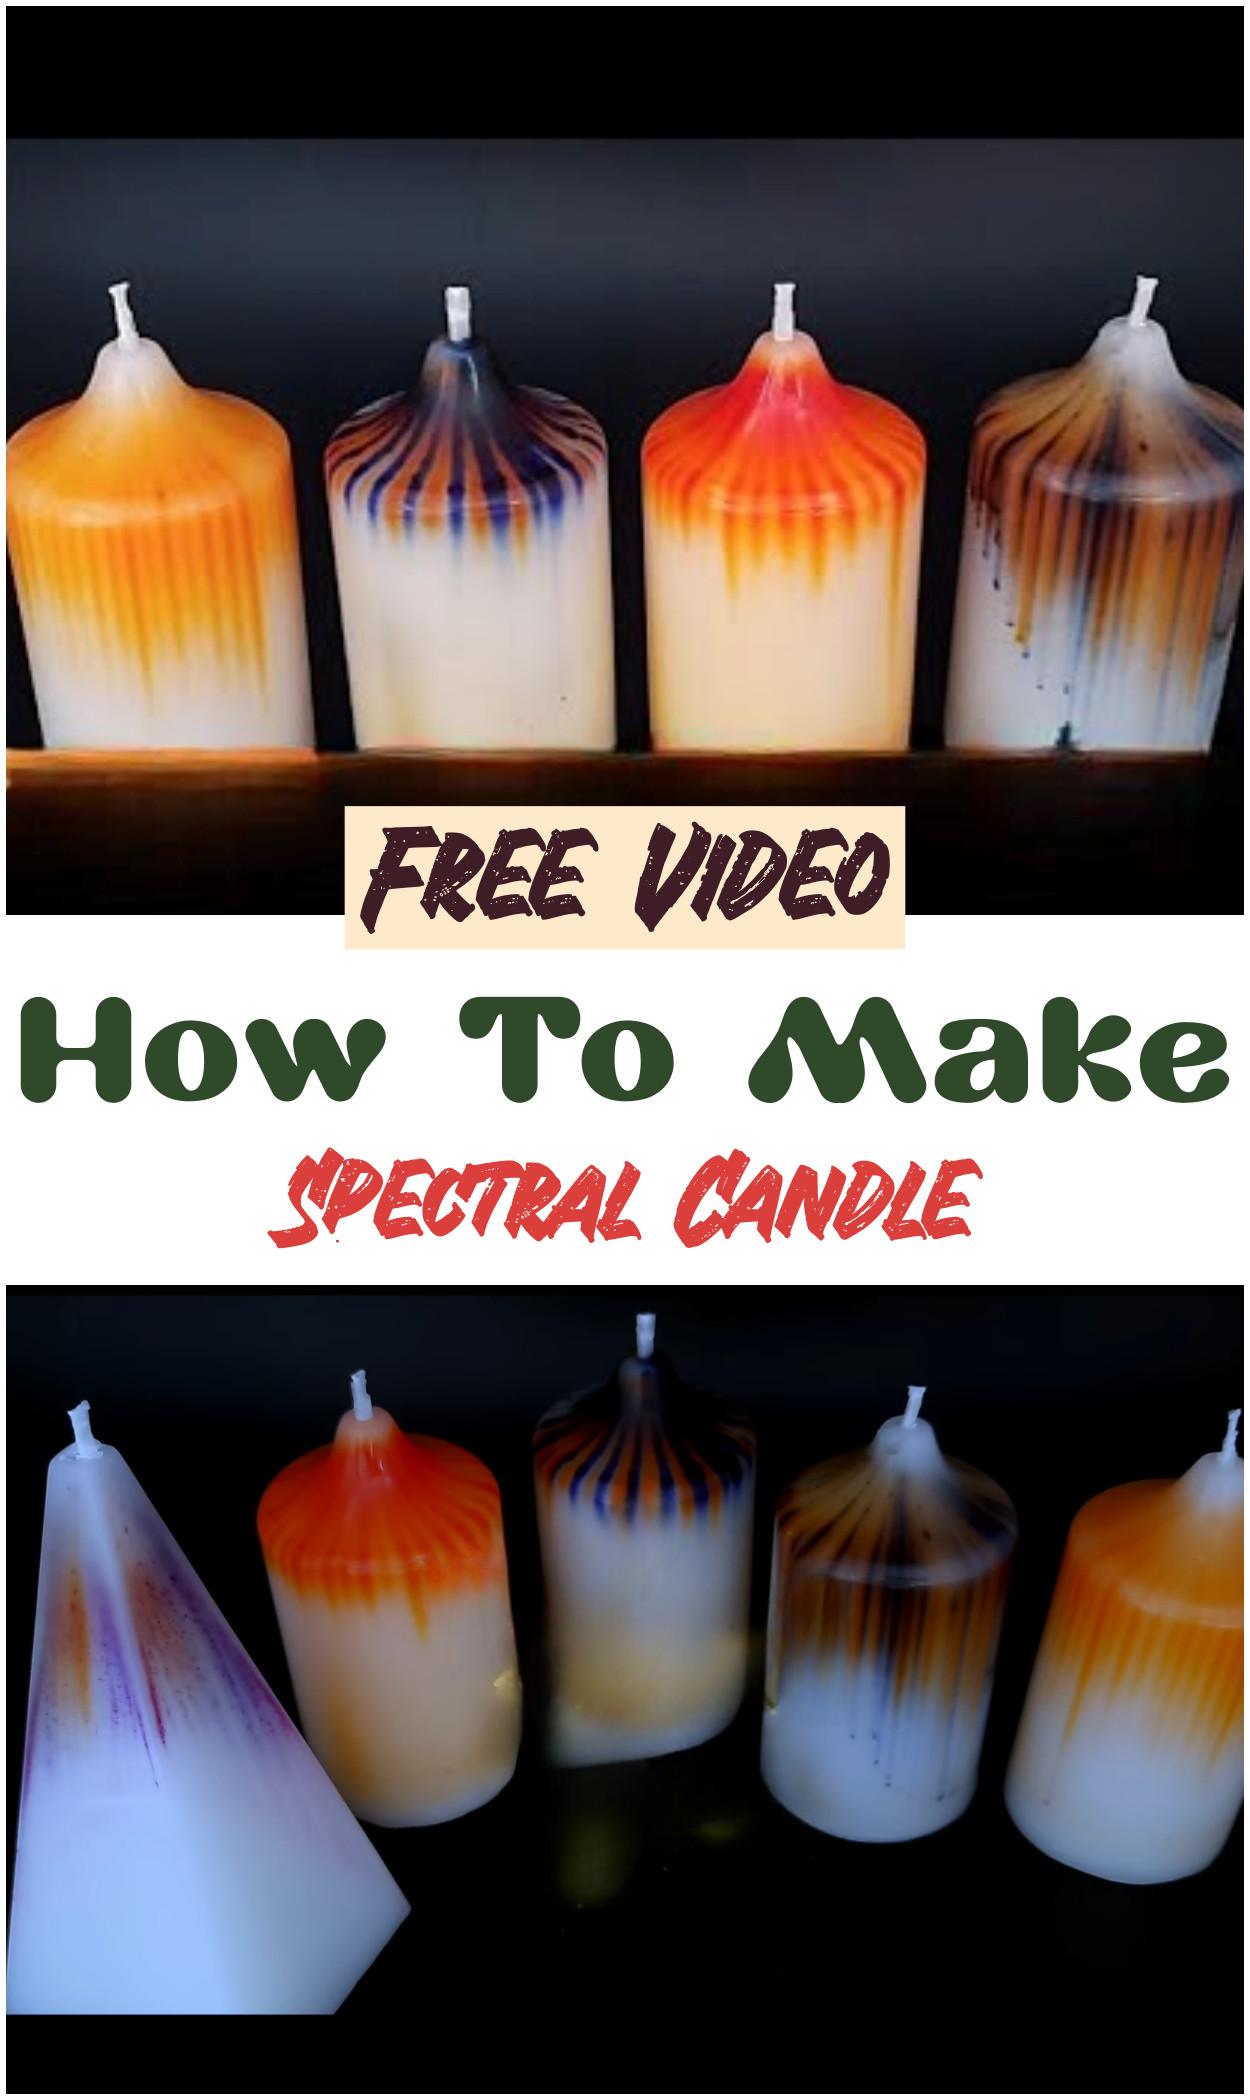
How To Make Spectral Candle
Procedure:
-
Divide the wax into three equal portions, placing each in a separate glass cup.
-
Melt each portion using a double boiler or microwave, stirring until fully melted.
-
Add a small amount of holographic or iridescent powder to each melted wax portion and stir well.
-
If desired, add fragrance oil and color dye to each portion and mix thoroughly.
-
Secure the wick at the center of your heatproof container.
-
Carefully pour the first colored wax into the container, allowing it to set slightly before adding the next layer.
-
Repeat the pouring process with the remaining colors, ensuring each layer is firm before adding the next.
-
Allow the candle to cool completely before trimming the wick to about 1/4 inch above the surface.
Design Ideas:
-
Create a swirling effect by gently stirring each layer with a skewer before it sets.
-
For a gradient look, pour each layer at different temperatures to achieve varying opacity.
-
Incorporate multiple colors and powders for a more dynamic and colorful effect.