Free Crochet Summer Cat Amigurumi Pattern with Beach Vibes
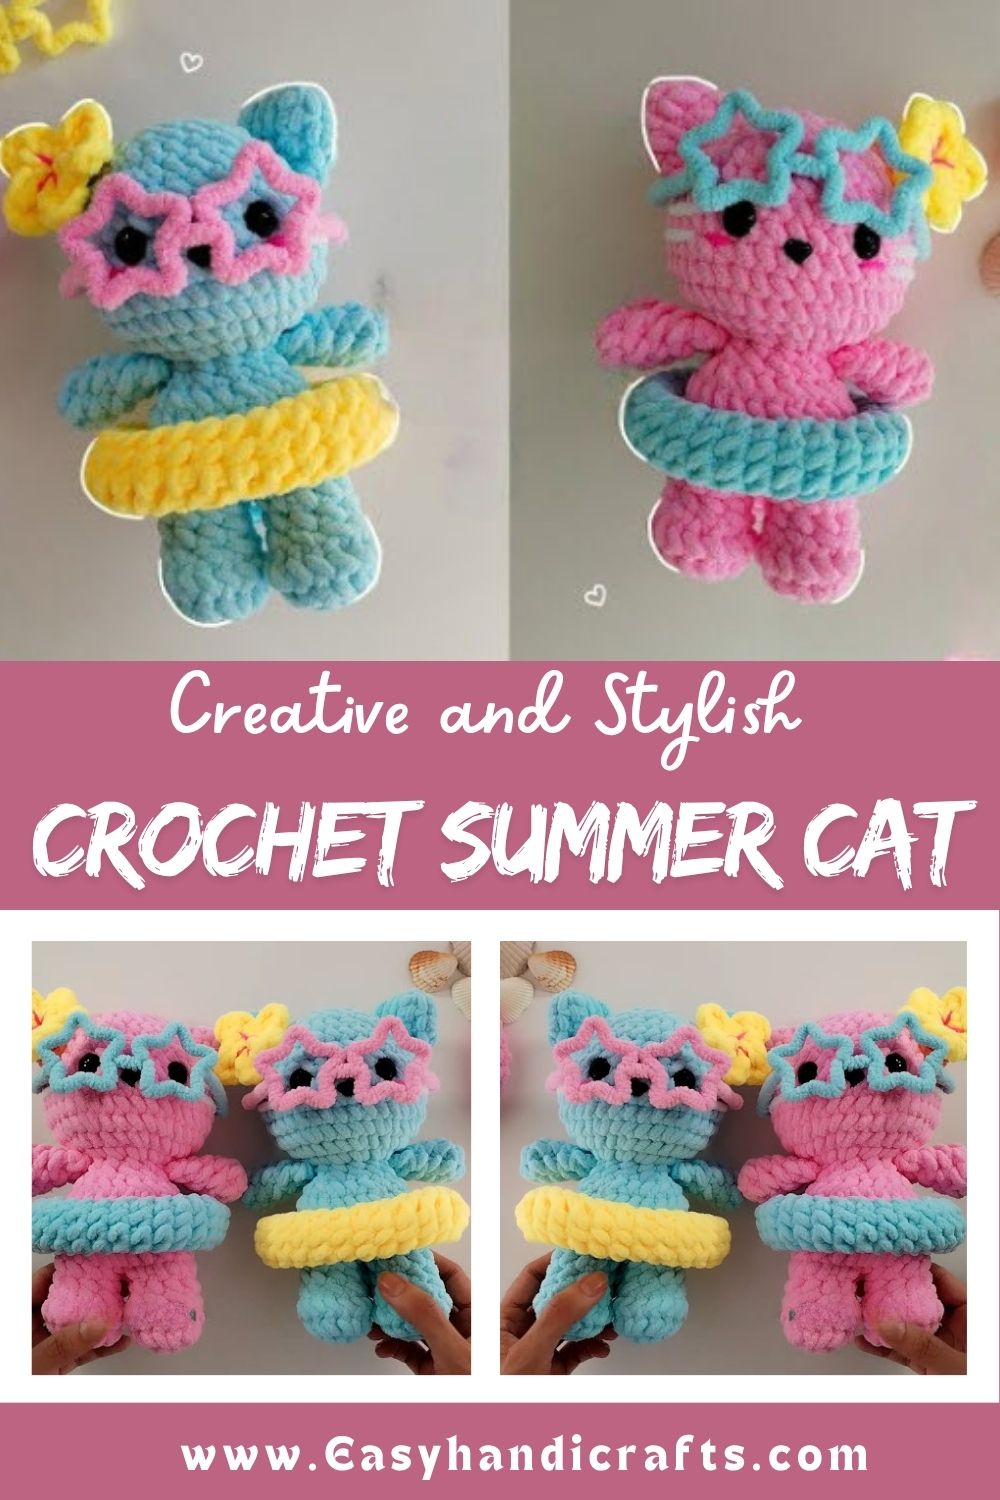
Summer crafting always calls for something fresh and charming, and this beach-themed amigurumi cat delivers exactly that. Sun-inspired colors and a relaxed, seated pose bring the cheerful spirit of summer beautifully to life. Whether you’re new to crochet or a seasoned maker, putting this adorable Free Crochet Summer Cat together turns into a delightful experience at every step.
Project Details
- Skill Level: Beginner-friendly, with light intermediate techniques
- Finished Size: Approximately 5–6 inches tall (seated)
- Estimated Time Required: 3–5 hours
- Recommended Yarn Weight: Worsted weight (Medium, #4)
- Crochet Hook Size: 3.5mm–4mm (US E/4 to G/6)
Materials Needed
- Worsted weight yarn in your chosen cat color (cream, orange, gray, or white all work beautifully)
- Small amounts of yarn in yellow, coral, or turquoise for beach-themed accents
- Black yarn or embroidery floss for facial details
- Safety eyes, 6mm or 9mm depending on preference
- Polyester fiberfill stuffing
- Tapestry needle
- Stitch markers
- Scissors
- Optional: mini sunglasses charm, small seashell button, or raffia thread for a tiny beach mat
Crochet Stitches and Techniques
This Free Crochet Summer Cat pattern relies on a handful of core amigurumi techniques, so nothing here should intimidate a newer crocheter:
- Magic Ring
- Chain Stitch
- Single Crochet (sc)
- Increase (inc)
- Invisible Decrease (dec)
- Color Changes
- Fastening Off
- Sewing Pieces Together
Half double and double crochet stitches aren’t needed for this particular design, which keeps the texture soft and rounded throughout.
Pattern Instructions
Creating the Head
Start the head with a magic ring of 6 single crochets, then increase evenly over the following two rounds to reach 18 stitches. Continue working even rounds until the head measures roughly 2 inches across, then begin decreasing gradually while inserting the safety eyes around the halfway point. Stuff firmly as the opening narrows, and close with an invisible decrease before fastening off.
Crocheting the Body
Work the body much like the head, beginning with a magic ring and increasing up to about 18–20 stitches. Switch to the beach-accent color partway through if a striped or two-toned belly is desired, since color changes at this stage blend seamlessly into the rounded shape. Stuff evenly, keeping the sides soft enough to sit flat, then decrease and close the bottom.
Making the Ears
Two small triangular ears finish off the head nicely. Chain 2, work 4 single crochets into the second chain from the hook, then increase once more before fastening off with a long tail for sewing. Repeat for the second ear, and pin both in place before stitching them down permanently.
Arms and Legs
Four small limbs give this cat its seated, beach-lounging pose. Each piece starts with a magic ring of 5 or 6 stitches, worked flat for a short tube shape without much shaping needed. Light stuffing keeps them soft and bendable, which helps when posing the finished cat.
Tail Details
A simple chained or crocheted tube tail adds movement to the design. Striping it in the accent color ties the whole beach theme together, and leaving it slightly curved rather than perfectly straight gives a more natural, playful look.
Facial Features
Embroider a small triangular nose using black yarn or floss, then add a subtle mouth with two short curved stitches beneath it. Whiskers are optional but add a lot of charm; three short straight stitches on each cheek usually do the trick.
Beach Accessories
Tiny sunglasses can be crocheted flat using a simple oval shape in black yarn, then glued or stitched lightly across the face. A miniature seashell, made from a half-circle of single crochets in white or pink, makes a sweet accessory to place beside the finished cat.
Joining All Pieces
Pin the head, arms, legs, ears, and tail onto the body before sewing anything permanently. Adjusting placement at this stage prevents lopsided results later, and stepping back to check symmetry from a few angles really helps.
Final Assembly
Once everything looks balanced, sew each piece securely using a whip stitch, weaving in all loose ends afterward. A light fluff of the stuffing through the seams gives the final shape a rounder, more polished look.
Tips for Success
- Count stitches at the end of every round to catch mistakes early
- Use a stitch marker on round one and move it up as you go
- Stuff a little at a time rather than all at once for even shaping
- Weave in ends through several stitches rather than knotting them
- Steam-block pieces lightly if the stitches look uneven after assembly
- Keep tension consistent, since loose stitches can let stuffing peek through
Personalization Ideas
- Swap the base color for gray, black, or calico patches for a different cat breed look
- Add a tiny straw hat or bandana for extra beach flair
- Crochet a mini beach towel for the cat to “sit” on
- Try a jumbo version using bulky yarn and a larger hook for a huggable pillow-sized cat
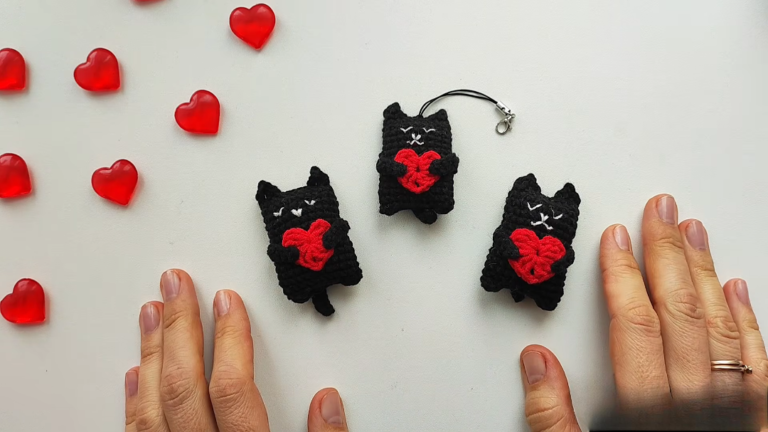
- Turn a mini version into a keychain or bag charm using a small clasp
- Give the cat a surfboard accessory made from a flat oval piece with a painted-look stripe
Common Mistakes to Avoid
Losing track of stitch count is probably the most common slip-up, especially during increase rounds, so pausing to recount after each round saves a lot of frustration later. Under-stuffing is another frequent issue; a saggy amigurumi loses its shape quickly, so firm, even stuffing matters more than people expect. Rushing the sewing stage can also leave limbs crooked, so take time to pin everything first rather than stitching straight away.
Frequently Asked Questions
Can I use cotton yarn instead of acrylic?
Yes, cotton yarn works well and gives the finished cat a slightly firmer, more structured feel.
What size hook should complete beginners use?
A 4mm hook paired with worsted weight yarn offers the most control for first-time amigurumi makers.
Do I need safety eyes, or can I embroider them instead?
Either option works. Embroidered eyes are safer for gifts intended for young children.
How long does this project typically take?
Most crocheters finish the cat in three to five hours, spread across a couple of sessions.
Can this pattern be made without color changes?
Absolutely. A single solid color still looks charming, especially with sunglasses or a seashell accessory added afterward.
Is this Free Crochet Summer Cat pattern suitable for a keychain version?
Yes, using a thinner yarn and smaller hook creates an adorable mini version perfect for bags or keys.
What’s the best way to store finished amigurumi?
Keep them away from direct sunlight to prevent yarn fading, and dust gently with a soft brush occasionally.
Conclusion
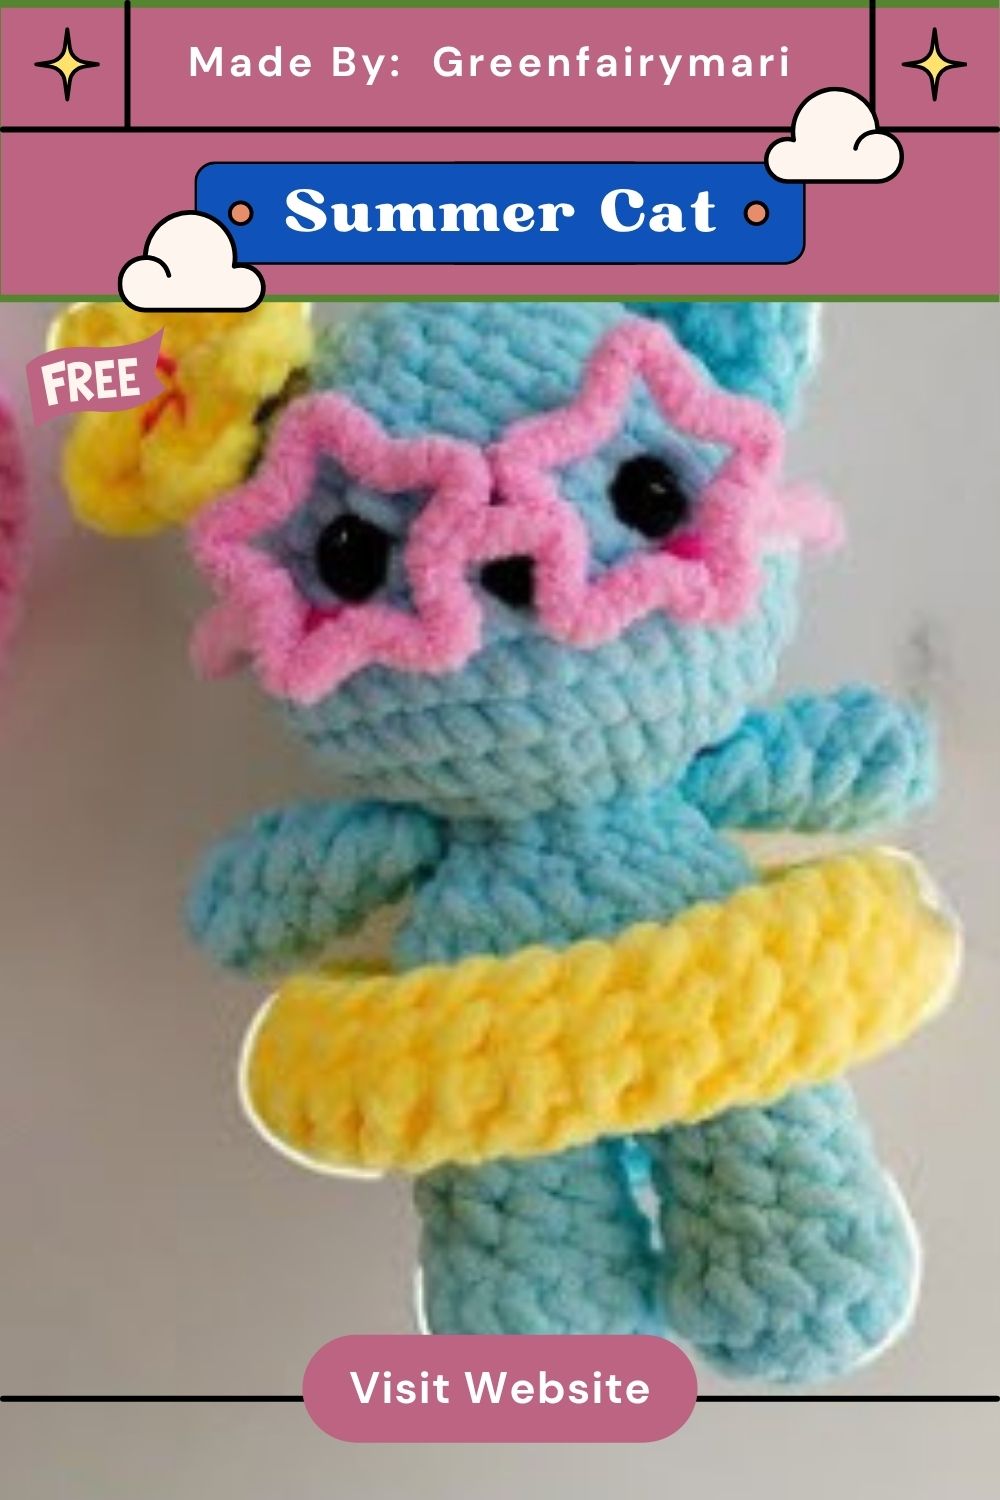
Few projects capture the easy, sunny mood of summer quite like this little Free Crochet Summer Cat. Between the soft rounded shaping, playful color options, and fun accessory ideas, there’s plenty of room to make the pattern your own. Grab a hook, pick out some warm-weather yarn shades, and give this project a try, then share the finished kitty with fellow crocheters who could use a little summer inspiration too.