Crochet Witch Hat Coaster Pattern for Beginners
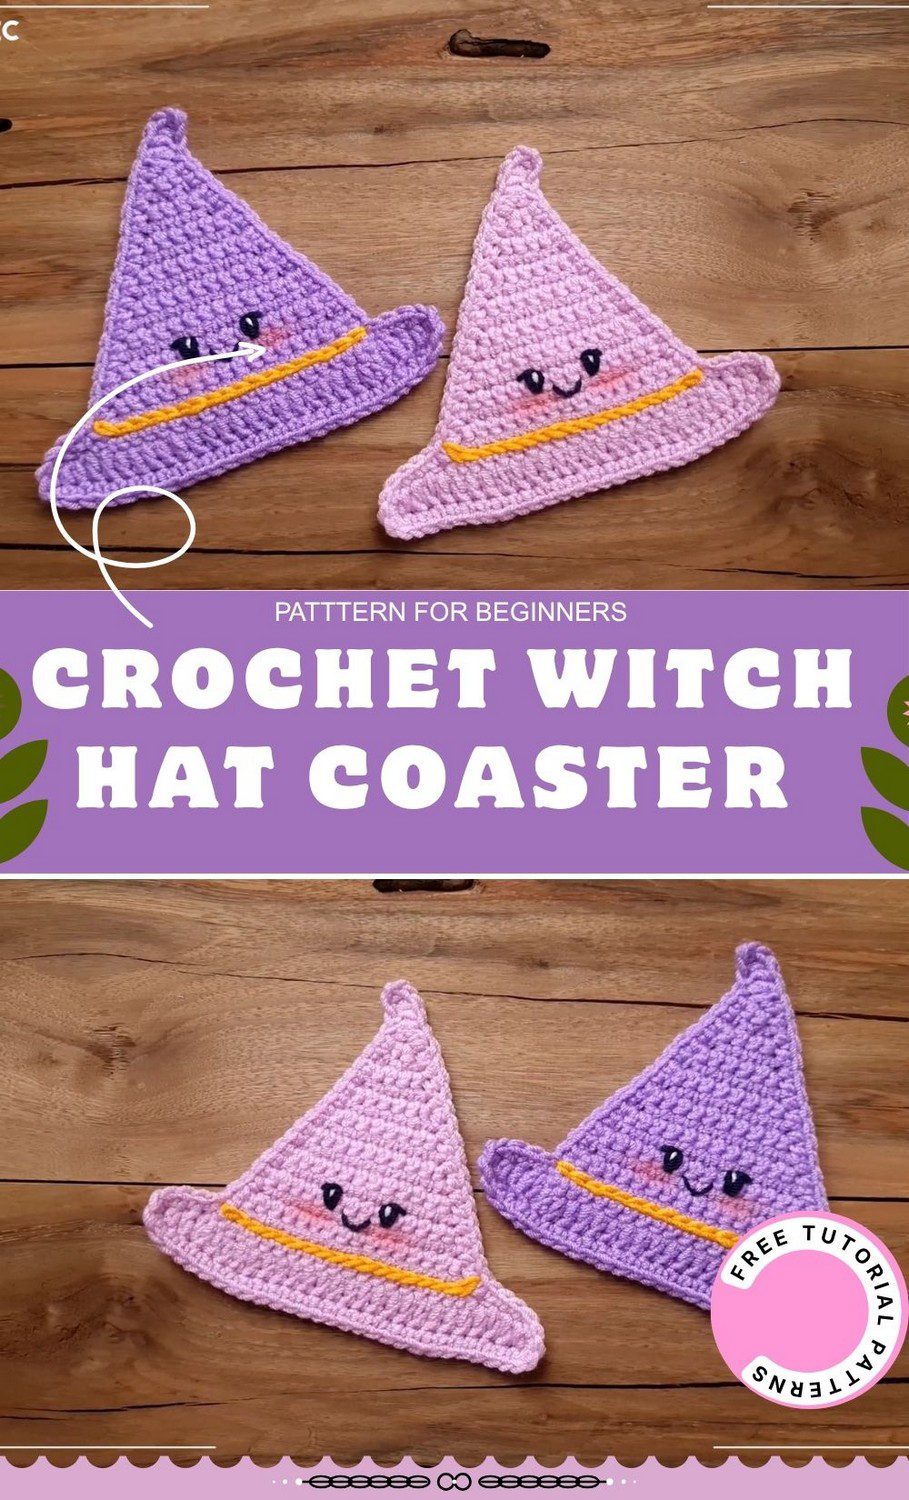
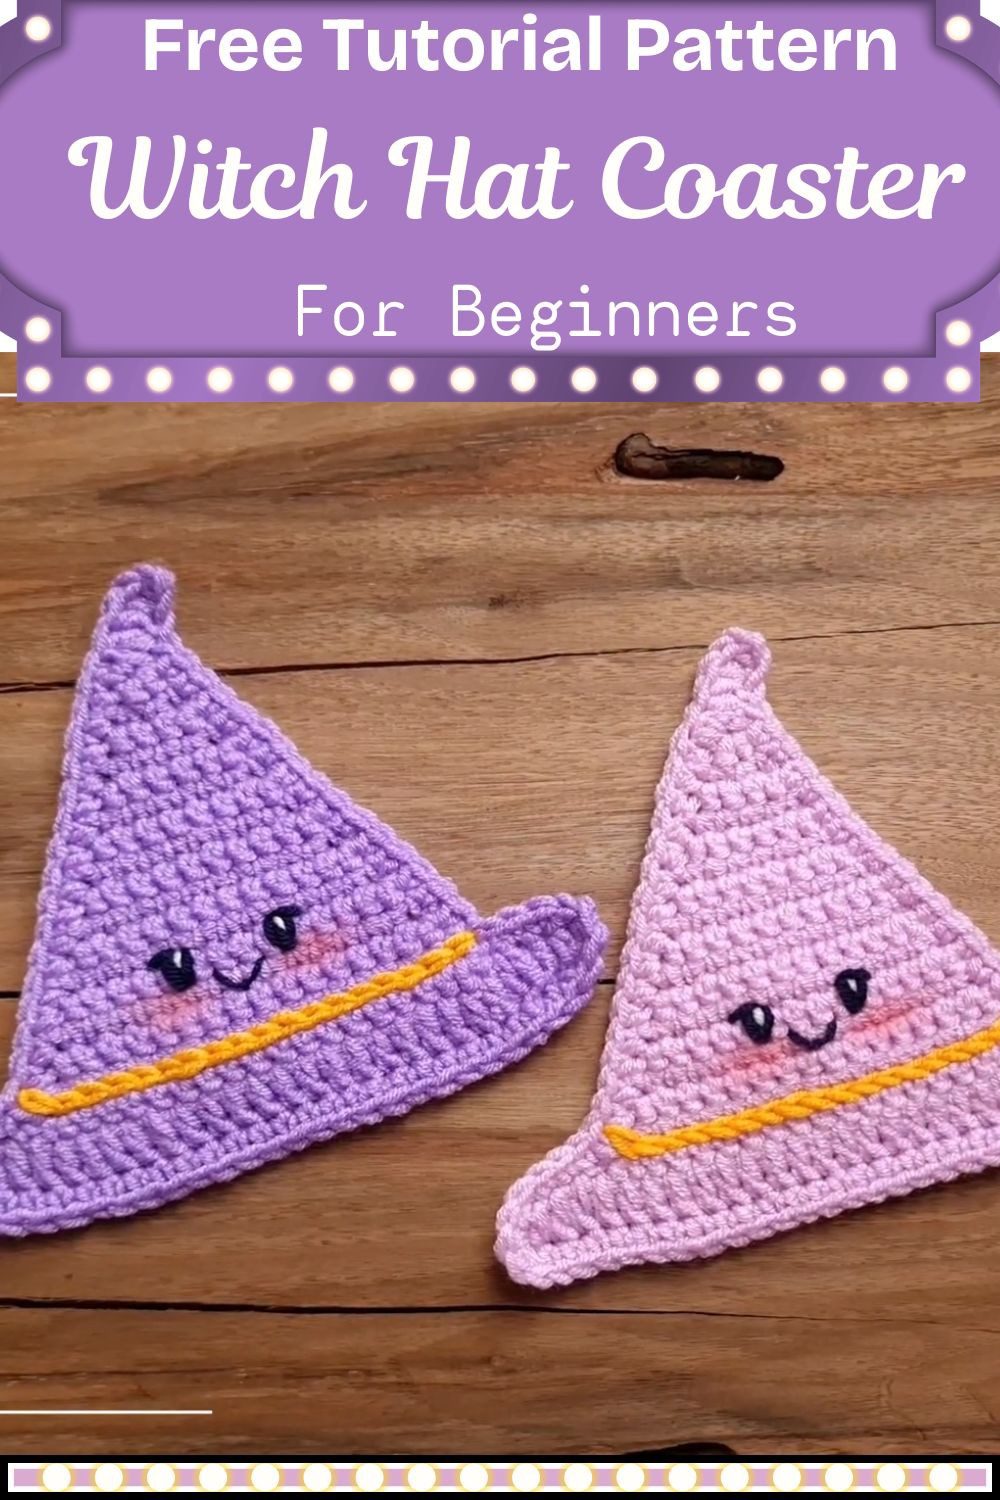
Two sweet little witch hats are sitting on a wooden table, one purple and one pink. Each has a yellow band, shiny eyes, a tiny smile and soft blush cheeks. This crochet witch hat coaster is simple to make, and the steps are easy for beginners.
Look at these cute witch hats. One is purple, one is pink, and both have a happy little face. The yellow band across the front makes them look extra special. They are not scary at all, they are sweet and cheerful, and that is why they are so much fun for Halloween decor. You can use one as a coaster for your cup, or just keep it on your table as a small decoration. The stitches are basic, and the steps are easy to follow, so beginners can make it too. You can pick any two colours you like, just like the purple and pink ones here. Take your hook and soft yarn, and let’s start.
Crochet Witch Hat Coaster Pattern Overview
- Skill level: Beginner-friendly
- Finished size: About 14 cm (after 18 rounds plus the rim)
- Construction: In short, the hat is worked flat from the top down.
Materials and Tools for the Crochet Witch Hat Coaster Pattern
- Yarn: Alize Baby Best (an anti-pilling acrylic and bamboo blend), plus extra colours for the hat band and the face
- Hook: 3.5 mm
- Other tools: Tapestry needle for embroidery, scissors
Stitch Abbreviations
- ch = chain
- sc = single crochet
- hdc = half double crochet
- dc = double crochet
- sl st = slip stitch
- st(s) = stitch(es)
Stitches Used
- Slip knot
- Chain
- Single crochet
- Half double crochet
- Double crochet
- Slip stitch
Because you work back and forth in rows, you turn after each chain. Furthermore, the size depends on how many rows you work.
Crochet Witch Hat Coaster Pattern Instructions
Part 1: The Triangle (Hat Body)
First, work back and forth in rows and turn after each chain.
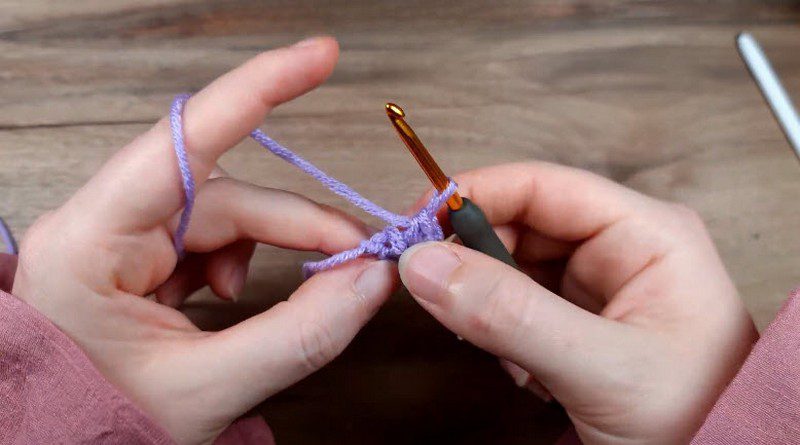
- To begin Row 1, make a slip knot, ch 2, and work 1 sc in the 2nd ch from the hook (1 st).
- Then, for Row 2, ch 1, turn, and work 3 sc in the same st (3 sts).
- Next, in Row 3, ch 1, turn, and work 1 sc in each of the 3 sts (3 sts).
- After that, Row 4 is ch 1, turn, 2 sc in the first st, 1 sc in the middle st, and 2 sc in the last st (5 sts).
- Now, in Row 5, ch 1, turn, and work 1 sc in each of the 5 sts (5 sts).
- Following that, Row 6 is ch 1, turn, 2 sc in the first st, 1 sc in each of the 3 middle sts, and 2 sc in the last st (7 sts).
- Once that is done, work Row 7 by chaining 1, turning, and making 1 sc in each of the 7 sts (7 sts).
- Similarly, in Row 8, ch 1, turn, 2 sc in the first st, 1 sc in each of the next 5 sts, and 2 sc in the last st (9 sts).
- Continue: From here, keep increasing at both ends on every other row, with plain rows in between, until the triangle is as big as you want.
Size tip: The size depends on how many rows you work, so stop when the triangle looks as big as you want.
Part 2: The Rim
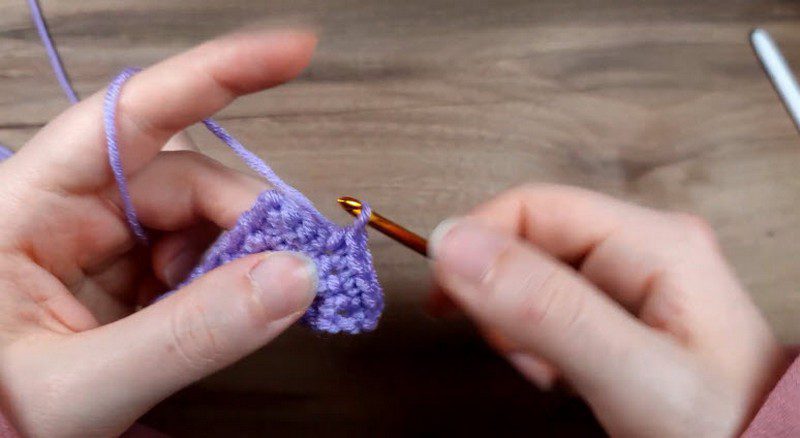
The rim makes the wide brim of the hat.
- Rim foundation: Begin by chaining 5 and turning.
- Across the base: Work 1 dc in each st along the bottom edge of the triangle.
- Rim extension: Lastly, ch 5 and turn.
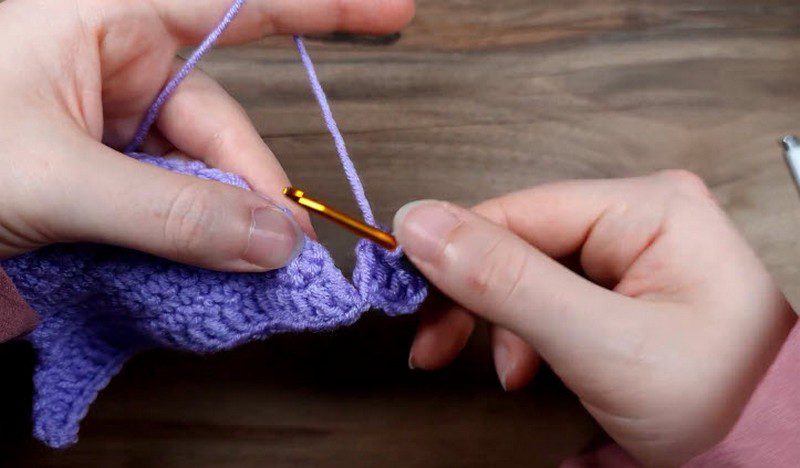
Part 3: Edging
- Subsequently, work 1 sc in every st and space all around the hat. As a result, the corner turns neatly.
Part 4: The Hat Band
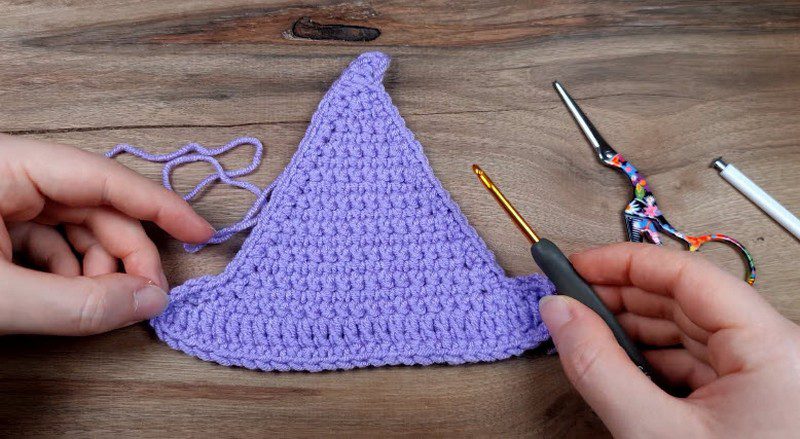
- Begin by picking a contrasting yarn colour.
- Next, insert the hook into the hat fabric above the rim, yarn over, and pull up a loop.
- After that, work slip stitches horizontally across the hat, which is called a surface slip stitch.
Part 5: Embroidering the Face
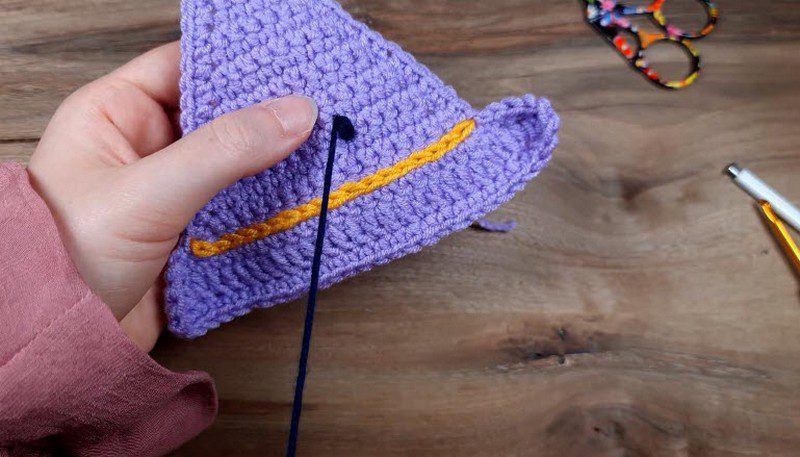
- Thread a tapestry needle with black or another contrasting yarn and tie a firm knot at the end.
- For a thinner, more delicate mouth, split the plies of the yarn.
- Eyes: Place them about four rounds above the hat band. Use the four centre sc of that round as your guide.
- Mouth: Stitch the mouth below the eyes.
- Knot the yarn firmly on the wrong side so nothing comes undone.
Pro Tips for Your Crochet Witch Hat Coaster Pattern
- Keep the surface slip stitches loose, because a relaxed band looks smoother and more even.
Finishing Tips
- Always finish on the wrong side, since knots on the front spoil the look.
- Moreover, the edging round gives the hat its clean finish.
Bonus: Colour Pairing Ideas for Your Witch Hats
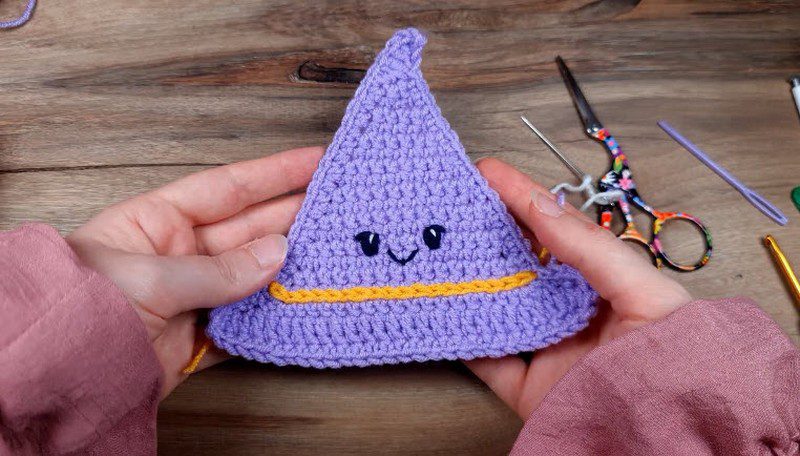
You can choose any two colours you like for your hats. For example, the purple and pink hats here both look sweet with a yellow band. However, a contrasting band colour always makes the hat stand out, so pick one that differs from the hat body. Additionally, make a pair in two shades and keep them side by side on your table.
Common Mistakes in the Crochet Witch Hat Coaster Pattern
- Pushing the hook into big holes or gaps along the sides. As a result, this loosens the edge.
- Pulling the hat band too tight. Since a tight band can pucker the fabric, keep the stitches loose.
- Forgetting the turn after each chain in the triangle.
- Skipping the corner stitches.
- Leaving the knots on the front. Always finish on the wrong side instead.
Uses and Benefits of This Crochet Witch Hat Coaster Pattern
- First, it is a cute piece of Halloween decor for your table.
- Moreover, it is a beginner-friendly project built from a few basic stitches, just like the other beginner crochet patterns on Amipatterns.
- Besides, the soft, hard-wearing yarn works for everyday use.
- Finally, you can repeat the project once you’ve made the first one.
Gift Ideas
- For example, give one as a small Halloween surprise.
- Likewise, add one to a handmade gift basket for a friend who loves spooky season.
Crochet Witch Hat Coaster Pattern FAQs
1. Is this crochet witch hat coaster good for beginners?
Yes, it is beginner-friendly. In addition, it uses only a few basic stitches: chain, single crochet, half double crochet, double crochet and slip stitch.
2. What size is the finished coaster?
In total, it measures about 14 cm after 18 rounds plus the rim.
3. Is the coaster worked in rounds or rows?
Overall, it is worked flat from the top down.
4. Can I make it bigger or smaller?
Absolutely, because the size depends on how many rows you work. So, add more rows for a bigger hat or stop earlier for a smaller one.
5. Which hook and yarn should I use?
Start with a 3.5 mm hook and Alize Baby Best. Next, add extra colours for the hat band and the face.
6. What keeps the edge neat?
Instead of pushing the hook into the big holes or gaps, pick up the loops on the side when you work along the sides of the hat body.
7. Can the mouth be made thinner?
Split the plies of the yarn before you stitch it for a thinner mouth. Then the stitches look more delicate.
8. What is the best way to wash it?
Wash it gently by hand. Afterwards, lay it flat to dry so the point keeps its shape.
Your Tiny Witches Are Ready to Sit and Stay
So that’s pretty much it. Basically, you make a small triangle, add a rim, tidy the edge, stitch a colourful band and finish with a face. Now go ahead and fill your table with tiny witches, and browse more free crochet patterns on Amipatterns when you want your next project.
Your Tiny Witches Are Ready to Sit and Stay
So that’s pretty much it. Basically, you make a small triangle, add a rim, tidy the edge, stitch a colourful band and finish with a face. Now go ahead and fill your table with tiny witches, and browse more free crochet patterns on Amipatterns when you want your next project.