Crochet Sunflower Pot Pattern With a Smiling Face
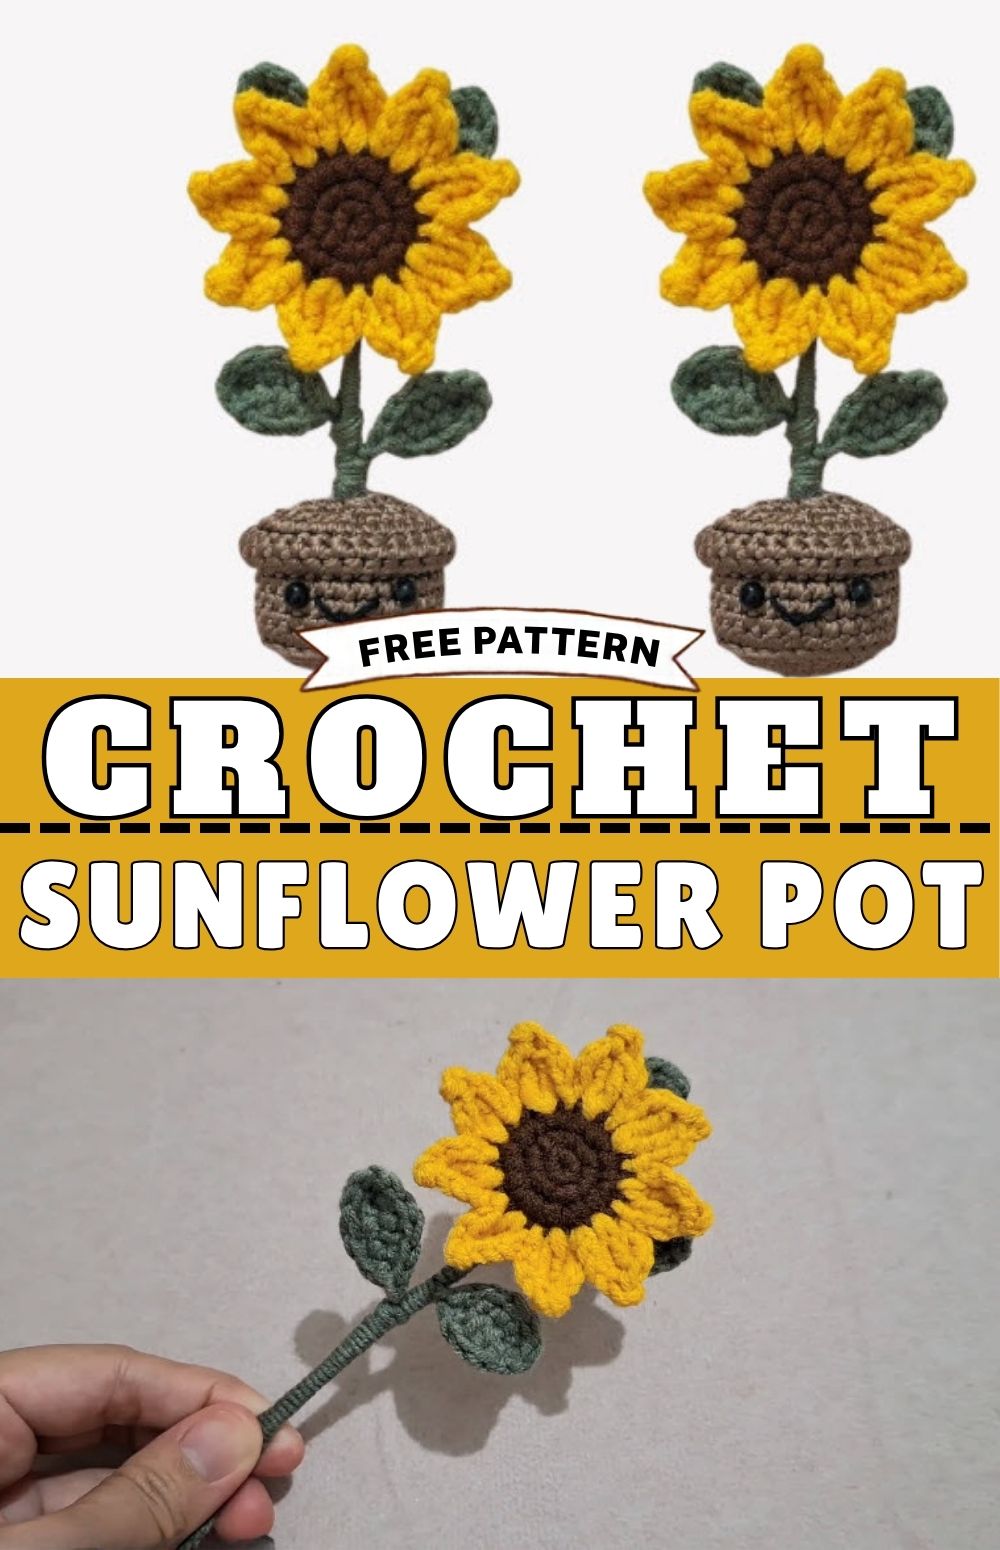
A sunflower that never wilts and always smiles back at you? That is what this little project gives you. The crochet sunflower pot pattern combines a bright yellow bloom, green wired leaves, and a tiny pot with a stitched smiling face. If you know a few basic stitches, you can finish it in an afternoon. It works well as a desk buddy, a thank-you gift, or a sunny corner for any shelf.
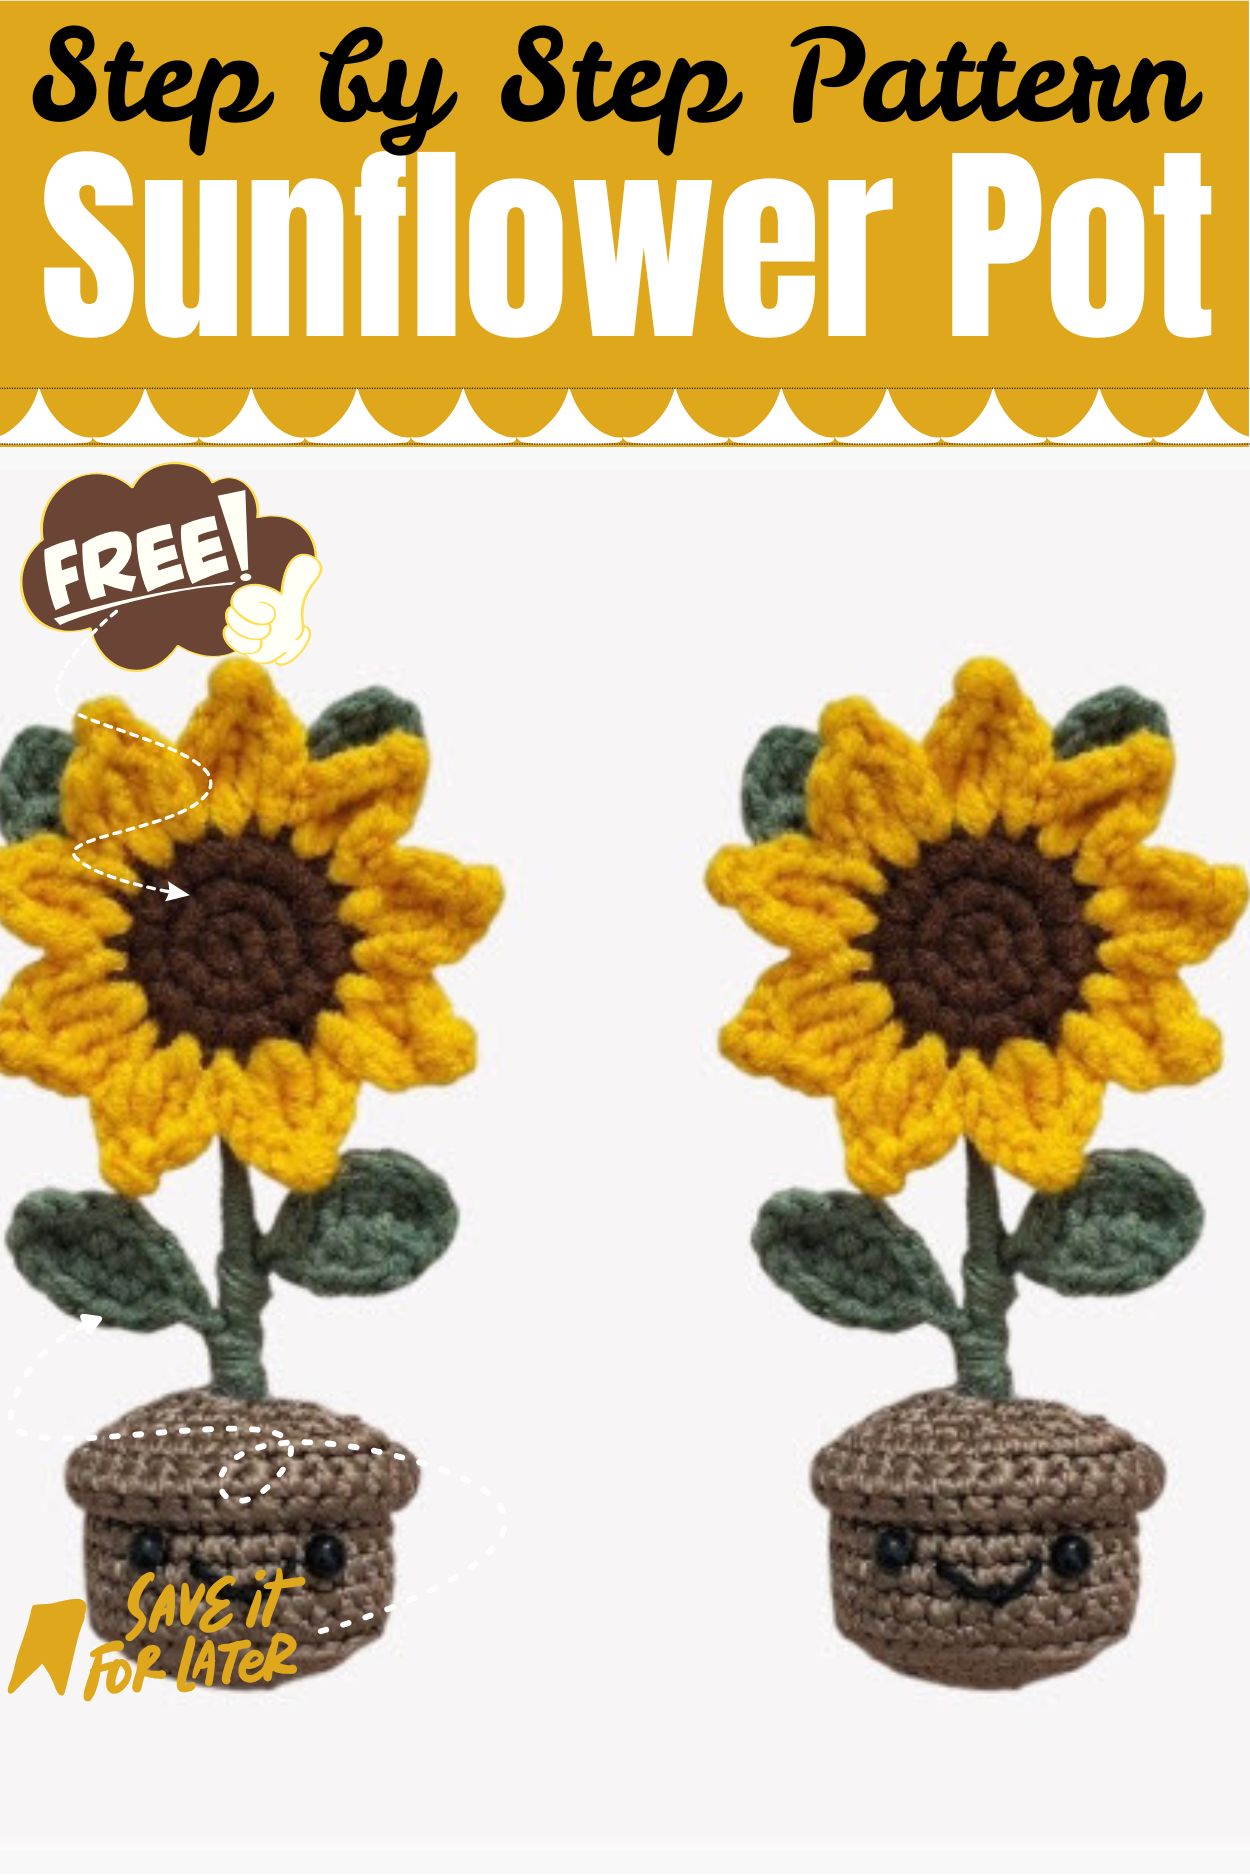
A dark brown center sits inside a ring of yellow petals, while wired leaves on a yarn-wrapped stem give the flower a natural, slightly bendy look. The little green pot holds everything together, and a small stitched smile adds personality.
This pattern is beginner-friendly, though it does ask for a little patience. The petals use treble crochet, and wire has to be worked into the leaves. Neither step is hard, and the finished piece looks far more impressive than the effort suggests.
Crochet Sunflower Pot Pattern Details
- Skill level: Advanced beginner to intermediate
- Finished size: About 6 to 7 inches tall, including the stem (the flower head is roughly 3 inches wide with this yarn and hook)
- Estimated time: 3 to 4 hours
- Recommended yarn weight: Light worsted or DK (Category 3), cotton or acrylic
- Crochet hook size: 3.0 mm
Materials Needed for the Crochet Sunflower
- Yarn:
- Brown for the sunflower center
- Yellow for the petals
- Green for the stem, leaves, and mini pot
- A small amount of black or dark brown for the smile (optional but recommended)
- 3.0 mm crochet hook
- Craft wire for the stem and leaf support
- Fiberfill stuffing (dakron)
- Hot glue or fabric glue
- Tapestry needle
- Scissors
- Stitch marker (a bright one helps, as you can see in the photos)
Crochet Stitches and Techniques
You only need a handful of stitches for this sunflower pot pattern.
- Magic ring: a tight, adjustable starting loop for the flower center
- Chain (ch): used for the petals and the leaf foundation
- Slip stitch (sl st): joins rounds and moves yarn across the work
- Single crochet (sc): the main stitch for the center and the pot
- Increase (inc): two single crochets in the same stitch
- Half double crochet (hdc) and double crochet (dc): shape the leaves
- Treble crochet (tr): builds the tall petals
- Working around wire: crocheting over craft wire for sturdy leaves
- Fastening off and sewing: finishing each piece and joining the flower to the pot
Crochet Sunflower Pot Pattern Instructions
Read each section first, then stitch along with the photos. Every step below matches one of the pictures.
Step 1: Crocheting the Sunflower Center
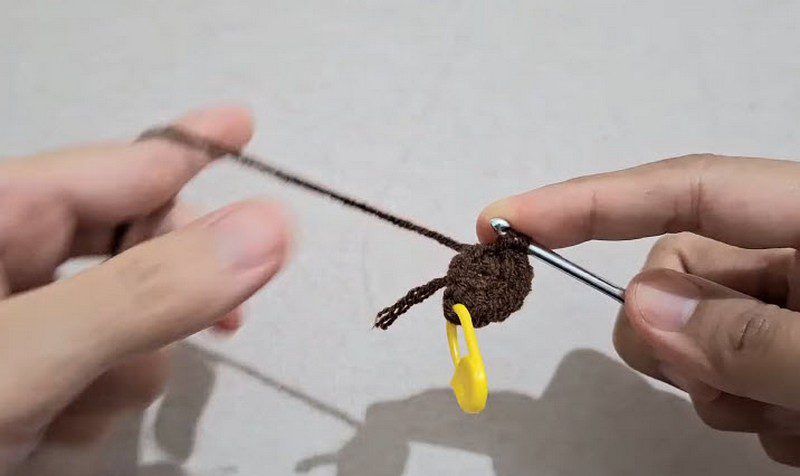
Start with brown yarn and make a magic ring. Chain 1, then work 6 single crochets into the ring. Pull the tail gently so the ring closes tight, then slip stitch into the first single crochet to join.
Next comes Round 2. Chain 1 and work 2 single crochets in every stitch around, which gives you 12 stitches. Slip stitch to join.
Round 3 is where the circle opens up. Chain 1, then repeat (1 single crochet, 1 increase) around. You should end with 18 stitches. Slip stitch to join.
Step 2: Making the Second Sunflower Center Piece
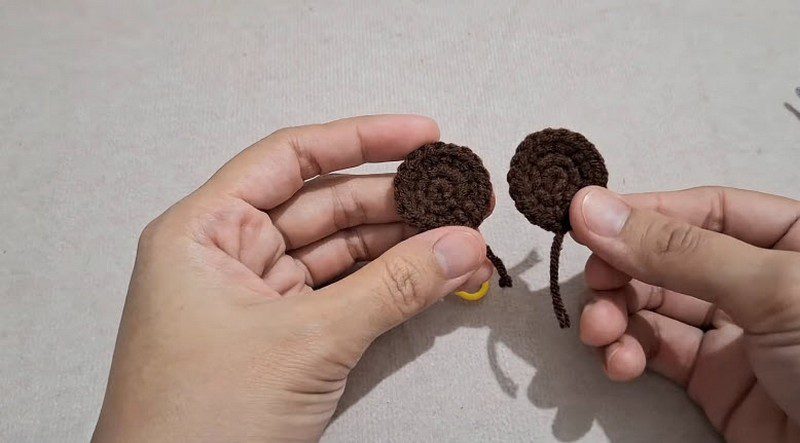
The sunflower needs two matching brown circles. One becomes the front of the flower, and the other forms the back, so the petals have a firm base.
Repeat Rounds 1 to 3 exactly as before. When you finish, lay both circles side by side, as in the second photo. They should look identical, with tight spiral rings and the same diameter. If one looks bigger, recount the stitches and fix it before moving on.
Slip stitch to finish the second piece and fasten off. Leave the yarn tails long enough to weave in later.
Step 3: Joining the Pieces and Crocheting the Yellow Petals
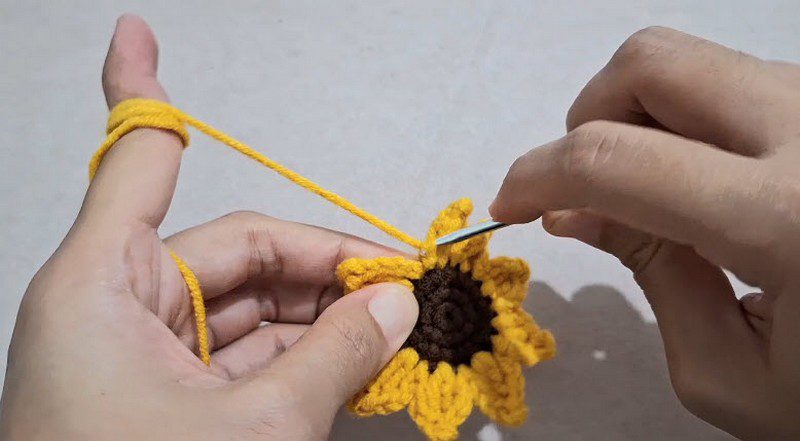
Hold the two brown circles together with the wrong sides facing in. Attach the yellow yarn to the edge. Loop the yarn over your thumb or hold it as shown in the third photo, so the tension stays even while you work.
Then build each petal in this order:
- Chain 3.
- Work 1 treble crochet.
- Chain 2 and slip stitch.
- Work another treble crochet in the same space.
- Chain 3, then slip stitch into the next stitch.
Repeat this petal sequence around the circle. The slip stitches anchor the petals to both brown layers at once, so the circles stay joined. Keep each petal roughly the same height, because uneven petals are easy to spot on a flower.
When you reach the start, fasten off and weave in your ends.
Step 4: Crocheting the Sunflower Leaves
Pick up the green yarn. Chain 5, then add 1 extra chain. Lay a piece of craft wire along the chain and work over it, so the wire stays hidden inside your stitches.
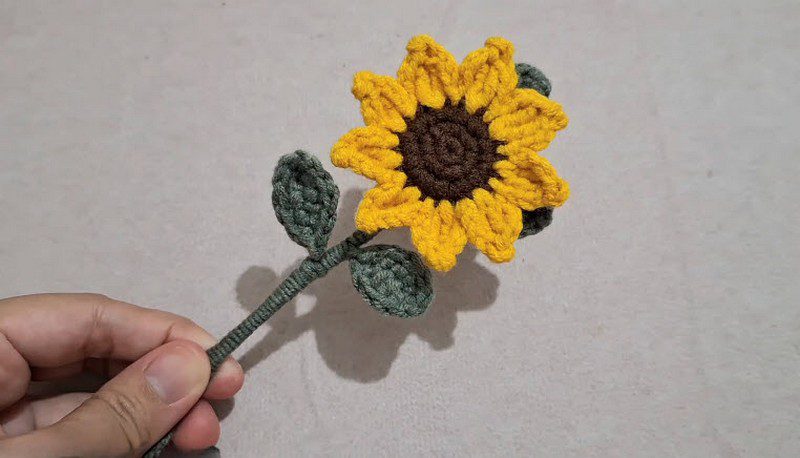
Build one side of the leaf with single crochets, half double crochets, and double crochets. At the tip, chain 1 and pivot. Afterwards, come back down the other side with matching stitches in reverse order: double crochet, half double crochet, single crochet. This keeps the leaf symmetrical, like the plump green leaves in the last photo.
Slip stitch to close and fasten off. Make about 4 leaves. Trim the wire ends neatly and fold any sharp tips into the stitching.
Step 5: Wrapping the Stem and Attaching the Leaves
Cut a longer length of craft wire for the stem. Wrap green yarn tightly around it, working from one end to the other, so no metal shows. Add a dab of glue at the start and end to stop the yarn from sliding.
Next, attach the leaves along the stem. Place two leaves on one side near the middle, as in the final photo, and tuck the others near the flower head. Sew or glue each leaf base to the stem, then bend the wire to angle the leaves outward.
Step 6: Crocheting the Mini Pot
Using green yarn, work the pot in continuous rounds. The rounds below are a suggested layout for the pot, so adjust them if your own tutorial differs.
- Round 1: Magic ring, 6 sc
- Round 2: inc in each stitch (12)
- Round 3: (1 sc, inc) around (18)
- Round 4: (2 sc, inc) around (24)
- Round 5: sc in the back loops only (24). This forms the base edge.
- Rounds 6 to 10: sc around (24)
- Round 11: (3 sc, inc) around (30)
- Rounds 12 and 13: sc around (30)
- Round 14: (4 sc, inc) around (36)
- Rounds 15 to 17: sc around (36)
Do not close the back yet. Leave the opening free for the stuffing and the stem.
Step 7: Adding the Smiling Face
Thread black or dark brown yarn onto your needle. Between Rounds 7 and 10 on the front of the pot, stitch two small eyes using short vertical stitches. Place them about 5 stitches apart. Then stitch a gentle curved smile underneath, using about 5 to 6 small stitches.
Pull the yarn only until it lies flat, because pulling too hard dimples the fabric. Finally, knot the yarn inside the pot and weave the tail away.
Step 8: Final Assembly of the Sunflower Pot
Stuff the pot with fiberfill, pressing it firmly into the base so the pot stays upright. Add glue to the bottom of the stem and push it into the stuffing at the center. Hold it for a few seconds until it sets.
Now sew the top edge of the pot to the sunflower head using the front loops only. Pull each stitch snug, then weave in every remaining yarn tail.
Tips for Success With This Sunflower Pot Pattern
- Keep your stitches even, since even stitches make everything look better. Count at the end of each round, because the center must be exactly 18 stitches before you join it.
- Use a stitch marker and move it up after each round, so you never lose your starting point.
- Stuff the pot evenly, with small pieces at a time. Big clumps create lumps that show through the yarn.
- Hide yarn ends by weaving them in at least 3 inches along a row, then trim close. If a wired leaf pops out, dab a touch of glue under it.
Personalisation Ideas for Your Crochet Sunflower Pot
- Switch to pastel yarn for a soft spring sunflower, or use deep orange and burgundy for an autumn bloom.
- Swap the smile for sleepy eyes, rosy cheeks, or a surprised little “o” mouth.
- Add a tiny bow or a stitched heart on the pot.
- Make a jumbo version with chunky yarn and a larger hook, or a mini one with thin cotton.
- Skip the pot and attach a pin back for a brooch, a loop for an ornament, or a keychain clip.
- Tuck it into a gift box with a handwritten note for a teacher or friend.
Common Mistakes to Avoid When Crocheting the Sunflower
- Loose magic ring: Pull the tail firmly after the first round, or a hole will appear in the middle of the flower.
- Uneven petals: Check each treble crochet against the one before it, and keep the same tension.
- Visible wire: Make sure the wire stays inside the stitches, and fold any exposed ends back in.
- Overstuffed pot: A tight pot can stretch and show gaps, so stuff firmly, not hard.
- Skipping the stitch count: One extra increase in the center shows up as a wavy circle.
Caring for Your Crochet Sunflower Pot
A little care keeps your sunflower looking fresh. Dust it gently with a soft brush or a lint roller. For stains, dab with a damp cloth and mild soap, then reshape and air dry. Keep it out of direct sunlight for long periods, as strong sun can fade the yellow. If a leaf wire bends out of shape, simply straighten it with your fingers.
Bonus: Where to Display Your Sunflower Pot
Because the finished piece is small, it fits almost anywhere. Try it on a desk as a cheerful companion, on a bookshelf between your favourite titles, or on a windowsill where the yellow petals catch the light. You can also give it as a gift, since it already comes with its own little pot.
Frequently Asked Questions About the Crochet Sunflower Pot Pattern
Can beginners crochet this sunflower pot?
Yes. If you know single crochet and can follow a magic ring, you can do it. Treble crochet is the only slightly tricky stitch, and you can practise it on a spare swatch first.
What yarn works best for the crochet sunflower?
Cotton gives crisp petals and holds its shape well. Acrylic is softer and cheaper. Both work well with a 3.0 mm hook.
Do I have to use craft wire?
The wire gives the stem and leaves their posable shape, so it is recommended. Without wire, the stem will droop.
How do I stop the flower from falling off the pot?
Sew it using the front loops only, as described, and add a bit of glue where the stem meets the stuffing.
Can I wash the crochet sunflower pot?
Spot cleaning is safest, because wire and glue do not like soaking. Dab gently and air dry.
How long does the whole project take?
Most crocheters finish in 3 to 4 hours. Making the leaves and wrapping the stem take the longest.
Can I make several and display them together?
Absolutely. A row of small pots with different faces looks adorable on a windowsill.
Time to Stitch Your Own Sunny Sunflower
Now that you have the full crochet sunflower pot pattern, grab your yarn and give your own smiling sunflower a try. Each step builds on the last, so you will pick up new skills, like working over wire and shaping petals, along the way. Take your time, enjoy the colours, and make it your own. When it is finished, share a photo or tag it online so other crocheters can enjoy your sunny creation.