Crochet Lily Bag Pattern with Beautiful Flower Accents
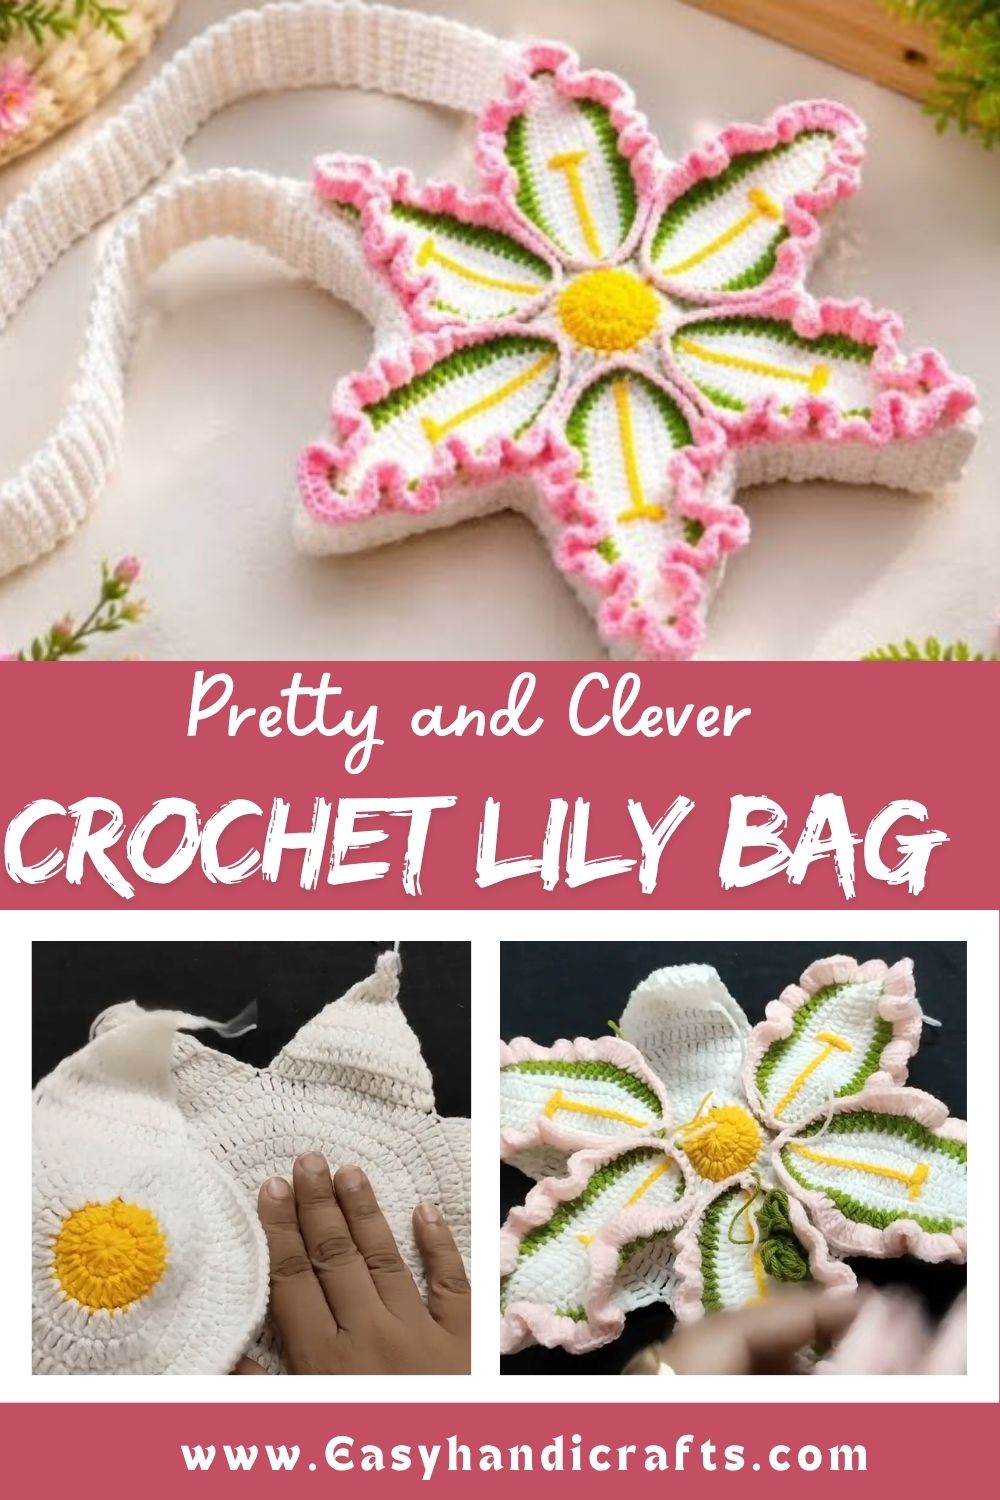
Because the flower is worked separately from the bag body, you get room to focus fully on shaping each petal without worrying about the panel construction at the same time.
Skill Level
Intermediate. The star-shaped panels are manageable with basic shaping skills, but the layered petal work asks for careful color transitions and consistent shaping across several repeated pieces.
Materials Needed
- White yarn for the main bag panels and petal bases
- Green yarn for the petal trim
- Soft pink yarn for the ruffled petal edges
- Yellow yarn for the flower center detail
- A crochet hook matched to your yarn weight
- A yarn needle for assembling petals and joining the bag panels
- Scissors
- Polyester fiberfill, if adding light padding to the flower center
- A strap chain or handle to complete the bag
Techniques Used Throughout
- Starting loop or magic ring: Begins the flower center and panel pieces without a visible gap.
- Star-point shaping: Builds the panel body into its distinctive pointed silhouette.
- Layered color changes: Moves between white, green, and pink within a single petal piece.
- Ruffled edge stitching: Adds fullness and texture along the outer edge of each petal.
- Multi-piece assembly: Joins individual petals into one full flower, then attaches it to the bag.
Why the Petal Layering Takes Some Patience
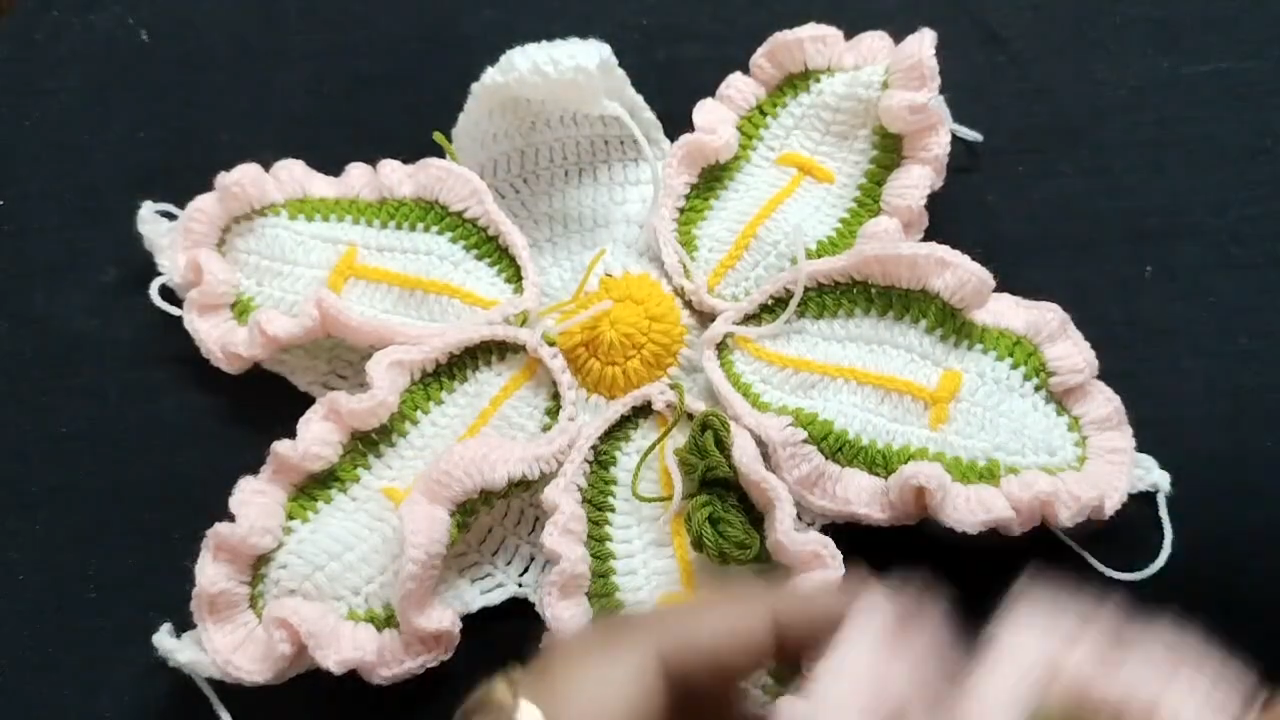
Each petal in this design isn’t a single color block; it moves through white, then green, then a ruffled pink edge, all within one small piece. Getting these transitions to line up cleanly across every petal is what gives the finished flower its polished, almost botanical look. Rushing through color changes tends to leave visible gaps or uneven trim, so this is a step worth slowing down for.
Step-by-Step Instructions
Crochet Lily Bag Pattern
Step 1: Begin With the Starting Loop
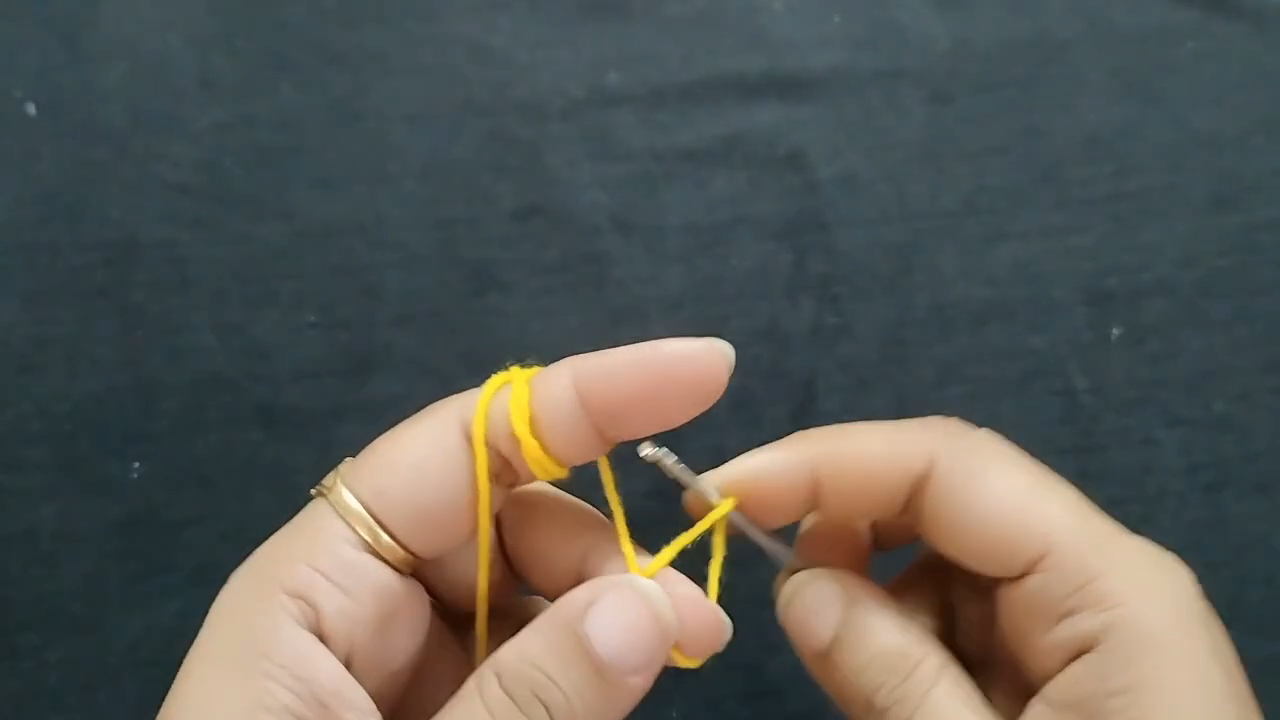
Pull your first loop through with the hook using yellow yarn, keeping it snug enough to hold its shape as you begin stitching into it. This loop becomes the center point for one of the flower’s core pieces.
Step 2: Work the First Small Round Piece
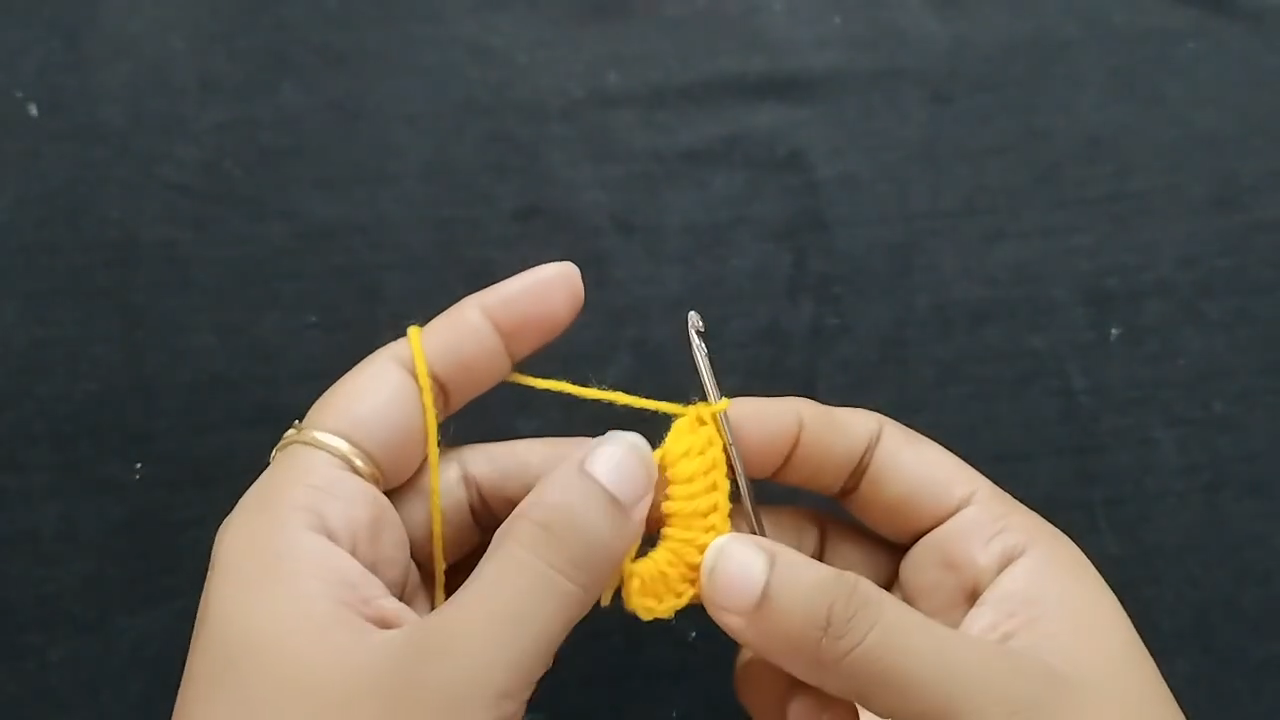
Stitch around your starting loop to close the gap, then continue building a few more rounds to form a small, tight circle. This piece becomes the flower’s center detail, worked separately before joining the rest of the bloom.
Step 3: Shape the Star-Point Bag Panels
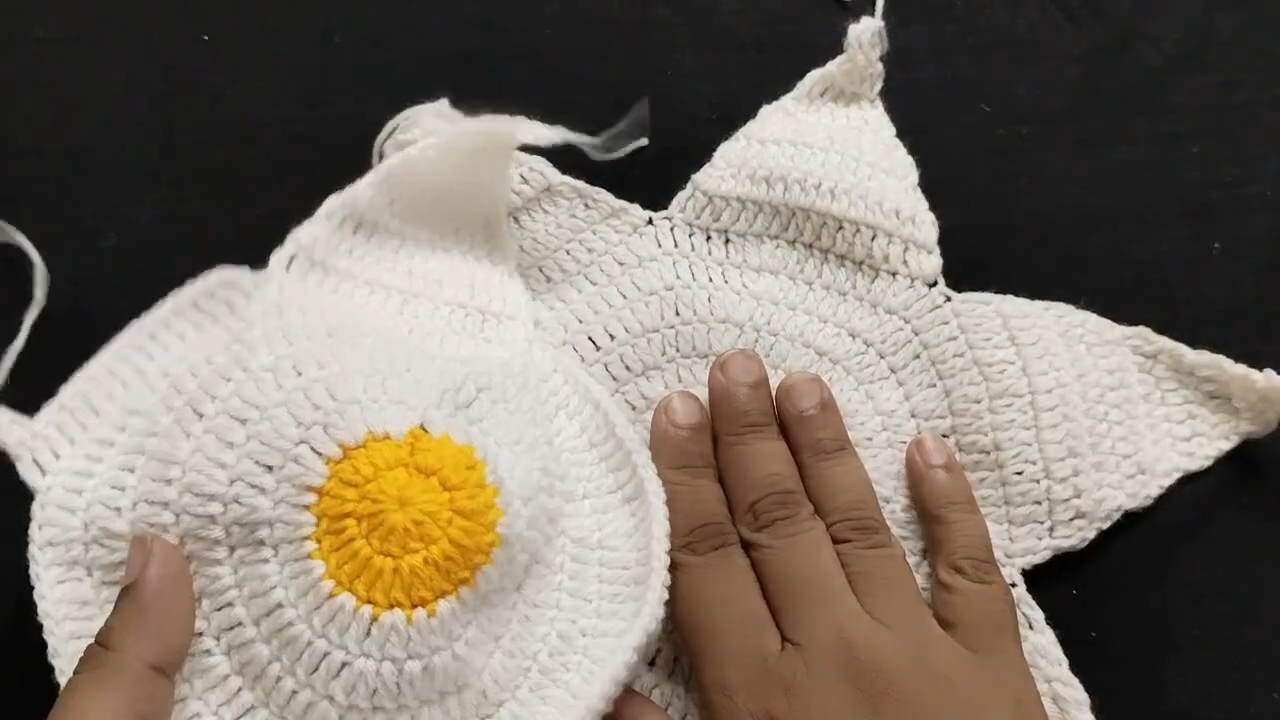
Using white yarn, begin building your bag’s panel pieces, increasing at set points to form the rounded star silhouette. Work both panels to matching sizes so the front and back align evenly once joined together later.
Step 4: Crochet the Layered Petals
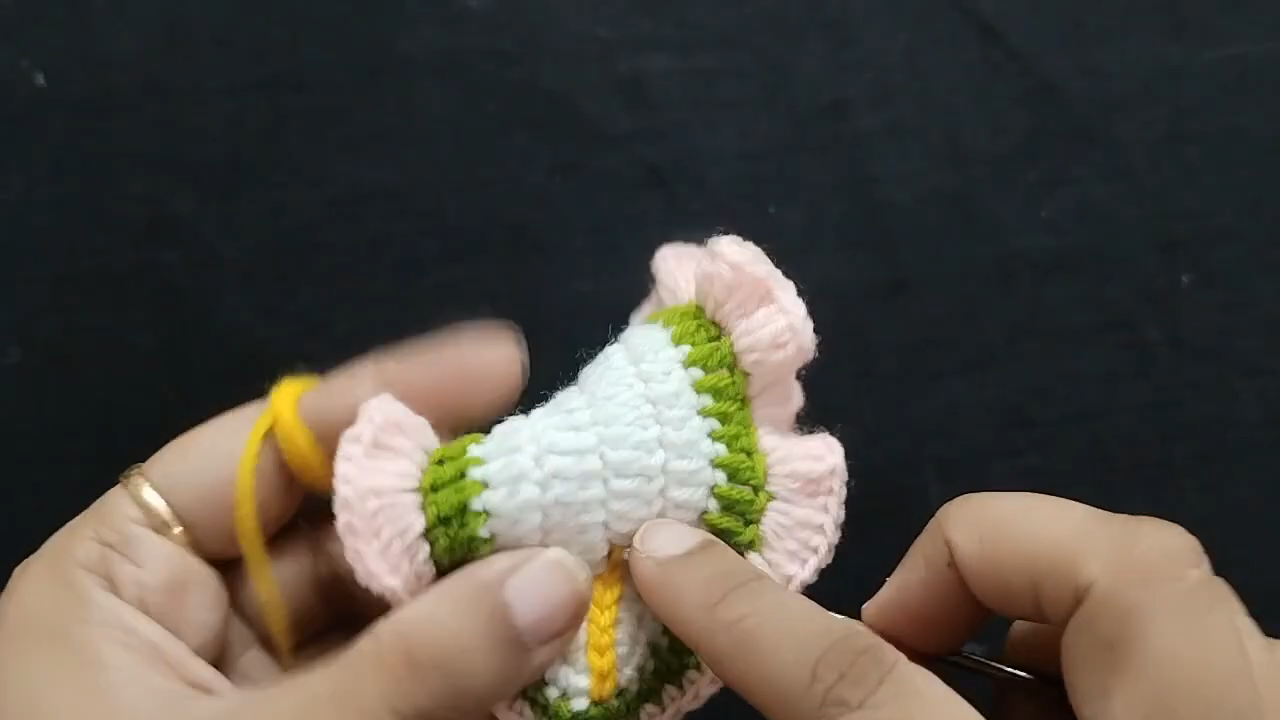
For each petal, start in white, transitioning to green after a few rounds, then finish with a ruffled pink edge worked through increased stitches along the outer border. Repeat this process to create enough matching petals for a full, even flower.
Step 5: Assemble the Flower and Attach It to the Bag
Arrange your finished petals around the small center piece, sewing each one in place so they sit evenly spaced and slightly overlapping. Once the flower is fully assembled, position it onto one of the star-shaped panels and stitch it securely before joining both panels together to complete the bag.
Helpful Tips for Beginners and Beyond
- Keep a consistent petal count so the flower stays symmetrical once assembled.
- Test your color transitions on one petal first before committing to the full set.
- Pin the flower onto the panel before sewing to check placement and balance.
- Work the ruffled edges a little looser than the rest of the petal to help them curl naturally.
- Join the star panels slowly, matching points carefully so the silhouette stays even on both sides.
Common Mistakes to Watch For
- Uneven color transitions between petals, making the finished flower look mismatched.
- Rushing the ruffled edge, which can leave it flat instead of naturally curled.
- Mismatched panel sizes, resulting in a bag that doesn’t sit evenly once joined.
- Overcrowding petals when sewing them together, leaving little visible white base showing through.
- Skipping a placement check before attaching the flower, leading to an off-center final look.
Customization Ideas
- Change the petal color palette to match seasonal flowers, like sunflower yellows or deep reds.
- Add a second smaller flower alongside the main one for extra dimension.
- Adjust the star panel size to make a mini version as a coin purse or pouch.
- Use a contrasting strap color to make the bag’s silhouette stand out even more.
- Add a small beaded center instead of a solid yellow circle for extra sparkle.
Frequently Asked Questions
Q: How many petals does the flower typically need?
A: Most versions use five to six petals for a full, balanced bloom, though this can be adjusted based on personal preference.
Q: Can I make the bag without the flower accent?
A: Yes, the star-shaped panels work well as a simple bag on their own if you’d rather skip the layered petal detail.
Q: What yarn type gives the cleanest star-point shape?
A: A yarn with good stitch definition, like cotton or a sturdy acrylic blend, tends to hold the pointed silhouette best.
Q: How do I keep the ruffled petal edges from curling too much?
A: Working the increases evenly rather than all at once helps control how tightly the edge ruffles.
Q: Is this a good project for practicing multi-color work?
A: Definitely, since each petal moves through several color changes, making it excellent practice for smooth transitions.
Final Thoughts
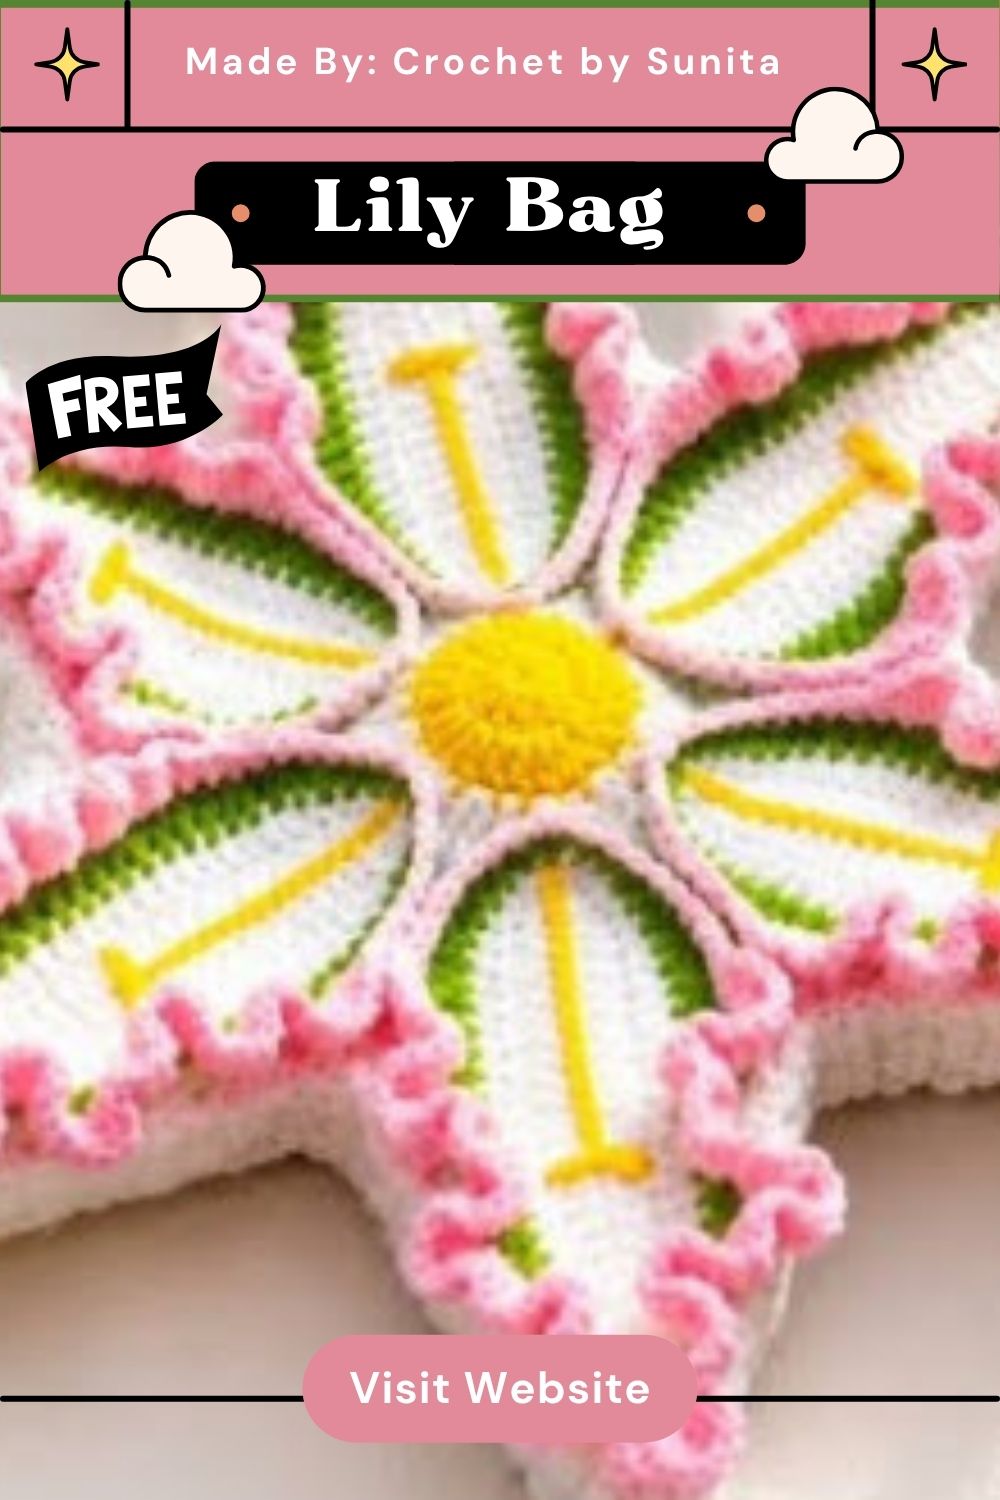
This Crochet Lily Bag Pattern turns a simple star-shaped panel into a striking accessory. The layered flower accent brings the design to life. From the very first starting loop to the final petal, each step builds toward a beautifully handcrafted piece.
Keep the color palette soft and pastel, or experiment with something bolder. Either option gives the bag its own character. This project is rewarding for anyone who wants their accessories to feel a little more like art.