Crochet Fish Car Coaster Pattern for Ocean Lovers
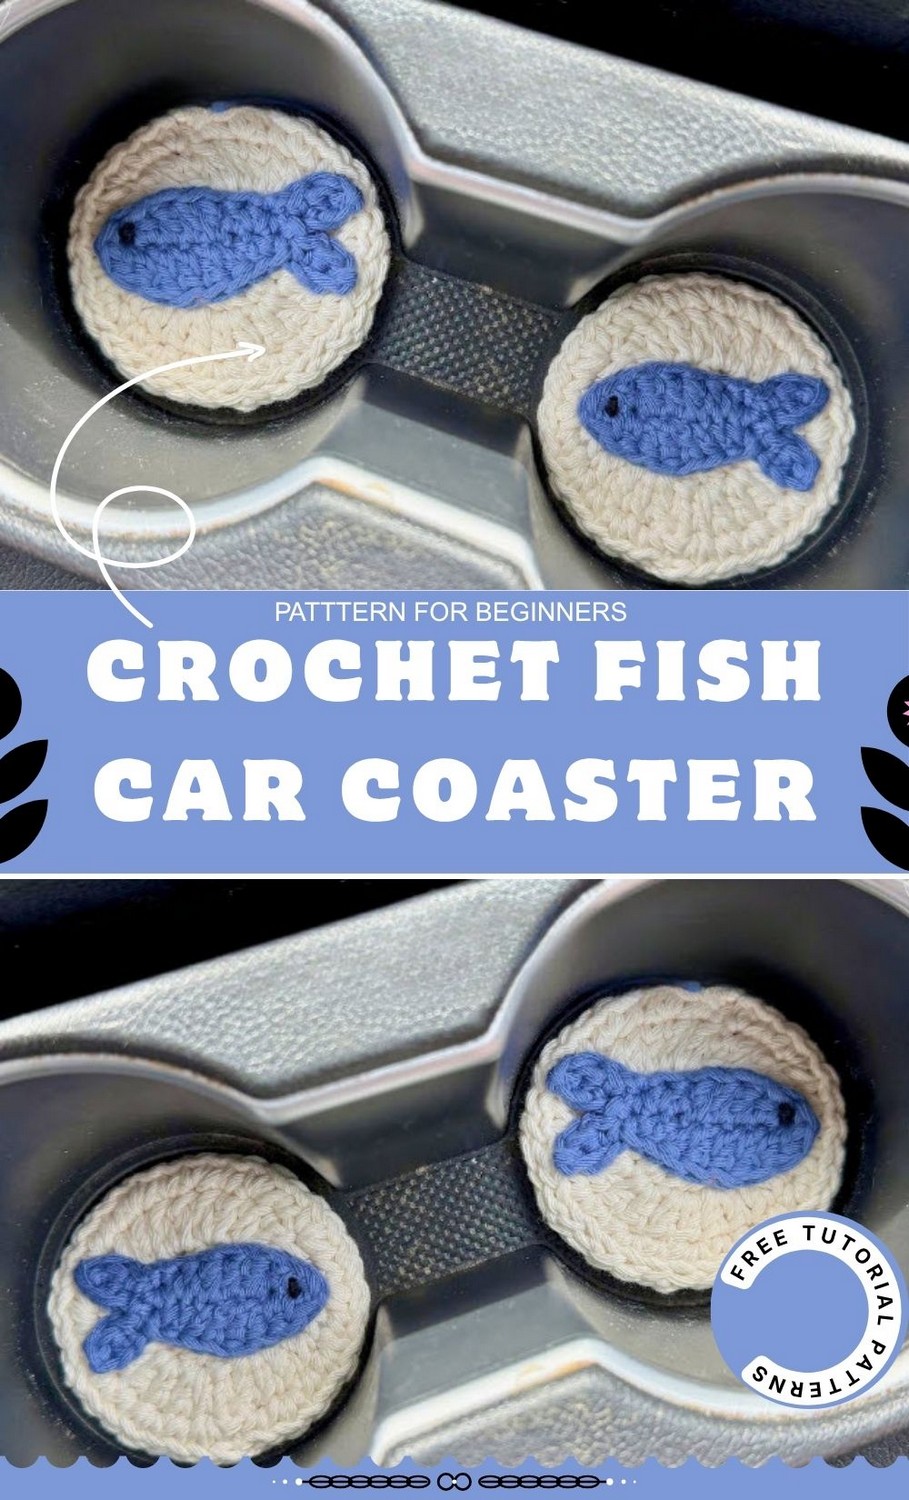
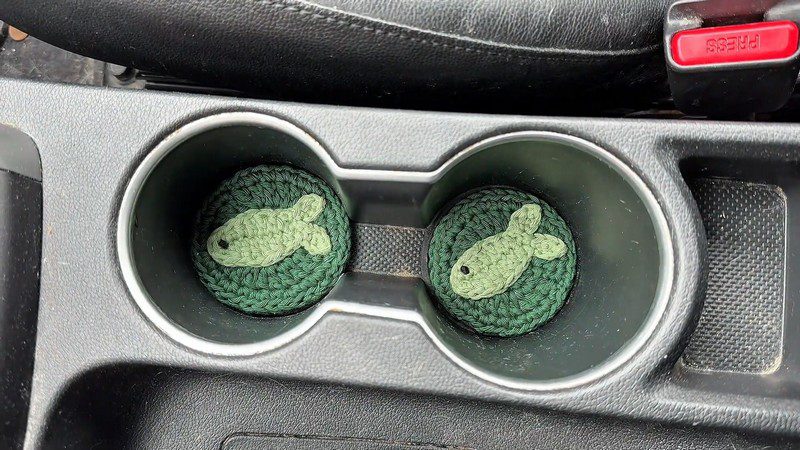
A little green fish sits on a matching cotton coaster in the car. This crochet fish car coaster pattern is free, and it is made for beginners. You can make a coaster for your cup holder and catch every drip, so it is an easy car crochet idea for gifts too.
Green cotton and a tiny fish give your car a fresh touch. This crochet fish car coaster uses simple stitches, and it sits inside your cup holder to soak up drips. Because it needs so little yarn, you can make it from scrap yarn. First, stitch two disks. Then sew a fish on top. It also makes a sweet handmade gift for anyone who loves driving and ocean themes.
Crochet Fish Car Coaster Pattern Overview
First, here are the quick facts.
- Skill level: Beginner-friendly
- Finished size: About 4 inches (10 cm) across (estimated), sized for a standard car cup holder
- Terminology: US terms
- Yarn quantity: Scraps only, less than 20 to 30 grams of yarn per coaster
Materials and Tools for the Crochet Fish Car Coaster
- Yarn: 100% cotton, worsted weight (Category 4, medium). Cotton is the best choice because it absorbs moisture and handles heat well.
- Color A: Green, for the two coaster disks
- Color B: A contrasting shade of green, for the fish
- Black yarn: a small scrap, for the eye
- 4.5 mm crochet hook for the coaster base
- 3.5 mm crochet hook for the fish
- Tapestry (darning) needle
- Scissors
Any two colors work well, so pick whatever scraps you love.
Abbreviations Used in the Crochet Fish Car Coaster Pattern
- ch: chain
- st / sts: stitch/stitches
- sl st: slip stitch
- sc: single crochet
- hdc: half double crochet
- dc: double crochet
- inc: increase (work 2 stitches into the same stitch or space)
Special Techniques for the Crochet Fish Car Coaster
This pattern uses four techniques:
- Magic ring
- French knot (for the eye)
- Working around both sides of a foundation chain
- Joining two layers by sewing them together
Stitch Refresher
Here is each stitch in plain words.
- sc: Put the hook into the stitch and pull up a loop, which leaves 2 loops on the hook. Then yarn over and draw through both loops.
- hdc: Yarn over, put the hook into the stitch, and pull up a loop to get 3 loops on the hook. Next, yarn over and pull through all three.
- dc: Yarn over, put the hook into the stitch or ring, and pull up a loop to get 3 loops on the hook. After that, yarn over and pull through the first 2 loops, then yarn over again and pull through the last 2.
- sl st: Put the hook into the stitch, yarn over, and pull the yarn through both the stitch and the loop on your hook.
- inc: Work two stitches into one stitch. For example, 2 dc, 2 sc, or 2 hdc go into the same stitch or space.
Time Box
- Prep: a short prep to gather yarn, hooks, and a needle
- Stitching: one relaxed sitting for both disks and the fish
- Finishing: a little finishing for sewing, weaving in ends, and blocking
Crochet Fish Car Coaster Pattern Instructions
Work in order: first the disks, then the fish, next the eye, and finally the assembly.
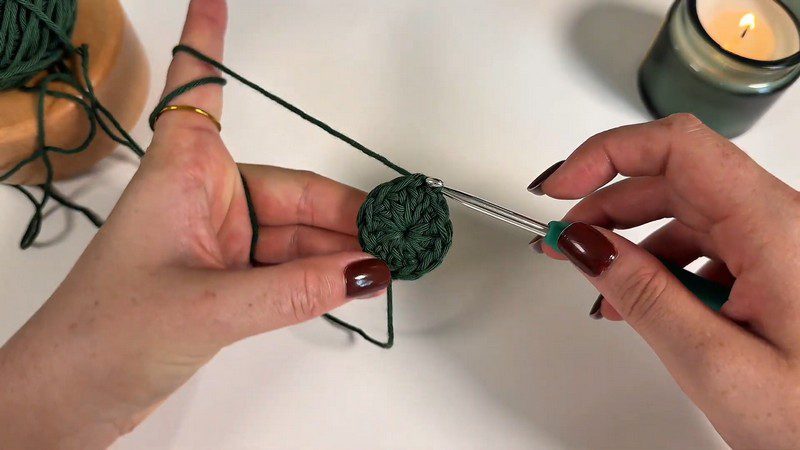
Step 1: Coaster Base, Magic Ring and Round 1 (Make 2)
Use Color A and the 4.5 mm hook. The starting ch 2 at the beginning of each round does not count as a stitch, so skip it when you join with a slip stitch.
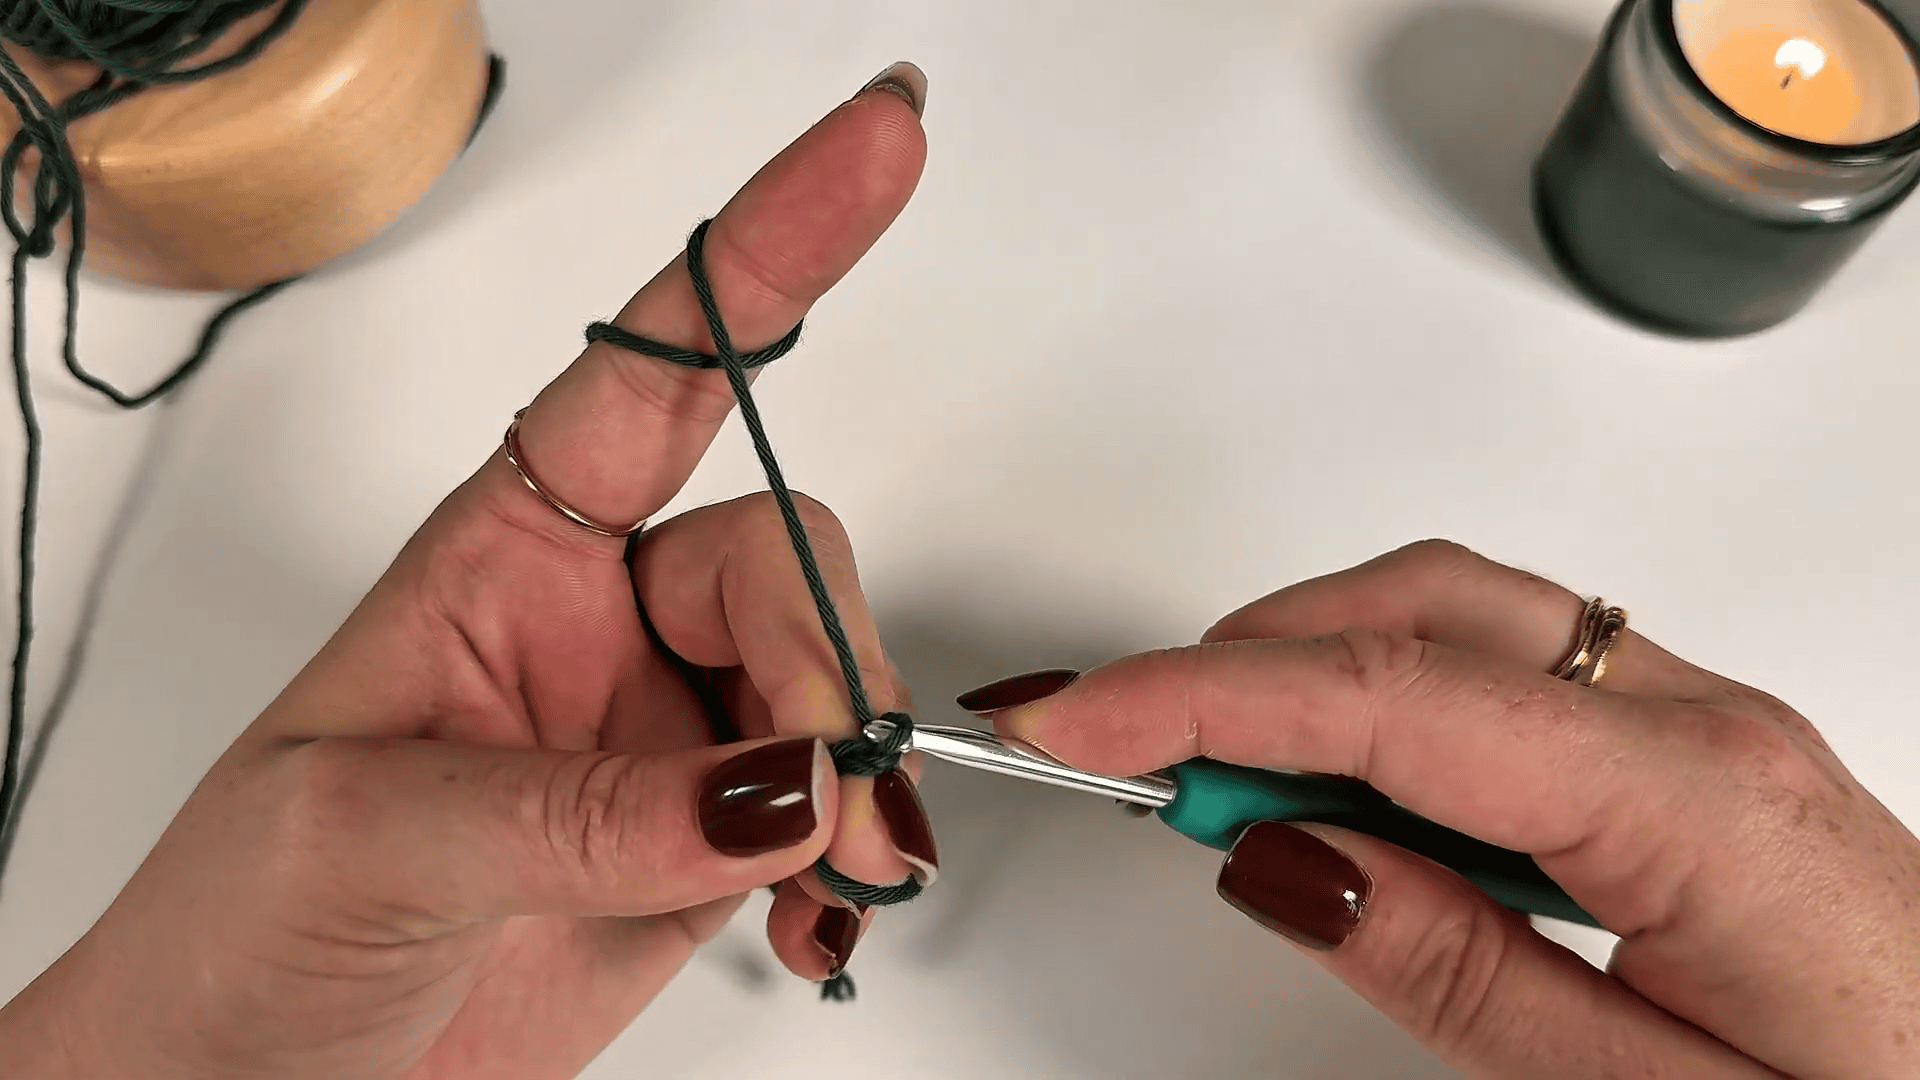
Round 1: Make a magic ring. Ch 2, then work 12 dc into the ring. Next, pull the tail tight to close the ring. Join with a sl st to the first dc.
Stitch check: 12 sts
Pro-Tip: Tug the tail firmly until the hole vanishes.
Step 2: Coaster Base, Rounds 2 and 3 (Make 2)
Round 2: Ch 2. Work 2 dc in every stitch around. Then join with a sl st to the first dc.
Count now: 24 sts
Round 3: Ch 2. Work [1 sc inc, 1 sc in the next st] around. Join with a sl st to the first sc.
Tally: 36 sts
Pro-Tip for a flat disk: Count your stitches at the end of each round, especially Round 3.
Fastening off: For the first coaster, fasten off and weave in the ends. For the second coaster, cut the yarn and leave a 12-inch tail, because you will use it to sew the two layers together later.
Step 3: Fish Motif
Use Color B and the 3.5 mm hook.
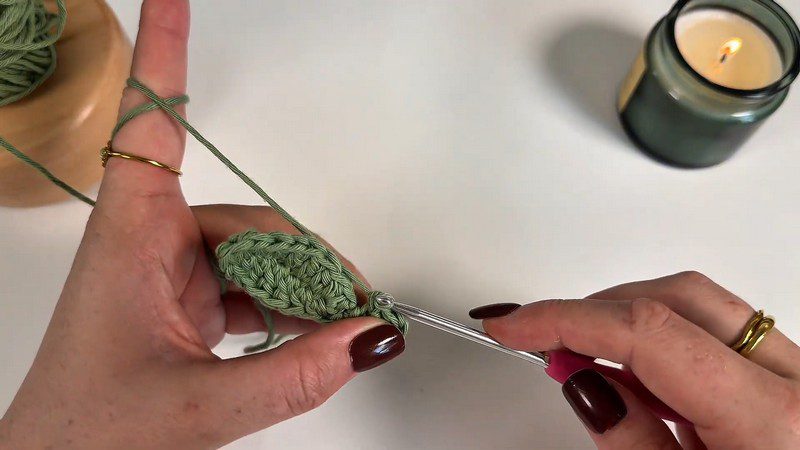
Fish Body: Make a slip knot and ch 8. Then work along the chain like so:
- In the 2nd ch from the hook, work 1 hdc inc (2 hdc in the same chain).
- Next, work 1 hdc in the following ch.
- After that, work 1 dc in each of the next 3 chs.
- Then work 1 hdc in the next ch.
- Finish this side with 3 sc in the last ch. Work the middle sc tightly into the twist of the yarn, so you don’t get a gap when you turn the corner.
Now work back along the opposite side of the chain:
- Start with 1 hdc in the next ch.
- Follow with 1 dc in each of the next 3 chs.
- Then work 1 hdc in each of the last 2 chs.
- Finally, join with a sl st to the very first stitch of the round.
Pro-Tip before you turn the corner: Pull the middle sc snug into the twist, or a small hole shows up.
Fish Tail: For the first fin, ch 4. Work 1 sc in the 2nd ch from the hook. Next, work 1 dc in the following ch. Then work 1 sc in the first ch you made. Finally, sl st into the same base stitch to anchor it.
For the second fin, ch 4. Work 1 sc in the 2nd ch from the hook. Next, work 1 dc in the following ch. Then work 1 sc in the first ch you made. Finally, sl st into the next stitch on the fish body to finish.
Fasten off, leaving a 12-inch tail for sewing.
Step 4: French Knot Eye and Attaching the Fish
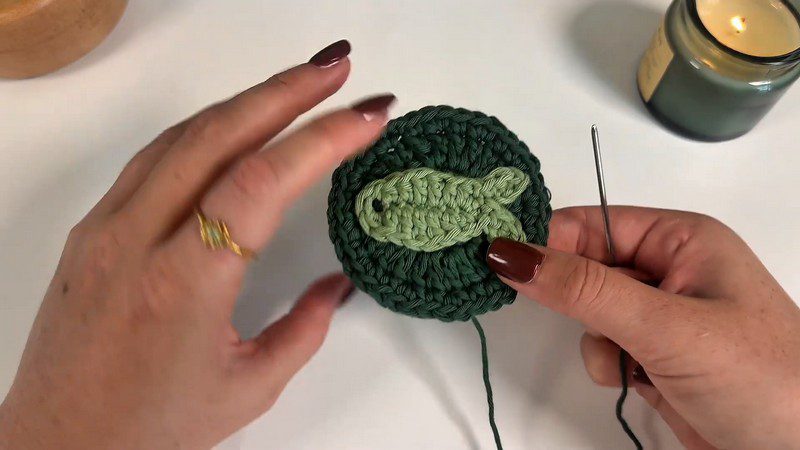
French Knot Eye:
- Thread the black yarn onto your darning needle.
- Next, bring the needle up from the back through the head area of the fish.
- Then wrap the yarn around the needle 3 times.
- After that, insert the needle back down very close to where it came out, but not in the exact same hole.
- Pull the yarn firmly to make a small, neat knot.
- Finally, secure the ends on the back and weave them in.
Attach the Fish: Place the fish in the exact center of the front coaster. Then use the 12-inch tail and the darning needle to whip stitch around the edge of the fish. Sew through the center of the stitches, so the yarn stays hidden and the fish doesn’t pucker.
Step 5: Joining the Layers and Finishing
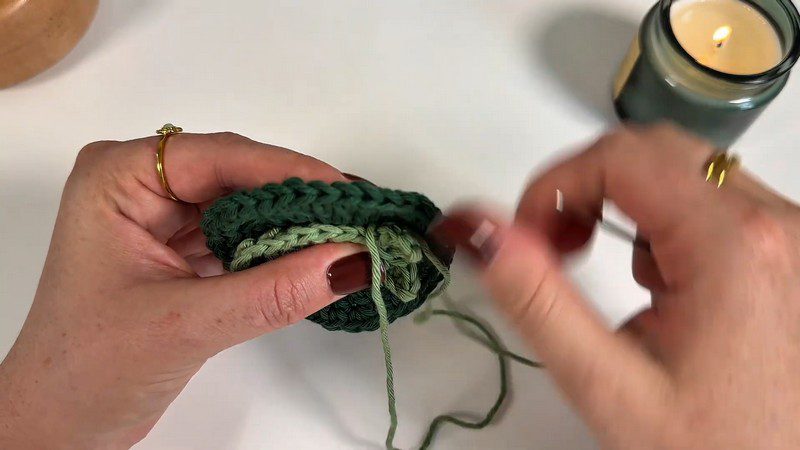
Join the Two Layers: Place the front coaster (with the fish) and the back coaster together with wrong sides facing each other. Next, use the 12-inch tail from the back coaster to sew the two circles together around the whole edge. Work through the matching loops of both disks (the back loop of the front circle and the front loop of the back circle), so the join looks tidy.
Weaving in Ends: Thread each tail onto the darning needle. Then weave it back and forth through the inside stitches, and trim it flush.
Blocking: Wet block or steam block the finished coaster. Doing so flattens the edges, relaxes the cotton, and gives you a neat circle.
Common Beginner Mistakes with the Crochet Fish Car Coaster
Counting the starting ch 2. It never counts as a stitch, so skip it when you join.
Leaving the magic ring loose. A slack tail leaves a gap in the middle, so pull it tight.
Sewing the fish off-center. To avoid this, check its spot before you stitch it down.
Uses and Benefits of the Crochet Fish Car Coaster
Rest a cold drink on the cotton, and the disk soaks up condensation before it pools. Tuck the coaster into the holder, and grit gathers on the fabric instead of the plastic. Because it fits snugly, it stays put. Slide in whatever scraps you have, since each coaster uses very little yarn. Finally, set one beside a thank-you note or drop it into a gift bag, because a tiny fish makes an easy present.
Beginner Tips for the Crochet Fish Car Coaster Pattern
- Choose cotton yarn, since it absorbs moisture well.
- Count your stitches after every round.
- Pull the magic ring tight.
- Center the fish before you sew it down.
- Block the finished coaster for a neat circle.
Bonus: Quick Checks Before You Join the Layers
Before you sew the two disks together, take a minute to run through this short list. It can save you from unpicking stitches later.
- Both disks have 36 sts after Round 3.
- The fish sits in the exact center of the front coaster.
- The French knot eye is secure, and its ends are woven in on the back.
- The back coaster still has its 12-inch tail ready for joining.
Personalization Ideas for Your Crochet Fish Car Coaster
Color Pairs
Any two colors work well. For example, try a deep blue disk with a lighter blue fish.
Gifting Sets
Make a few in different greens or blues, and keep one for yourself.
A Spare That Dries
Add a second coaster in another color pair, so one dries while the other works.
Cup Holder Care Tips
- Cotton coasters absorb water, so let them dry fully before you put them back in the car.
- Wash by hand in cool water, then reshape and dry flat.
- Make a second coaster in a different color pair, so one can dry while the other is in use.
FAQs About the Crochet Fish Car Coaster Pattern
What yarn works best?
Use 100% cotton, worsted weight (Category 4, medium).
Which hooks do I need for the crochet fish car coaster?
Use a 4.5 mm hook for the base and a 3.5 mm hook for the fish.
Will the crochet fish car coaster fit my cup holder?
Yes, it is sized for a standard car cup holder.
How many disks do I make?
Make 2 disks in Color A, one for the front and one for the back.
How do I join the layers?
Place them with wrong sides together. Then sew around the edge through the matching loops.
Which techniques do I need?
You need a magic ring, a French knot, and working around both sides of a foundation chain.
Ready to Hit the Road With Your Fish?
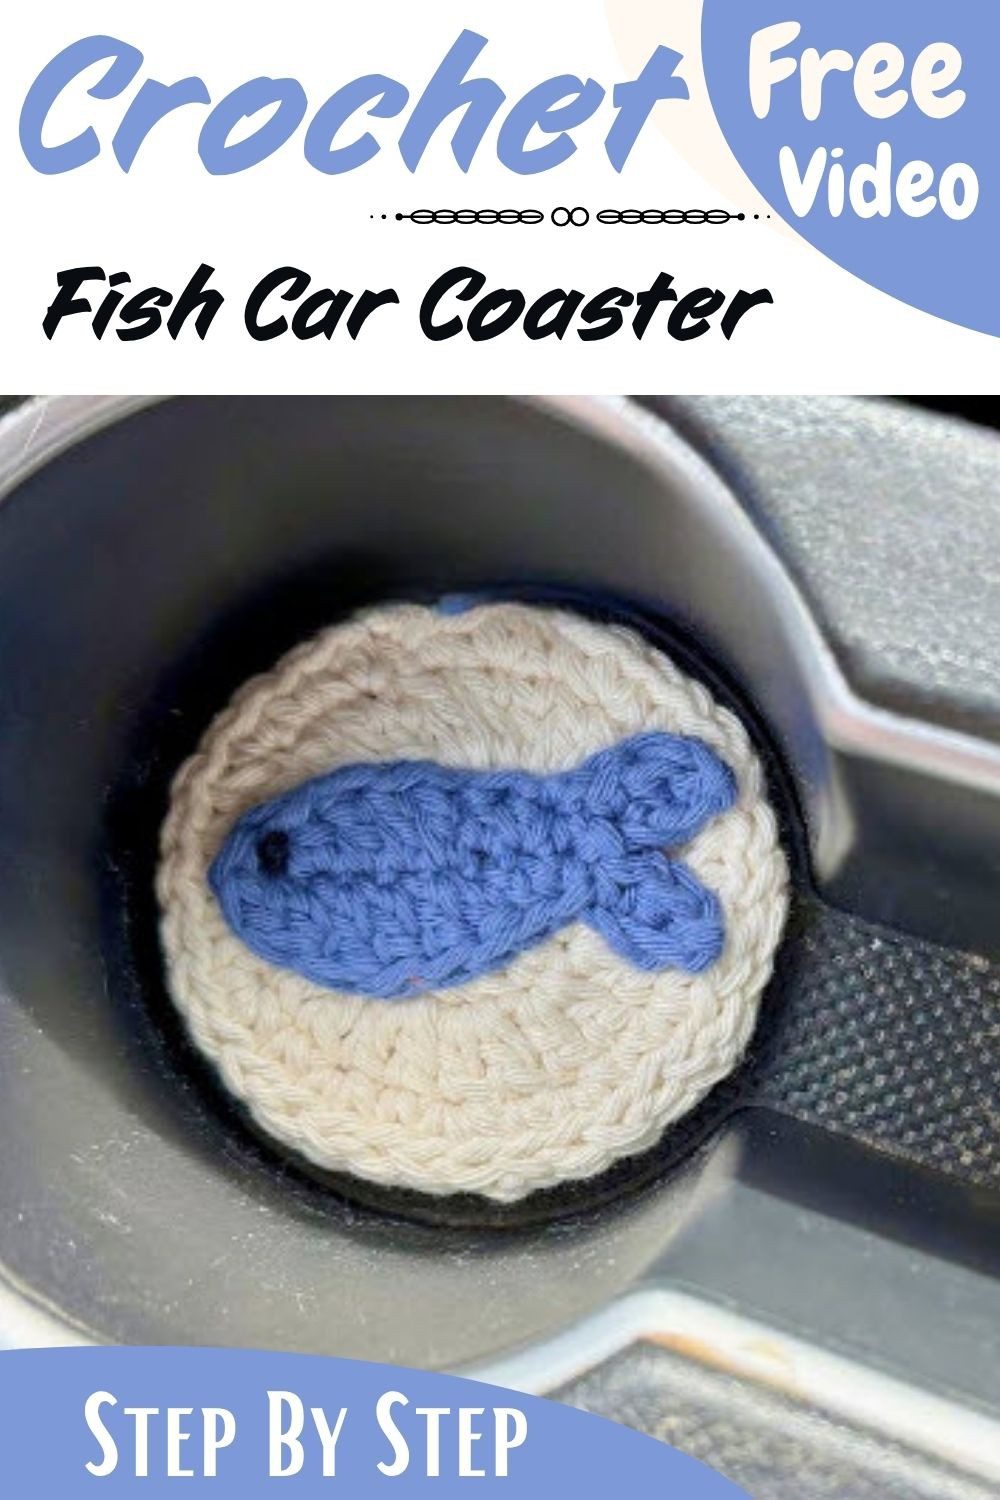
So, here’s the deal. It’s quick to make. You stitch two disks, add a tiny fish, and you’re done. Make one for yourself first, and then make another for a friend. After all, it’s an easy gift for anyone who spends a lot of time in the car.