Crochet Bunny Gnome Amigurumi Pattern So Fluffy & Easy to Make
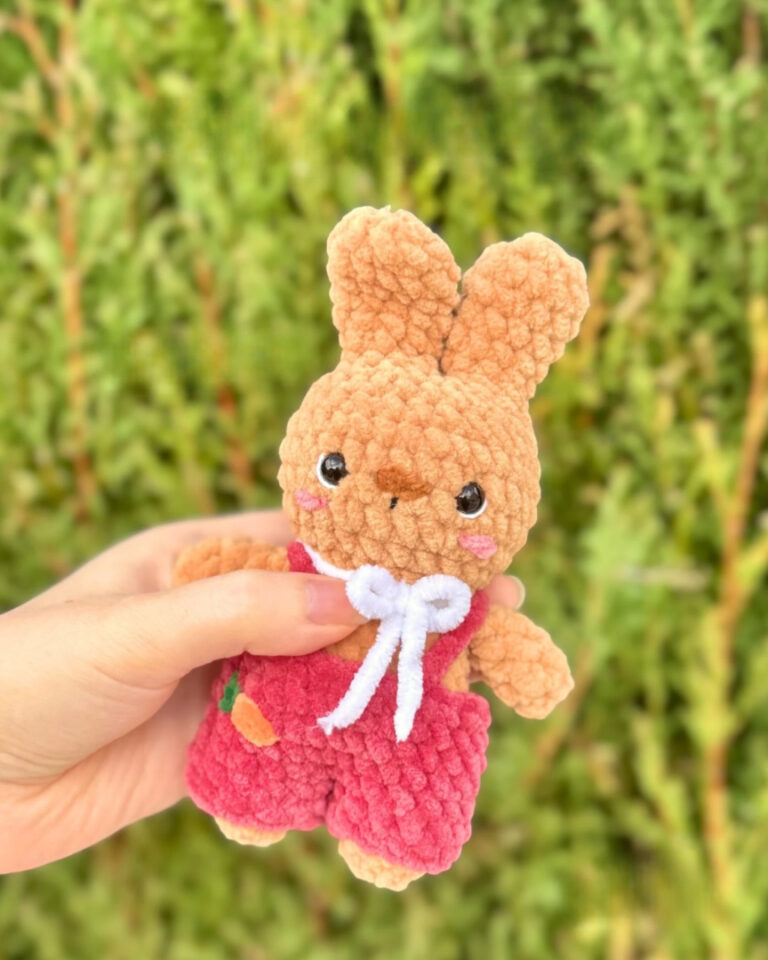
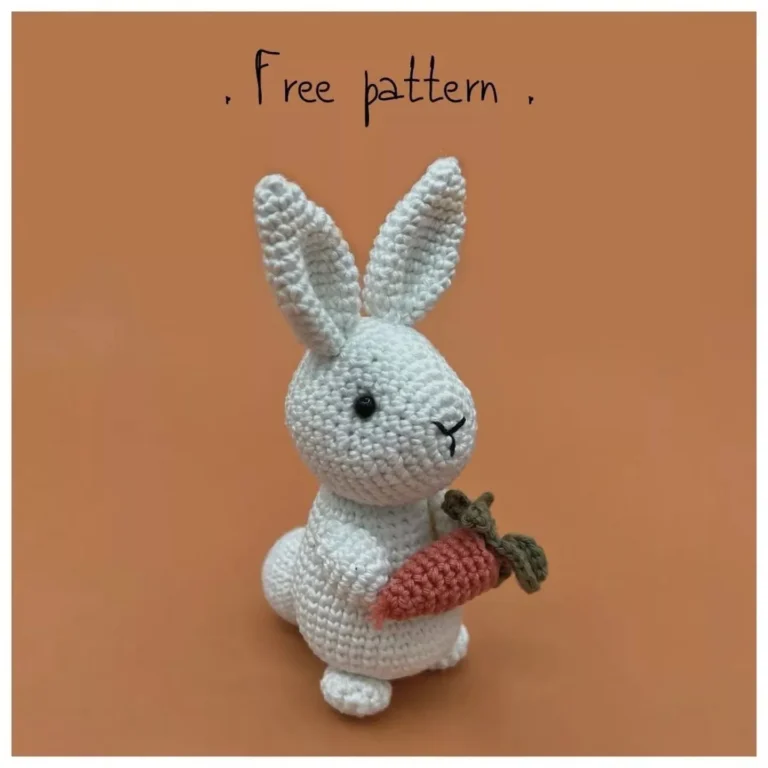
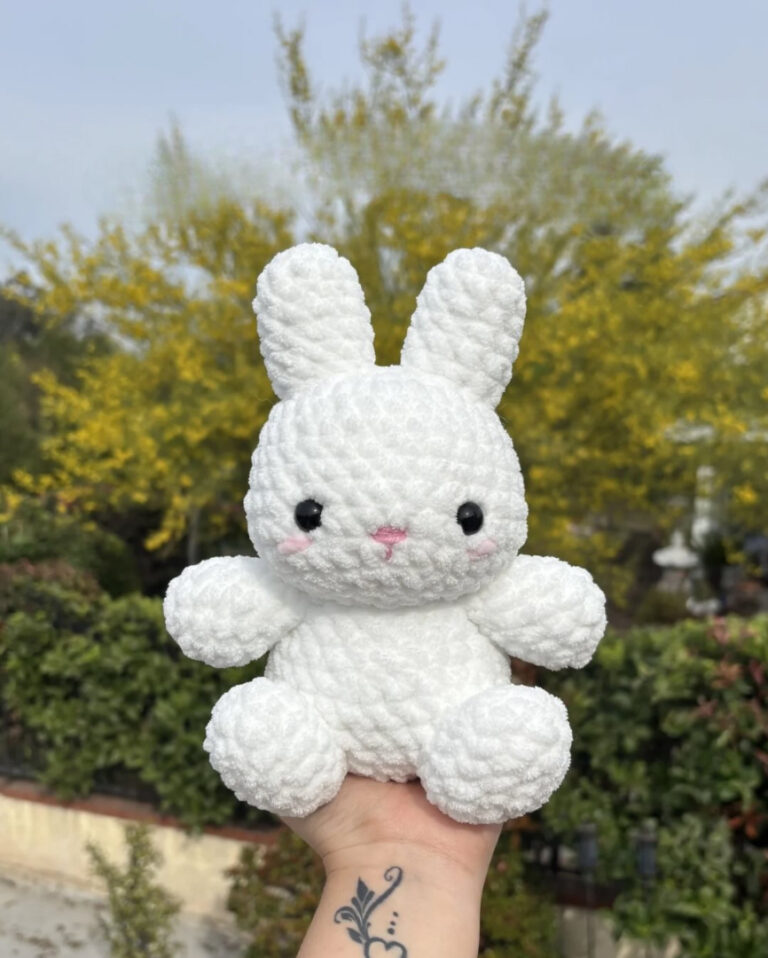
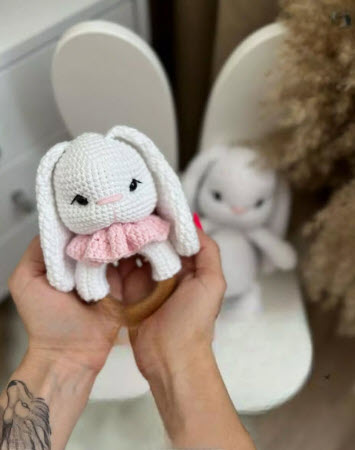
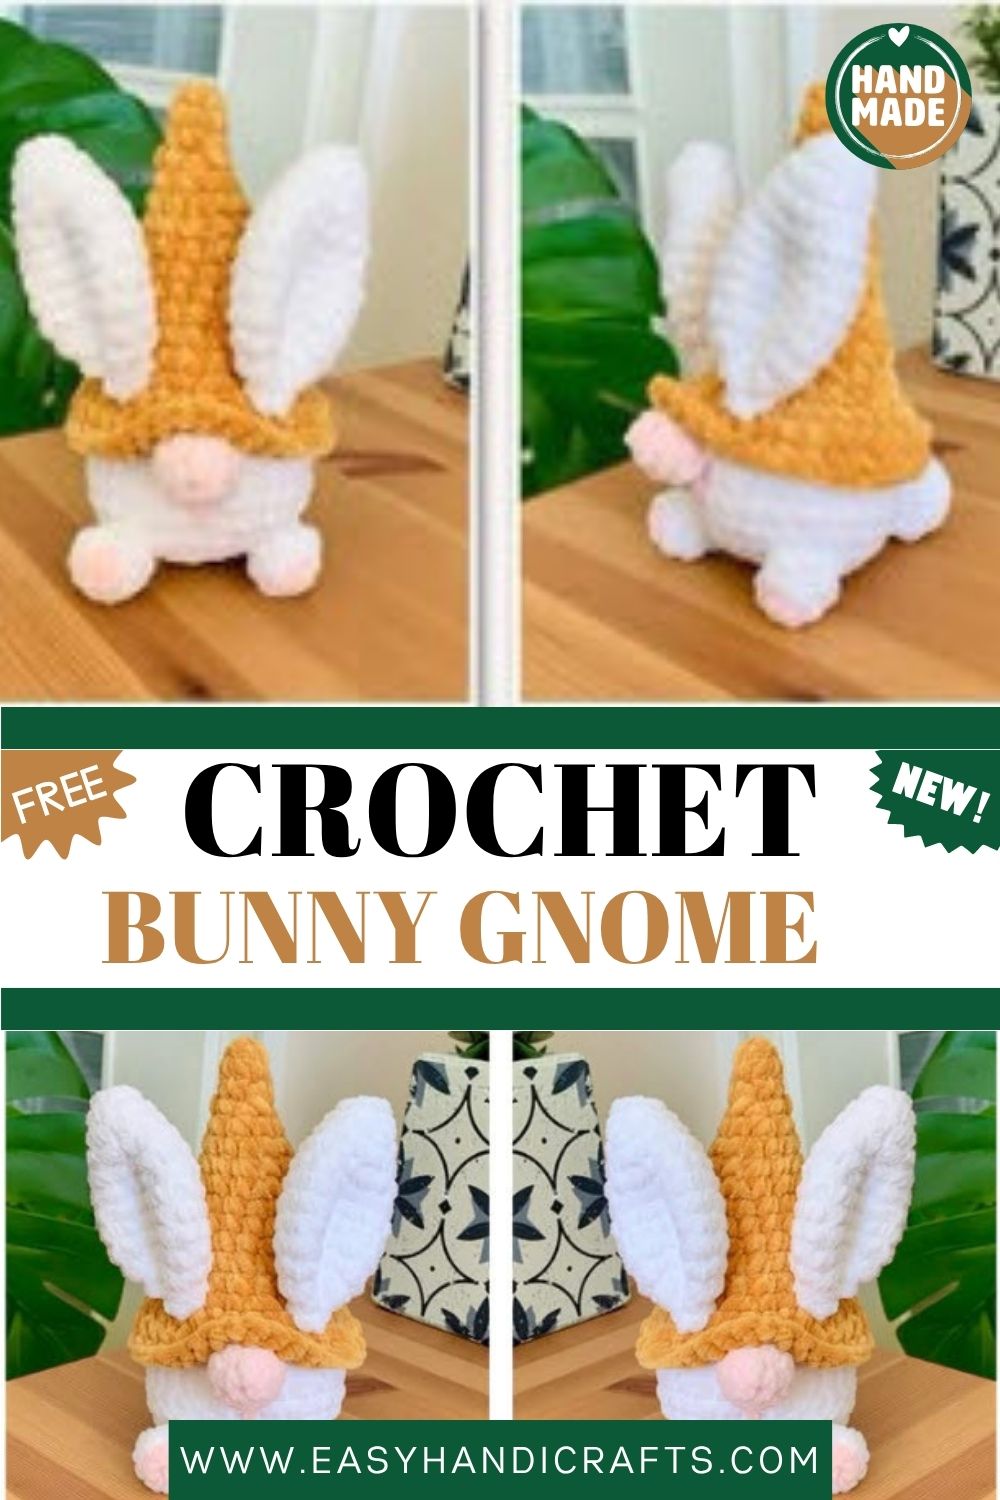
Crochet Bunny Gnome Amigurumi Pattern is a delightful amigurumi project that combines the unique design of a bunny and a gnome into one soft toy. Thanks to the simple shaping and easy stitches, this pattern is a great choice for any crocheter who wants to create a unique handmade amigurumi character.
Overview
Before diving into rounds and stitches, it helps to know what you’re working toward. This pattern combines a classic gnome hat shape with floppy bunny ears, a round pink nose, tiny feet, and a fluffy tail. The chenille yarn does most of the heavy lifting here, adding dimension without extra effort on your part. Expect a finished toy that stands roughly palm-sized, perfect for shelf displays, nursery decor, or gifting.
Skill Level
Beginner to intermediate crocheters will feel comfortable here. Basic single crochet, increases, decreases, and working in back or front loops only make up the entire pattern. No complicated stitch combinations or shaping tricks are involved, so confidence builds quickly.
Materials You’ll Need
- 4mm crochet hook
- Yarn needle
- Stitch markers
- Scissors
- Stuffing
- Chenille yarn in white, pink, and a third color for the hat
Chenille yarn behaves differently from cotton or acrylic, so stitches may feel looser at first. Trust me, that softness is exactly what gives this bunny gnome its signature plush look once stuffed.
Abbreviations Used in This Pattern
- MR: Magic ring
- sc: Single crochet
- inc: Increase
- dec: Decrease
- ch: Chain
- BLO: Back loop only
- FLO: Front loop only
- (…) x…: Repeat the sequence in parentheses
Crocheting the Hat
Working the hat first sets the tone for the entire project, since it establishes the base your ears will later attach to.
R1: MR of 4 (4)
R2: (1sc, 1inc) x2 (6)
R3: 6sc (6)
R4: (1sc, 1inc) x3 (9)
R5: 9sc (9)
R6: (2sc, 1inc) x3 (12)
R7: 12sc (12)
R8: (3sc, 1inc) x3 (15)
R9: 15sc (15)
R10: (4sc, 1inc) x3 (18)
R11: 18sc (18)
R12: (5sc, 1inc) x3 (21)
R13: (2sc, 1inc) x7 (28)
R14: FLO (3sc, 1inc) x7 (35)
R15: 35sc (35)
R16: (6sc, 1inc) x5 (40)
Cut the yarn and close with an invisible finish. Stuff lightly as you go so the hat keeps its rounded shape rather than collapsing inward.
Building the Body
Round 14 does double duty here. Once the hat is finished, return to that same round and work into the back loops with white yarn to begin the body.
R14: BLO 28sc (28)
R15–R20: 28sc (28) — repeat for 6 rounds
R21: (2sc, 1dec) x7 (21)
R22: (1sc, 1dec) x7 (14)
R23: 1dec x7 (7)
Stuff completely before closing the last round. Firm stuffing here keeps the bunny gnome standing upright on its own.
Legs, Nose, and Tail
Legs (Make 2)
Start with pink yarn, then switch to white partway through.
R1: MR of 4 (4), switch to white
R2: 1inc x4 (8)
R3: 8sc (8)
R4: 1dec x4 (4)
Stuff each leg, then cut the yarn leaving 20cm for sewing later.
Nose
Pink yarn only for this piece.
R1: MR of 4 (4)
R2: 1inc x4 (8)
R3: 8sc (8)
R4: 1dec x4 (4)
Stuff, then leave a 20cm tail for attaching.
Tail
White yarn gives this tail its fluffy finish.
R1: MR of 8 (8)
R2: 1inc x8 (16)
R3: 16sc (16)
R4: 1dec x8 (8)
Stuff and leave 20cm of yarn for sewing.
Crocheting the Ears
White yarn works best for soft, floppy ears.
R1: MR of 6 (6)
R2: (1sc, 1inc) x3 (9)
R3: 9sc (9)
R4: (2sc, 1inc) x3 (12)
R5: 12sc (12)
R6: (3sc, 1inc) x3 (15)
R7–R9: 15sc (15) — 3 rounds
R10: (3sc, 1dec) x3 (12)
R11: (2sc, 1dec) x3 (9)
R12: (1sc, 1dec) x3 (6)
Leave the ears unstuffed for that natural bunny droop, and leave 20cm of yarn for sewing.
Assembly Instructions
Putting the pieces together is where this crochet bunny gnome amigurumi really comes to life.
- Attach the nose between rounds 15 and 17, passing the thread underneath from round 17 to round 20 to hold it flush.
- Sew the feet on between rounds 20 and 21.
- Position the tail at the back, between rounds 18 and 20.
- Secure the ears at round 13 of the hat, angling them slightly outward for a playful look.
Helpful Tips
Chenille yarn splits easily, so stitch markers become essential rather than optional. Losing your round count halfway through the hat is frustrating, low-key one of the most common chenille crochet mistakes. Keep tension slightly looser than usual, since chenille doesn’t stretch the way cotton yarn does.
Customization & Variations
Swapping the hat color changes the entire personality of this bunny gnome. Pastel shades suit spring displays, while deeper tones work well for autumn or holiday gifting. Adding a small pom-pom to the hat tip or a tiny bow at the neck personalizes the design further without altering the core pattern.
Common Mistakes to Avoid
Overstuffing the head causes the hat opening to warp, so add stuffing gradually and check the shape often. Skipping stitch markers on round transitions leads to miscounted stitches, especially during the increase-heavy rounds. Sewing the ears too far forward makes the gnome look unbalanced, so test placement before committing with thread.
Finishing Touches
A light comb through the chenille yarn fluffs up the fibers and hides any uneven stitches. For real, this one step makes a huge visual difference on the final piece. Check that the nose and eyes sit symmetrically before securing them permanently.
Gifting Ideas
This bunny gnome amigurumi suits Easter baskets, baby shower gifts, or nursery shelf decor equally well. Pairing it with a matching keychain or ornament creates a thoughtful handmade gift set for crochet-loving friends.
Frequently Asked Questions
Can I use regular yarn instead of chenille?
Standard acrylic or cotton yarn works fine, though the finished texture won’t be as plush.
How long does this pattern take to complete?
Most crocheters finish in three to five hours, depending on stuffing and sewing speed.
Is chenille yarn hard to crochet with?
It splits more easily than standard yarn, ngl, but working with a slightly larger hook helps control it.
Conclusion
Finishing your own crochet bunny gnome amigurumi feels genuinely rewarding, especially once that chenille texture comes together in the final assembly. Every round, from the pointed hat to the floppy ears, adds character that store-bought toys simply can’t replicate. Beginners gain real confidence tackling increases and decreases, while experienced crocheters enjoy a quick, satisfying make. No joke, this pattern earns a permanent spot in any amigurumi collection, whether displayed on a shelf or gifted to someone special.