Crochet Baby Dinosaur Pattern Triceratops with Green Horns
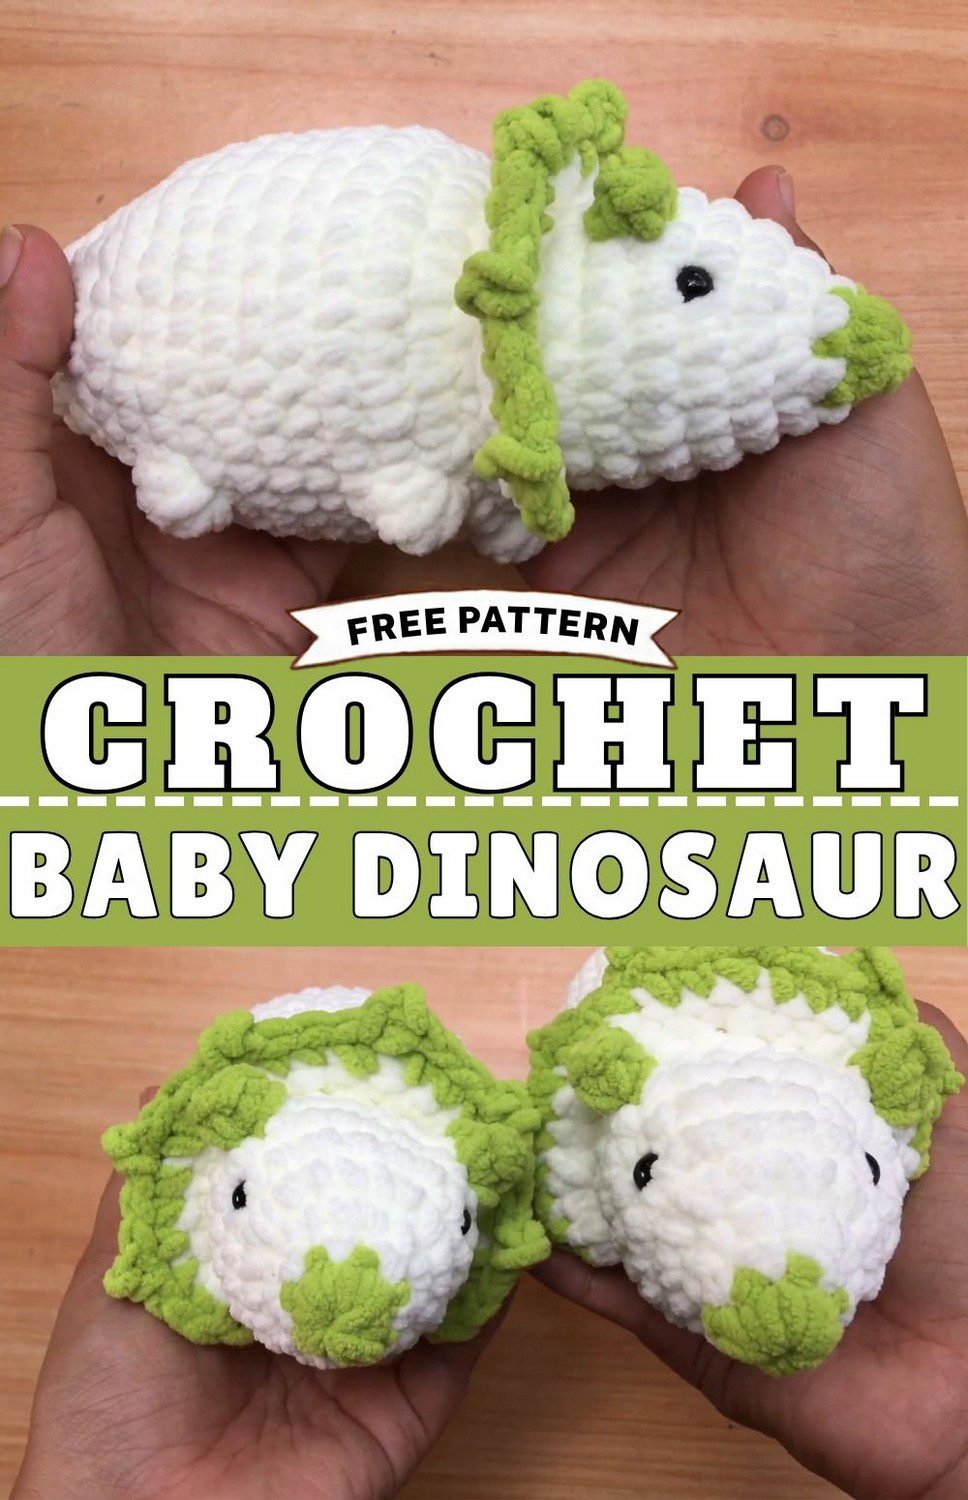
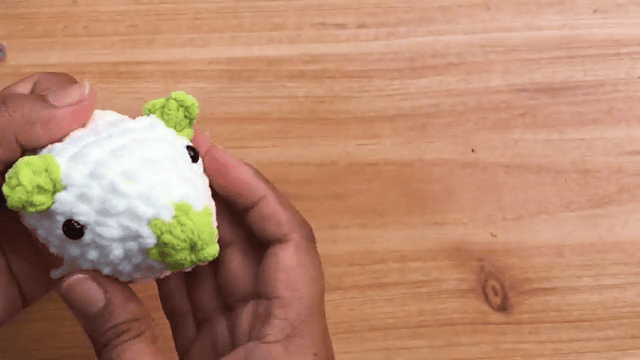
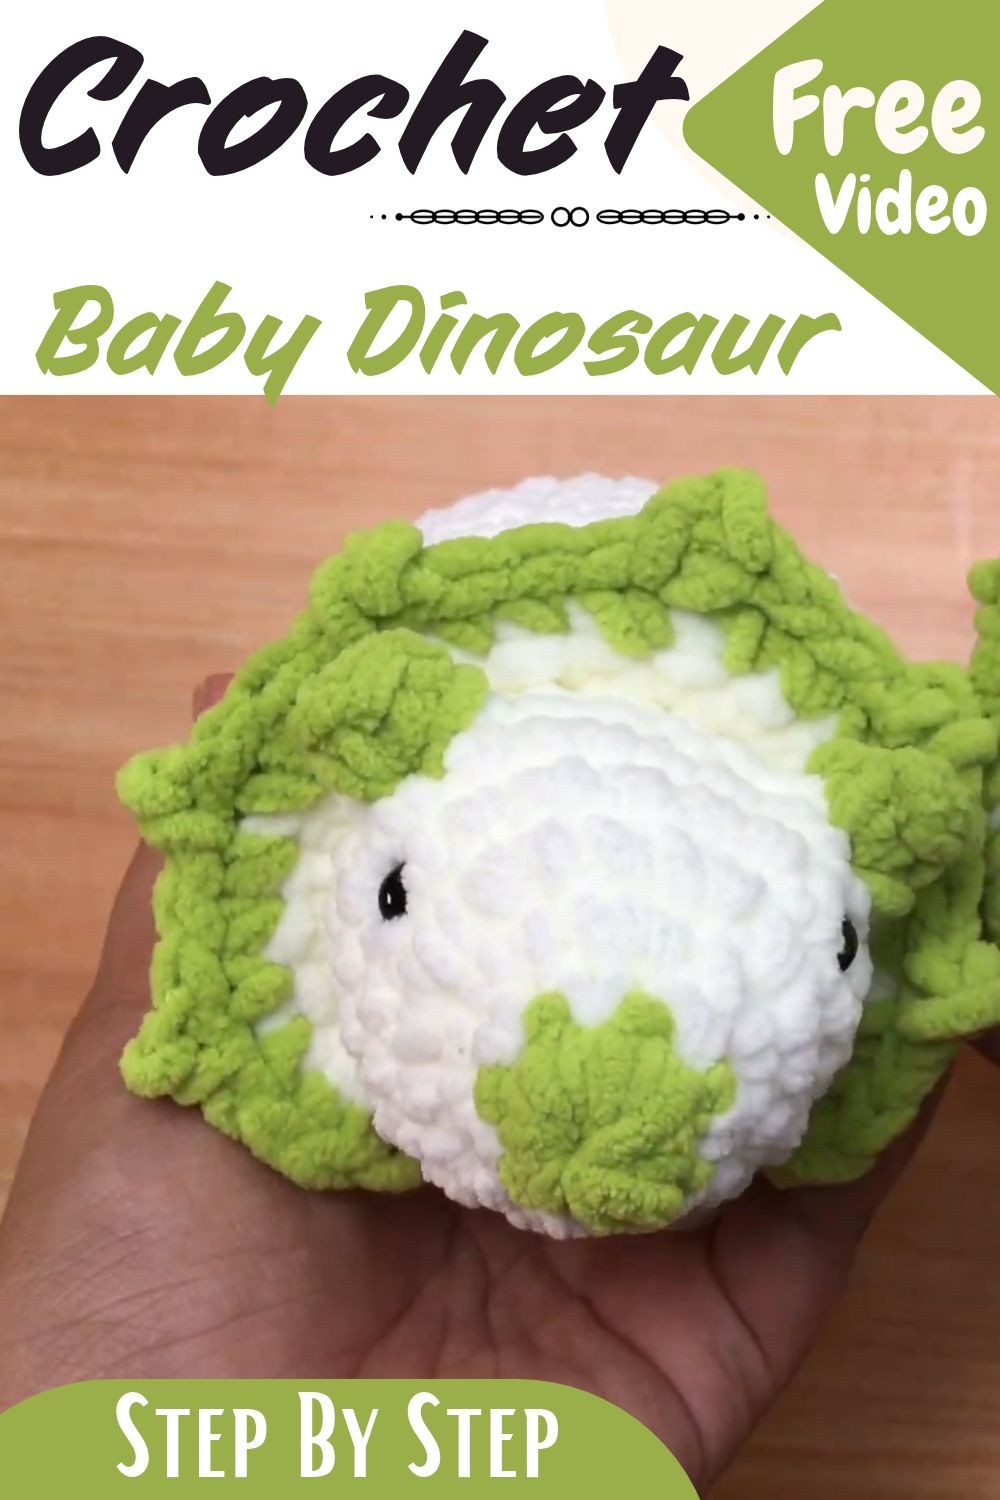
Meet a tiny white dinosaur with a leafy green frill. Stitch your own crochet baby dinosaur triceratops pattern with green horns using plush yarn. The steps are simple and quick to learn. It also makes a happy little handmade gift.
Little hands will love holding a fluffy white dinosaur. The body has a green frill and a green nose. Black eyes and green horns finish the cute face. Follow the crochet baby dinosaur pattern, triceratops with green horns, one round at a time. Soft chunky yarn makes the toy squishy. Anyone new to amigurumi can try it. Give it as a baby dinosaur toy or keep it as shelf decor.
Crochet Baby Dinosaur Pattern: Triceratops with Green Horns Overview
Skill level: Advanced beginner
Finished size: About 6 inches (15 cm) long
Little hands will love holding this fluffy cream dinosaur. Besides the green frill and nose, black eyes and green horns finish off the cute face. Follow the pattern one round at a time, and you will have a happy handmade gift in no time.
What You Need for the Crochet Baby Dinosaur Pattern Triceratops with Green Horns
- Chunky yarn in cream and green
- 5 mm crochet hook
- 10 mm safety eyes
- Fiberfill stuffing, yarn needle, scissors
- Stitch marker
Pattern notes:
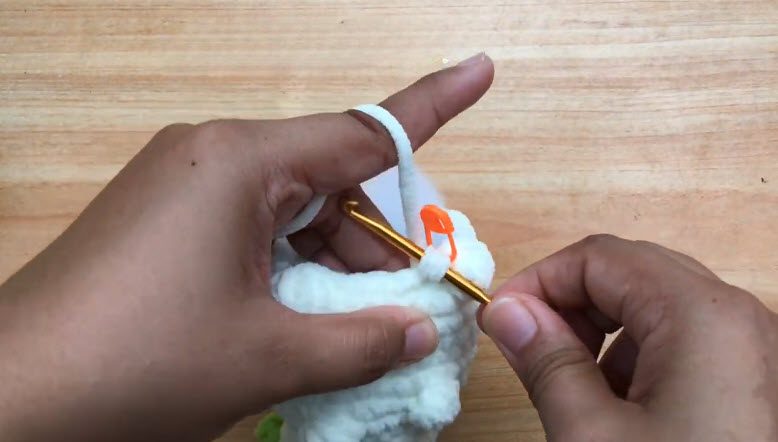
- The toy is worked in continuous rounds, so skip the slip stitch at the end of each round and place a stitch marker at the start of every round.
- Stuff as you go. Begin stuffing right after placing the safety eyes, add more after R18, and then add a final bit before the last decreases.
Abbreviations
R: round
MR: magic ring
sc: single crochet
dc: double crochet
inc: increase (two single crochets in one stitch)
dec: decrease (two stitches worked together)
ch: chain
sl st: slip stitch
st(s): stitch(es)
x: repeat the bracketed part the stated number of times
Special Techniques
Magic ring: A magic ring gives the head a tight, closed centre. First, form a loop with the yarn tail. Next, work the first round of stitches into that loop. Finally, pull the tail to close the ring completely.
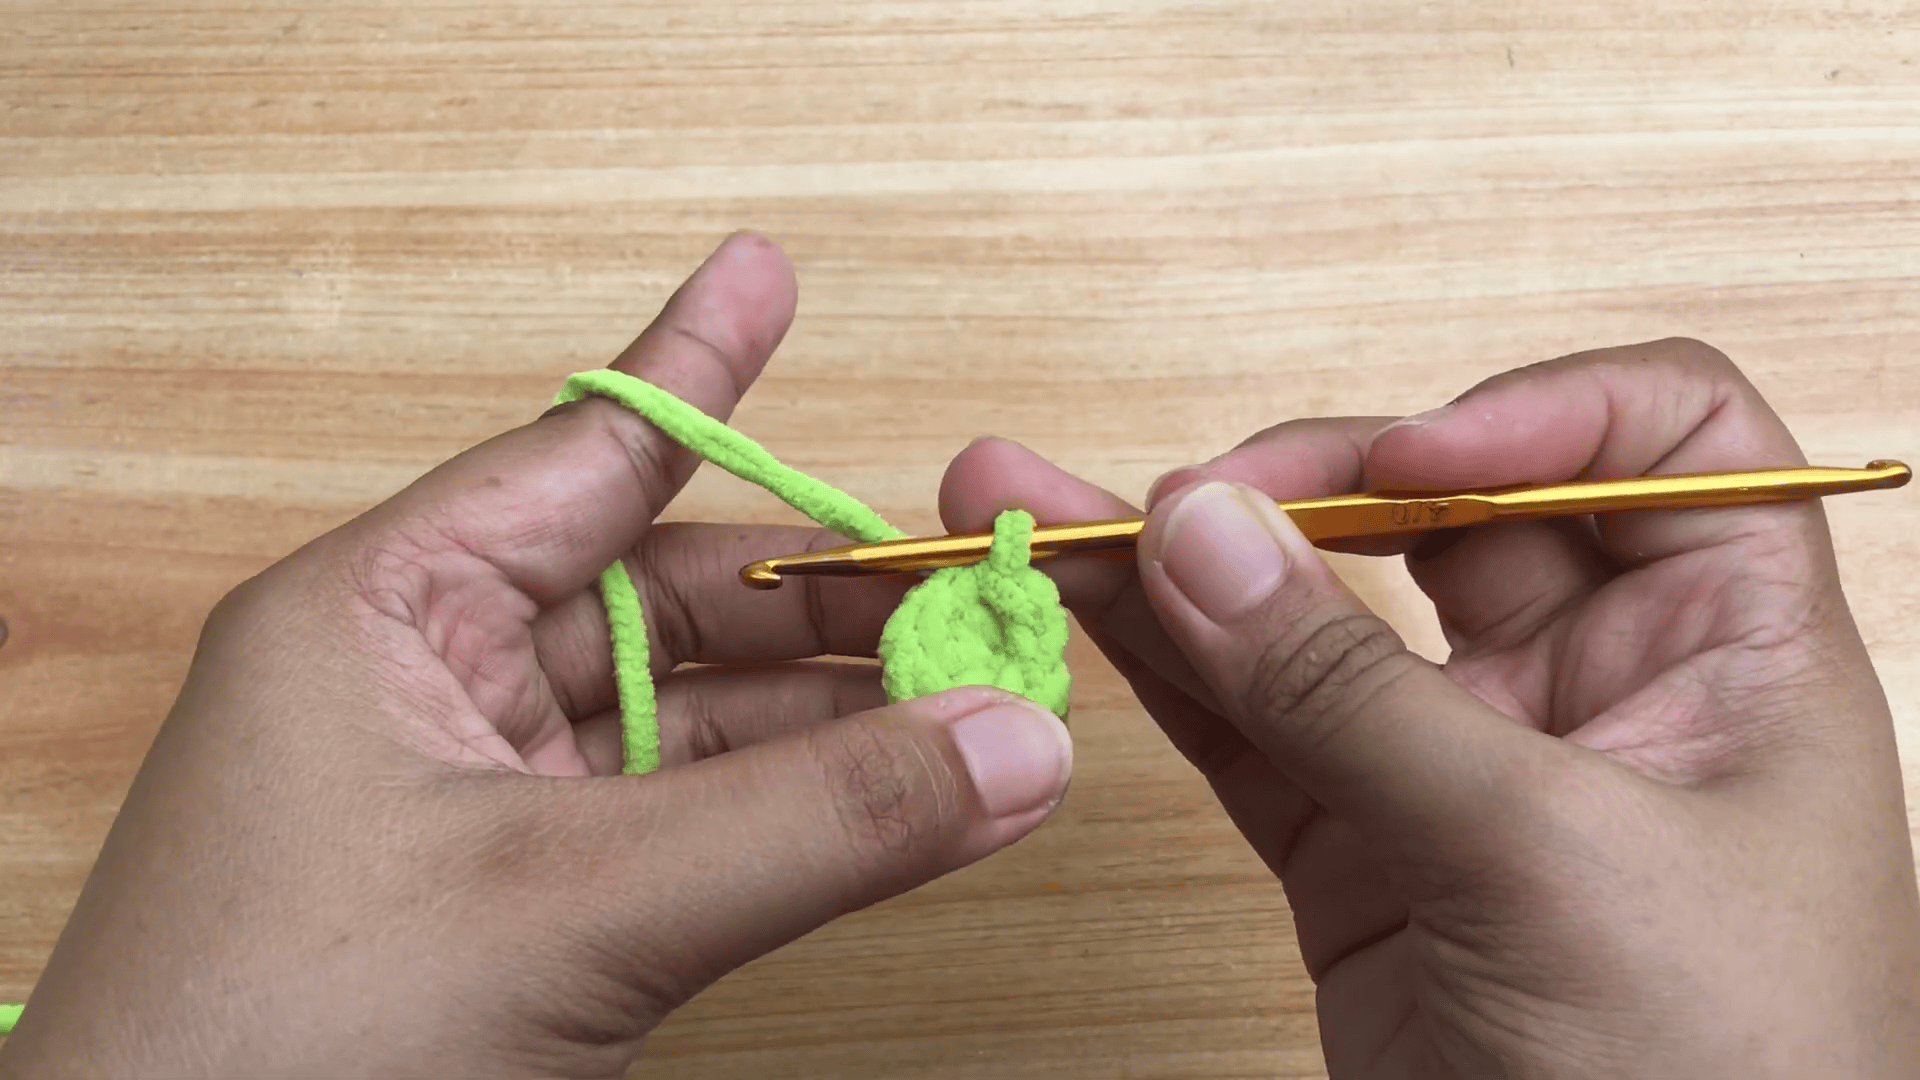
Small puff: The small puff makes the horn tips on the head. Chain 1, then work 3 sc in the same stitch. After that, lift the loop, insert the hook into the first sc, and slip stitch. Then insert the hook back into the stitch where the 3 sc were worked and slip stitch again to secure it. Altogether, a small puff counts as 1 stitch, and you cut the yarn right after it.
Puff stitch: The puff stitch forms the raised bumps on the body. Work 4 double crochets together in the same stitch. Although the bump looks big, it counts as 1 stitch, so the stitch total stays the same.
Colour changes: Cream and green swap places a few times. To keep each change neat, switch to the new colour while finishing the stitch just before it. Then continue with the new yarn right away.
Frills: The frill is worked separately, back and forth in rows, along the neckline. Cream yarn forms the base rows, and green yarn then adds a row of little scalloped spikes along the edge.
Crochet Baby Dinosaur Pattern Triceratops with Green Horns Instructions
Step 1: Head and Body
To begin, work the head and body as one piece in continuous rounds.
R1: 6 sc in a magic ring, then slip stitch and cut yarn
R2: Using cream yarn, 6 sc
R3: 6 inc (12 sc)
R4: (1 inc, 1 sc) x6 (18 sc)
R5: 18 sc
R6: (1 inc, 2 sc) x6 (24 sc)
R7: 8 sc, change to green, 1 small puff, change to cream, 6 sc, change to green, 1 small puff, 8 sc (24 sts)
R8: 22 sc
R9: (1 dec, 2 sc) x5, 1 dec (16 sts)
R10: (1 inc, 1 sc) x8 (24 sts).
At this point, place the safety eyes between R6 and R7, and begin stuffing.
R11: (1 inc, 1 sc) x12 (36 sts)
R12: 4 sc, 1 puff stitch, 30 sc, 1 puff stitch (36 sts)
R13 to R17: 36 sc
R18: 6 sc, 1 puff stitch, 28 sc, 1 puff stitch (36 sts).
Next, add more fiberfill.
R19: 36 sc
R20: (1 dec, 1 sc) x12 (24 sts)
R21 to R22: 24 sc
R23: (1 dec, 1 sc) x8 (16 sts)
R24: 16 sc.
Then add fiberfill once more.
R25: 8 dec (8 sts)
R26: 4 dec.
Finally, cut the yarn, leaving a tail. Thread the tail through the remaining loops, pull tight, and close with a slip stitch using the yarn needle.
Step 2: Eyes
First, get the 10 mm safety eyes ready. Then position them and insert them into the body between R6 and R7.
Step 3: Legs
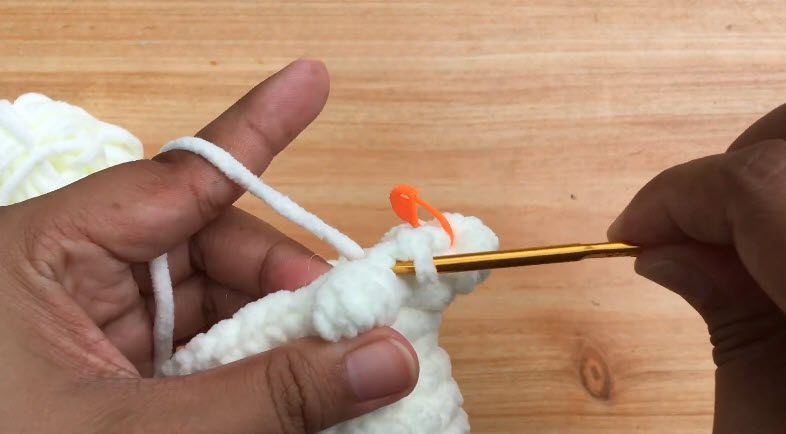
Good news here, because no separate legs need to be crocheted or attached. Instead, the legs form as part of the single-piece body through the rounds.
Step 4: Understand the Tail
Likewise, there is no separate tail to crochet. The triceratops is made as one continuous piece with the no-sew technique, so the tail is part of the body. Keep crocheting the body rounds in order until you reach the latter part of the pattern, where the tail begins to form. After that, follow the decrease instructions through that same part. These decreases make the body taper, and this tapering shape is the tail.
Step 5: Nose Horn
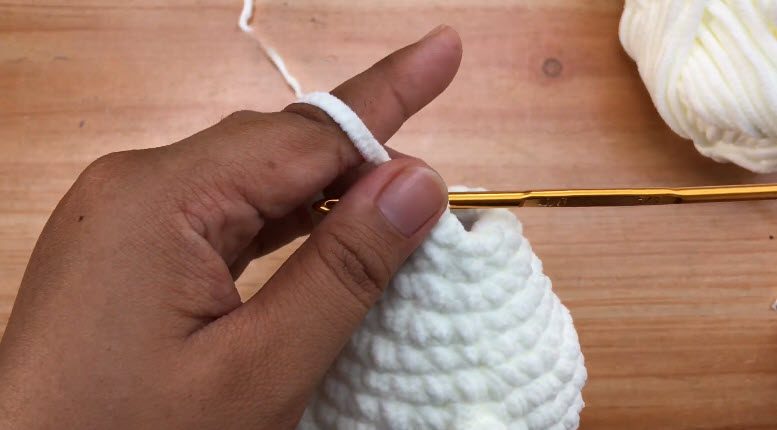
As with the tail, the nose horn is not crocheted separately. Rather, the protrusion is shaped directly into the main body with increases, decreases, and stitch patterns.
Step 6: Brow Horns
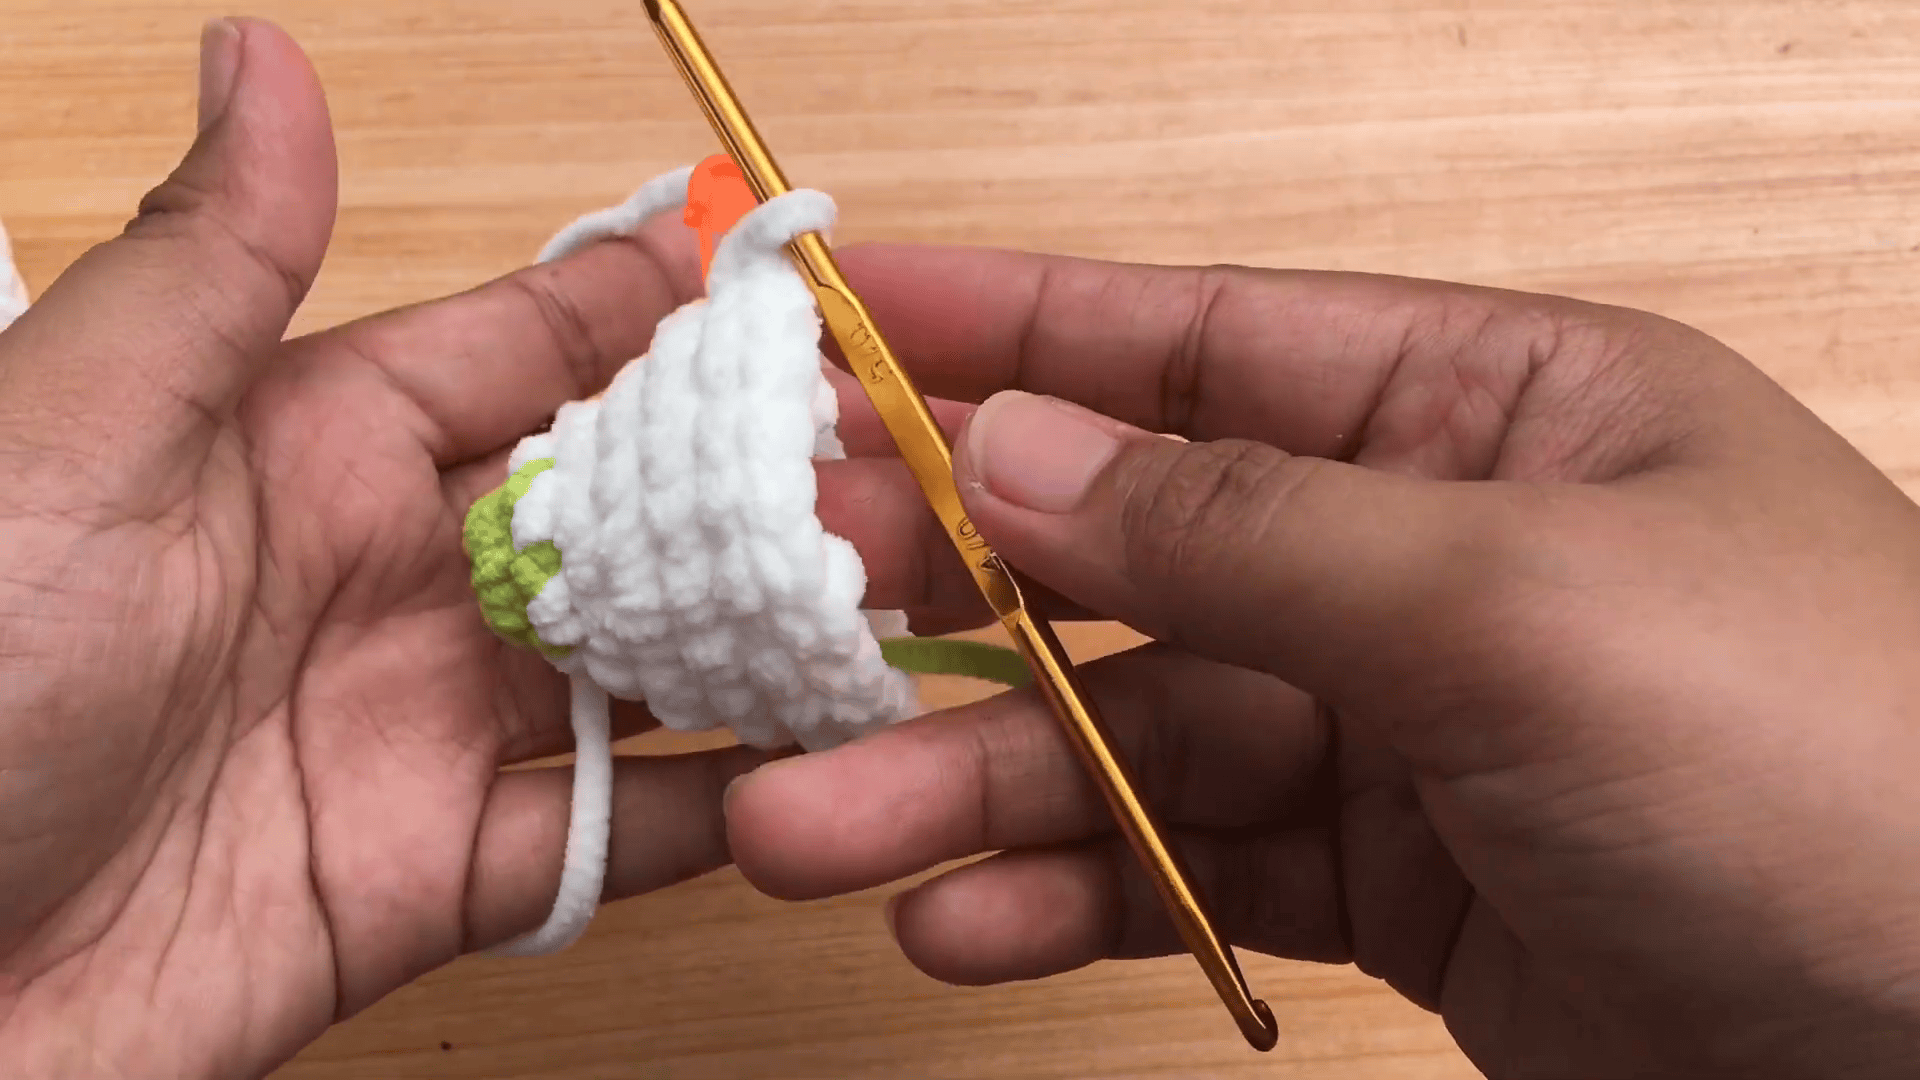
Once again, nothing needs to be crocheted or sewn on, since the brow horns are formed with puff stitches that stick out from the body. In R18, work 1 puff stitch, then 28 single crochet, and then 1 more puff stitch. Together, these two puff stitches shape the brow horns as part of the overall silhouette.
Finishing
To finish, weave all loose yarn tails into the body with the yarn needle. Afterwards, make sure the tails are hidden and the shape is clean.
Common Mistakes to Avoid
- Forgetting the stitch marker: Because the rounds are continuous, a missing marker makes the round start hard to find. Therefore, place one at the beginning of every round and move it up as you go.
- Stuffing too late: Stuffing after the shape closes is frustrating. Instead, start right after the eyes go in, then add more after R18 and again before the final decreases.
- Counting a puff as more than one stitch: Both puff types count as 1 stitch. As a result, the stitch totals at the end of each round stay accurate.
- Leaving the magic ring loose: A loose centre leaves a small hole at the top of the head. To avoid it, pull the tail firmly after the first round, and then check that the ring is fully closed before moving on.
- Rushing the colour changes: Changing color too late leaves a ragged edge. Meanwhile, switching during the last step of the stitch before keeps the horns crisp and clean.
Uses and Benefits of This Crochet Baby Dinosaur Pattern Triceratops with Green Horns
A triceratops in chunky yarn works well as a gift for a dinosaur fan, a shelf display in a nursery, or a cozy companion for storytime. Moreover, chunky yarn and a 5 mm hook let the toy grow quickly, so progress feels rewarding. Because the stitches are basic, the pattern also builds confidence with puff stitches, colour changes, and shaping. In addition, the toy uses only two yarn colours, which keeps the stash small and the cost low. It also makes a thoughtful handmade present for birthdays, holidays, or a welcome-home surprise.
Beginner Tips for the Crochet Baby Dinosaur Pattern Triceratops with Green Horns
- Read each round fully before stitching, since several rounds include colour changes.
- Count stitches at the end of every round. As a result, small slips get caught early.
- Work in good daylight, because the cream yarn hides stitches easily.
- Keep stuffing firm but even, so the head holds its round shape.
- Press the safety eyes in place before adding fiberfill, since the back washer needs room.
- Place each ball of yarn on its own side, so the green and cream stay untangled.
- Take a short break after the frill rows. Afterwards, the finishing steps feel much easier.
Personalization Ideas
- Try new colours: Swap green for orange, blue, or purple horns. In the same way, a grey body gives a more realistic dinosaur.
- Add a soft bow or scarf: A small ribbon or knit scarf adds a playful touch. However, keep extras secure so they stay put during play.
- Make a dino family: Work several toys in different yarn pairs, and then line them up as a colourful herd on a bookshelf.
- Stitch a name tag: Embroider a name or initial onto a small tag and attach it to the body. Consequently, the toy becomes a personal gift.
Bonus: Display and Storage Ideas
Once the toy is finished, a few simple habits keep it tidy. First, place the dinosaur on a low shelf with the frill facing outward, since the scalloped edge is the best feature. Second, keep the toy away from direct sun, because bright light can fade green yarn over time. Third, store it in a breathable cloth bag when not in use. Finally, give the horns a gentle fluff now and then so the puffs keep their shape, and brush away dust with a soft, dry cloth.
FAQ About the Crochet Baby Dinosaur Pattern Triceratops with Green Horns
Can the toy be made in another yarn weight?
Yes, although the finished size will change. Lighter yarn with a smaller hook gives a smaller dinosaur, while heavier yarn makes a bigger one. The stitch counts stay the same.
Why do the horns use two different puffs?
The small puff forms the pointed horns on the head. The puff stitch, on the other hand, adds soft bumps along the body. Together, the two details give the triceratops its look.
Is the toy safe for very young children?
The safety eyes lock firmly, yet small parts still need adult checking. For infants, embroidered eyes are a safer choice. Older children and display use suit the toy best.
Where do the safety eyes go?
Place them between R6 and R7. Once they are secure, begin stuffing right away so the head keeps a rounded shape.
How many rounds does the head and body take?
The head and body are worked in 26 rounds. After that, the frill is added in 3 rows, and the finishing step closes the project.
How should loose yarn tails be handled?
Weave every tail into the body with a yarn needle. After that, check that all ends are hidden and the shape looks clean.
Stitch Your Crochet Baby Dinosaur Pattern Triceratops with Green Horns Today
So that is the little triceratops. It is a fun make, and the green horns really pop against the cream body. Take your time with the puffs, keep that stitch marker handy, and stuff a bit at a time. Once the frill goes on, the whole toy suddenly feels alive. Whether you make one for a kid, a friend, or just yourself, this crochet baby dinosaur pattern triceratops with green horns will be a happy thing to have around.