Christmas Crochet Gnome Ornament Pattern to Hang
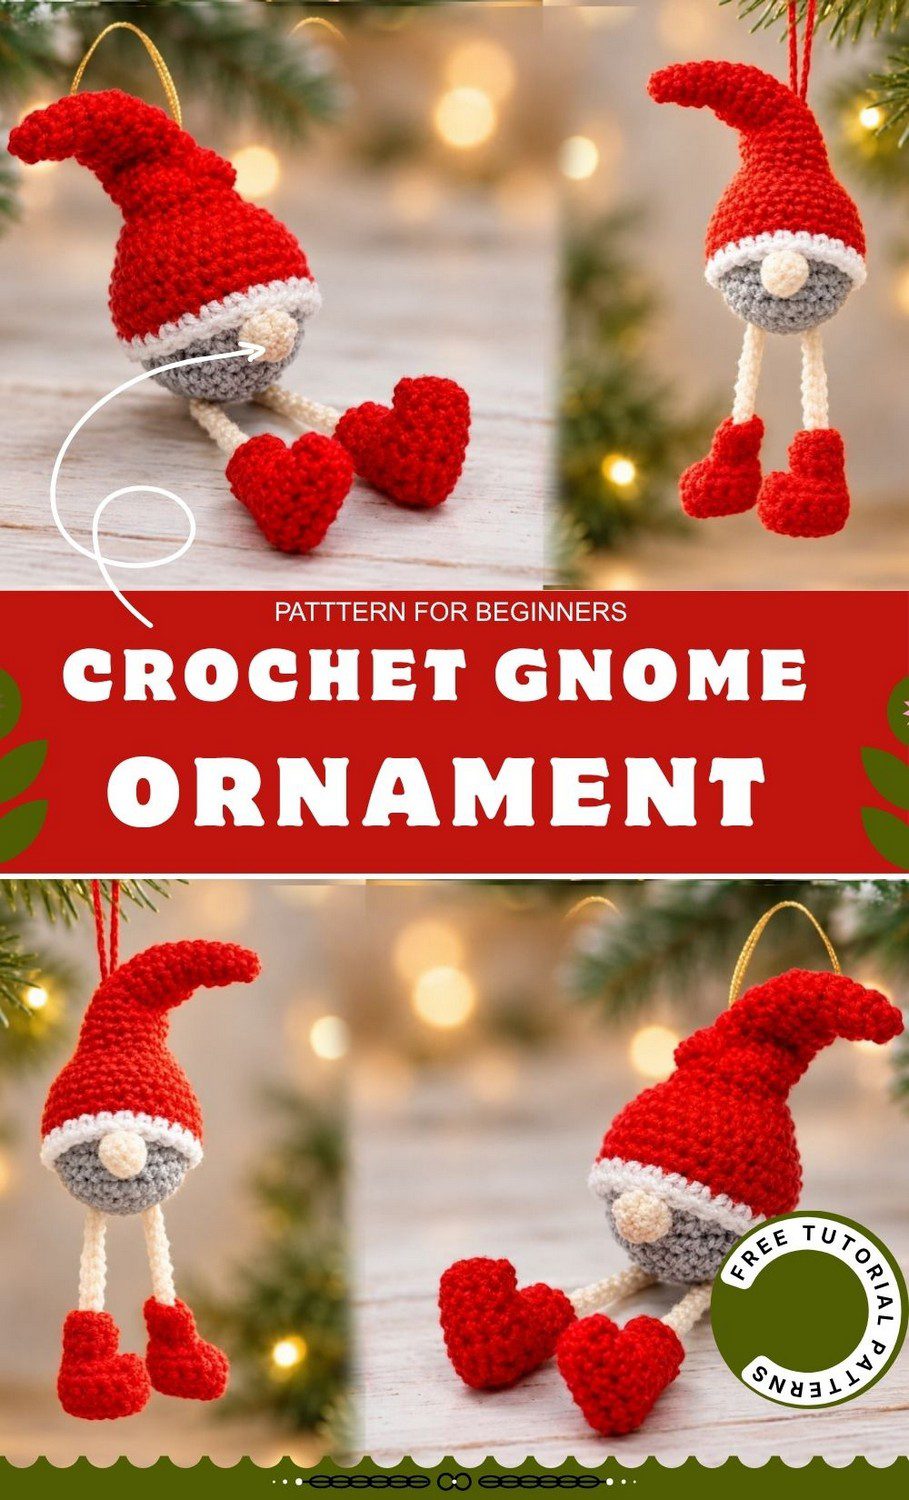
Look at this cute little gnome. This Christmas crochet gnome ornament pattern gives him a red hat and a small round nose. You can make him with scrap yarn, and he is easy and fun to stitch. So hang him on your Christmas tree today.
This is a very simple pattern for a hanging gnome. The little gnome has a grey body and a red hat with white trim, and his long legs end in little stuffed boots. Because it uses leftover yarn, you can make a few and hang them on the tree or a wreath. Beginners can make it too, and the tutorial is free. In short, this is easy Christmas crochet that makes a sweet handmade gift.
Christmas Crochet Gnome Ornament Pattern Overview: Meet Your Little Hanging Gnome
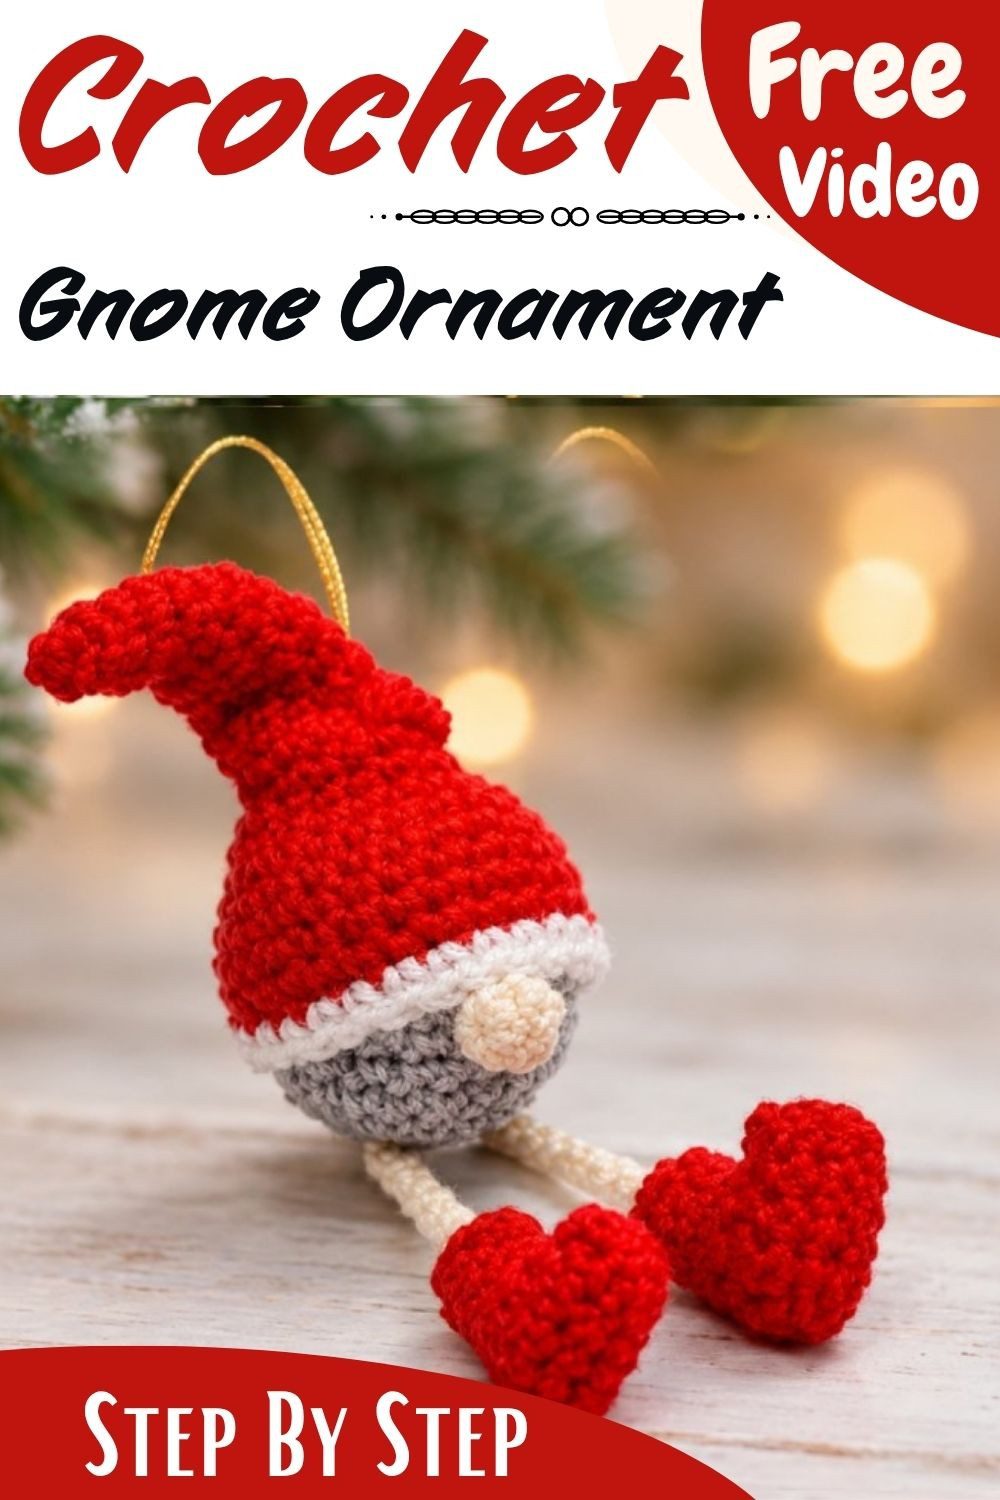
This little guy has no face, just a nose right in the middle of his round belly. Long legs dangle below him and end in stuffed boots. Meanwhile, his red hat flops to one side, and a small chain loop lets you hang him up.
The hat has a white trim band, and the whole thing is made from leftover yarn. Because it works up fast, you can finish one quickly. One gnome looks cute on a branch, but a whole row looks even better.
Skill level: Beginner
Finished size: About 13 cm (5 inches) tall
This pattern is made in separate pieces: body, nose, boots, legs, and hat. Most parts are worked in continuous rounds, while the boots are worked in rows.
Materials for the Christmas Crochet Gnome Ornament Pattern
Everything for this pattern probably sits in your craft basket already. So let’s go through it.
Yarn
Pick smooth acrylic or cotton-blend yarn that suits amigurumi. You only need small leftover amounts. Here are the colors:
- Body: grey as shown in the photos (beige or skin tone also works)
- Boots: a darker contrast, such as brown or grey
- Hat: red, plus white for the trim band
Tools
- Crochet hook (see the note below)
- Tapestry needle with a large eye
- Fiberfill stuffing
- Stitch marker
- Scissors
- Sewing thread or yarn for assembly
No exact hook size is set for this pattern. However, 2.0 mm to 2.5 mm is a good range, because a small hook gives tight stitches with no stuffing gaps.
You won’t need safety eyes either, since this gnome has no face, only a nose.
Abbreviations for the Christmas Crochet Gnome Ornament Pattern (US Terms)
- MR: Magic Ring
- sc: Single Crochet
- inc: Increase (2 sc in the same stitch)
- dec: Decrease (2 stitches worked together)
- sl st: Slip Stitch
- ch: Chain
- FLO: Front Loop Only
- BLO: Back Loop Only
- FO: Fasten Off
Stitches and Techniques for the Christmas Crochet Gnome Ornament Pattern
Here’s a quick refresher on every stitch and trick you’ll use. Skim it first, then come back whenever you get stuck.
Magic Ring
Wrap the yarn around your fingers to form a loop. Next, push the hook through the center, yarn over, and pull up a loop. Work your starting stitches into the ring. Then tug the tail to close the hole.
Single Crochet
Put the hook into the stitch, yarn over, and pull up a loop. You’ll now have 2 loops on the hook. After that, yarn over again and pull through both loops.
Increase
Work 2 sc into the same stitch. As a result, each increase adds 1 stitch to your round.
Decrease
Insert the hook into the front loop of the first stitch, then into the front loop of the next stitch. Next, yarn over and pull through both front loops. Then yarn over once more and pull through the 2 loops left on the hook. Each decrease takes away 1 stitch.
Slip Stitch
Put the hook into the stitch, yarn over, and then pull through the stitch and loop in one motion.
Chain
First, yarn over. Then pull through the loop on the hook.
Fasten Off
Cut the yarn and leave a tail. Then pull the tail all the way through the last loop, and tighten it.
Continuous Spiral Rounds
The body is worked in a spiral, which means you don’t join each round with a slip stitch. Instead, place a stitch marker in the first stitch of every round, and move it up as you go. Also, count your stitches at the end of each round.
Working in Rows
The boots are worked in rows with a turning chain. In contrast, the legs are just a single row of slip stitches.
The Christmas Crochet Gnome Ornament Pattern, Step by Step
Work each step in order. The number in brackets is your stitch count.
Step 1: Start the Body With a Magic Ring
First, make a magic ring and work your first round into it.
- R1: 6 sc in MR (6)
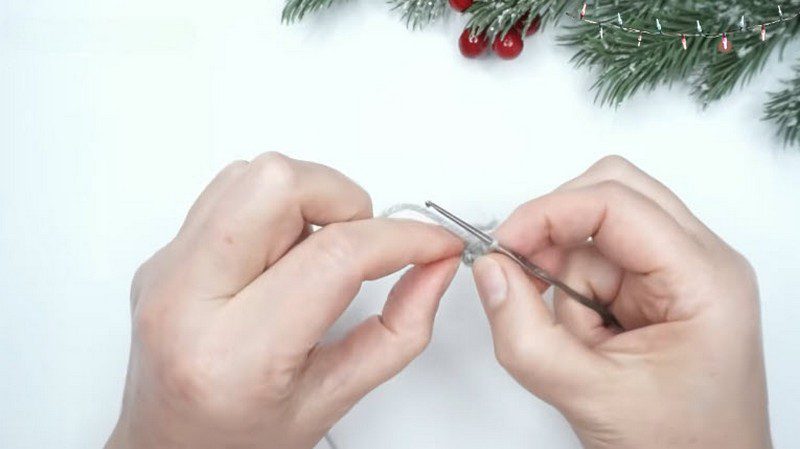
Step 2: Grow the Body in a Spiral
Work the increase rounds, then go straight. As a result, the flat circle slowly curls into a little cup.
- R2: 6 inc (12)
- R3: (1 sc, inc) x 6 (18)
- R4: (2 sc, inc) x 6 (24)
- R5–R10: sc in all 24 stitches for 6 rounds (24)
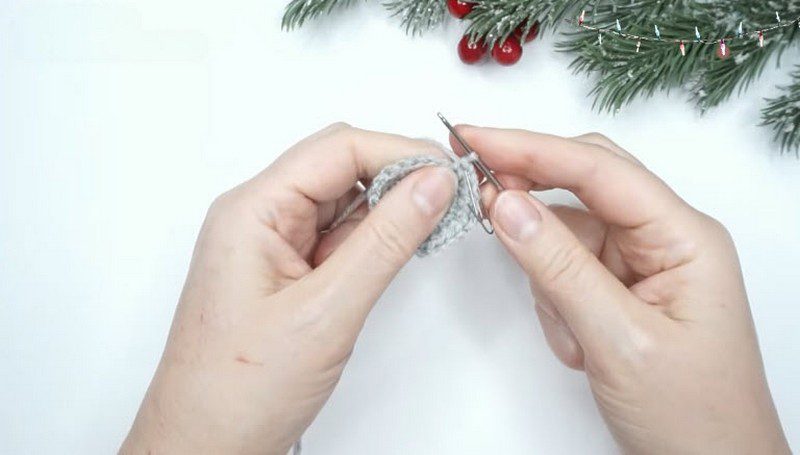
Step 3: Stuff and Close the Body
Start the decreases, then stop to stuff.
- R11: (2 sc, dec) x 6 (18)
Now stuff the body firmly, but don’t overstuff it, because too much stuffing pulls the stitches apart.
- R12: (1 sc, dec) x 6 (12)
- R13: 6 dec (6)
To close, weave the yarn through the front loops of the last 6 stitches and pull tight. Then knot it, and hide the tail inside the body.
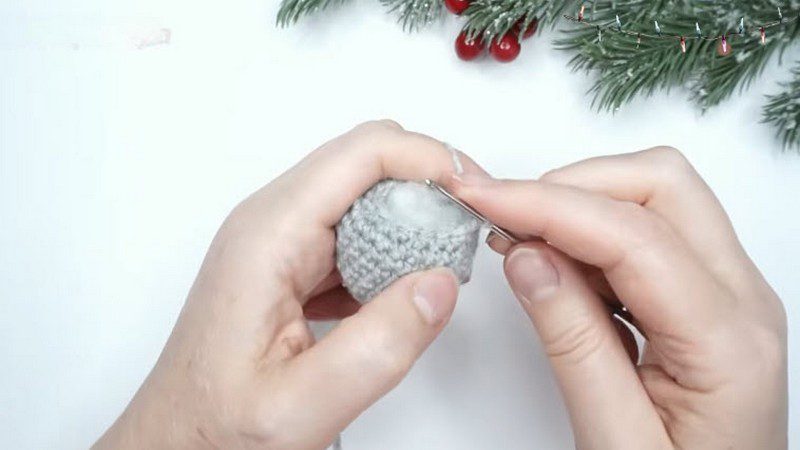
Step 4: Begin the Boots (Make 2)
Boots are worked in flat rows, so you turn at the end of each one.
- Ch 12.
- R1: Start in the 2nd chain from the hook and work 11 sc (11)
- R2–R3: Ch 1, turn, 11 sc (11)
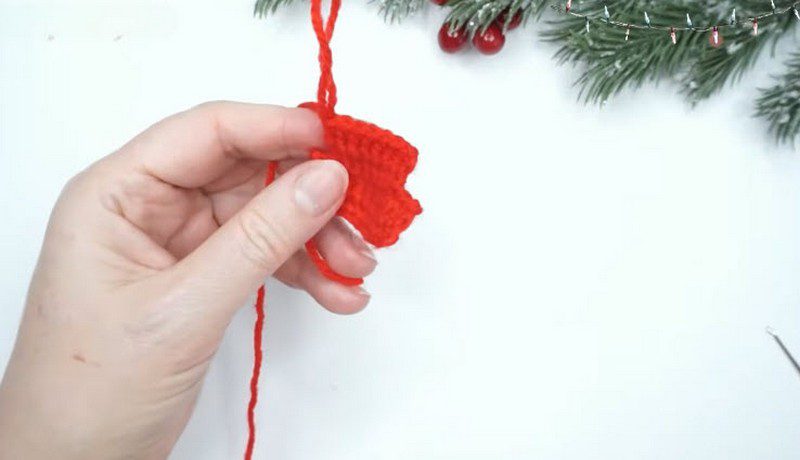
Step 5: Finish and Fold the Boots
- R4: 9 sl st
- R5–R7: 7 sc for 3 rows
Next, fold the piece in half and sew the edges closed. Finally, add a small pinch of stuffing.
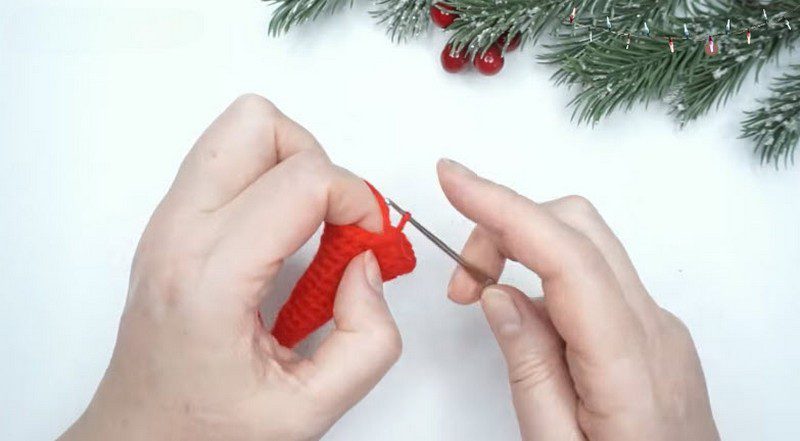
Step 6: Make and Thread the Legs (Make 2)
- Ch 25.
- Row 1: Start in the 2nd chain from the hook and work 24 sl st.
Before you work the slip stitches, check that your starting chain isn’t twisted. Then use the large-eyed needle to thread the legs through the lower body, leaving a 2-row gap from the bottom.
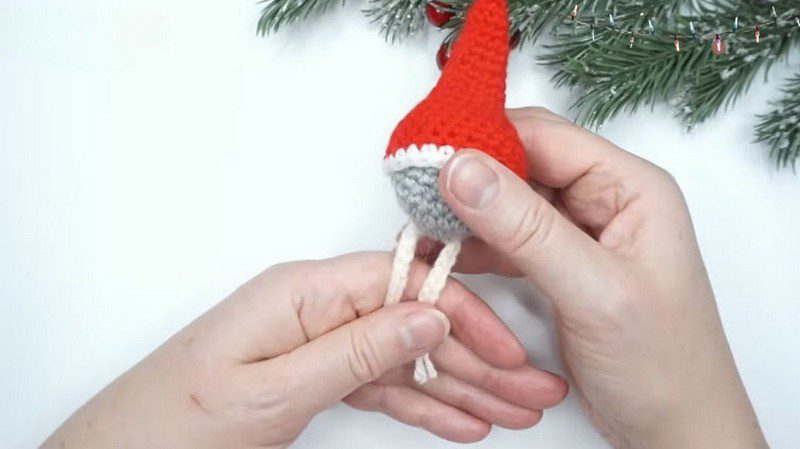
Step 7: Attach the Boots to the Legs
First, pull both sides of the legs even. Then attach a boot to the end of each leg. After that, check that both legs hang at the same length.
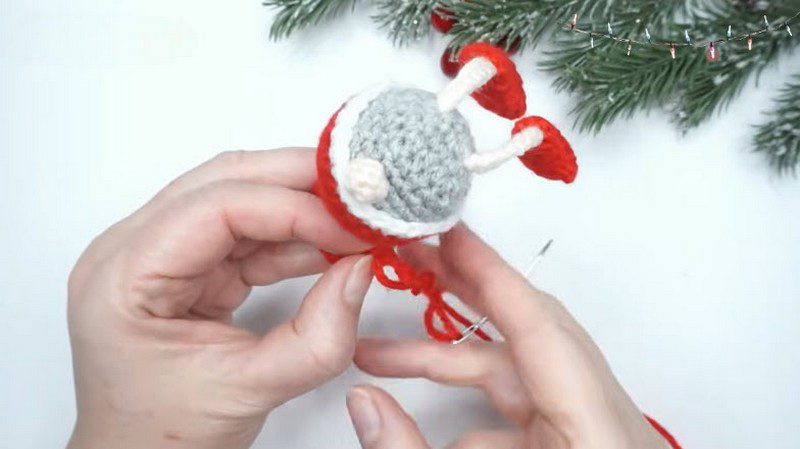
Final Check for the Christmas Crochet Gnome Ornament Pattern
Before you hang him up, give your gnome a quick once-over. Then check your work against these points:
- The nose should sit directly below the hat brim.
- Next, the hanging loop should be centered at the top of the hat.
- Finally, both legs should be the same length.
Common Beginner Mistakes with the Christmas Crochet Gnome Ornament Pattern
- Twisted foundation chains on the legs: lay the chain flat and check it before you start the slip stitches.
- Forgetting the stitch marker: mark the first stitch of every round so you don’t lose count in the spiral.
- Overstuffing the body: stuff firmly, but stop before the stitches start to pull apart.
Helpful Tips for the Christmas Crochet Gnome Ornament Pattern
These small habits make a big difference, so keep them in mind as you work.
- First, keep your stitch marker in the first stitch of each round, and move it up every time.
- Count your stitches at the end of every round, because the number in brackets tells you what to expect.
- Stuff the body firmly, but don’t overstuff it, since overstuffing pulls the stitches apart.
- Also, check the leg chain isn’t twisted before you work the slip stitches.
- Finally, compare both legs before you attach the boots, so they end up the same length.
Safety Notes for the Christmas Crochet Gnome Ornament Pattern
Overall, this pattern works best for decorating. If a small child will get one, leave off the long dangling legs. Also, sew every part on firmly, with no loose threads and no glue.
Bonus: Gifting Ideas With Your Gnome
A gnome also makes a nice add-on for a present. For example, you can try any of these:
- Tie one to a present as a gift tag, so the gift comes with a little extra.
- Tuck one into a small gift box for a sweet surprise.
- Wrap one in a small gift box, or use it as a tag on a bottle.
Ways to Display Your Christmas Crochet Gnome Ornament Beyond the Tree
Your gnome doesn’t have to end at the tree. Here are a few easy ideas.
- Make a row of gnomes in different hat colors and hang them side by side.
- Set a few on a shelf with their legs dangling.
- Hang one from a wreath using the chain loop at the hat tip.
FAQs About the Christmas Crochet Gnome Ornament Pattern
What hook size should I use for the Christmas crochet gnome ornament pattern?
No exact size is set. A hook from 2.0 mm to 2.5 mm is a good range, because it gives tight stitches with no stuffing gaps.
How big is the finished gnome?
You’ll find the exact size in the overview above. Because he’s small, he can hang from a tree branch.
How much yarn do I need for the Christmas crochet gnome ornament pattern?
Only small leftover amounts. In total, you need a bit of grey, beige, or skin tone for the body, a darker contrast for the boots, and red and white for the hat.
How much stuffing does the gnome need?
Stuff the body firmly, but don’t overstuff it. Meanwhile, each boot only needs a small pinch.
Can I use this Christmas crochet gnome ornament pattern for a small child?
It’s best as a decoration. However, if a small child will get one, leave off the long legs and sew every part on firmly. Also, skip the glue.
Can I make a row of gnomes with the Christmas crochet gnome ornament pattern?
Yes, and it looks great. Simply swap the red hat yarn for another color.
Time to Build Your Gnome Crew
So yeah, that’s the gnome. He’s a quick make, and he eats up those yarn leftovers you’ve been saving. Once he’s done, he looks like a real little gnome. Honestly, I’d make a few in different hat colors and hang them all together, because they look so much better as a little crew. Grab your scraps and give it a go.