Crochet Cat Backpack Pattern with Front Pocket
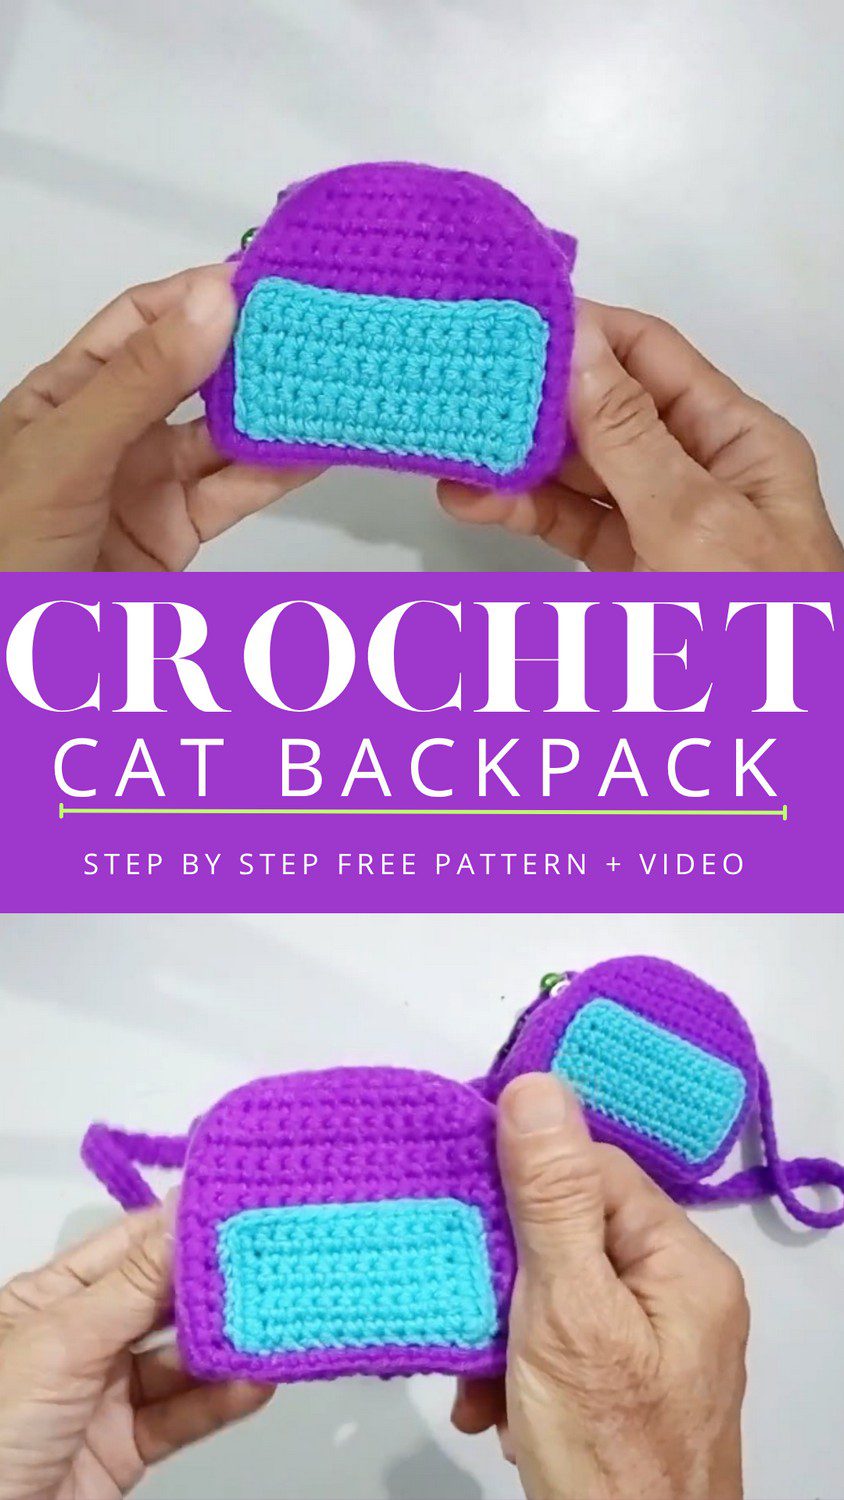
This crochet cat backpack pattern with front pocket gives your pet a little bag of its own. It also has a zipper and two straps, and the steps are written simply so you can follow along.
Small bags are fun to make, and a tiny one for your cat is even better. Since the bag fits a cat or a small dog, it works for many pets. It holds light things like snacks or a small toy, and it looks really cute in photos. Because it is handmade, it also makes a lovely gift for any pet lover. So just follow the easy steps below and enjoy making it.
Crochet Cat Backpack Pattern with Front Pocket Overview
Skill level: Intermediate (shaping and assembly are involved)
Finished size: About 9 cm wide and 10 cm tall for each panel, with a 30 cm strap (estimated)
The front and back panels are worked flat in rows, and then they are joined. After that, a zipper and two straps are added at the end.
Before You Start
- Read through the whole pattern once so the order of steps feels familiar.
- Also, make both panels before you move on, since they need to match.
- Lastly, keep a yarn needle and a sewing needle with thread nearby, because this project has a fair amount of sewing.
Materials for the Crochet Cat Backpack Pattern with Front Pocket
- Yarn: Sakura milk cotton (5-ply)
- Hook: 6 mm (size 6)
- Zipper: about 15 cm
- Buckle: optional, about 1.2 cm
- Sewing thread and a needle for the zipper and straps
- Yarn needle for weaving in ends
Techniques Used
- Single crochet
- Slip stitch
- Chain
- Skipping stitches
- Single crochet 2 together (decrease)
- Working in the back loops only
Abbreviations
- ch = chain
- sc = single crochet
- sl st = slip stitch
- sc2tog = single crochet 2 together (decrease)
- st = stitch
The Complete Crochet Cat Backpack Pattern with Front Pocket
Main Panels (Step 1, Make 2)
For this bag, you need two identical panels, one for the front and one for the back.
Starting the Panel
- To begin, chain 16 as your foundation.
- Row 1: Skip 1, then sc in each stitch across (15 stitches).
Body of the Panel
- Rows 2–10: Ch 1, turn, sc 15 across.
Two rows together make one visible horizontal line, so don’t worry if the fabric looks ridged.
Shaping the Top
- Row 11: Ch 1, turn, skip 1, sc 12, sc2tog.
- Then, for row 12, ch 1, turn, skip 1, sc 10, sc2tog.
- After that, work row 13 as ch 1, turn, skip 1, sc 8, sc2tog.
- Finally, finish with row 14: ch 1, turn, skip 1, sc 6, sc2tog.
Each shaping row starts by skipping the first stitch and ends with the decrease, so the top narrows row by row.
Edging the Panel
- Next, work sc around the whole panel to neaten the edges.
- At every corner, add 1 chain, and then work an sc in the same corner stitch to turn. This keeps the panel square.
Border Rounds (Step 2)
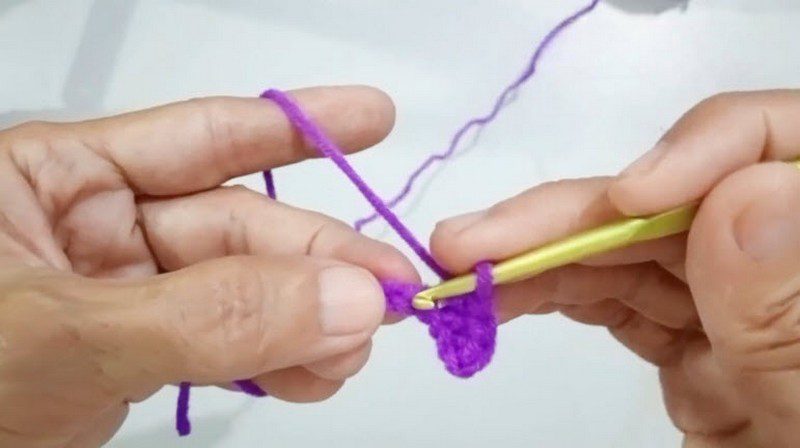
The border is 3 rounds, and it is worked around each finished panel. To start, begin from the bottom left.
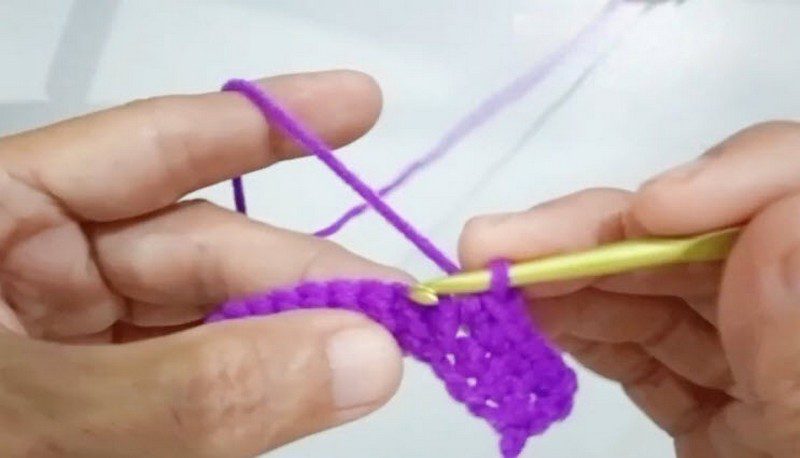
- Round 1: Work the whole round in the back loops only. Put your hook into the center of the stitch and pick up only the back loop, because this makes a clear ridge along the edge.
- Next, work round 2 as a normal round of sc.
- However, round 3 is not a full round. Instead, work it only across the sides and the bottom, from the 9th stitch of one corner to the 9th stitch of the other.
Front Pocket for the Crochet Cat Backpack (Step 3)
- To start the pocket, chain 12.
- Rows 1–6: Work sc 11 across, for 6 rows.
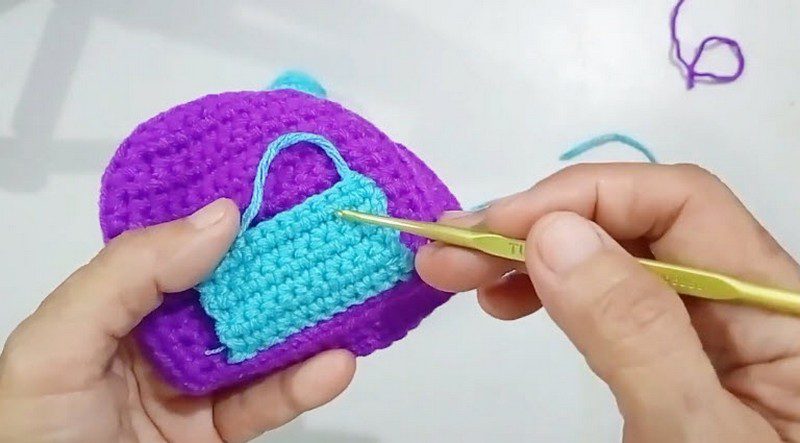
- Next, border the pocket with sc, and chain 1 at the corners so the rectangle sits flat.
- Also, leave about 20 cm of yarn at the start and at the end, since you will use these tails to sew the pocket onto the front panel.
- Finally, sew the pocket onto the front panel.
Joining the Panels (Step 4)
- Place the front and back panels with the right sides facing outward.
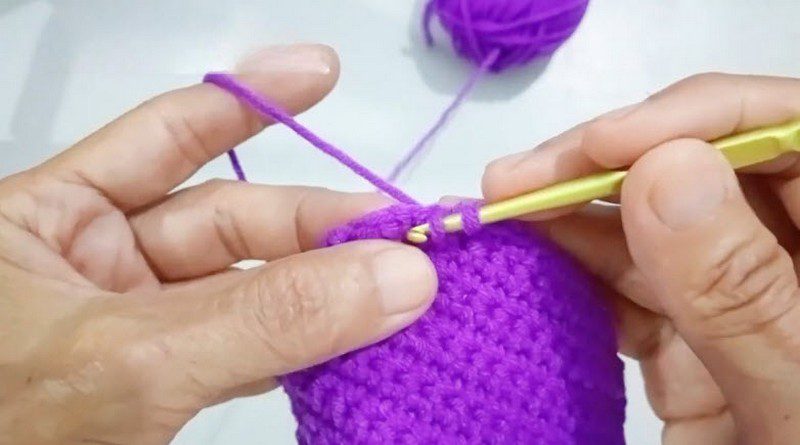
- Afterwards, join them by sewing or crocheting along the 3-round border.
- When you sew, insert the needle under one loop only of the border edge, because this gives a cleaner seam.
- Also, leave the top section open, since this opening is for the zipper.
- At the end, secure the join with a knot at the end of the seam and weave in the tails to hide them.
Installing the Zipper (Step 5)
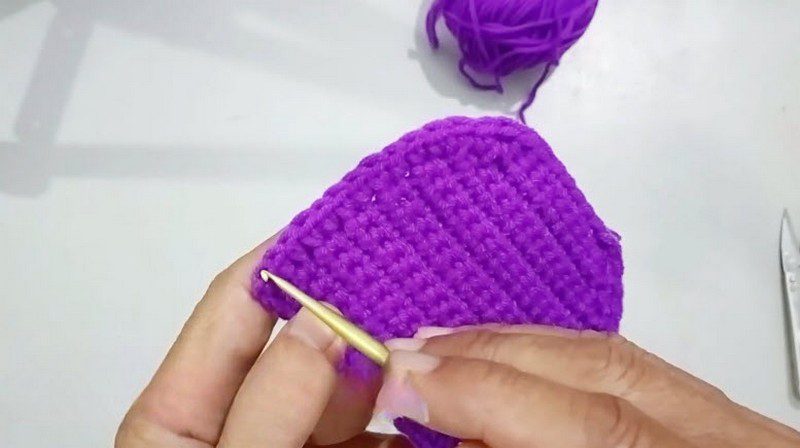
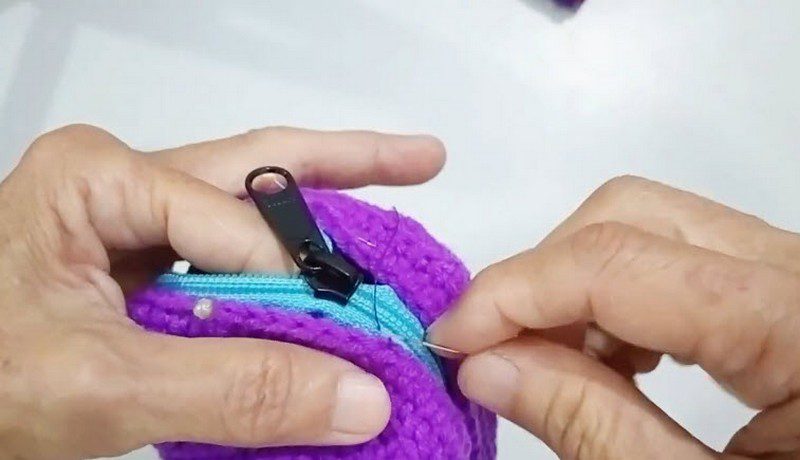
- Begin by centering the 15 cm zipper in the top opening.
- Next, attach it with regular sewing thread and a needle.
- Throughout, stitch carefully along the fabric edges so the zipper is secure and tidy.
Making the Straps (Step 6, Make 2)
- To begin, leave a 20 cm yarn tail at the start for sewing later.
- Chain 3 right after that.
- Row 1: Next, skip 1, sc 2.
- After that, ch 1, turn, sc 2 in each next row. Repeat this back and forth until the strap is about 30 cm long, which suits an average adult cat.
- Finally, make a second strap the same way.
Bonus: Fitting the Straps to Your Pet
The 30 cm strap length is for an average adult cat. However, for a smaller pet you can shorten it to 20 cm or 25 cm. To get the right fit, measure from your pet’s chest to the back, and then crochet the strap to that length before sewing it on.
Pro-Tips for a Neat Crochet Cat Backpack Pattern with Front Pocket
Keep both panels matching. Count your stitches at the end of every row, especially after the shaping rows. Otherwise, if the two panels come out slightly different, the zipper will sit crooked.
Mind the back loop round. The back-loop round is what gives the border its clean ridge, so take a moment to pick up the right loop each time. Besides that, it also makes the joining easier later.
Pin before you sew. Hold the pocket in place with pins before you stitch it, and do the same for the straps. In fact, a quick look at the pinned pieces catches crooked placement before it becomes a lot of unpicking.
Use matching thread. Pick sewing thread close to your yarn colour for the zipper. Because small stitches in a matching shade hide well, they look tidy from the outside.
Finishing Tips for Your Crochet Cat Backpack Pattern with Front Pocket
- Weave in every tail before you attach the zipper, so loose ends don’t catch in the teeth.
- Next, test the zipper a few times before the backpack goes near your pet.
- Also, check that the straps are balanced and firmly sewn, since they carry the weight.
- Finally, give the backpack a gentle shape with your hands once it is finished, so the panels sit flat.
Common Mistakes to Avoid
- Uneven edges: This usually comes from skipping the corner chain, so follow the corner rule in the edging step.
- Wrong loop in Round 1: Working both loops loses the ridge, so take your time to pick up only the back loop.
- Running Round 3 all the way around: It only covers the sides and the bottom, so stop at the 9th stitch of each corner.
- Straps sewn off-centre: Place them symmetrically on the back, and then compare both sides before stitching.
- Rushing the zipper: Stitch slowly along the fabric edges, because a rushed zipper looks messy and can come loose.
Why You’ll Love This Crochet Cat Backpack Pattern with Front Pocket
- The front pocket adds a bit of fun and a bit of function.
- Moreover, it uses only a handful of basic stitches.
- Also, cotton yarn gives it a soft, sturdy feel.
- Best of all, it makes a lovely handmade cat backpack for photos and walks.
Gift Ideas
- This makes a nice gift for a friend who is a proud cat parent.
- Likewise, it is a small present for a pet-lover’s birthday.
- You can also tuck it in with a new-pet gift basket as a handmade extra.
- Finally, it works as a cute prop for pet photo shoots.
FAQs About the Crochet Cat Backpack Pattern with Front Pocket
What skill level is this crochet cat backpack pattern with front pocket?
It is an intermediate project. Although the stitches themselves are basic, the top shaping and the sewing need a little care.
Can a small dog wear this backpack?
Yes, it suits a cat or a small dog. In that case, you can adjust the strap length to fit, as explained in the bonus section above.
What can the backpack hold?
It holds light things like snacks or a small toy.
Is the buckle required?
No, the buckle is optional.
How long should the straps be?
About 30 cm suits an average adult cat. For a smaller pet, however, 20 cm or 25 cm works better.
Do I need a sewing machine?
No, because the zipper and straps are attached by hand with a sewing needle and thread.
Time to Pack the Snacks
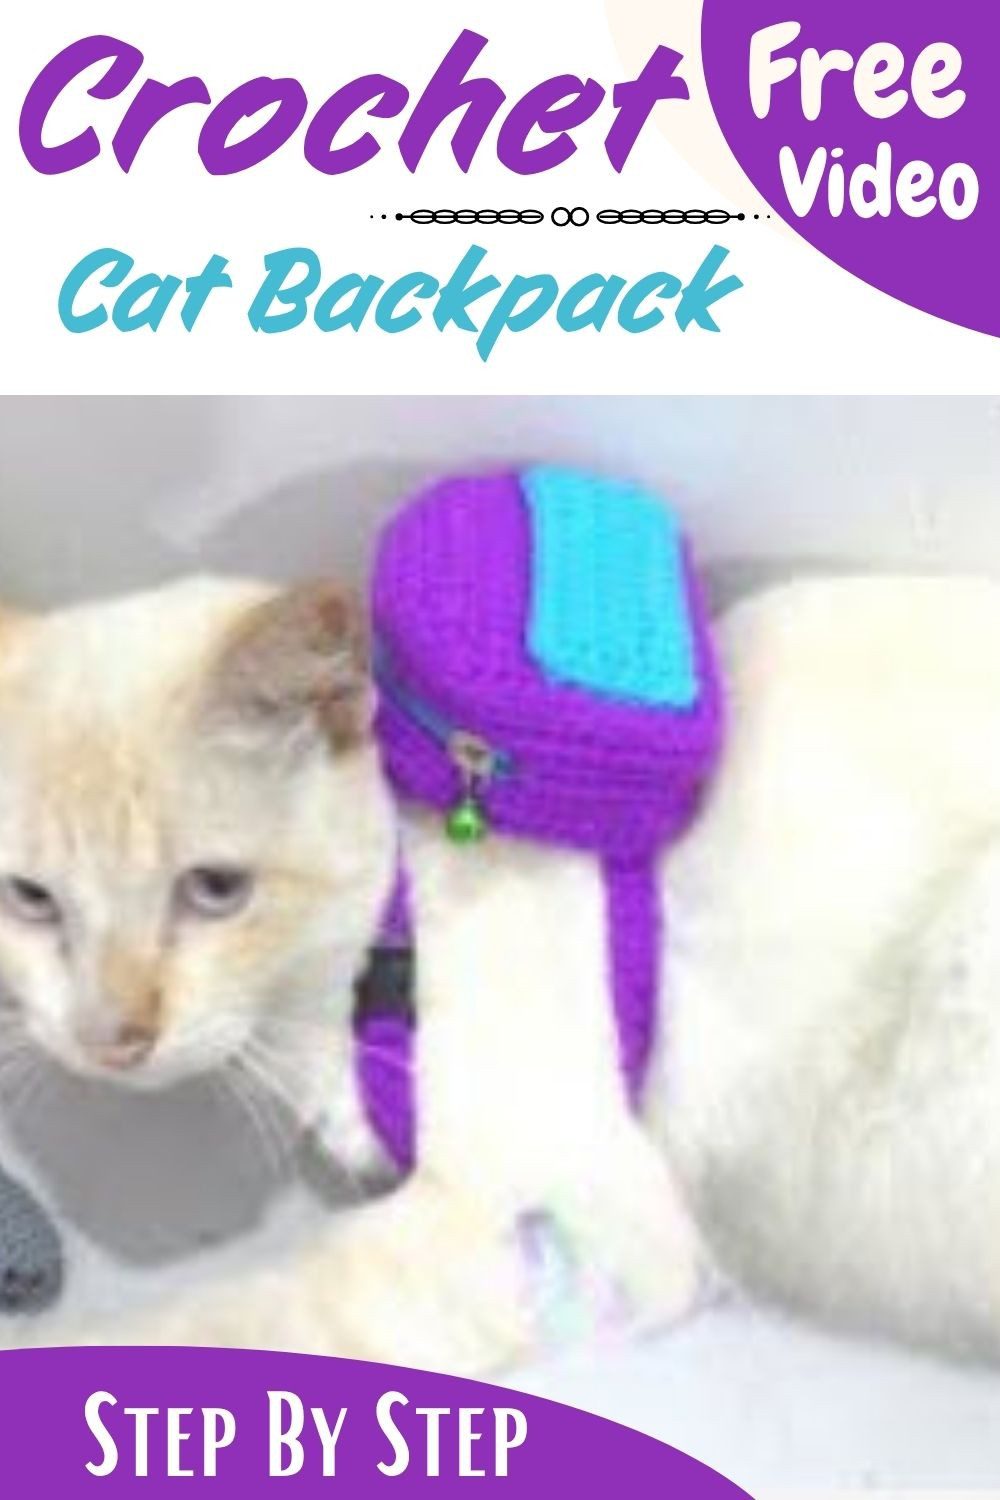
Once the straps are on and you’ve tucked in all the loose ends, the bag is done. So pop a little treat in the pocket, let your cat try it on, and have fun with it!