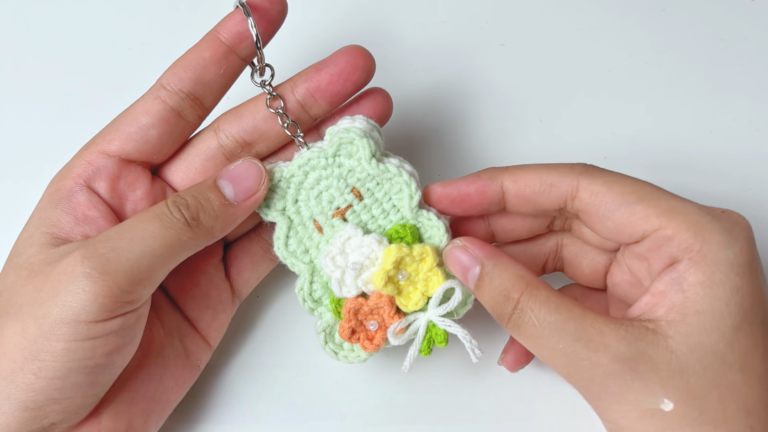
Cute Crochet Heart Dipper Keychain Pattern with a Tiny Handle
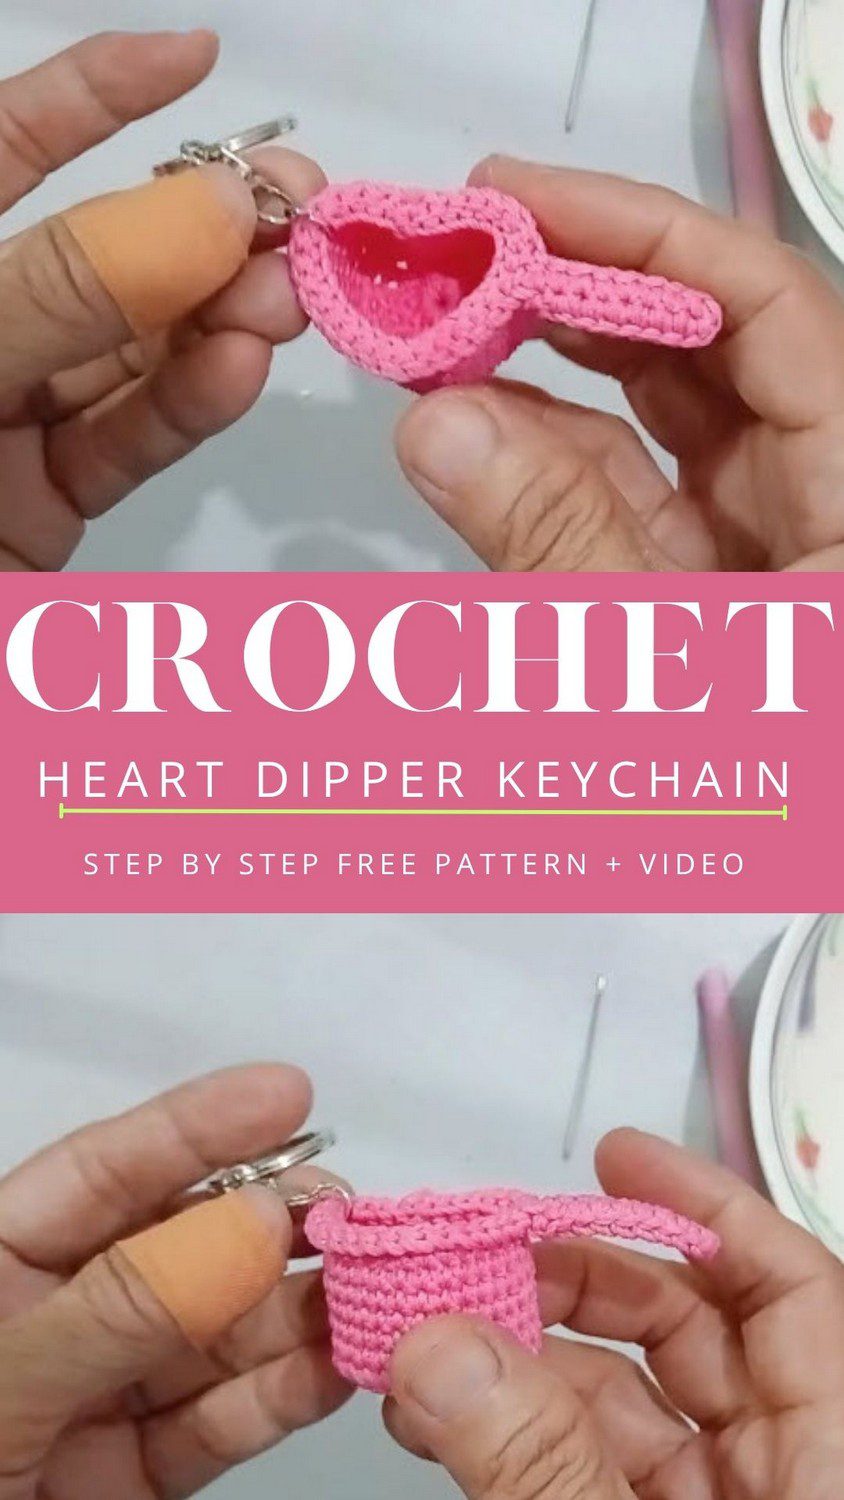
Want a cute project that you can finish in one evening? This crochet heart dipper keychain makes a tiny water scoop with a heart bowl and a small handle. It needs only a little pink yarn, so it is a great way to use up scraps. Also, it makes a sweet and simple gift.
About This Crochet Heart Dipper Keychain Pattern
This little charm is based on the traditional Indonesian water dipper, which is called a gayung. The bowl is shaped like a heart, and the handle is a flat strip that you sew on at the end. Because it uses so little yarn, it is a nice way to finish up leftover pink. If you like mini keychains that work up fast, you will enjoy this crochet heart dipper keychain from the first stitch to the last.
- Skill level: Advanced Beginner
- Finished size: about 4 cm (roughly 1.5 inches) in height and width
Materials for the Crochet Heart Dipper Keychain
- Yarn: a small amount of pink polyester or acrylic yarn (Poly Cherry or similar)
- Hook: size 3 or 4 (Tulip brand), which is 3.0 mm to 4.0 mm
- Tapestry needle
- Scissors
- Optional: a stitch marker for the continuous rounds
- Optional finishing touch: a metal split ring or keychain ring, attached through the handle loop. This ring is not shown in the video.
Everything for this crochet heart dipper keychain fits in a small pouch. You do not need any stuffing, because the bowl stays open like a real little scoop.
Abbreviations (US Terms)
- MR = magic ring
- ch = chain
- sl st = slip stitch
- sc = single crochet
- inc = increase (2 sc in one stitch)
- dc = double crochet
- tr = treble (triple) crochet
- FLO = front loop only
- BLO = back loop only
Before You Start Your Crochet Heart Dipper Keychain
A few small notes will save you time with this crochet heart dipper keychain:
- First, read each round once before you work it. The heart shape forms in the first two rounds, so it helps to know where you are going.
- Also, use a stitch marker for the plain sc rounds if you tend to lose your place.
- Keep your tension relaxed on the rim rounds, because a tight rim will pucker or pull inward.
Crochet Heart Dipper Keychain Pattern
Part A: Heart Bowl for the Crochet Heart Dipper Keychain (Pink)
Step 1: Start the Heart Base (Round 1)
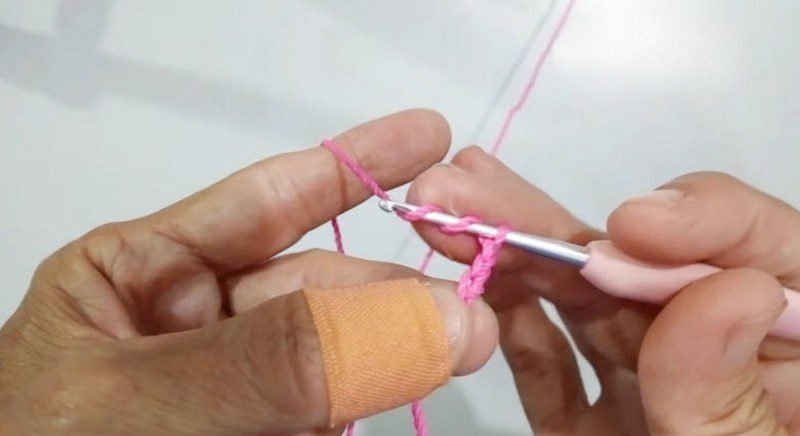
First, make a magic ring. Next, ch 3, then work 3 tr, 3 dc, ch 1, 3 dc, 3 tr, and ch 3.
Step 2: Close the Ring (Round 1 Complete)
After that, sl st into the centre and pull the ring tight to close it. As a result, the heart base shape is formed.
Step 3: Shape the Heart for the Crochet Heart Dipper Keychain (Round 2)
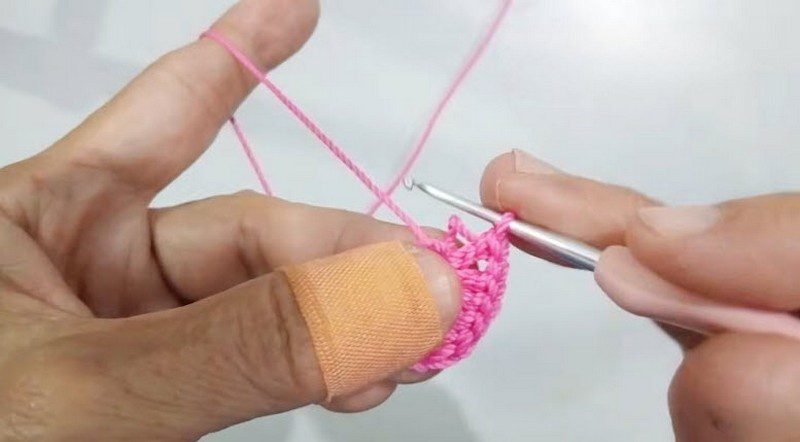
First, ch 1. Then skip the very bottom stitch and sl st into the next 2 stitches. Next, work 1 inc in each of the next 3 stitches, followed by 3 sc. In the ch-1 space, work (sc, ch 1, sc). After that, work 3 sc and then 3 inc. Finally, sl st into the remaining stitches to complete the round, and ch 1.
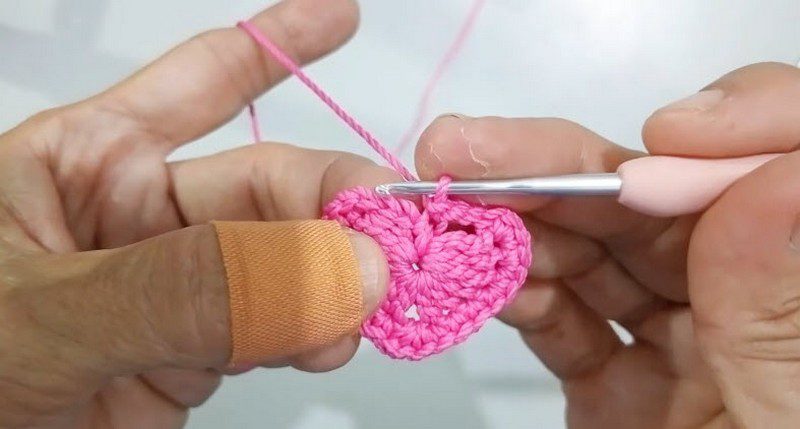
Step 4: Build the Bowl Wall (Rounds 3-9)
Round 3: Working in BLO, work sc evenly all around the heart. Then sl st to join and ch 1.
Rounds 4-9: Next, work 6 rounds of plain sc evenly around, in continuous or joined rounds. At the end of Round 9, sl st and ch 1. In total, the body is 7 rounds high, including the BLO round.
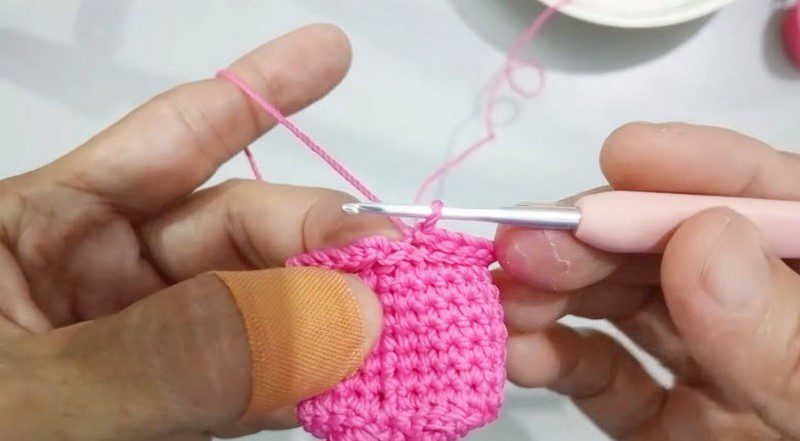
Step 5: Finish the Rim of the Crochet Heart Dipper Keychain (Rounds 10-11)
Round 10 (FLO): Working in FLO of Round 9, work loose sl st all the way around the rim. Keep your tension relaxed so that the rim does not flare inward or pucker. Then sl st to join and ch 1.
Round 11 (BLO): Next, work in the remaining BLO of the rim row and make loose sl st all the way around. After that, sl st to join and fasten off. Finally, leave a short tail and weave it inside.
Part B: Handle for the Crochet Heart Dipper Keychain (Pink)
First, ch 9. Then skip the first chain from the hook and work 7 sc down the chain. In the last chain, work (sc, ch 1, sc) to turn. Next, work 7 sc back up the other side of the foundation chain. Finally, fasten off and leave a 15 cm tail for sewing.
Part C: Attach the Handle to the Crochet Heart Dipper Keychain
First, line up one end of the flat handle with the top rim of the bowl. Then place the other end lower down on the outside wall. Next, use the 15 cm tail and your tapestry needle to sew the handle in place. After that, weave in the end neatly.
For the optional finishing touch, add a metal split ring or keychain ring through the handle loop. However, this step is not shown in the video.
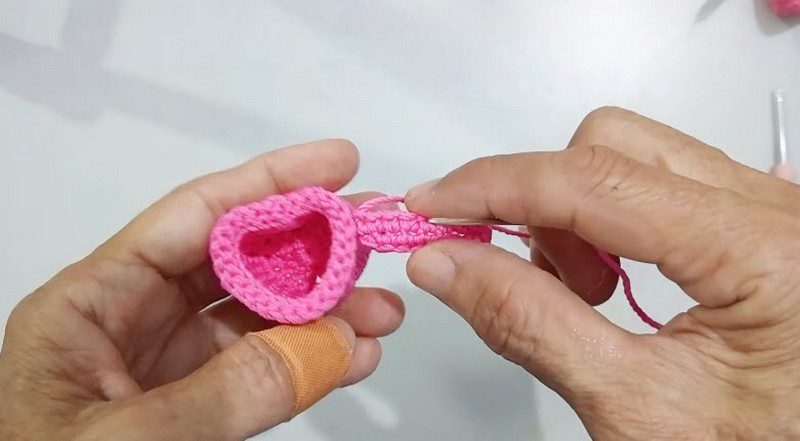
Helpful Tips for a Neat Crochet Heart Dipper Keychain
- Rim tension: The two rim rounds use loose sl st on purpose. If your rim curls in, go up a hook size for just those rounds.
- Heart shape: If the heart looks uneven after Round 2, do not worry. It evens out as you work the BLO round and the plain sc rounds.
- Sewing the handle: Pin or hold the handle in place first. Then check that both ends sit where you want them before you stitch.
- Yarn choice: Smooth polyester or acrylic gives clean stitches on such a small piece.
Bonus: Easy Colour Swaps for Your Crochet Heart Dipper Keychain
Pink is lovely, but this crochet heart dipper keychain looks great in other shades too. For example, you can try one of these ideas:
- Use red for a bold, classic heart.
- Pick soft lilac or mint for a gentle, pastel look.
- Make the bowl in one colour and the handle in another, so the two parts stand out.
- Choose cream yarn for a plain, neat style that goes with anything.
Fun Ways to Use Your Crochet Heart Dipper Keychain
Once you finish one, you will probably want a few more. Here are some easy ideas:
- Clip it onto a school bag or tote as a cute charm.
- Hang it from your car keys, so they are easy to spot.
- Make a few in different colours for a small gift that costs almost nothing.
- Tie one onto a wrapped present instead of a bow.
This pattern is also a good one to repeat once you feel comfortable with the heart base. Besides that, it is a nice way to practise working in the round on a very small scale. If you enjoy tiny projects like this one, you can also browse more free crochet patterns on our site.
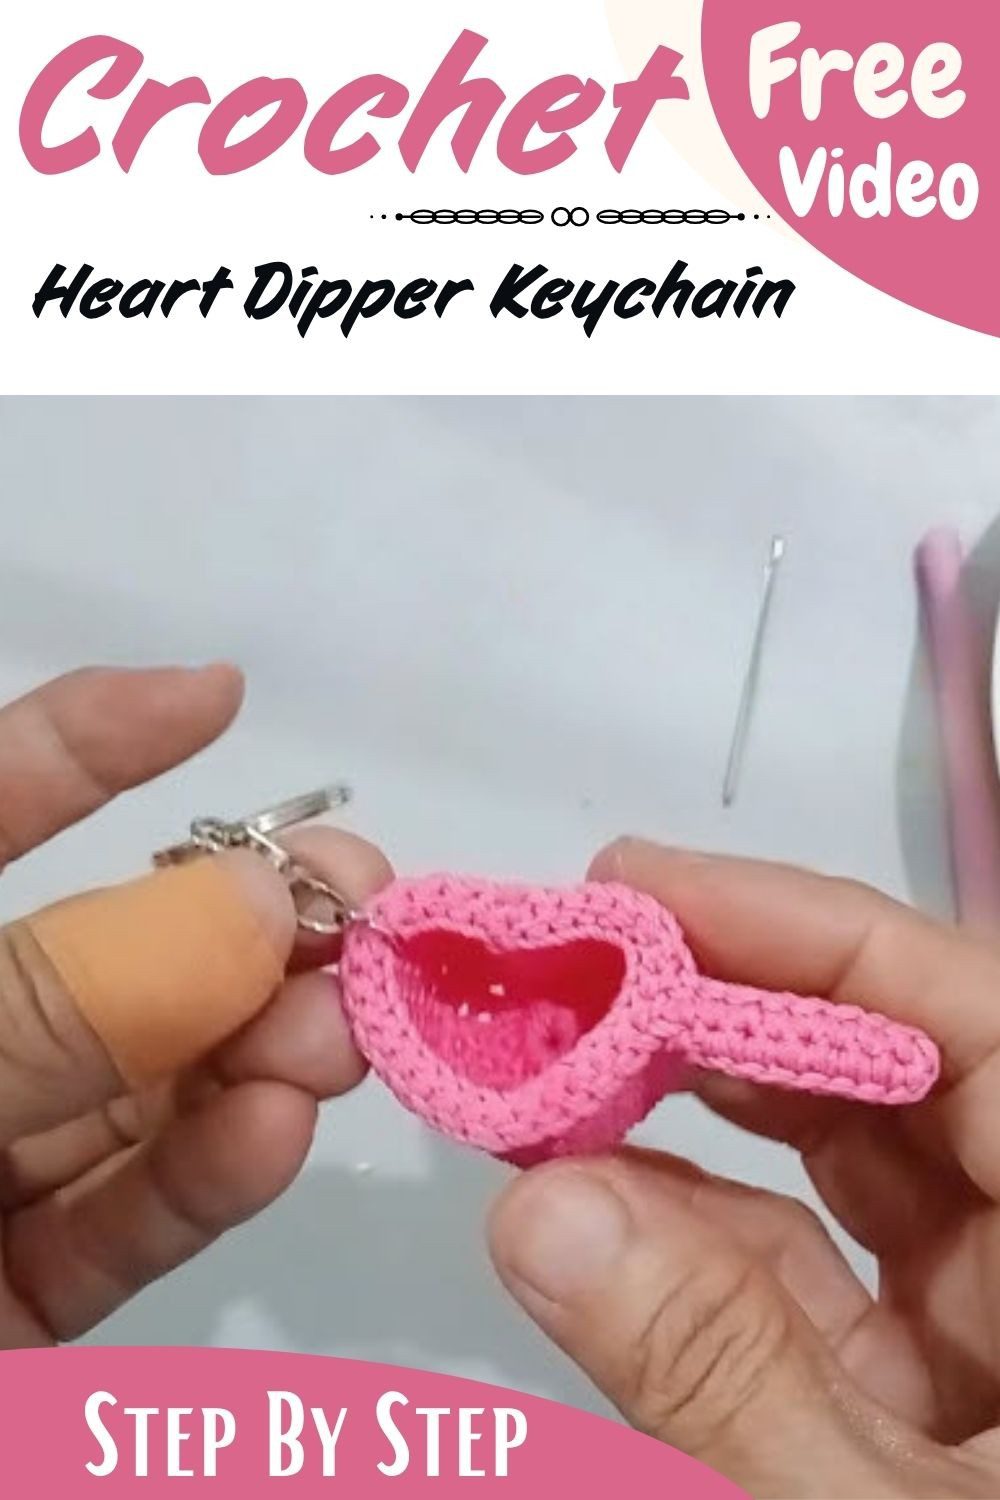
My Take on This Tiny Scoop
Honestly, this little one made me smile more than I thought it would. It is so small, but the heart bowl and that tiny handle make it feel like a real gayung. So make one for yourself first, and then see who in your family tries to take it. They will, trust me. Happy crocheting!