Crochet Turtle Squad Pattern in Rainbow Chenille
Small yarn leftovers do not have to sit in a basket forever. With this crochet turtle squad pattern in rainbow chenille, you can make soft, chubby turtles. It is simple, quick, and fun. Every step is explained very clearly below.
Crochet Turtle Squad Pattern in Rainbow Chenille Overview
This crochet turtle squad pattern in rainbow chenille works up quickly, and because the head joins straight into the body, there is no neck to sew on later.
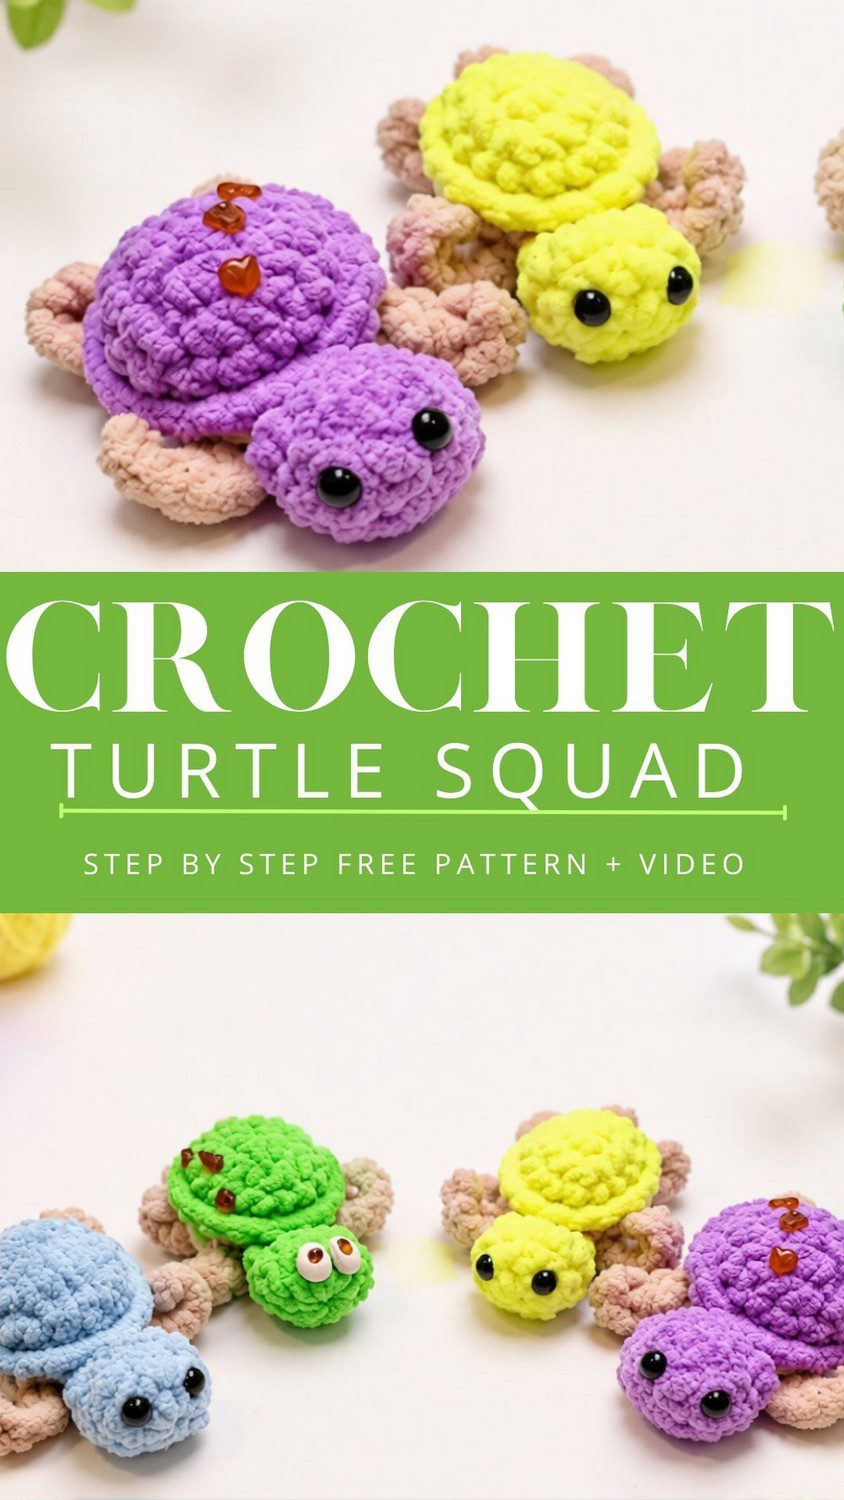
Project: A miniature plush crochet turtle, small, chubby and soft, with a dome-shaped shell, four shaped flippers (two front, two back) and glued eyes.
Skill level: Beginner-friendly, for crocheters who already know basic amigurumi stitches.
Finished size: Approximately 7 to 8 cm.
Yarn: Bulky/chunky chenille in two colors. Color 1 is for the shell and head, while Color 2 is for the belly and flippers.
Hook: 5 mm
How it comes together: Make the head and shell first, then work the belly and flippers into the shell. After that, attach the head, and finally stuff and close the body.
Materials for the Rainbow Chenille Crochet Turtle Squad Pattern
- Plush chenille-style yarn, bulky/chunky weight, very soft and velvety. Two colors per turtle: Color 1 for the shell and head, Color 2 (lighter or contrasting) for the belly and flippers. You only need tiny amounts, so scraps are perfect.
- 5 mm crochet hook
- Stitch markers
- Scissors
- Craft glue
- Fiberfill stuffing
- 8 mm half-bead eyes or amber cabochons
No embroidery thread or buttons are needed. The crochet turtle squad pattern in rainbow chenille uses US crochet terms. Also, amber stones on the shell are optional, so skip them if you like a plain look.
Abbreviations
MR: Magic Ring
ch: Chain
sc: Single Crochet
hdc: Half Double Crochet
inc: Increase (2 sc in one stitch)
dec: Decrease (invisible decrease)
hdc inc: 2 hdc in one stitch
hdc dec: Half double crochet decrease across 2 stitches
sl st: Slip Stitch
FLO: Front Loops Only
BLO: Back Loops Only
Special Techniques
Nothing here is hard, so read these once, and the pattern will feel much friendlier.
Magic Ring (MR): First, wrap the yarn tail around your fingers to form a loop. Next, insert the hook into the center, yarn over and pull up a loop. Then chain 1 to secure it. After that, work the required sc into the ring. Finally, pull the tail firmly to close the center hole.
Chain (ch): Simply yarn over, then pull through the loop on the hook.
Single Crochet (sc): First, insert the hook into the stitch, yarn over and pull up a loop. Now you have 2 loops on the hook. Then yarn over and pull through both loops.
Half Double Crochet (hdc): First, yarn over, then insert the hook into the stitch. Next, yarn over and pull up a loop, which gives you 3 loops on the hook. Finally, yarn over and pull through all 3 loops.
Slip Stitch (sl st): Insert the hook into the stitch and yarn over. Then pull through the stitch and the loop on the hook.
Increase (inc): Work 2 sc in the same stitch, so one stitch becomes two.
Invisible Decrease (dec): First, insert the hook into the front loop only of the next stitch. Next, insert it into the front loop only of the following stitch, which puts 3 loops on the hook. Then yarn over and pull through the first 2 loops. Finally, yarn over again and pull through the remaining 2 loops.
FLO and BLO: For FLO, work under only the front loop, while for BLO, you work under only the back loop.
Continuous Spiral Rounds: Do not join at the end of a round. Instead, place a stitch marker in the first stitch of each round. Also, count your stitches at the end of every round.
Color Change: The shell and head use Color 1. Then Color 2 is joined into the free back loops left by the FLO round.
Fastening Off: First, cut the yarn. Then pull the tail through the last loop and hide it inside the toy.
Crochet Turtle Squad Pattern in Rainbow Chenille
Make the head first and set it aside. Then follow the five steps below to finish the crochet turtle squad pattern in rainbow chenille.
Head (Color 1)
Rnd 1: Start with a MR, work 8 sc into the ring. Pull tight. (8 sc)
Rnd 2: (1 sc, inc) repeat 4 times. (12 sc)
Before you move on, count your 12 stitches.
Rnd 3: 12 sc around. (12 sc)
Rnd 4: 6 dec. Lightly stuff the head with a tiny amount of fiberfill to keep it soft. (6 sc)
Closing: Fold the head opening in half and work 3 sc across both halves to close the base. Cut yarn, leaving a short tail. Set aside.
Step 1: Shell Rounds (Color 1)
Now it is time for the shell, so grab Color 1 again.
Rnd 1: Start with a MR, work 8 sc into the ring. Pull tight, place stitch marker. (8 sc)
Rnd 2: Work 8 inc (2 sc in each st around). (16 sc)
Next, count your 16 stitches before you go on.
Rnd 3 – Rnd 4: 16 sc around. (16 sc)
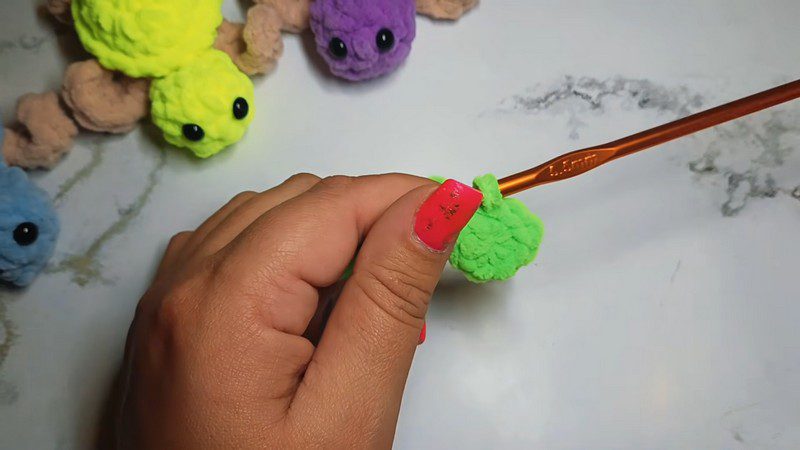
Step 2: Shell Front Loops Round
Next, work the front loops round, because the free back loops it leaves are where Color 2 joins.
Rnd 5 (FLO): Working in Front Loops Only, work 16 sc around. At the start of this round, mark the back loop of the very first stitch to guide the belly/flipper attachment. Sl st in the last st, cut yarn and tuck/hide tail inside the shell.
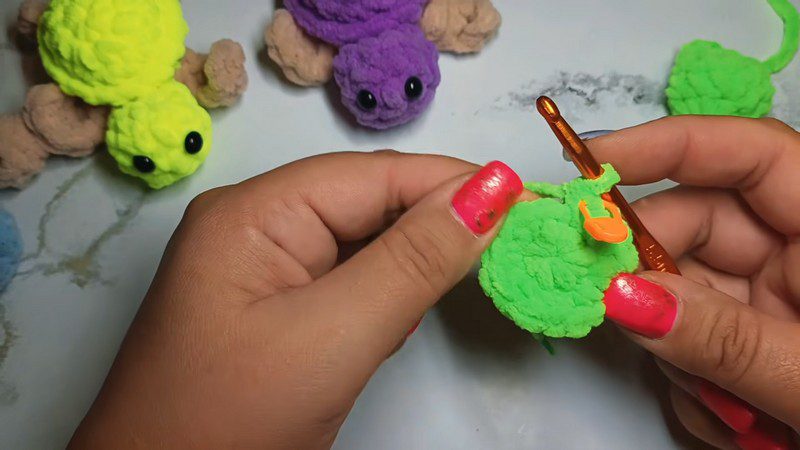
Step 3: Join Color 2, Belly and First Flippers
After that, switch to Color 2 for the belly and the first flippers.
Join Color 2: Attach Color 2 yarn to the marked back loop of Shell Round 4. Ch 1, work 1 sc in the same loop, place stitch marker.
Stitch 2: 1 sc in the next back loop.
First Back Flipper: Ch 3. Starting from 2nd ch from hook: 1 sc, in next ch work hdc inc (2 hdc in same ch). Sl st back into the base stitch on the shell.
Stitches 3-6: Work 4 sc in the next 4 back loops.
First Front Flipper: Ch 5. Starting from 2nd ch from hook: 1 sc, hdc inc in next ch, 1 hdc and 1 sc in next ch. Sl st into the base stitch on the shell.
Stitch 7: 1 sc in the next back loop.
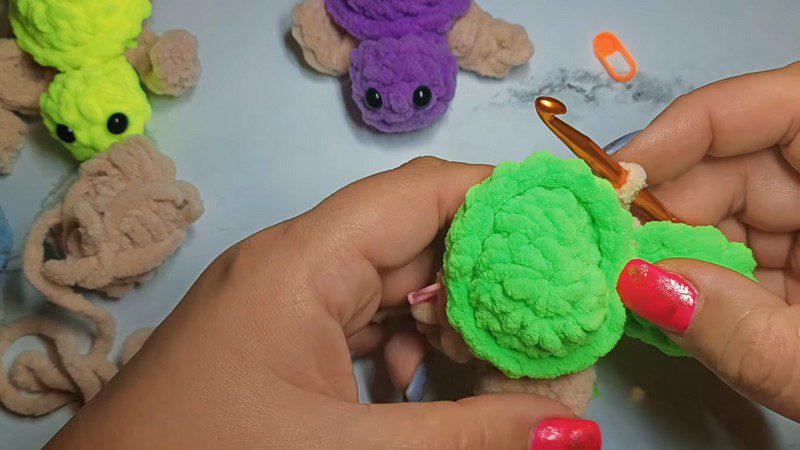
Step 4: Head Attachment and Remaining Flippers
Then it is time to attach the head and finish the remaining flippers.
Head Attachment: Place the closed base of the Head against the shell. Working through both the head base (3 stitches) and the shell back loops simultaneously, work 3 sc to attach the head securely.
Stitch 11: 1 sc in the next back loop.
Second Front Flipper: Ch 7. Starting from 2nd ch from hook: 1 sc, hdc dec, hdc dec. Sl st into the base stitch on the shell.
Stitches 12-15: Work 4 sc in the next 4 back loops.
Second Back Flipper: Ch 4. Starting from 2nd ch from hook: 1 sc, hdc dec. Sl st into the base stitch on the shell.
Final Stitch: 1 sc in the remaining back loop to complete the round. Remove marker and continue into spiral body decreases.
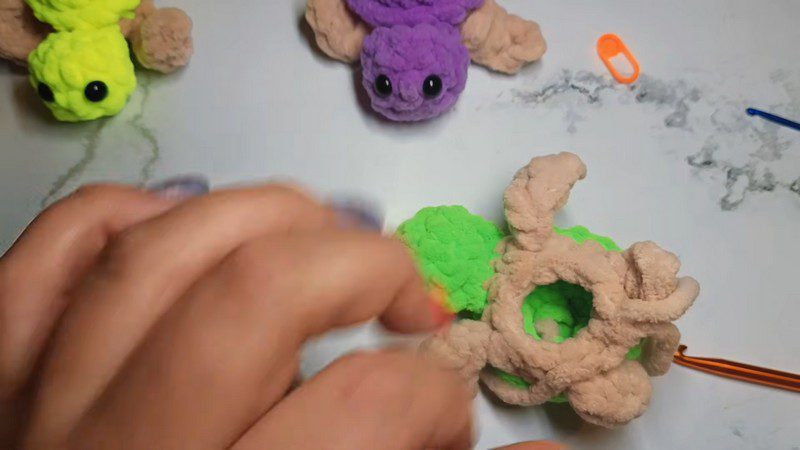
Step 5: Body Shaping, Closing and Finishing
Finally, shape the body, stuff it and close it up.
Rnd 6: (Dec, 2 sc) repeat 4 times around (skipping/bending flippers out of the way as needed). (12 sc)
Stuffing: Firmly stuff the body cavity with fiberfill.
Rnd 7: 6 dec. (6 sc)
Closing: Fasten off, pull yarn tail tight to close the hole.
Last, glue on the 8 mm half-bead eyes or amber cabochons. If you want the amber stones on the shell, glue those on too. Let the glue dry fully before you cuddle your turtle.
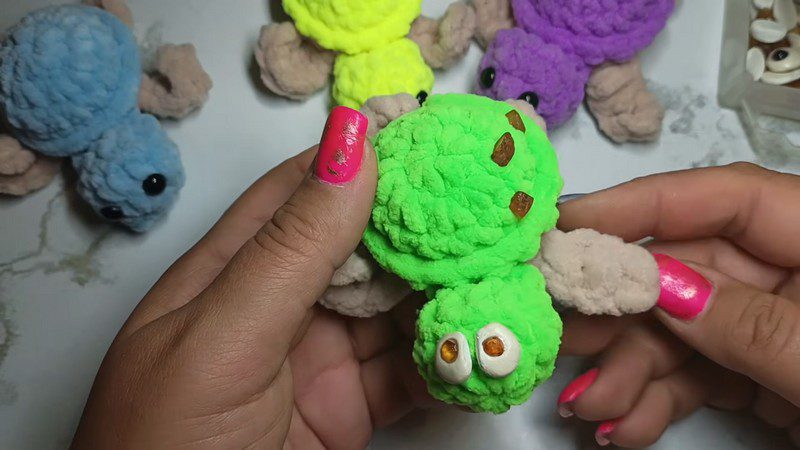
Rainbow Chenille Crochet Turtle Squad Pattern Color Ideas
First, pick a different shell color for each turtle. Then keep the same soft peach for every set of flippers, because that peach ties the whole gang together.
- Purple shell with peach flippers
- Yellow shell with peach flippers
- Green shell with peach flippers
- Blue shell with peach flippers
Once you line them up in a row, you have a little rainbow parade.
Plan Your Squad Before You Start
Before you cast on, lay your scraps on the table and pair them up. First, choose one Color 1 for each shell and head. Then set aside a Color 2 for the belly and flippers. Because each turtle needs only tiny amounts, you can often finish a whole squad from the ends of a few balls.
Common Mistakes in the Rainbow Chenille Crochet Turtle Squad Pattern
- Losing the stitch marker and the round count: Chenille is fluffy, so a marker can hide in it fast. Also, count your stitches at the end of every round, and move the marker up as you go so you never lose your place.
- Overstuffing the head: Keep it soft, because a tight head looks stiff and can pull the neck out of shape. If it feels hard when you squeeze it, then pull a little fiberfill back out.
- Twisting the flippers during chain work: Check that your chain lies flat before you work back along it.
Safety Note for the Crochet Turtle Squad Pattern in Rainbow Chenille
Glued eyes and small stones are a choking hazard. They are not suitable for children under 3 years old unless you use secure embroidered alternatives. So if a small child will be near your turtle, think carefully about which finish is safe for them.
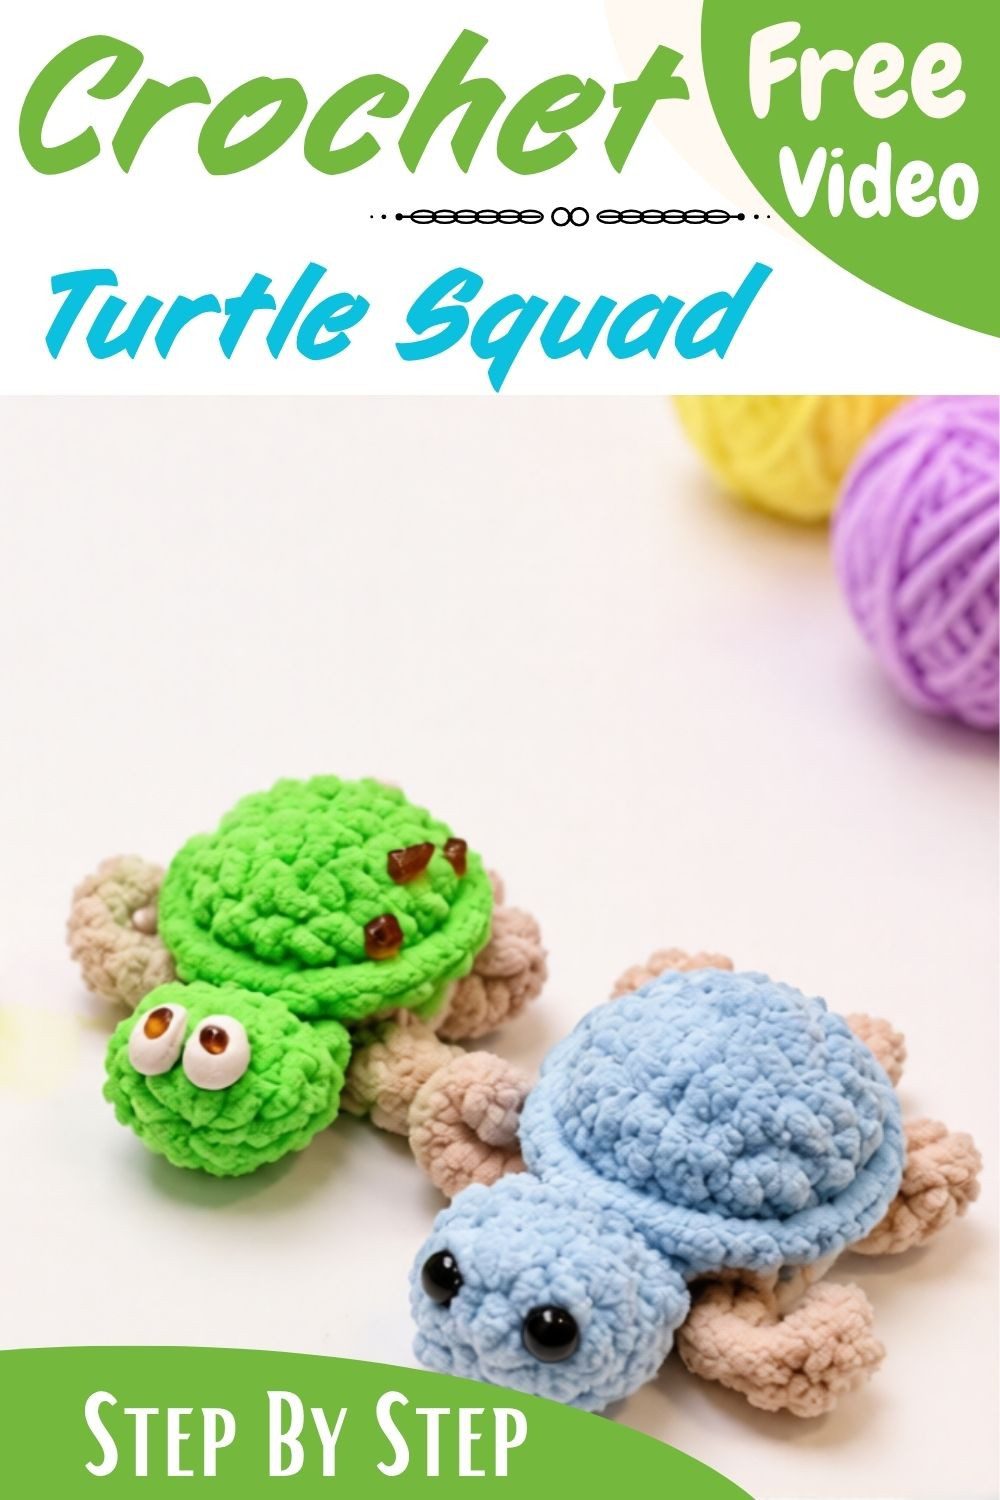
Go Make Your Squad
So that is the little turtle. Honestly, the first one takes the longest, and after that they go fast. I like making them in batches, one color after another, until the table looks like a tiny parade. Keep that head soft, stuff the body firm, and glue the eyes on last. Then pick your favorite shell color and start your squad with this crochet turtle squad pattern in rainbow chenille.