Crochet Tiny Crow Pattern for Halloween Fun
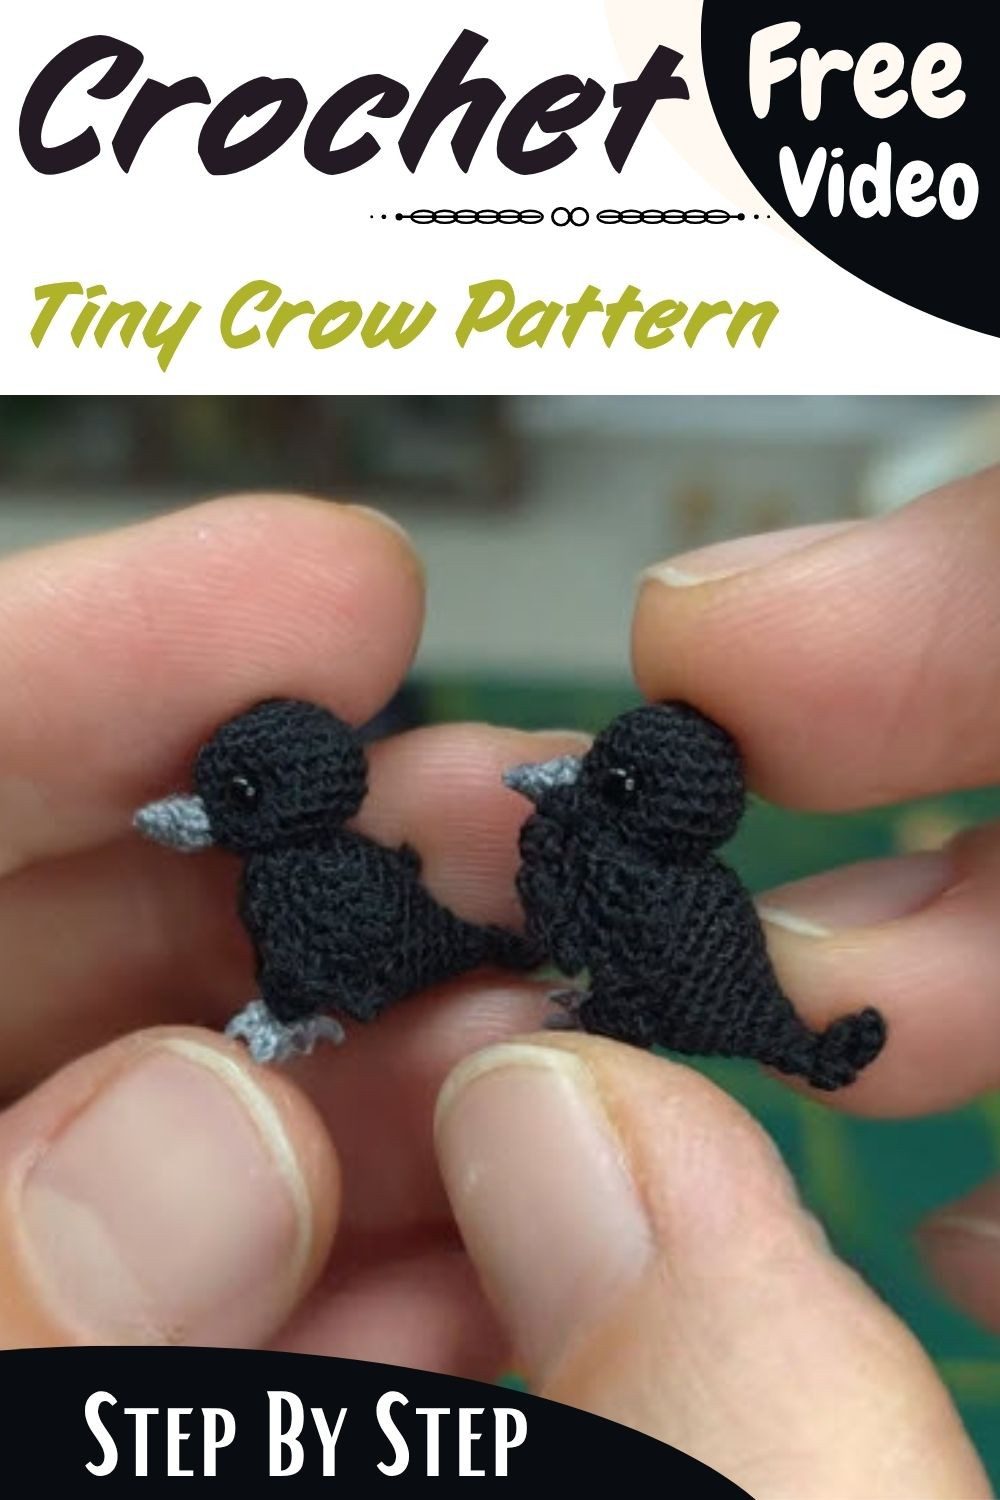
Make a little black bird with personality using this crochet tiny crow pattern. It comes with clear written steps for each part, from the stuffed head to the feathered tail. The finished crow is small, cute and great for Halloween fun.
This tiny crow is worked in black yarn, so it has a sleek, shiny look. The head is crocheted first, then stuffed and gently shaped. Small glass eyes sit in sculpted eye sockets, which gives the crow a bright and curious face. The tail is the best part. It is made of three little feathers worked right into the last round of the body, so there is no extra piece to sew on later.
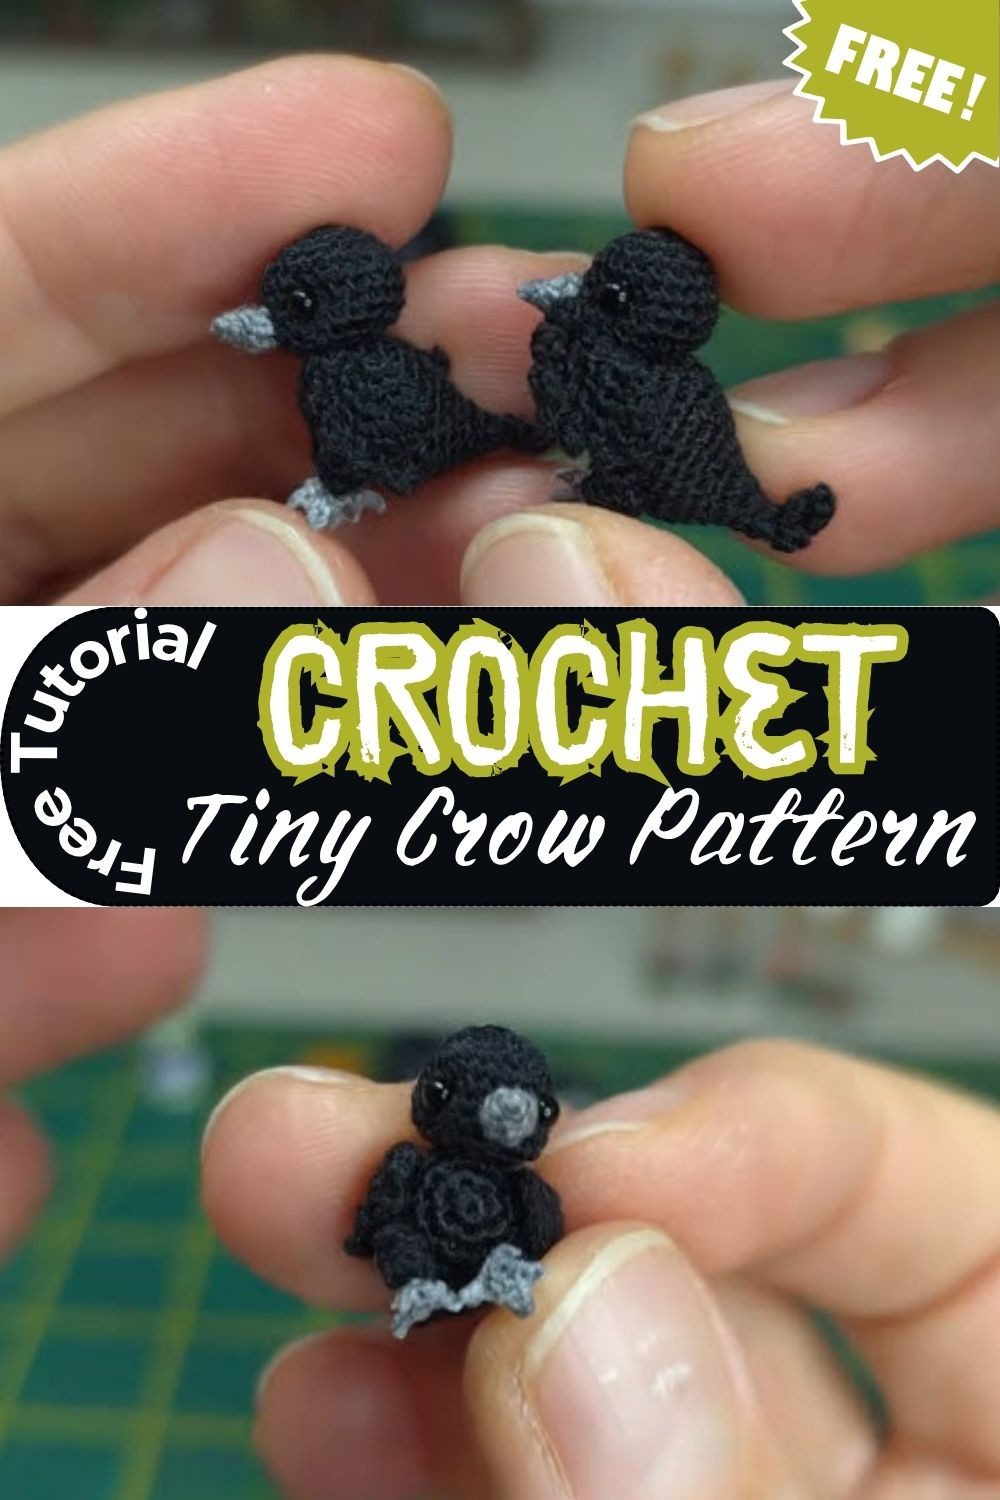
Once the head is done, you move straight into the body. The stitches are tight, so the crow feels firm and smooth in your hand. It looks lovely on a desk or shelf and makes a thoughtful handmade gift for a bird lover. It also works well as a spooky decoration. If you enjoy making small projects, you could even stitch a whole flock. Changing your yarn thickness or hook size will give you crows in different sizes.
Black is the classic choice for a crow, but you can have fun with other colors too. A smooth yarn gives the cleanest look, because it shows every stitch clearly. The shape is simple, and the tail feathers are quick to stitch, so the pattern feels friendly and relaxed to follow. The finished crow is small, full of character and easy to love.
Project Overview
This crow is a miniature, highly detailed black bird with a textured body, sculpted eye sockets and a grey beak. It has layered tail feathers, wings that can sit open or folded, and tiny grey clawed feet. Because the limbs are attached with thread joints, they can move. It suits crocheters who already enjoy fine work and want a challenge that ends in something truly special.
Skill level: Expert / Advanced Micro-Crochet (extreme dexterity and fine motor control needed for a 0.45 mm hook, single-strand split embroidery floss and thread-joint assembly)
Finished size: approximately 2 cm (0.8 inches) tall
Design credit: this little crow was designed by Microtoysby, and all the credit for the original design goes to them.
Materials and Tools
- Embroidery floss in black (body and wings) and grey (beak and claws). Use one single strand separated from the skein. Smooth mercerized cotton floss works well. Only a few yards of each are needed.
- Crochet hook: size 23, 0.45 mm micro crochet hook
- 2 mm glass eyes
- Black acrylic yarn scraps for stuffing
- Glue (for the glass eyes and for shaping the claws)
- Sewing needle and strong thread for the thread joints
- Scissors and wire cutters
- Stitch marker (optional but recommended, a scrap of contrasting thread works)
Abbreviations and Pattern Notes
All terms are US terminology.
- ch – Chain
- sc – Single crochet
- inc – Single crochet increase (2 sc in the same stitch)
- dec – Single crochet decrease (join 2 stitches together)
- sl st – Slip stitch
Special Techniques
Magic ring. Wrap the thread around your index finger to make a loop. Insert the hook through the centre, grab the working thread and pull up a loop, then chain 1 to secure it. Work the stated sc into the ring, then pull the tail tight.
Invisible decrease. Insert the hook into the front loop of the next two stitches. Yarn over and pull through both front loops, then yarn over and pull through the remaining two loops.
Slip stitch. Insert the hook into the stitch, yarn over, and pull through the stitch and the loop on the hook together.
Picot. Chain 3 (or the stated number), then slip stitch into the second or third chain from the hook to form a tiny point.
Continuous spiral rounds. Work without joining at the end of each round. Place a stitch marker in the first stitch of the round, and recount at the end of every round.
Colour changes. Colours change between separate parts (black body, grey beak and claws), not inside one piece. Tails are woven in or buried inside the stuffing.
Fastening off. Cut the thread leaving a short tail, pull it through the last loop and pull tight. Where a sewing tail is mentioned, leave it long enough to sew.
The Complete Crochet Pattern
Part 1: Beak (Grey)
- Rnd 1: Make a magic ring, work 6 sc. (6 sts)
- Rnd 2: 4 sc, dec. (5 sts)
- Rnd 3: 3 sc, dec. (4 sts)
- Rnd 4: 2 sc, dec. (3 sts)
- Fasten off, leaving a tail to sew onto the head.
Head (Black)
Crochet the head base. Stuff it, then sculpt the eye sockets. Glue in the 2 mm glass eyes.
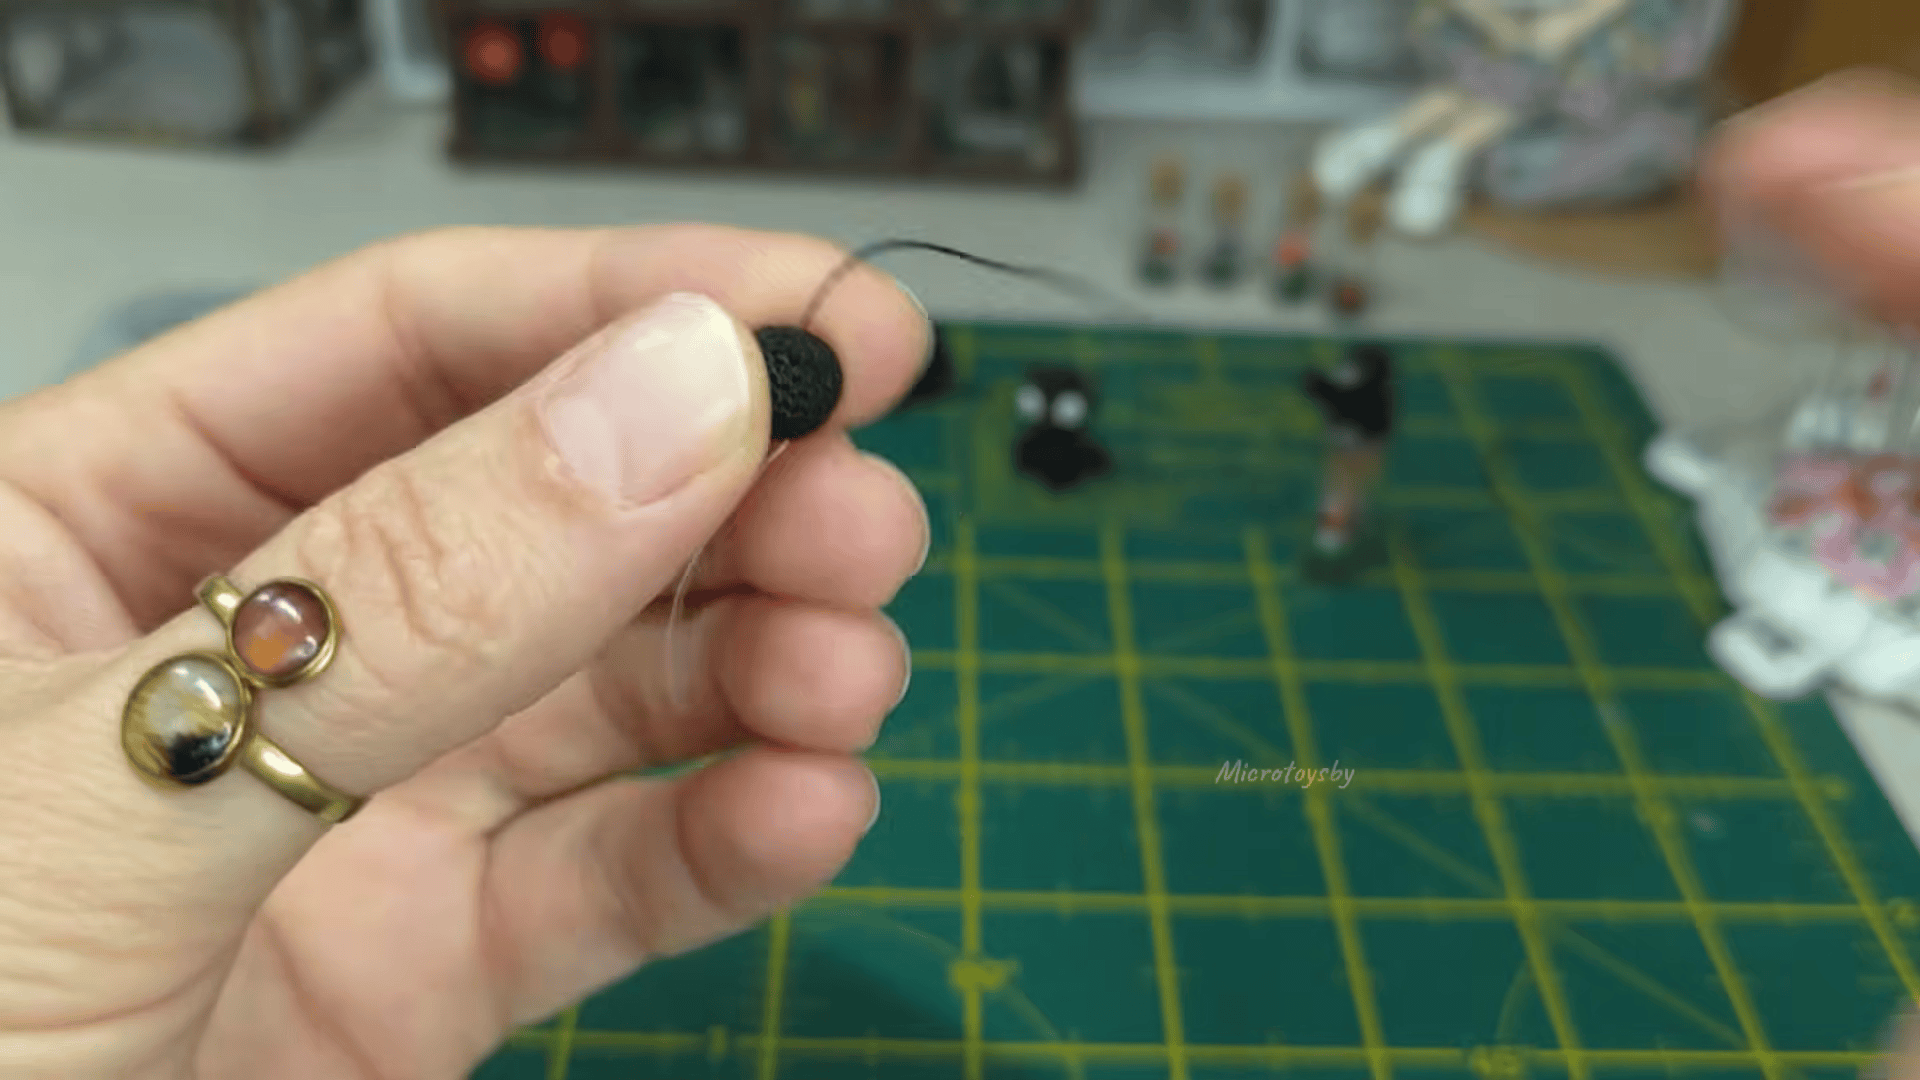
Beak (Grey)
- Rnd 1: Make a magic ring, work 6 sc. (6 sts)
- Rnd 2: 4 sc, dec. (5 sts)
- Rnd 3: 3 sc, dec. (4 sts)
- Rnd 4: 2 sc, dec. (3 sts)
- Fasten off, leaving a tail to sew onto the hea
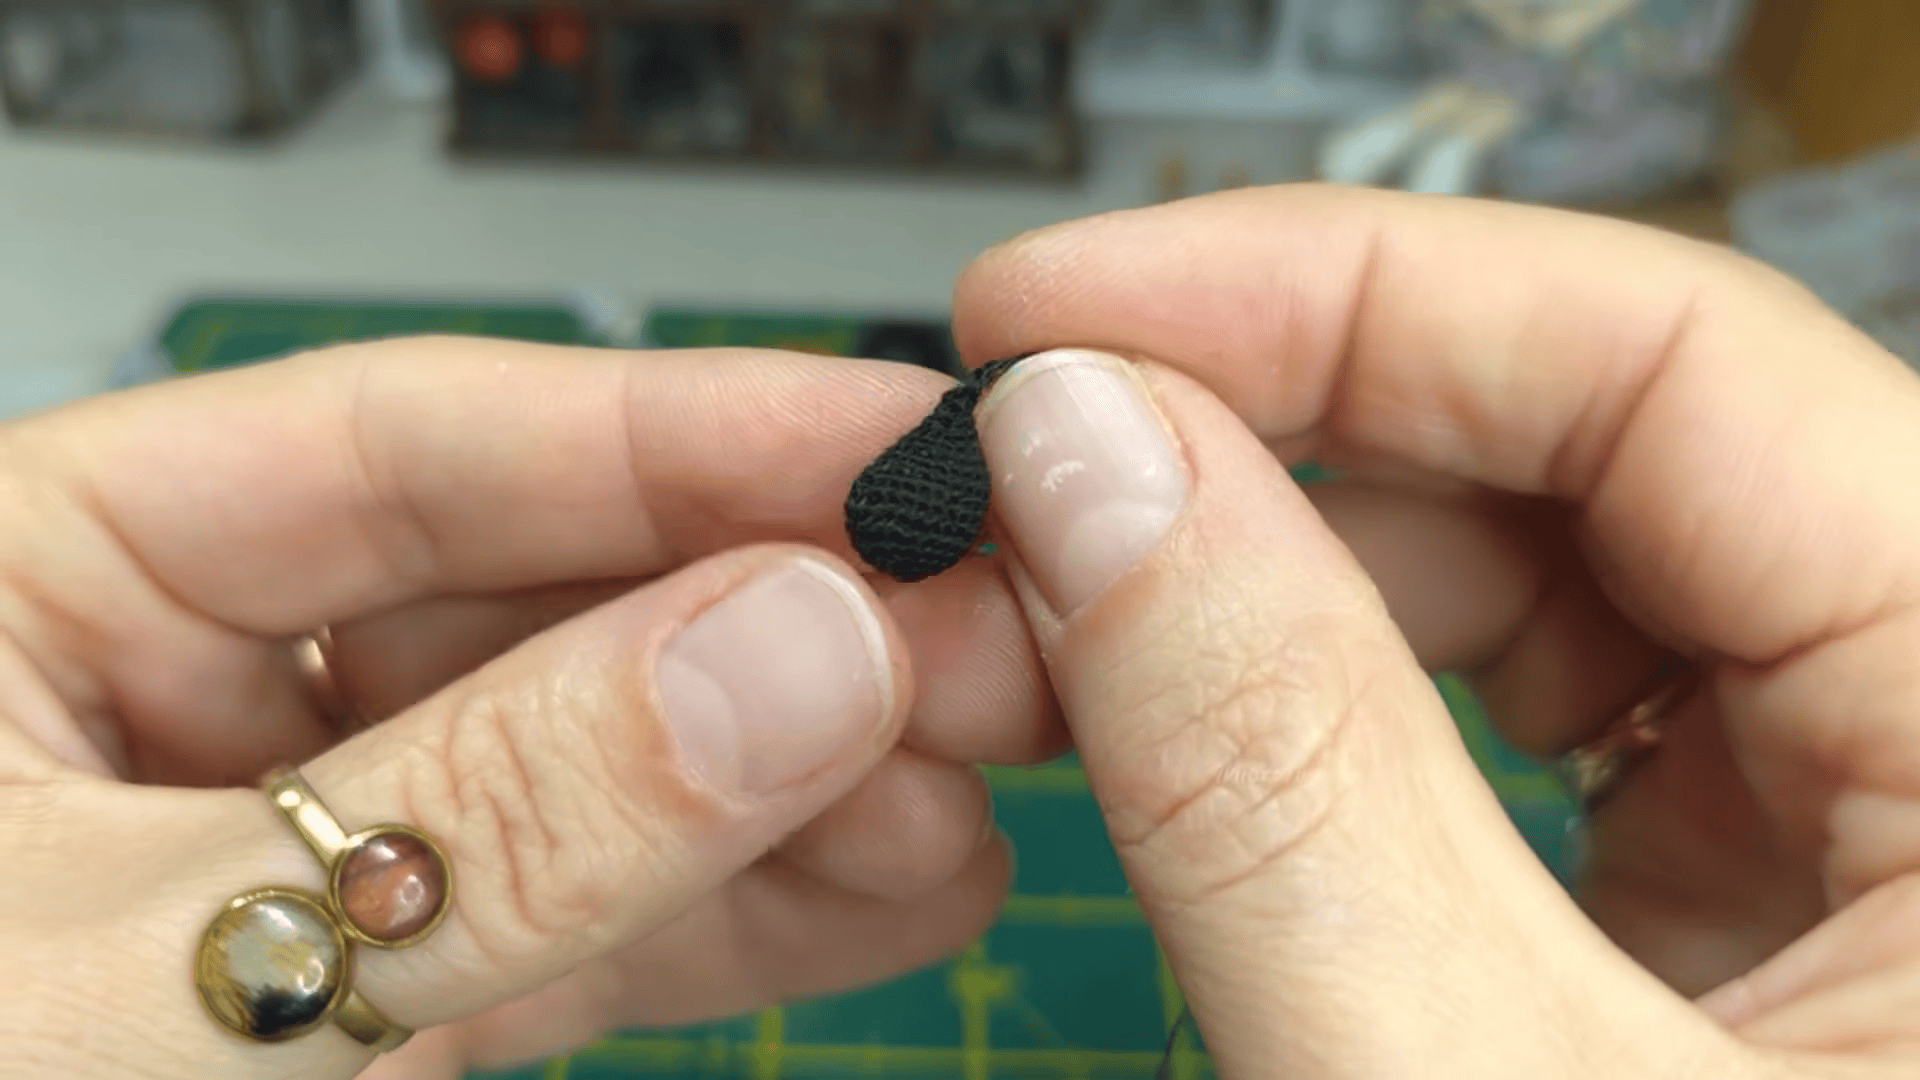
Body:
Body (Black)
Transition from the head into the body construction.
Tail (worked into the last round of the body):
- Feather 1: 2 Sc, Ch 4, Sl St in the 2nd chain from the hook, 2 Sc.
- Feather 2: Ch 5, Sl St in the 2nd chain, 3 Sc.
- Feather 3: Ch 4, Sl St in the 2nd chain, 2 Sc.
- Join the tail feathers with a Sl St into the 3rd stitch of the body’s last round.
Notes:
- The text you sent has no round-by-round stitch counts for the head base or the body. I kept it exactly as given and did not add any.
- The “Tail” heading comes under the body because the text says it is worked into the body’s last round.
- This looks like a different pattern from the shark hat. Tell me if you want it as its own article or added to another one.
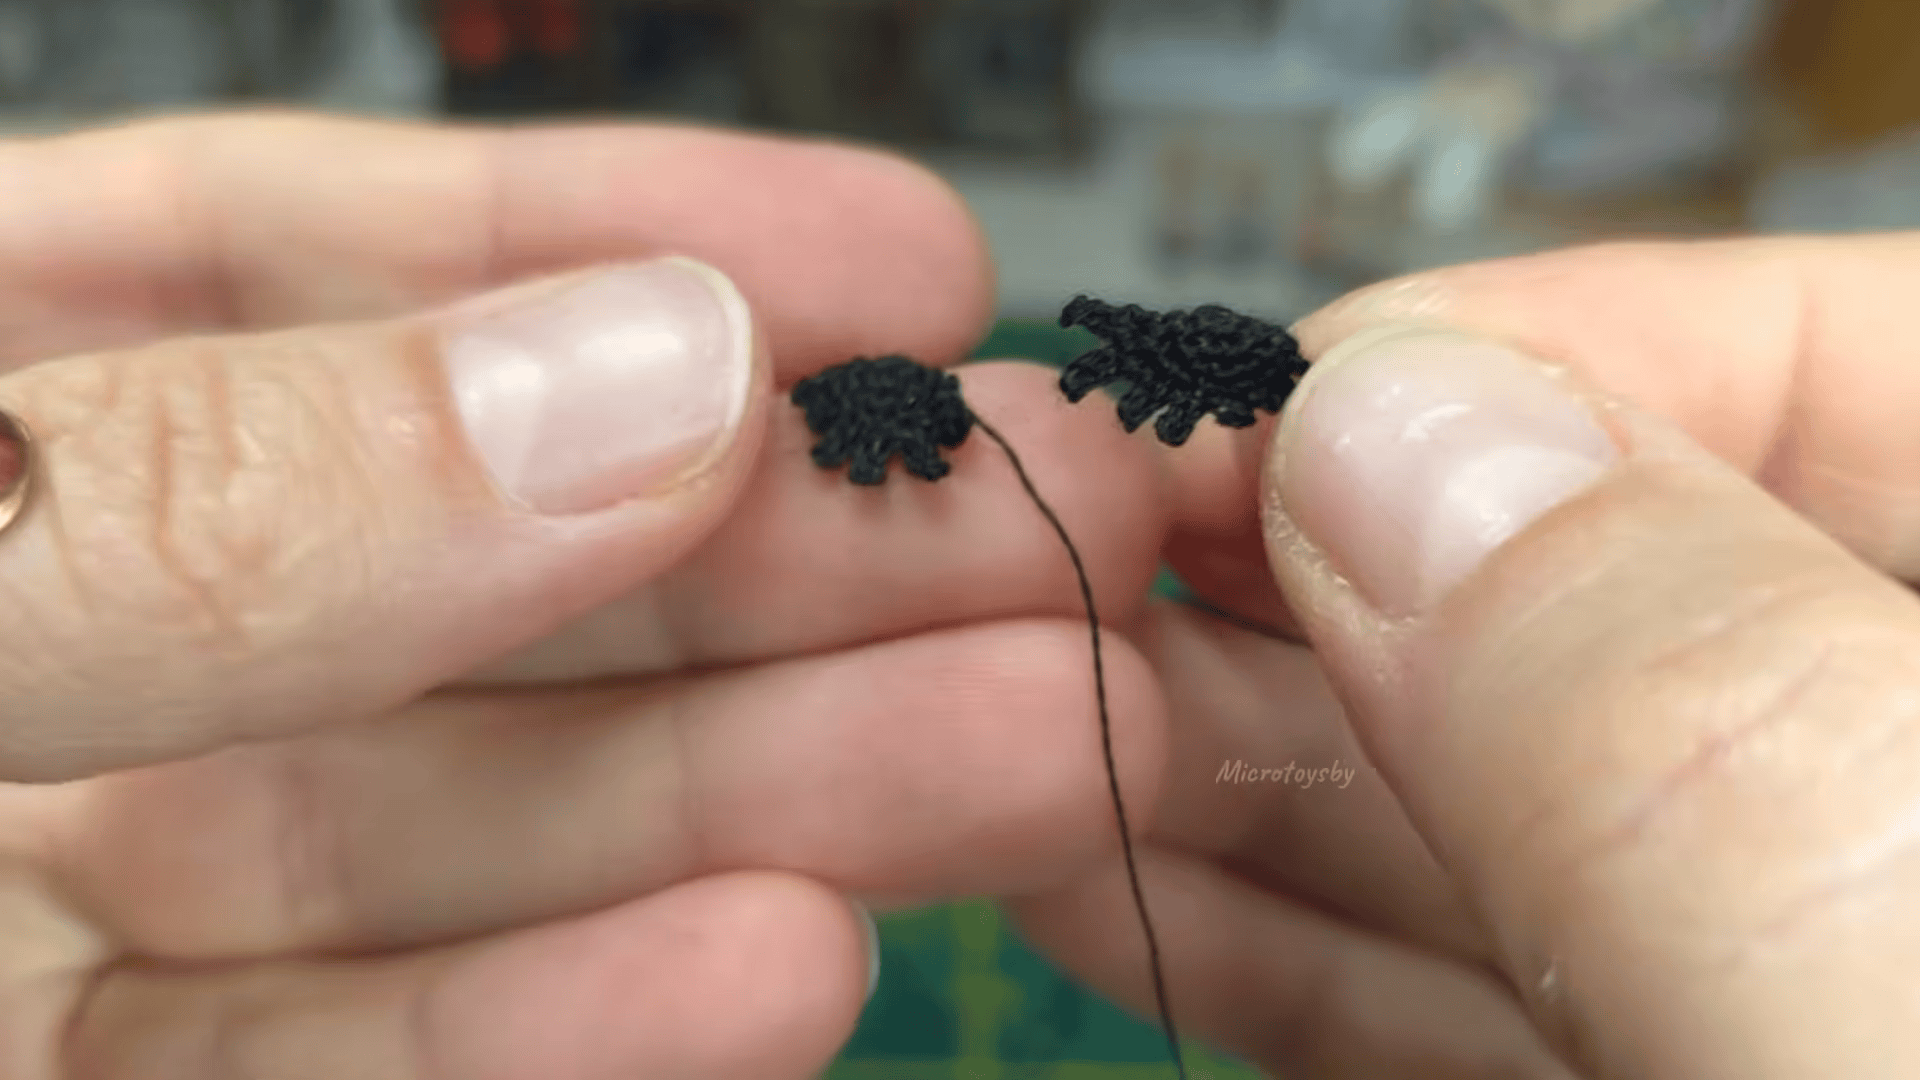
Wings (Black, Make 2: Left and Right)
- Rnd 1: 6 sc in a magic ring. (6 sts)
- Rnd 2: 6 inc. (12 sts)
- Rnd 3: 6 x (inc, sc). (18 sts)
- Fold the wing in half and work through both layers.
Left wing edging: Sl st into wing, picot, sc into wing, picot, sc.
- Feather 1: 4 ch, sl st in 3rd chain from hook, sc, sc into wing.
- Feather 2: 4 ch, sl st in 3rd chain, sc, sc into wing.
- Feather 3: 5 ch, sl st in 3rd chain, 2 sc, sc into wing.
- Feather 4: 5 ch, sl st in 3rd chain, 2 sc, sc into wing.
- Sl st to smooth out the step.
Right wing edging (opposite order): Fold the wing in half.
- Repeat twice: 5 ch, sl st in 3rd chain, 2 sc, sc into wing.
- Repeat twice: 4 ch, sl st in 3rd chain, sc, sc into wing.
- Picot, then sc twice, sl st to smooth out the step.
Legs
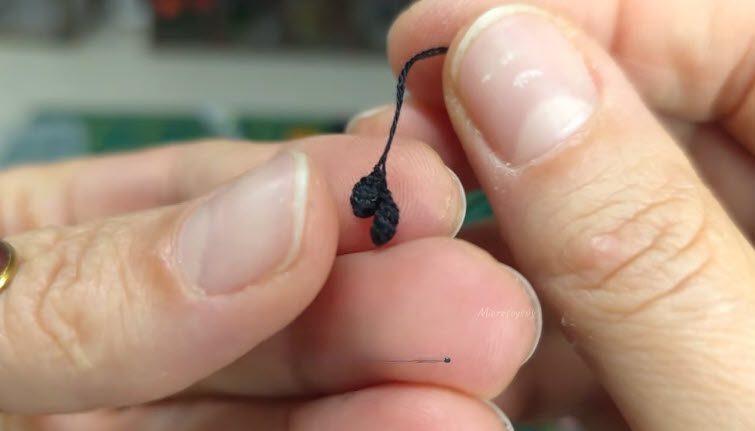
- Rnd 1: 8 sc in a magic ring. (8 sts)
- Rnd 2: 8 sc. (8 sts)
- Rnd 3: 2 x (dec, 2 sc). (6 sts)
Claws
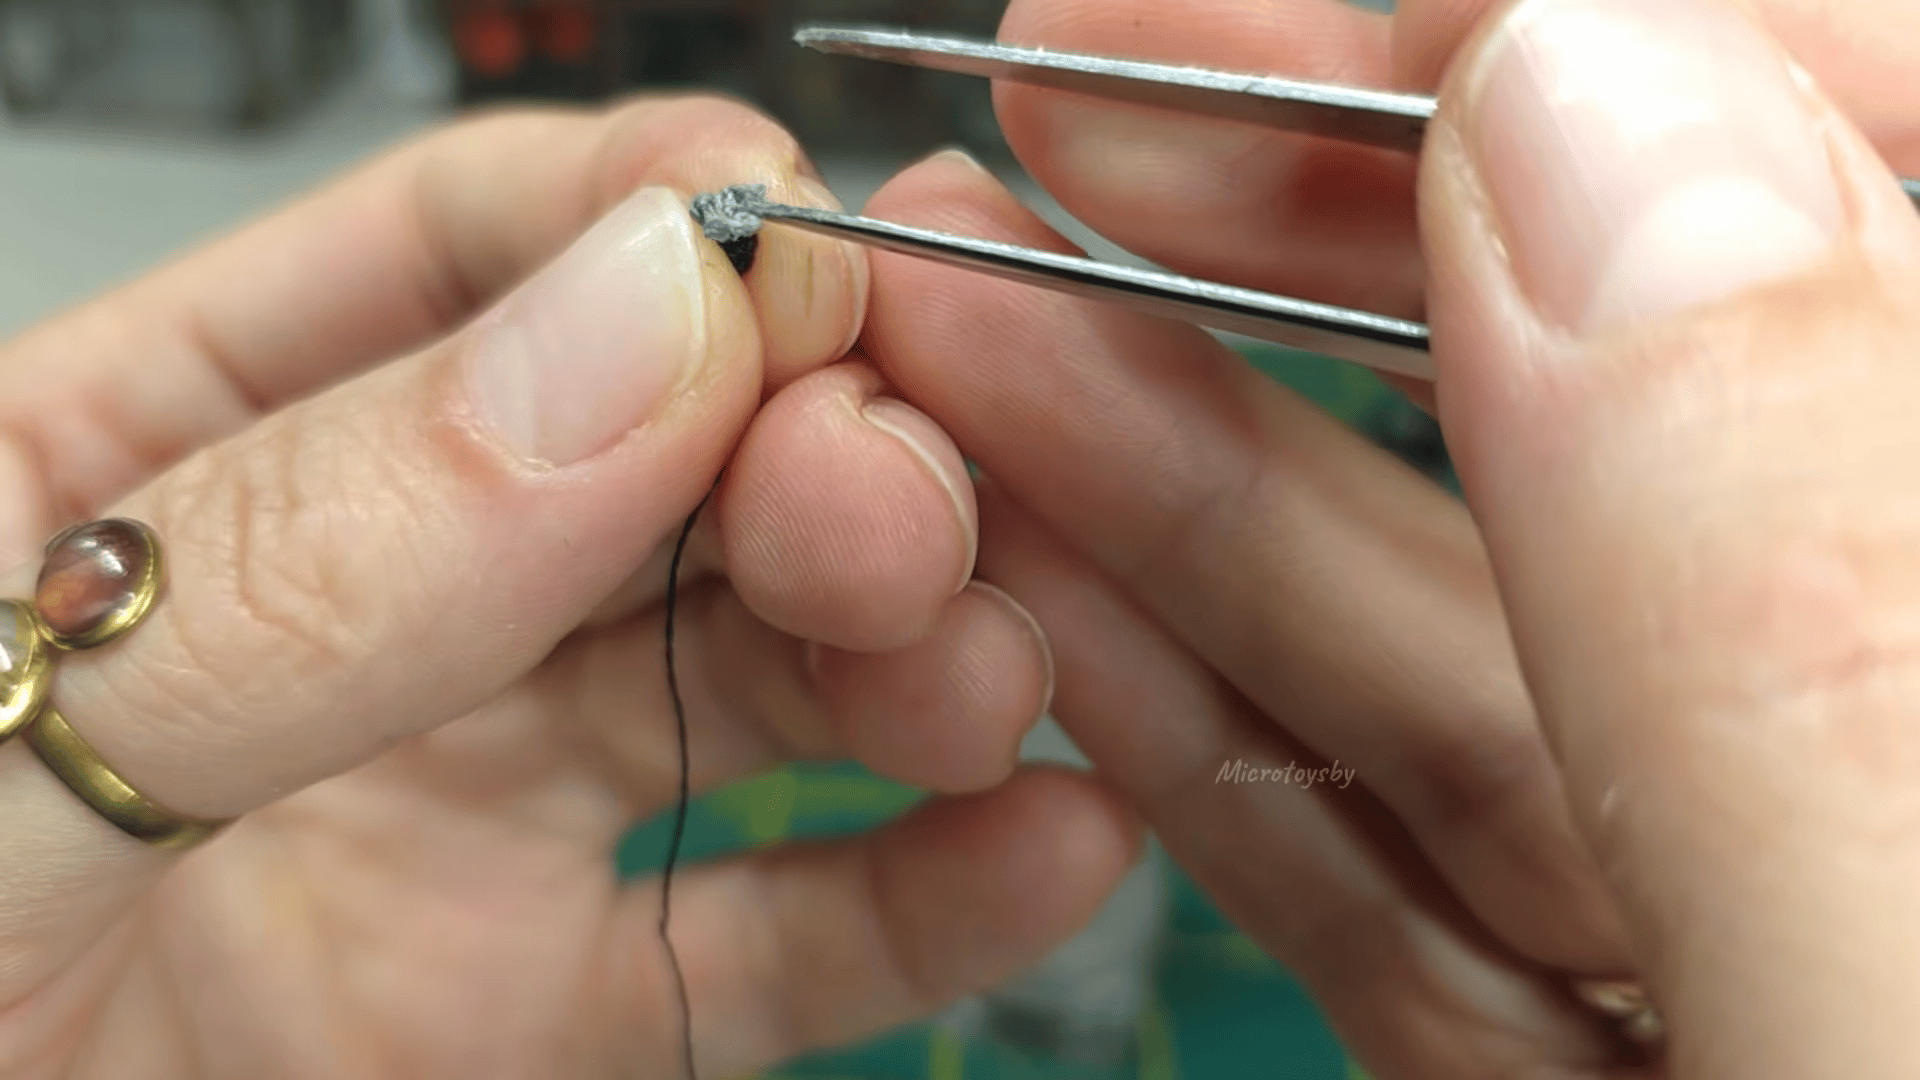
- Repeat 3 times: 3 ch, 2 sl st back from the 2nd chain.
- Join the 3 claws together with a sl st.
- Repeat once more: 3 ch, 2 sl st back from the 2nd chain, then sl st into the centre of the piece.
- Shape the claws with a dab of glue.
Assembly and Finishing
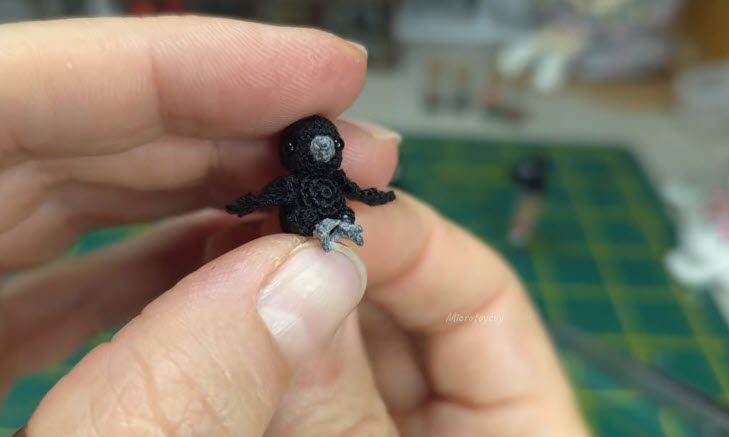
Once every piece is crocheted, lay them out in front of you before you sew anything. Seeing the beak, body, tail, wings and feet together helps you picture where each one belongs. Then follow the order below, one step at a time, and keep a good light on your work.
- Stuff the head with tiny wisps of black yarn, spreading them evenly.
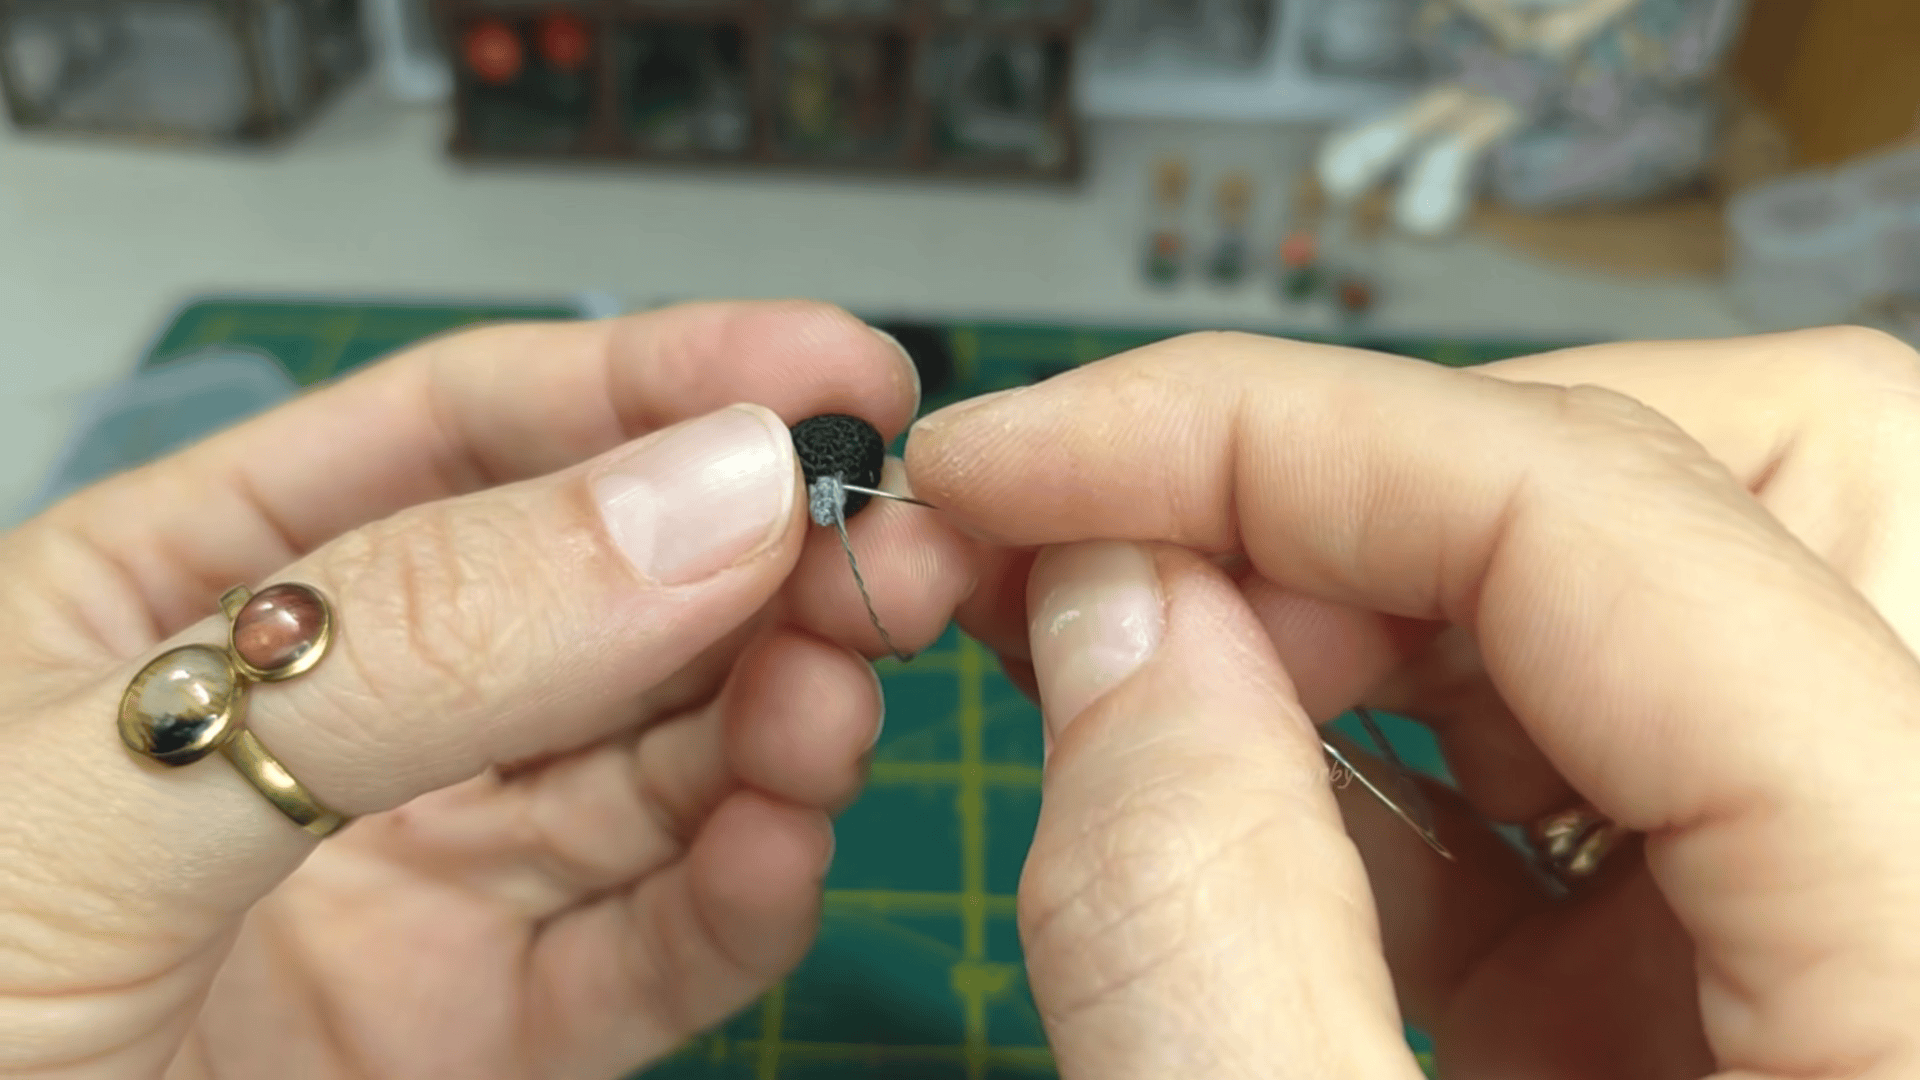
- Sew the grey beak onto the sculpted head.
- Attach the head to the body with a thread joint so it can move.
- Attach the wings with thread joints, positioned spread open or folded against the body.
- Sew the grey clawed feet to the base of the body.
- Weave in all ends invisibly: cut a 2–3 inch tail, pull it through the last loop, thread a fine needle, weave it into the inner stitches and trim flush.
Helpful Crochet Tips
- Watch the floss as you work. Each stitch should catch only the single strand, so avoid splitting it.
- Tiny parts do not need much filling. Do not over-stuff them, or the shape will bulge and the stitches will stretch.
- Round 1 is where mistakes hide. Mark it and recount before you move on.
- On spiral rounds, keep a stitch marker in the first stitch so you always know where a round begins.
- Keep glue use tiny when shaping the claws. One small dab is plenty.
Safety Note
This crow has small parts, including 2 mm glass eyes and tiny claws, so it is not suitable for small children or babies because of the choking hazard.
Making a Whole Flock
Once one crow is finished, it is hard to stop at one. A small group of them can sit together on a display shelf, a desk or a seasonal arrangement. Try posing some with open wings and some with folded wings so the group looks lively. Because the limbs move on their joints, each bird can be set in a slightly different position. Make them all from the same pattern, and let the poses give each one its own character.
If you like the idea of a quiet, spooky scene, group a few crows together and give them a little room. A single crow also looks great on its own, so there is no wrong way to show off your work. Either way, you made something that few people have the patience to try, and that is worth celebrating.
Frequently Asked Questions
What skill level does this crow need?
It is written for experienced micro-crocheters, as explained in the overview above.
What hook should I use?
A size 23, 0.45 mm micro crochet hook.
How big is the finished crow?
It is a true miniature, and the exact size is given in the overview above.
Why use a single strand of floss?
The pattern works with one single strand separated from the skein, which keeps every stitch fine enough for such a tiny bird.
Is this crow suitable for children?
No. The glass eyes and tiny claws are small parts and a choking hazard, so keep it away from small children and babies.
Done, and Still Smiling
Honestly, this one took me a while, and I loved every slow minute of it. Some rounds will test your patience, and that is fine. Take breaks, keep your floss tidy, and trust the little steps. When the wings finally sit right and the tiny claws grip, you will grin. Go and make your crow.