Crochet Kindle Sleeve Pattern from Daisy Squares
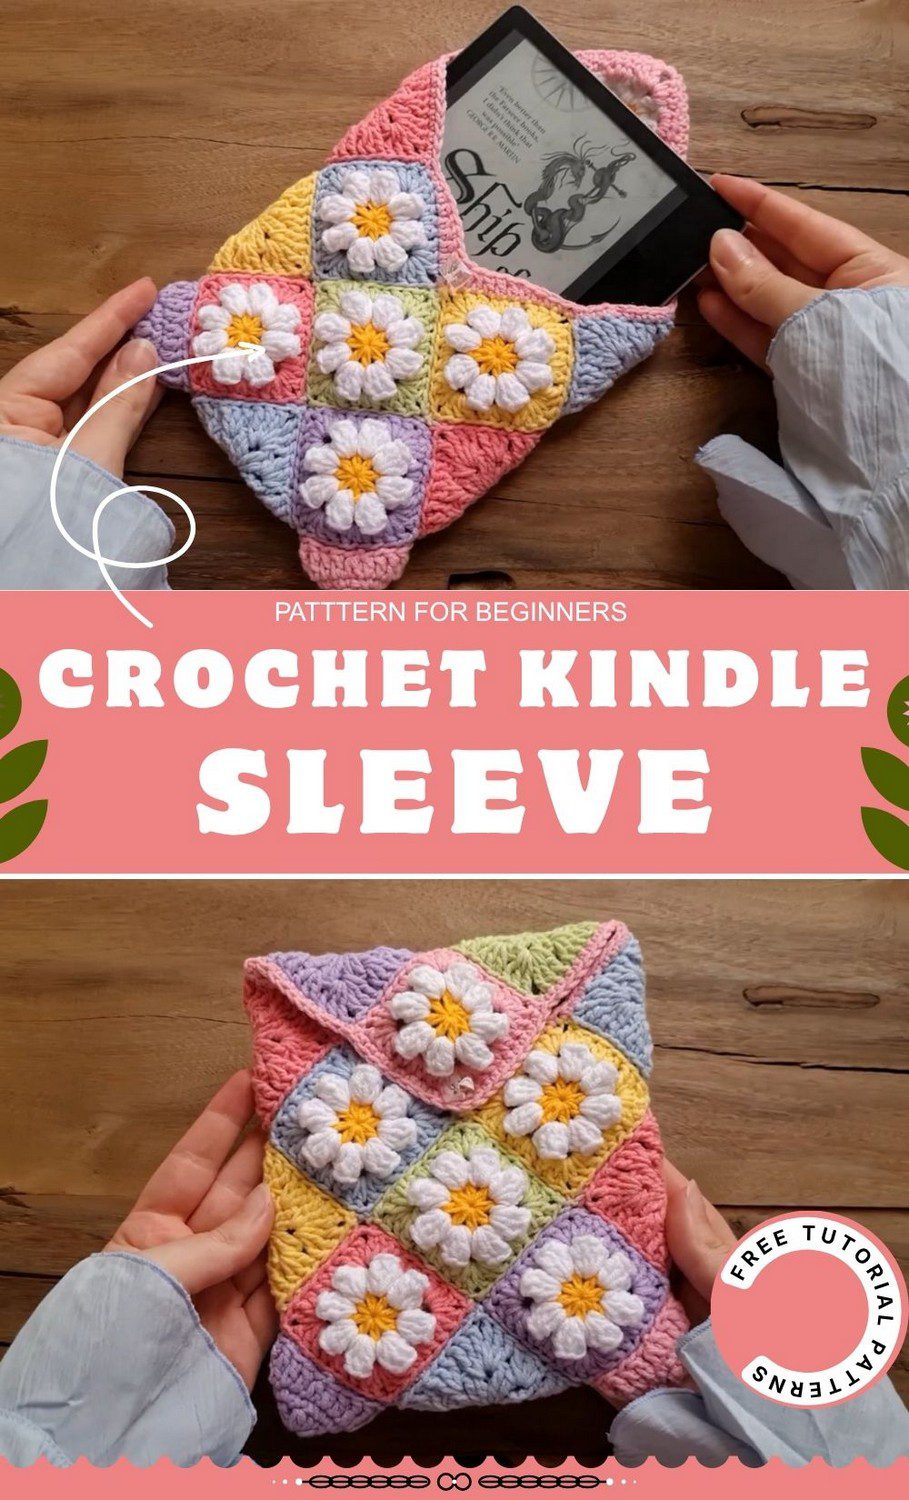
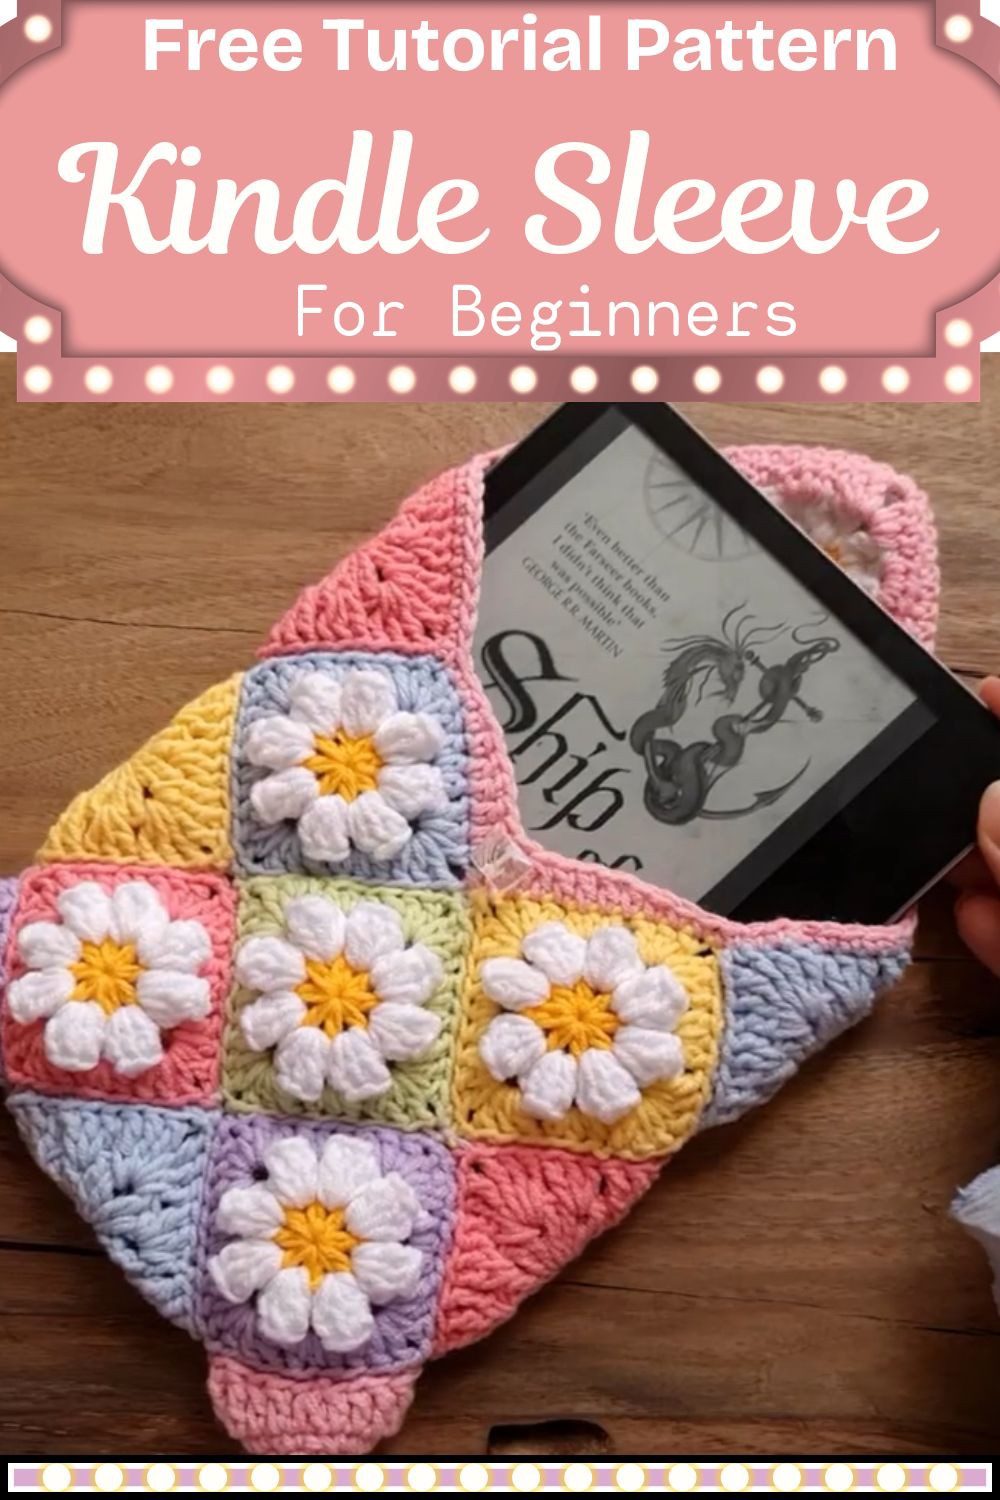
This crochet Kindle sleeve pattern turns pastel daisy squares into a soft pouch for your Kindle or a small e-reader. Each square has a white flower with a yellow center, and the colors are pink, lilac, blue, yellow and green. A pink flap on the back closes with a button loop, so the finished sleeve also makes a lovely handmade gift for a friend who loves reading.
This project is easy to follow because it uses granny squares only. There is no stuffing, no face and no safety eyes. First, you sew the squares together from the wrong side. Then you turn the sleeve right side out and add a border and a button loop at the top. If you can already make a granny square, you can make this one. You can also change the colors or the size to fit your own device.
Crochet Kindle Sleeve Pattern Overview
Skill level: Beginner to advanced beginner
Terms: US crochet terms
Finished size: About 8 x 6 in (20 x 15 cm), made to fit a standard Kindle
Before you start: You need the finished daisy granny squares from Part 1. This article does not cover the square rounds, so please watch the Part 1 video for them.
Materials for the Crochet Kindle Sleeve Pattern
Yarn: Cotton in DK to light worsted weight, about 100 to 200 yd (90 to 180 m) in total
Colors:
- Pink, lilac, sky blue, yellow and green for the squares
- White for the daisy petals
- Golden yellow for the daisy centers
- Pink for the top border and flap edging
Hook: 4.5 mm (US 7). A 4 to 5 mm hook also works, as long as it matches your Part 1 squares.
Notions:
- Tapestry needle
- Stitch markers
- Scissors
- One button
For the best result, use one yarn brand and weight for every square. That way, all the squares stay the same size.
Abbreviations in the Crochet Kindle Sleeve Pattern
- ch: chain
- sc: single crochet
- hdc: half double crochet
- dc: double crochet
- tr: treble crochet
- sl st: slip stitch
- st / sts: stitch/stitches
- BLO: back loop only
- dc2tog: double crochet two together
Special Stitches for the Crochet Kindle Sleeve Pattern
BLO Seaming
Place two squares together with the wrong sides facing out. Then work through the back loop of each piece only. This leaves a flat ridge on the inside and keeps the front smooth.
dc2tog
Yarn over, insert the hook in the next stitch, and pull up a loop. Next, work off two loops. After that, repeat in the following stitch, so three loops sit on the hook. Finally, yarn over and pull through all three.
Corner Join
At each corner, pull three loops through together. This closes the join and stops the corners from gaping.
Treble Crochet
Yarn over twice, insert the hook and pull up a loop. Then work off two loops at a time, three times. One tr sits at the center of the border.
Crochet Kindle Sleeve Pattern Notes Before You Begin
Gauge: There is no set gauge for this project. However, your squares need to match the squares from Part 1. Make a small swatch first, because bigger squares give a bigger sleeve.
Layout: The number of squares and the grid are up to you. Lay out your own diagonal pastel set, and keep the flap square for the back.
Marking: Clip a stitch marker at each corner where squares meet. This keeps your colors and daisies in the right order.
Crochet Kindle Sleeve Pattern Component Checklist
Before you begin this crochet Kindle sleeve pattern, check that you have everything ready:
- Daisy squares from Part 1
- Seamed body
- Flap square with pink edging
- Top border
- Button loop
- Button
Step-by-Step Crochet Kindle Sleeve Pattern
Step 1: Pair the Squares
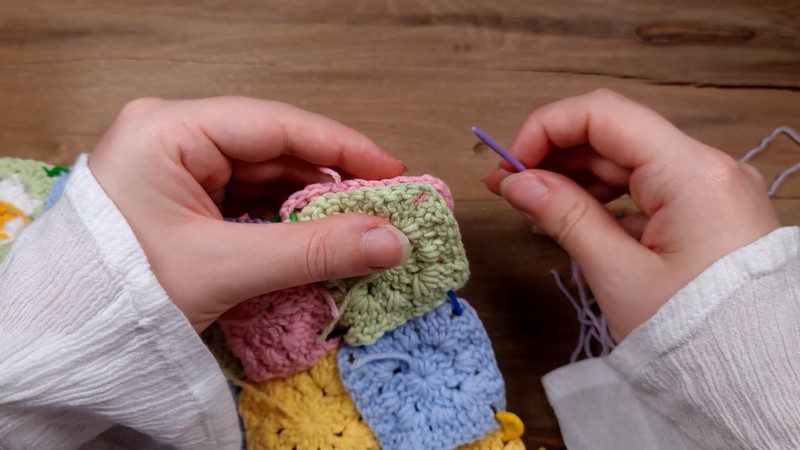
Hold two granny squares with their wrong sides facing out. The daisies now sit against each other on the inside. Next, match the corners and hold the pair with a stitch marker so nothing slips.
Step 2: Set Out the Layout
Lay all the squares in diagonal rows, mixing the colors the way you like. Then clip a marker at every corner where squares meet. Before you join anything, check that each daisy square sits where you want it.
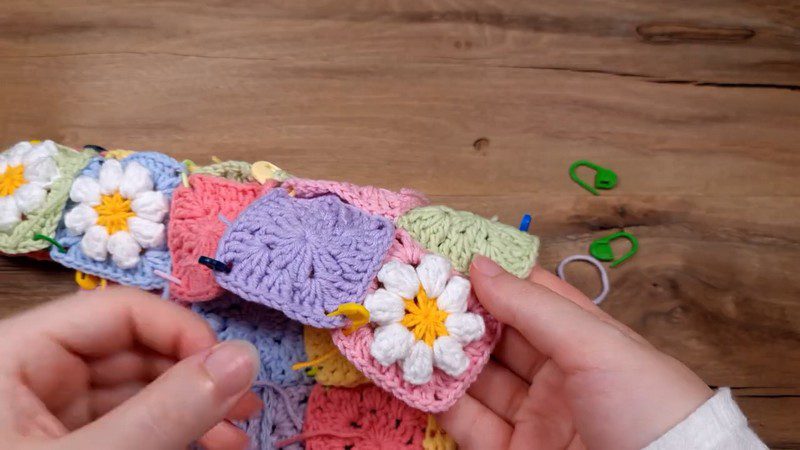
Step 3: Check the Body
Lay the whole piece flat with the wrong side up. The yellow and white tails from the daisy centers will hang loose, and that is fine, so leave them for now. Then make sure every square is in its place.
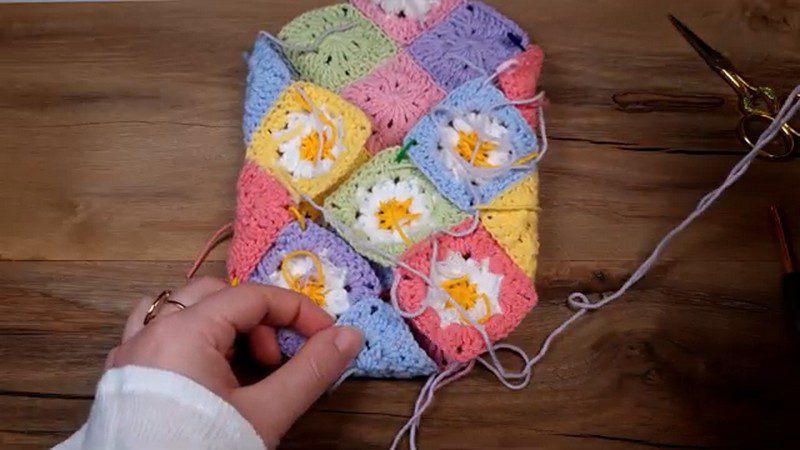
Step 4: Seam from the Wrong Side
Join the squares from the wrong side using BLO seaming. Work through the corner chain at each 2-ch corner. Then skip the edge slip stitches and join the stitch after them. As you reach each marker, take it out, and keep the loose tails out of the way. When every square is joined, turn the sleeve right side out.
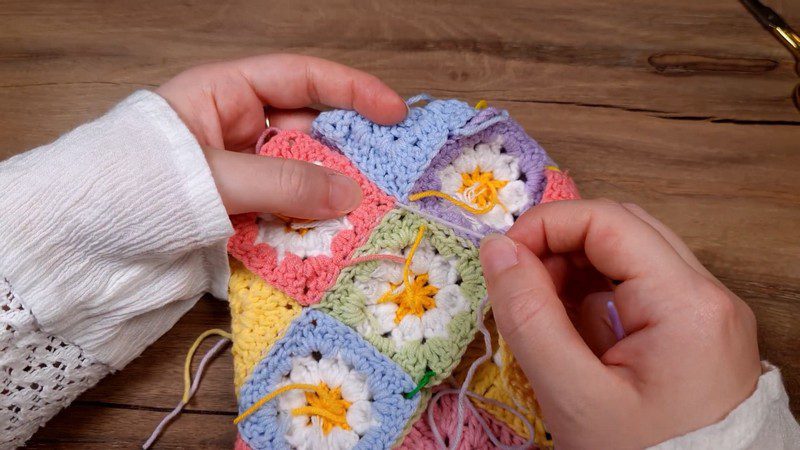
Step 5: Work the Top Border
Put a marker at each corner of the opening. Next, join the border color and work in this order:
- Work sc, hdc and dc evenly around the opening.
- At each corner, pull three loops through together for the corner join.
- Work dc2tog for the corner decreases.
- Work one tr at the center.
- Make the button loop, then work 2 sc in the chain space at the loop area.
- Fasten off.
The number of border stitches and the loop chain count are not fixed. Instead, work evenly and test the loop against your button as you go.
Assembly and Finishing the Crochet Kindle Sleeve Pattern
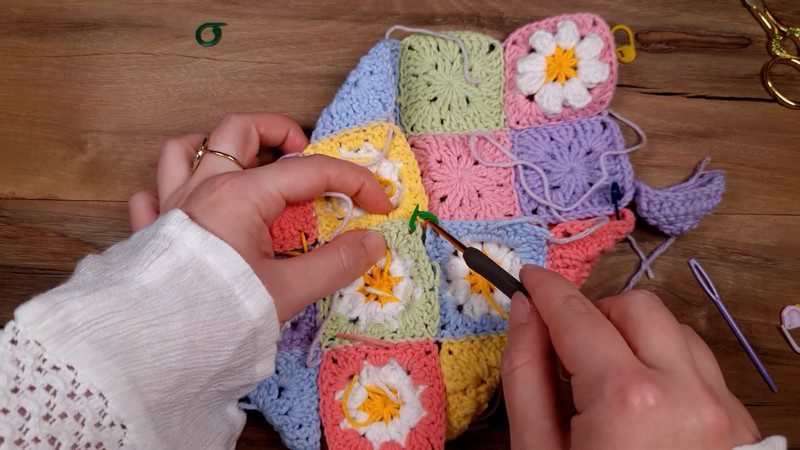
First, weave in all the yarn tails with your tapestry needle and trim them close. Next, sew the button on the front so it meets the loop. Then fold the flap down and slip the loop over the button. It should close easily without pulling. If it feels tight or loose, move the button a little instead of redoing the loop.
Customizing the Crochet Kindle Sleeve Pattern
- Color order: Keep the pastel diamond set, or use one color family for a calmer look.
- Flower colors: Try pale yellow, peach or lilac petals instead of white.
- Lining: Sew in a simple fabric lining to protect the screen from scratches.
- Other devices: Measure your device first. After that, add or remove squares until it fits, leaving a little room for the border.
Troubleshooting the Crochet Kindle Sleeve Pattern
- Gaps at the corners: Pull the three-loop corner join a bit tighter, and check that you seamed through the corner chain.
- Wavy border: You probably have too many stitches. Work evenly and add a decrease where the edge ripples.
- Loop too tight or loose: Pull it out and rechain it, testing against the button each time.
- Squares not lining up: Check that all squares are the same size. A light blocking before seaming can also help.
Care Instructions
Hand wash the sleeve in cool water with a mild soap. Cotton keeps its shape well. Acrylic, however, does not handle high heat, so keep it away from hot water and dryers. Press out the water gently, then lay the sleeve flat on a towel to dry. Finally, reshape the corners while it is still damp.
Bonus: Color Planning Trick
Before you seam, take a quick photo of your laid-out squares. Then look at it in black and white. If two squares of a similar shade sit side by side, swap one of them. As a result, the colors spread out evenly, and the sleeve looks balanced from every angle.
Crochet Kindle Sleeve Pattern FAQs
What hook size should I use?
Start with a 4.5 mm (US 7) hook. Anything from 4 to 5 mm works if your sleeve squares match your Part 1 squares.
Which yarn is best?
Cotton in DK to light worsted weight is a good choice, because it holds the shape of the daisies well. Acrylic works too if you prefer a softer feel.
Will it fit other devices?
The sleeve is sized for a standard Kindle. For another device, measure it and change the number of squares.
Is it beginner friendly?
Yes, if you can make granny squares. The seaming is simple, and the border uses basic stitches.
How do I join the squares?
Place two squares wrong sides together and work through the back loops only. Also, go through the corner chain at each corner.
So, That’s Your Daisy Kindle Sleeve
That’s the whole sleeve. It looks fancy, but it’s really just squares, a seam and a border. Take your time with the joining, because that’s where it all comes together. If pastels aren’t your thing, pick brighter colors and make it your own. Once your Kindle slides in and the button loop clicks shut, you’ll be glad you made this crochet Kindle sleeve pattern.