Free Crochet Mouse Amigurumi With Big Pink Ears
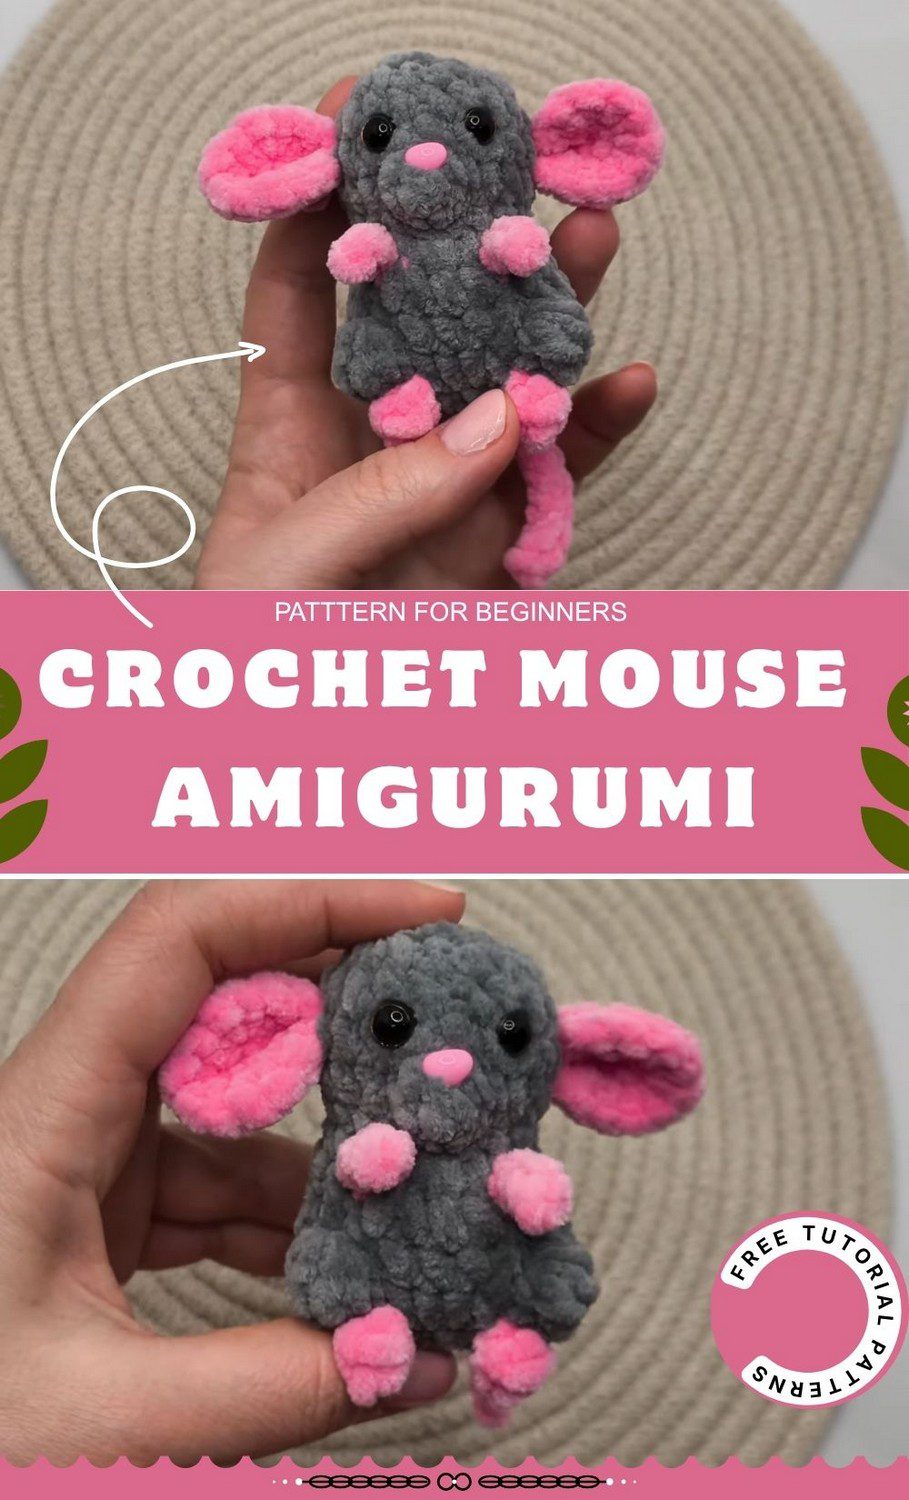
Meet a tiny grey mouse in soft chenille yarn with big round pink ears, black safety eyes, a pink nose, little pink paws and a long thin tail. It sits upright and fits in the palm of your hand. It makes a sweet gift, a cute shelf or desk buddy, or a keychain-size toy.
This crochet mouse amigurumi has no sewing at all. The ears join the body in Round 9, and the tail, feet and paws are crocheted straight into the body rounds. You only need single crochet, increases, decreases, a puff stitch and a few colour changes. It suits beginners who are ready for a small challenge. You can also swap the colours to match any room or any person.
Crochet Mouse Amigurumi Project Overview
- Skill level: Beginner to advanced beginner.
- Finished size: About 3.5 to 4 inches (9 to 10 cm) long.
- Time to make: About 45 to 60 minutes. The chunky yarn works up fast, but the color changes, tail, feet and paws need a little extra care.
- What makes it special: The whole mouse is made in one piece, and the pink details are added as you go, so you never need a sewing needle.
Materials for the Crochet Mouse Amigurumi
- Dolphin Baby yarn in gray for the body
- Dolphin Baby yarn in pink for the ears, paws, tail and inner details
- 3.5 mm crochet hook
- 9 mm safety eyes (2)
- 8 x 6 mm pink nose
- Stitch marker
- Polyfill stuffing
- Scissors
- A lighter, to melt the thread ends so the nose stays secure
You need less than one skein of gray and a small amount of pink. If you cannot find Dolphin Baby, any bulky chenille yarn works with a hook of about 3.5 to 4 mm. However, the size and look will shift a little.
Stitch Abbreviations
Everything below is written in US crochet terms.
- ch = chain
- sc = single crochet
- inc = increase (2 sc in one stitch)
- dec = decrease (sc 2 together)
- sl st = slip stitch
- hdc = half double crochet
- yo = yarn over
- MM = move the marker up to the first stitch of the new round
- FLO = front loop only
- puff stitch = work 5 hdc in the same stitch, leaving the last loop of each hdc on the hook. Then yo and pull through all the loops on the hook.
Before You Start This Crochet Mouse Amigurumi
Gauge
Gauge is not critical for a toy this small. Simply keep your stitches snug so the stuffing does not show through.
Working in a Spiral
Do not join the body rounds with a slip stitch. Instead, keep going around and use the stitch marker to see where each round starts. Whenever the pattern says MM, move the marker to the first stitch of the new round.
Chenille Yarn Tips
Chenille is soft but slippery, so work slowly and keep your tension even. Since the stitches can be hard to see, check your count often.
Changing Color Without Cutting
Stop before the last yarn-over of a stitch, then pull the new color through to finish it. Carry the unused color loosely inside the work, and cut it only when the pattern tells you to.
Turning the Ears Inside Out
After you fasten off each ear, push the wrong side through so it faces out. This gives you a smooth, neat right side.
Pattern Notes
- Make both ears first, because you need them in Round 9.
- Work the body in one piece in a continuous spiral.
- Rounds 2 and 5 hold the tail, back feet and front paws, so take your time there, since these are the trickiest parts.
- In total, the puff stitch appears three times: twice in Round 3 and once in Round 8. Work it the same way every time.
- Stuff the mouse before the final round, while you can still reach inside.
Crochet Mouse Amigurumi Pattern
Step 1: Ears (Make 2)
Round 1: Ch 2. Work 6 sc in the 2nd ch from the hook. (6)
Round 2: Inc in each stitch. (12)
Sl st to close. Fasten off, leaving a short tail so you can tie off and hide the ends. Then make a second ear the same way and turn both ears inside out.
Step 2: Body, Rounds 1 to 4
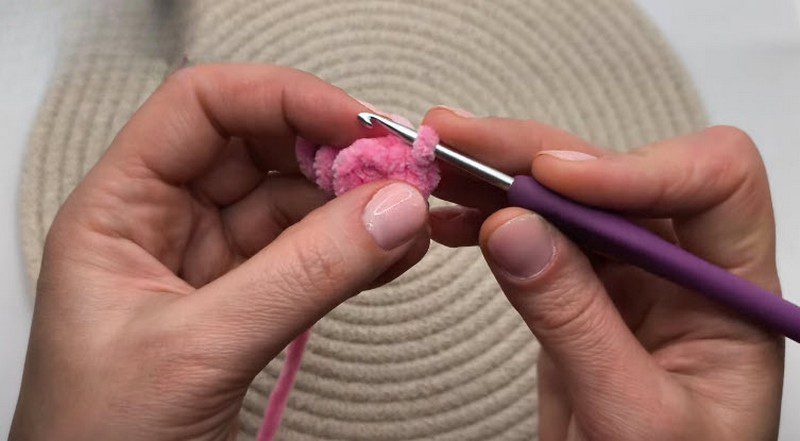
Round 1 (gray): Ch 6. Starting in the 2nd ch from the hook, work 4 sc along the chain. Next, work 3 sc in the last loop. After that, work 4 sc along the reverse side of the chain. Then work 3 sc in the first loop. Finally, place the marker. (14)
Round 2: 2 sc. Do not finish the 2nd sc fully. Instead, join the pink yarn to complete it.
Next, with pink, work 1 sc in the FLO.
Tail: Ch 10. After that, sl st in the next 9 chains, then work 1 sc in the same loop.
Now switch back to gray without cutting the pink. Work 1 sc, then 3 inc, but do not finish the 3rd inc. Complete it with pink instead.
First foot: Ch 3 in pink. Starting in the 2nd ch from the hook, work 2 sc. Finish them with gray. Then work 4 sc in gray, but do not finish the last one. After that, switch to pink.
Second foot: Ch 3 in pink. Starting in the 2nd ch from the hook, work 2 sc, then finish them with gray.
Next, inc, inc. MM.
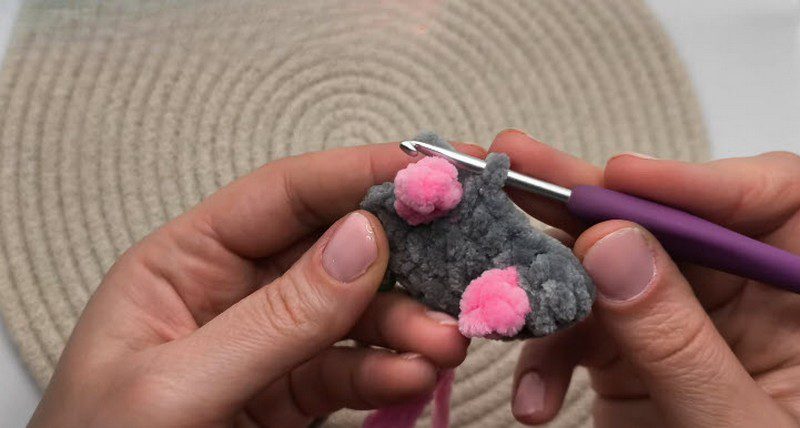
Round 3: Work 2 sc, then 9 more sc in gray.
Next, work a puff stitch.
Then work 4 sc, working a dec within these stitches so no hole is left.
After that, work a second puff stitch.
Finally, work 5 sc to the end of the round. MM.
Round 4: Dec, sc, dec. Then work the rest of the round in sc without changes. MM.
Step 3: Paws and Shaping, Rounds 5 to 8
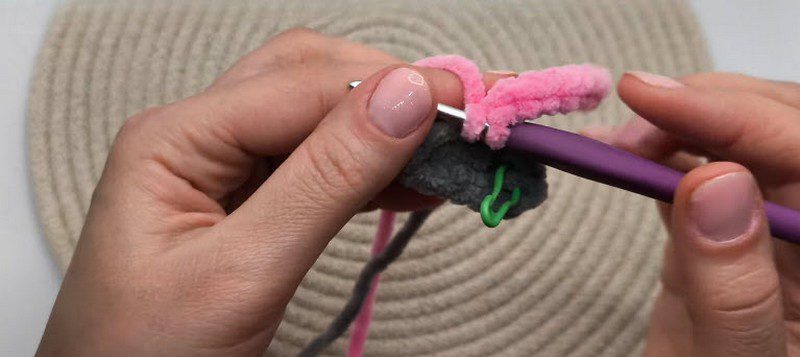
Round 5 (paws): 9 sc. Finish the 9th stitch with pink.
Next, ch 4. Sl st in the 3rd and 4th chains from the hook, which makes the first paw.
Now return to gray and work 1 sc and 1 sl st.
Then work 4 sc, but do not finish the last one. Switch to pink and ch 4. After that, sl st in the 3rd and 4th chains from the hook, the same way as the first paw, which makes the second paw.
Afterward, sl st in the next 3 stitches with gray, then work 5 sc to the end.
Finally, cut the pink yarn and hide the end inside. MM.
Round 6: (Sc, dec) six times. Sc between the paws. Dec, sc, dec, sc, dec to finish the round.
Round 7: (Sc, inc) six times. Sc, inc, inc. MM.
Round 8: 11 sc. Then work a puff stitch, followed by 6 more sc to the end. MM. (18)
Step 4: Ears and Eyes, Rounds 9 to 11
Round 9: 6 sc.
First, take the first ear, fold it in half and work 1 sc through both layers of the ear and the body.
Next, place the first 9 mm safety eye.
After that, work 9 sc.
Then place the second eye and attach the second ear the same way.
Finally, work 1 more sc. MM. (18)
Round 10: 18 sc to the end of the round without changes. MM. (18)
Round 11: (Sc, dec) six times. MM. (12)
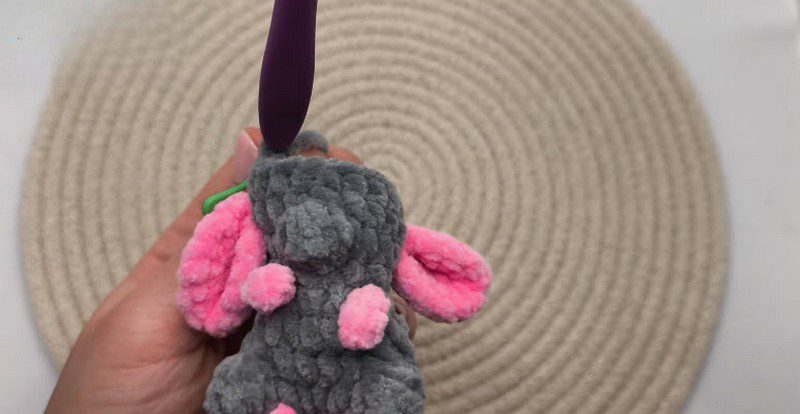
Step 5: Nose, Stuffing and Closing, Round 12
Nose: At this point, insert the pink nose at the front of the face. Then melt the thread ends with a lighter for extra security so the nose cannot come loose.
Stuffing: Next, fill the mouse with polyfill and shape it as you go.
Round 12: Dec six times to the end of the round. (6)
Finally, cut the yarn. Weave it through the remaining stitches and pull the hole closed. Then hide the end inside the body.
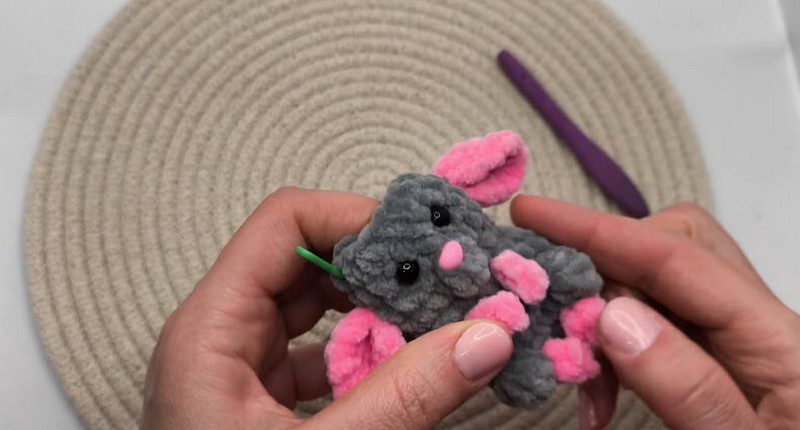
Finishing Your Crochet Mouse Amigurumi
Finishing is quick because there is nothing to sew. First, give the ears a gentle tug to make sure they sit evenly on both sides, since they were attached in Round 9. Then check that both safety eyes are locked firmly in place, and press the nose in at the front of the face until it feels solid.
Next, squeeze the body softly and fix any lumpy spots. If the shape feels flat, add a little more polyfill. Finally, smooth the tail so it hangs straight and check that the little pink paws sit at the front.
Crochet Mouse Amigurumi Customization Ideas
- New colors: Try a white mouse with lavender ears, or a cream mouse with pale blue details.
- Keychain loop: Add a short chain loop at the top of the head to turn it into a bag charm or key ring.
- Bigger mouse: Use thicker yarn and a larger hook. The mouse will grow while keeping the same shape.
- Different faces: Choose bigger or smaller safety eyes for a sweeter or sleepier look.
Troubleshooting Your Crochet Mouse Amigurumi
Holes at the foot or tail joins. Pull the working yarn snug right after each color change, and tug firmly on the first stitch after each joint.
Lumpy stuffing. Add the polyfill in small pieces instead of one big wad, and pinch and roll the body as you go.
Loose nose. Push the nose in firmly and melt the thread ends as shown in the pattern, which helps lock it in place.
Uneven ears. Check that both ears are turned inside out and folded the same way. Then match their positions before you crochet through the layers.
Care and Safety
Spot clean this mouse with a damp cloth and a little mild soap, then let it air dry fully. Also, keep it away from heat, because the yarn and the nose can be affected.
Safety note: Safety eyes and noses must be installed firmly. Even so, small parts can be a risk for very young children, so this mouse is best as a decoration or gift for older kids and adults.
Bonus: Gift Tag Ideas for Your Crochet Mouse Amigurumi
A handmade mouse looks even sweeter with a little tag. Here are some simple ideas:
- “Made with love, one stitch at a time.”
- “A tiny friend just for you.”
- “Squeak! This little one is yours.”
- A handwritten tag tied to the tail with a tiny ribbon.
Frequently Asked Questions
Is this crochet mouse amigurumi beginner-friendly?
Yes, with one small catch. The stitches are basic, but the color changes and puff stitches may take a try or two, so go slowly.
Can I use another yarn?
You can. Dolphin Baby chenille gives the closest look, while other bulky yarns also work but with a different texture.
Do I need to sew anything?
No. The ears, tail, feet and paws are all crocheted in as you go.
Is it safe for kids?
Secure the eyes and nose well. However, for babies and toddlers, choose a version with embroidered features instead of safety parts.
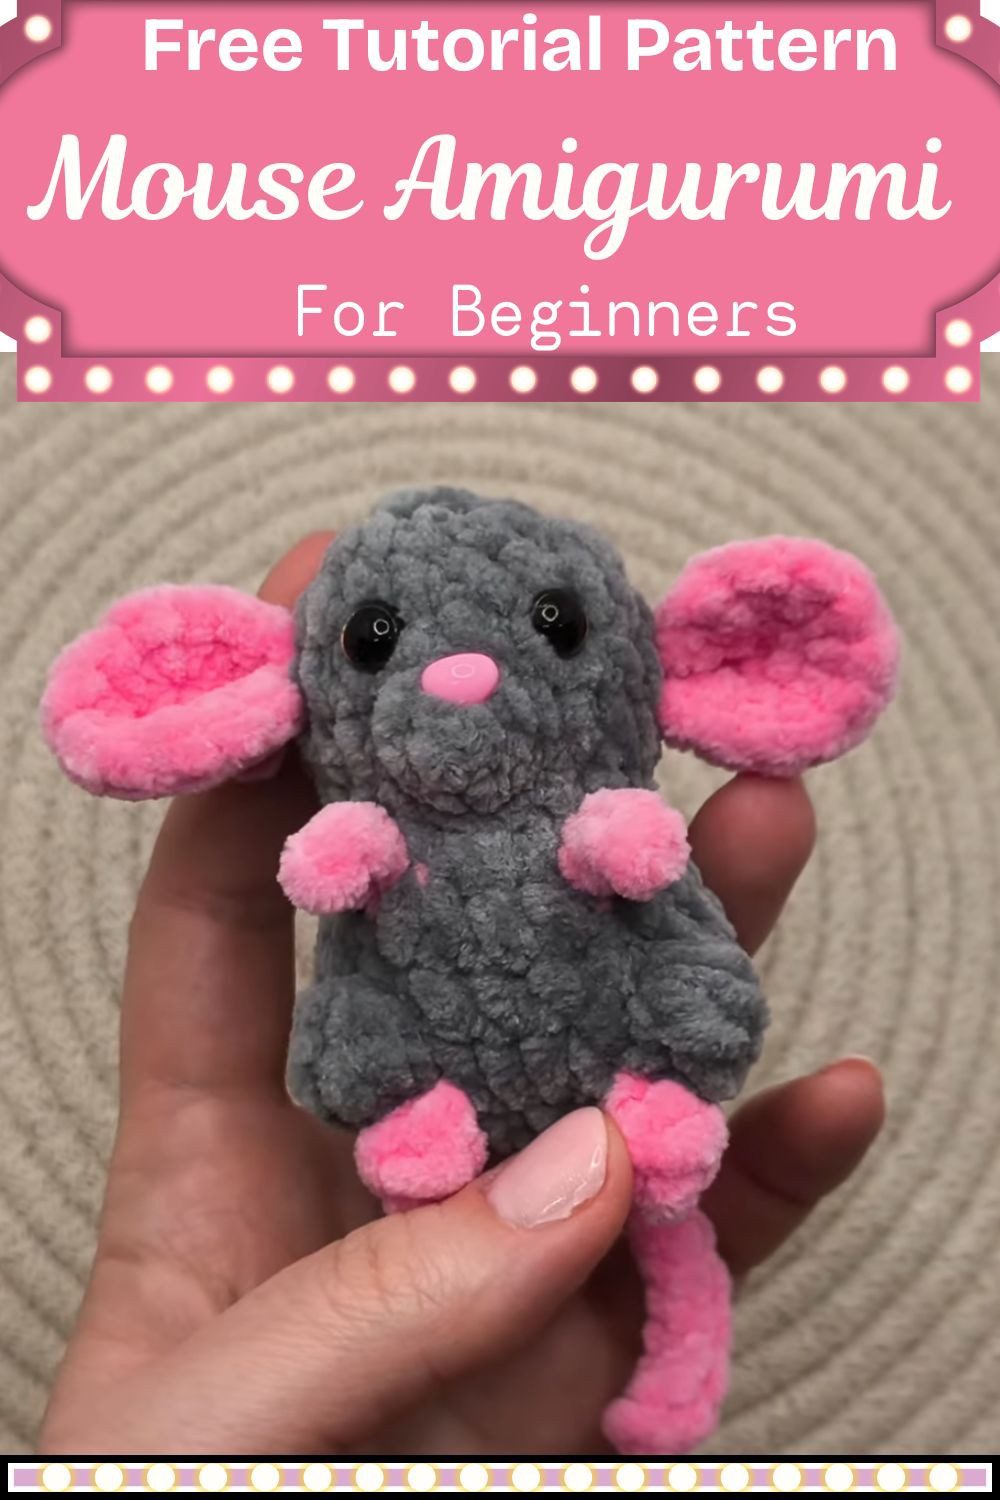
One Tiny Mouse, Plenty of Smiles
So that is your mouse done. It comes together fast, and you can finish it in one sitting. The feet and tail are the only slow part, and after that it is easy going. If your first one looks a little wonky, that is fine. Next, pick some new colors, make a few more, and give them away. Honestly, everybody loves a tiny mouse.